Wine and paint make the perfect pairing for a corkscrew table makeover! Luckily, Black Dog Salvage furniture paint removes the complexity of refinishing this fun piece and will have you asking, “Where’s the winery?”
*This makeover is sponsored by Black Dog Salvage Furniture Paint. The ideas and opinions are all my own.
I’ve seen wine keg and wine barrel furniture but never a giant corkscrew.
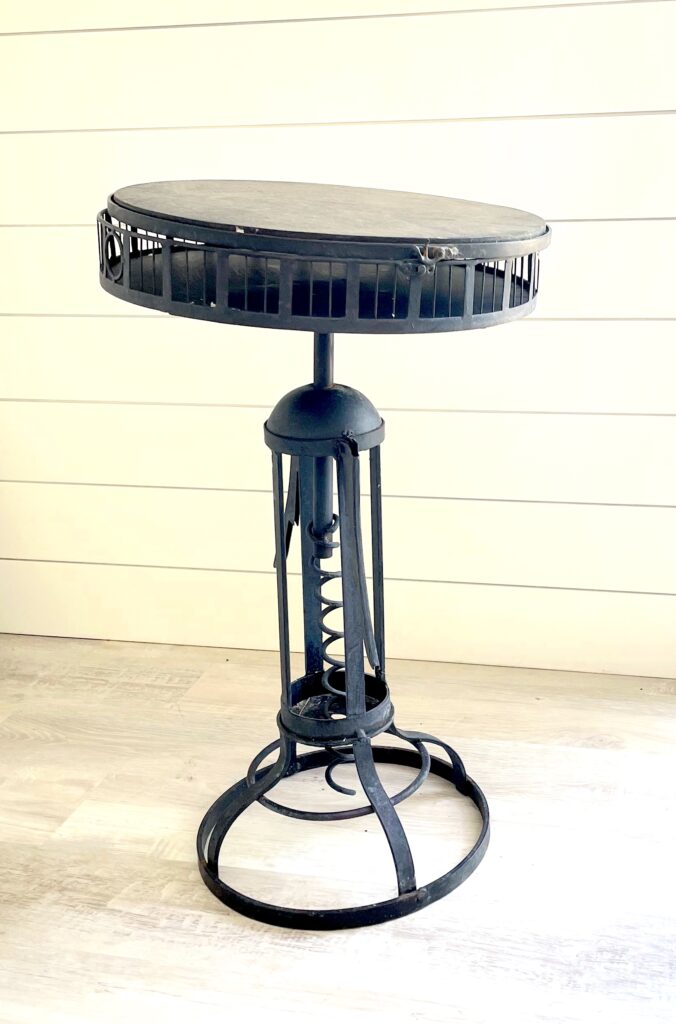
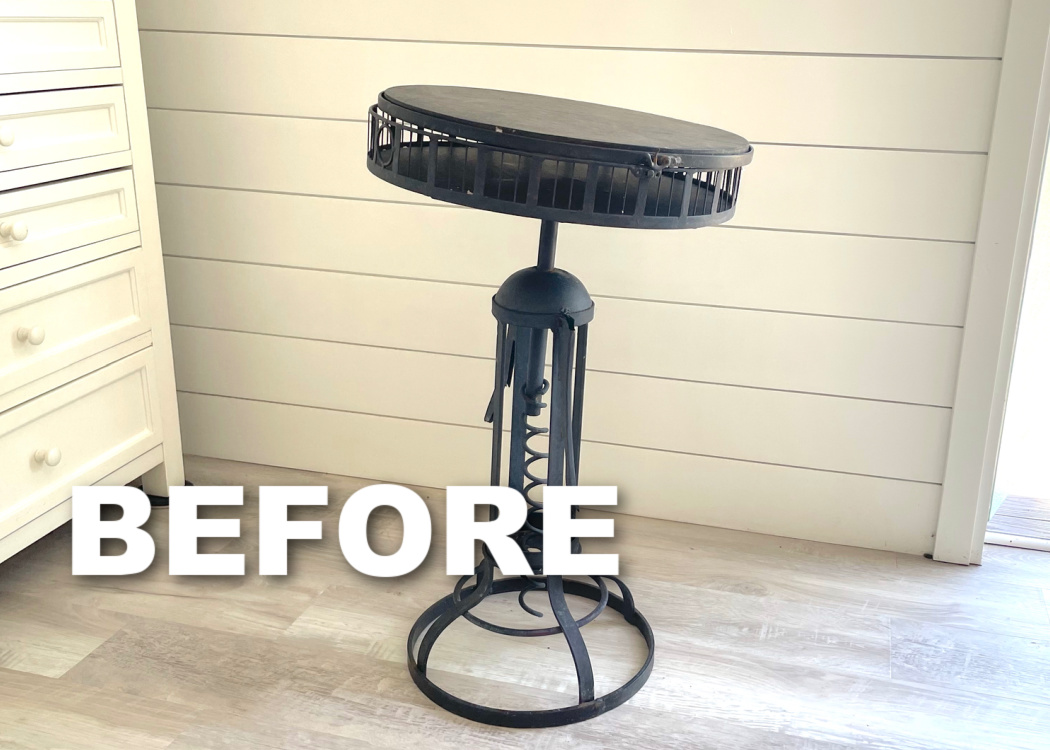
This was another curbside find in post-hurricane Florida.
It was bent.
It was dirty.
But it wasn’t garbage!
Black Dog Salvage in Roanoke Virginia has the PERFECT paint to turn this table around!
Are you worried that you don’t live in Virginia?
Don’t be! They ship it right to you!
Before I get into the how let’s talk about the why…
Why Black Dog Salvage Furniture Paint?
Easy…because it’s AMAZING!
It IS NOT a chalk paint.
It IS a 50/50 latex and acrylic paint with calcium carbonate and other clay bodies…
What does that mean?
It means it has superior self-leveling qualities and it gives it a five-star finish!
I can vouch for that!
They helped me save another hurricane survivor, in the form of an Ottoman Makeover that you won’t recognize post-makeover.
Are you ready to get started?
Wine and Paint Corkscrew Table Video Tutorial
You can see exactly how I did this makeover using Black Dog Salvage Furniture Paint in the video!
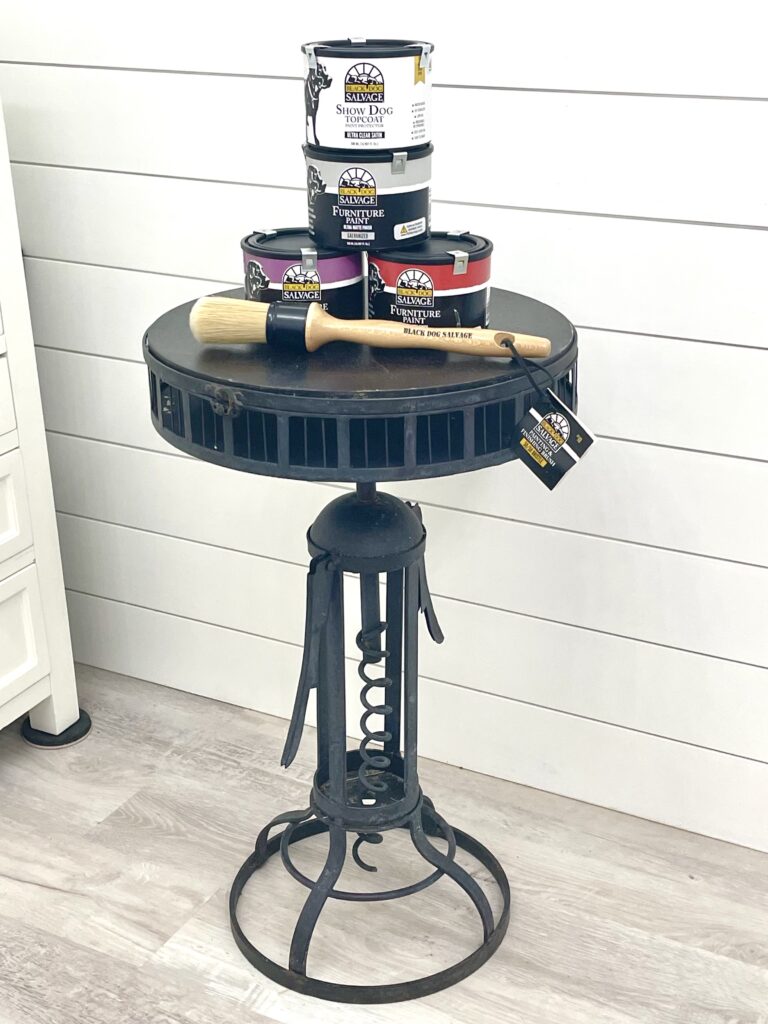
Supplies
- Galvanized Black Dog Salvage Furniture Paint
- Pickled Beet Black Dog Salvage Furniture Paint
- Show Dog Topcoat in ultra-clear satin
- Paintbrush
- Snazzy apron (optional)
Cleaning supplies
*This blog uses affiliate links. As an Amazon Associate I earn from qualifying purchases, at no additional cost to you.
Directions for the Wine and Paint Corkscrew Table Makeover
Step 1: Cleaning time
Going through the sobering experience of Hurricane Ian left this table dirty and bent out of shape.
We knew the hurricane was a water event but you never know where or what furniture has gone through when you pick it up curbside.
I’m of the opinion it’s always better to overclean than under-clean.
So I did.
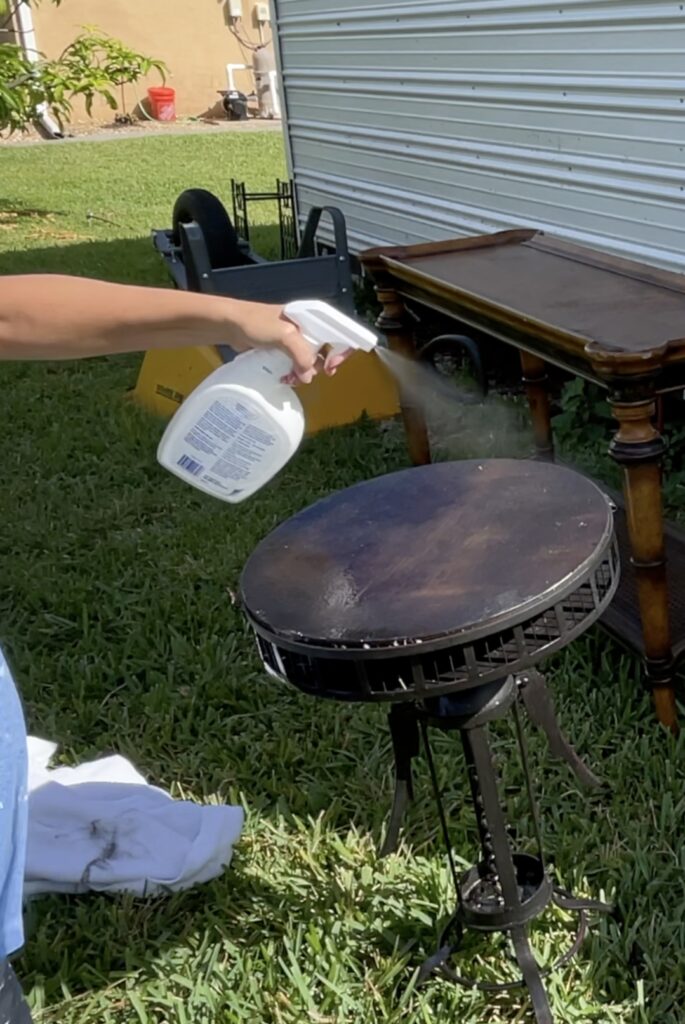
I didn’t see any water damage to the table itself, but as a precaution, I used a mold remover and followed it up with hydrogen peroxide.
Then, because Swooz at Black Dog Salvage recommended it and it has since become my go-to, I did a final clean with TSP.
The really great thing about Black Dog Salvage Furniture Paint is that you don’t need to do anything else to prep before painting! No stripping, sanding, or priming!
Unless you have a very glossy finish or chippy damaged areas, you can start painting!
Step 2: Straighten Up!
HOLD ON!
I had one more step before I could start painting.
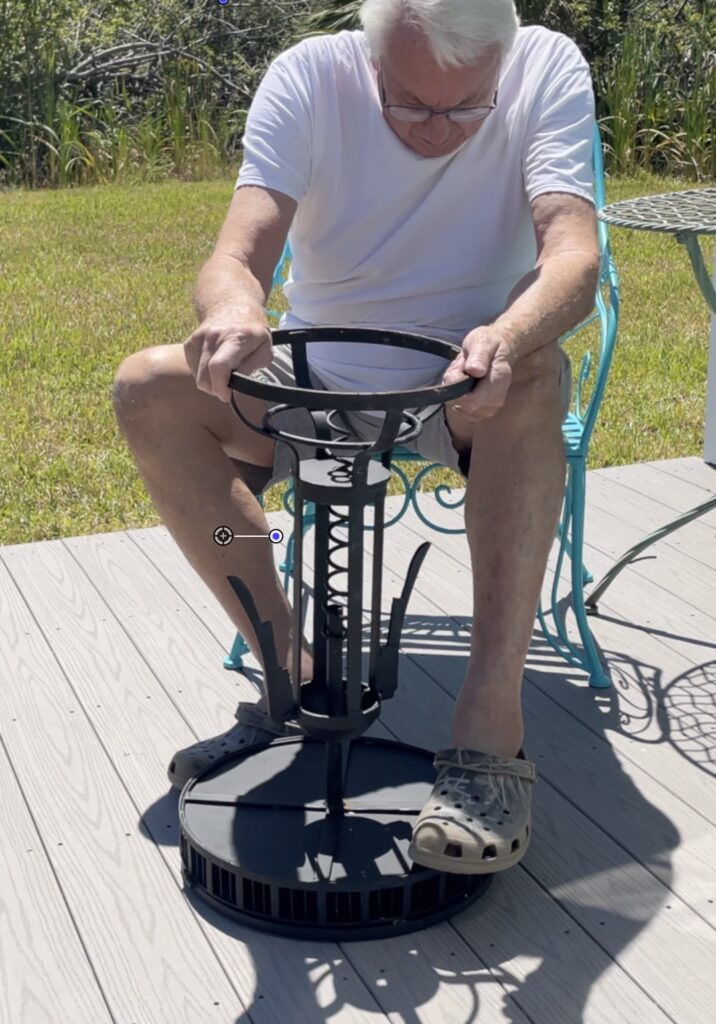
The corkscrew table had been damaged in the storm and it needed to be straightened. The top was askew.
There isn’t enough wine and paint in the world to look past it. I would have to tilt my head to the right every time I looked at it.
So, I had Dad work his magic and bend it back into place.
Step 3: Paint
First comes the paint then comes the wine, unless you drink wine and paint at the same time.
The table was all black and I wanted to change it dramatically, so I painted the whole thing.
I used the Galvanized color, which is a really nice gray.
I painted the whole thing, top to bottom.
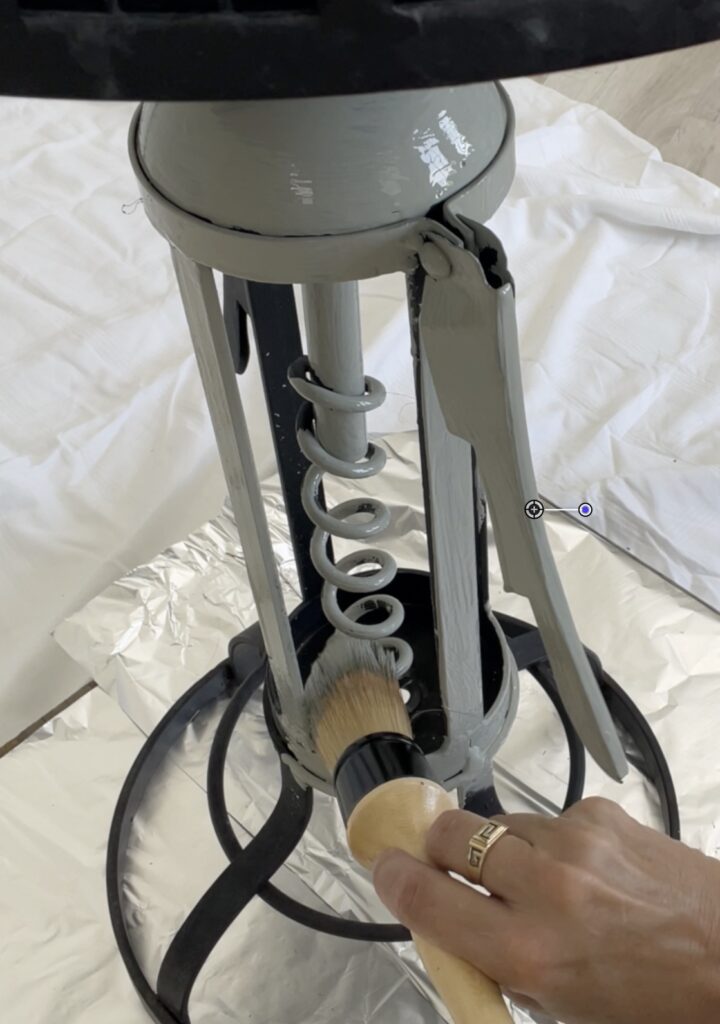
IMPORTANT: The corkscrew table is a combination of wood and metal. Sometimes, that can create a problem with the paint you are using.
However, Black Dog Salvage Furniture Paint was developed to adhere to any clean surface including, lacquer, poly, varnish, shellac, oil, or water-based paints and stains AND metal, glass, laminate, and ceramic!
How amazing is that?!?!
I didn’t have to fuss with any priming or special paint!
*The only exception would be Teak. Due to the oil in the wood, the paint would eventually come off over time.
Quick Tip: This paint is not a James Bond martini! It prefers to be stirred not shaken! Shaking the paint separates the ingredients and it can take days to settle and come back together.
Step 4: Now for the Wine and Paint
I found a fun wine bottle pouring into a glass on Cricut Design Space, so I sized it to about 12 inches and cut it out of vinyl.
Once I weeded the vinyl (removed all the extra pieces), I put transfer tape over the vinyl and adhered it to the table. (You can see exactly how I did all of that in the video tutorial)
I burnished it down, removed the transfer tape, and the vinyl remained behind.
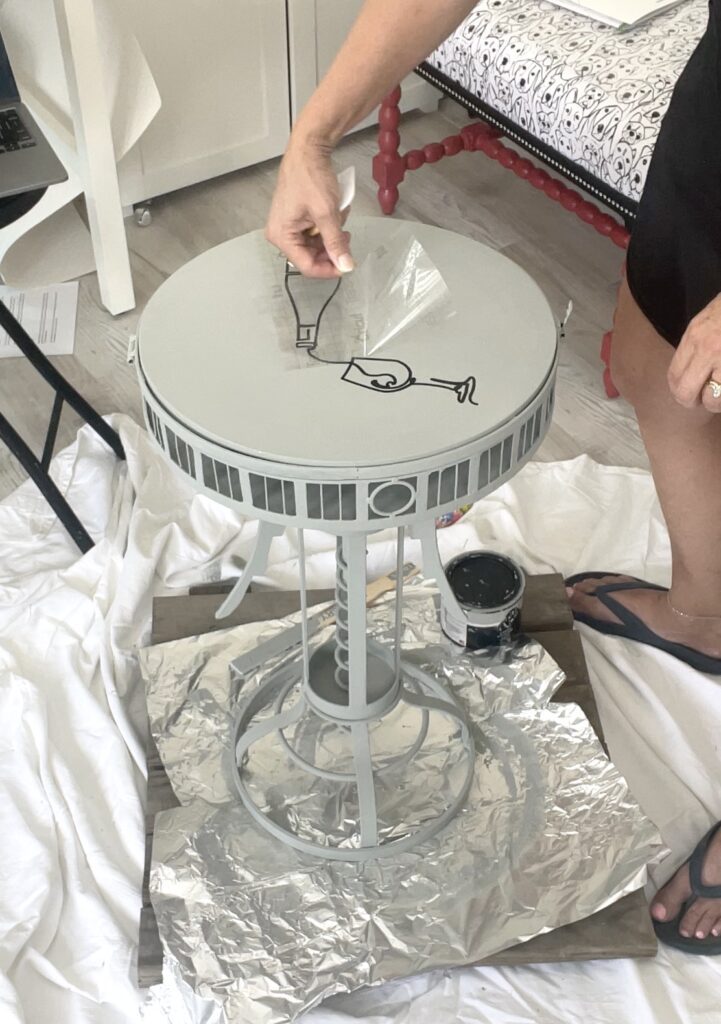
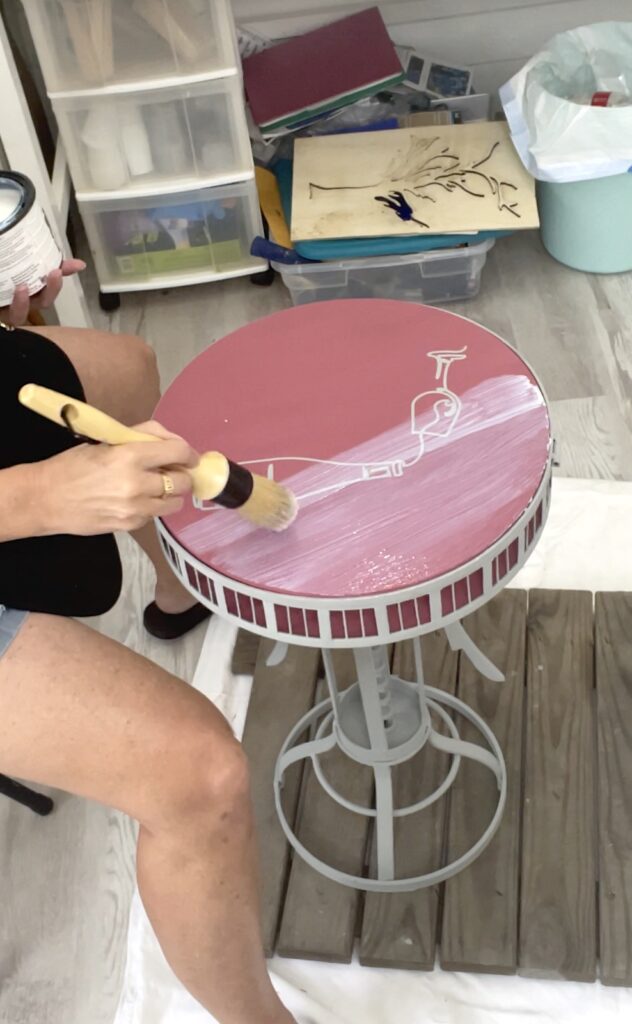
Then, I painted over the vinyl with the Galvanized again. I made sure to brush in all directions. This allows the paint to seal the edges of the vinyl, so the next color won’t run under and give you smudgy lines.
You just want to make sure you let it dry before moving on to the next step.
Step 5: What did you do to yourself?
Now, I was able to start painting with my Pickled Beets color!
*The fun thing about Black Dog Salvage Furniture Paint is the mixability! They have over 100 color recipes, so you can create your own colors. The Pickled Beets is a combination of That’s Gonna Leave a Mark and I Need a Bandage.
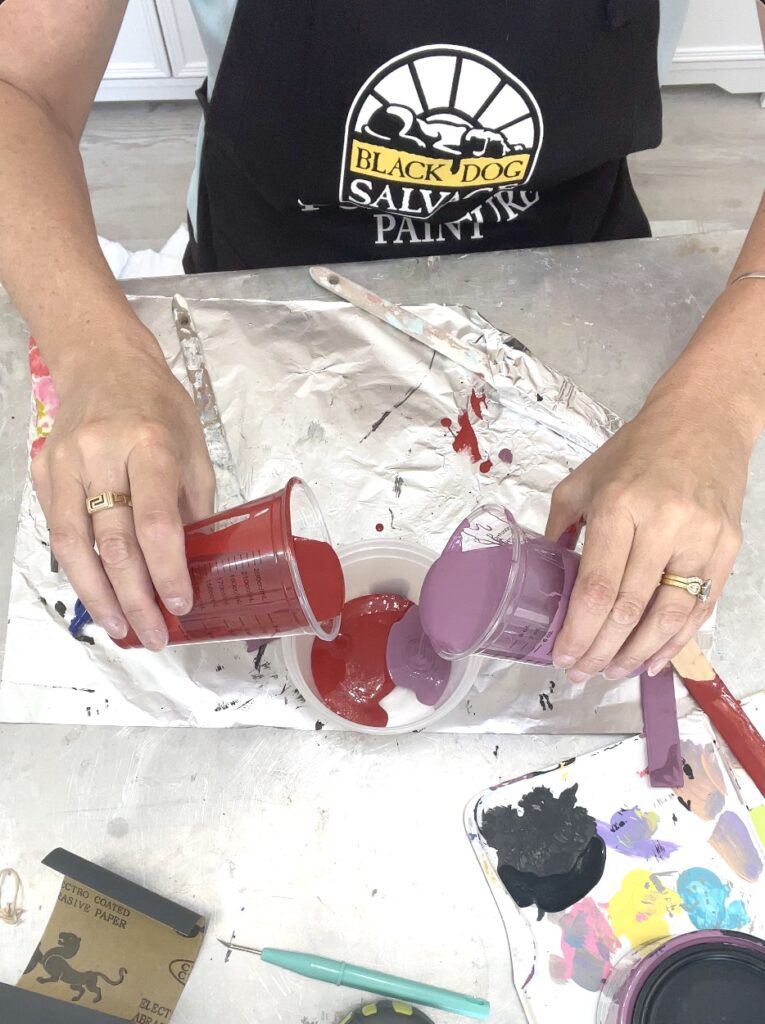
A quick side note: I had gotten some of the I Need a Bandage on my wrist and didn’t realize I didn’t wash it off. I had three people ask me what I had done to myself and why was I bleeding.
True to its name!
Once I mixed the paints, I painted right over the top and let it dry.
What a great color!
The paint reminded me of red wine.
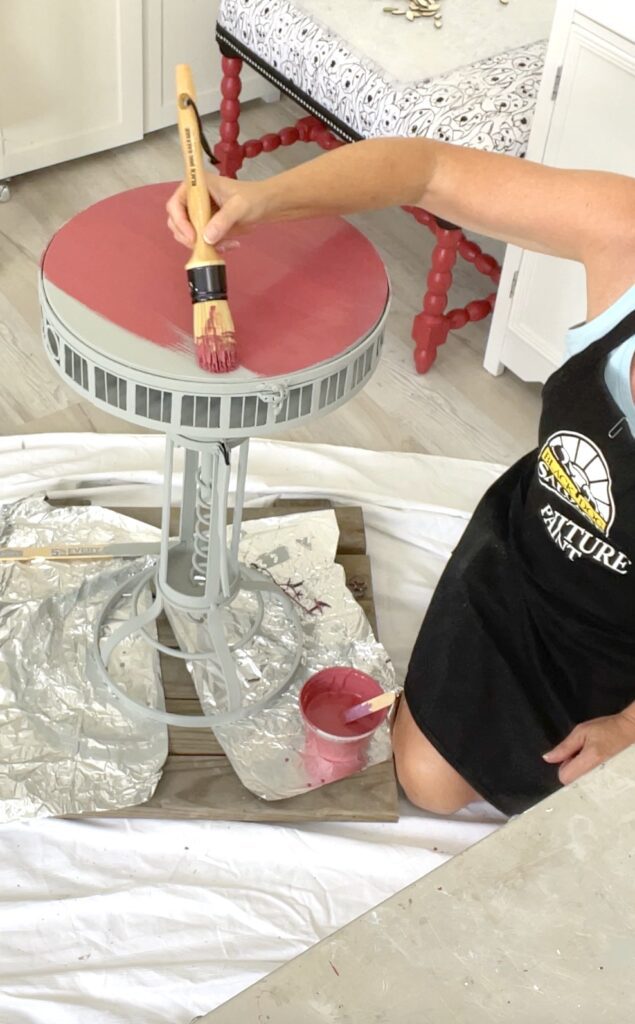
Black Dog Salvage Furniture Paint is not a fussy paint. They say: Lay it down and let it dry! It self-levels to smooth out the brush strokes.
If you do want texture, you can overwork it by continuing to brush it until you give it texture.
I only needed to do one coat and then let it dry.
Step 6: Peel it!
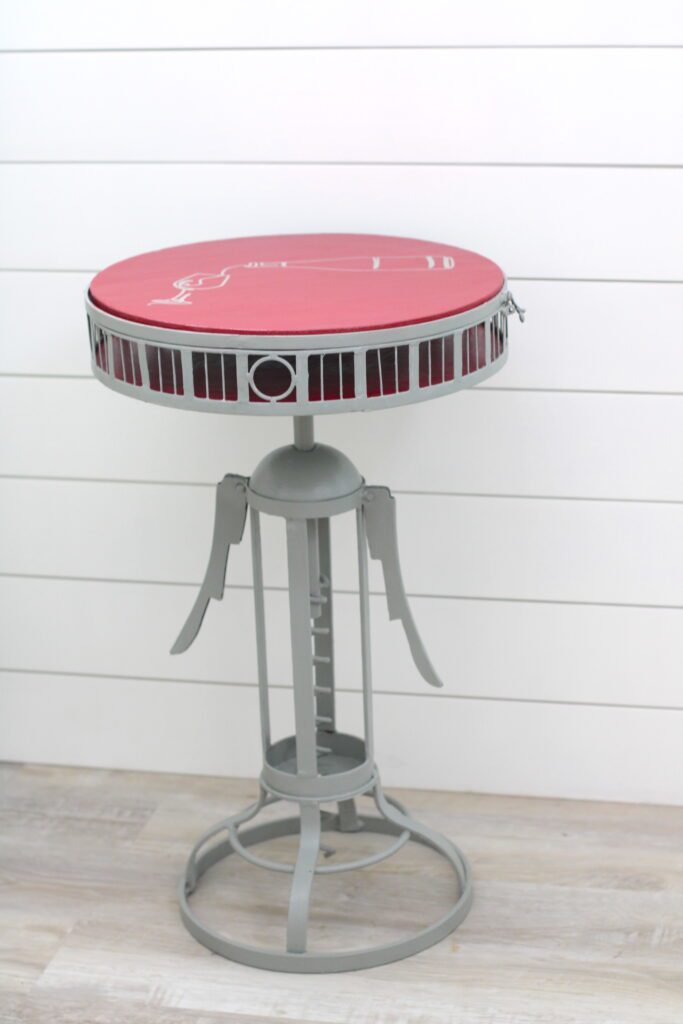
Once dry, I carefully removed the vinyl and VIOLA! What a great design for the top of the table!
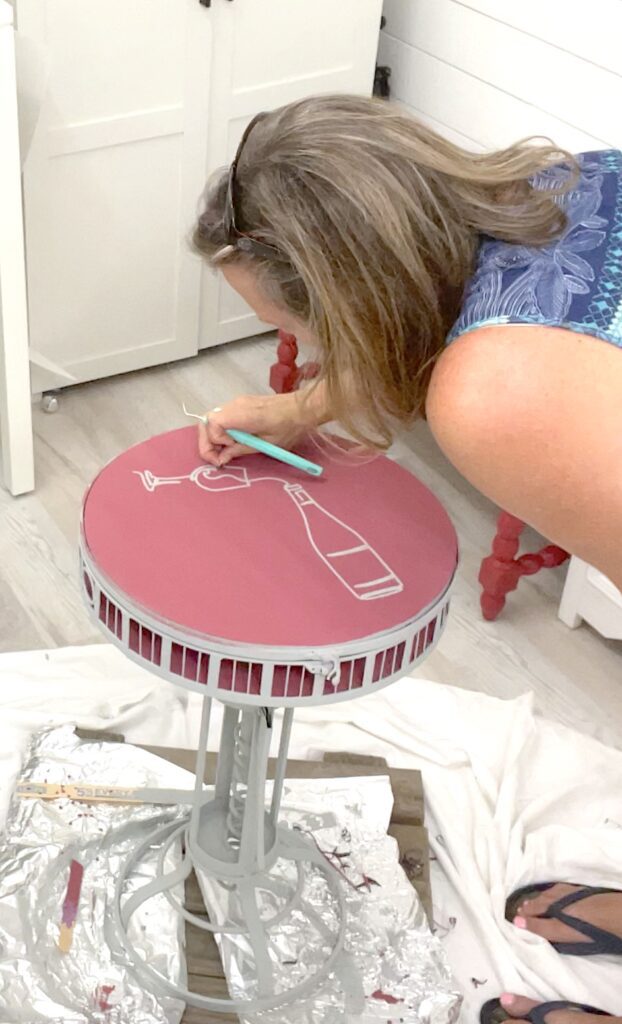
Wine and paint! A fine combination!
Step 7: The Finishing Touch!
Don’t break out the wine just yet!
You want to protect your work and keep the paint looking good!
Fortunately, Black Dog Salvage Furniture Paint has the perfect topcoats! I went with Show Dog in satin!
Their topcoats and paints are environmentally friendly. They are low in VOC’s and have no odor. You can paint any time of the year without having to throw all your windows open or run a fan.
And they all clean up with soap and water!
Quick tip on the topcoats: Never shake them! If you shake them, you will create tiny bubbles (you know…like in the song) but you won’t see them until it dries.
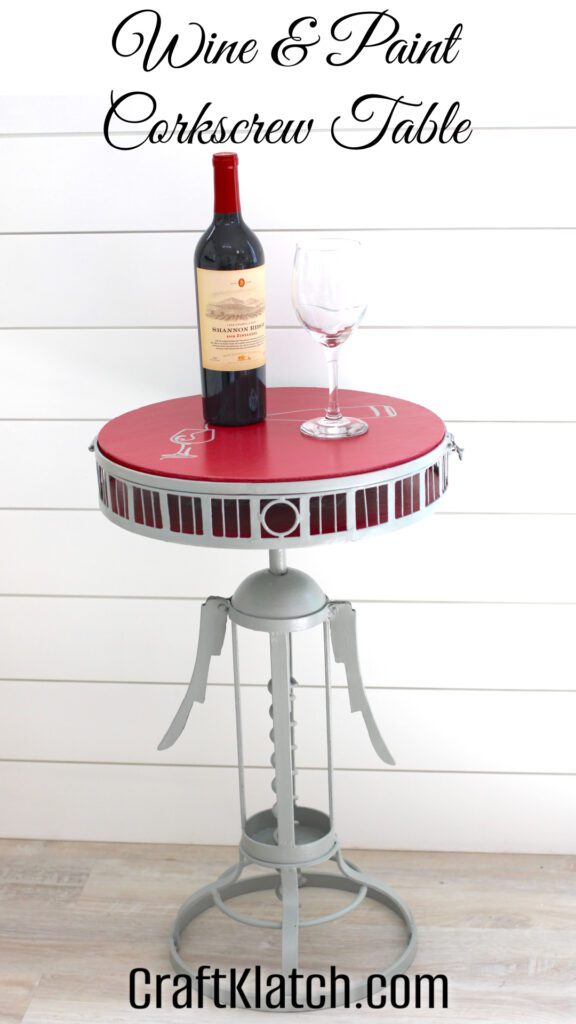
The Wine and Paint Reveal!
The corkscrew table has never looked so great!
WAIT… I’M NOT DONE!
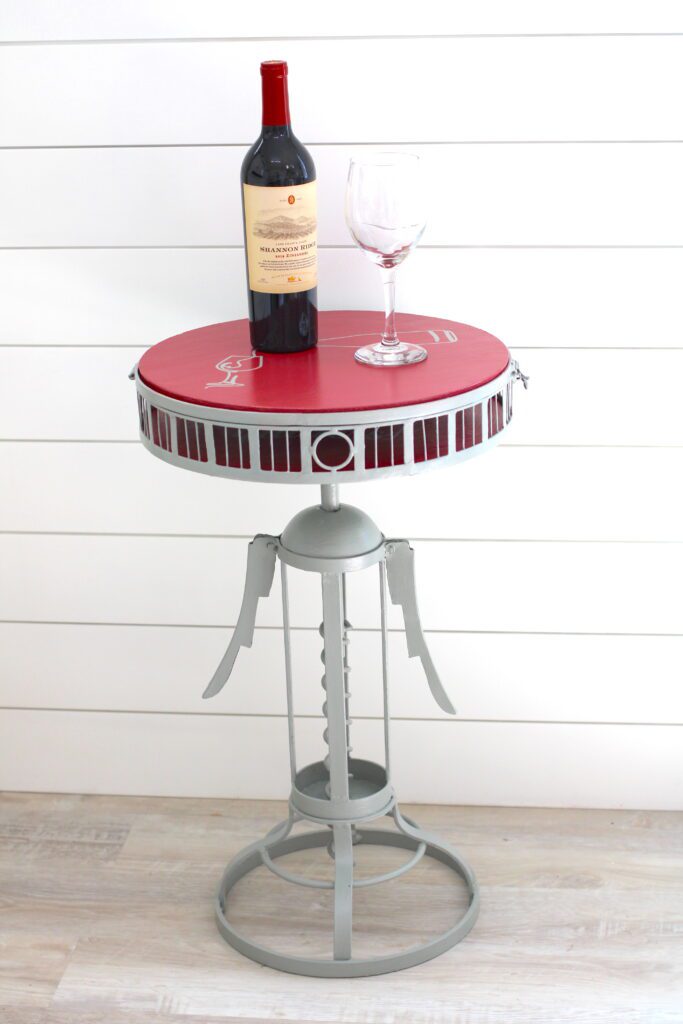
I used the same technique on the inside!
SURPRISE!
When I found the table, it was full of corks. So, I thought it was fitting to put
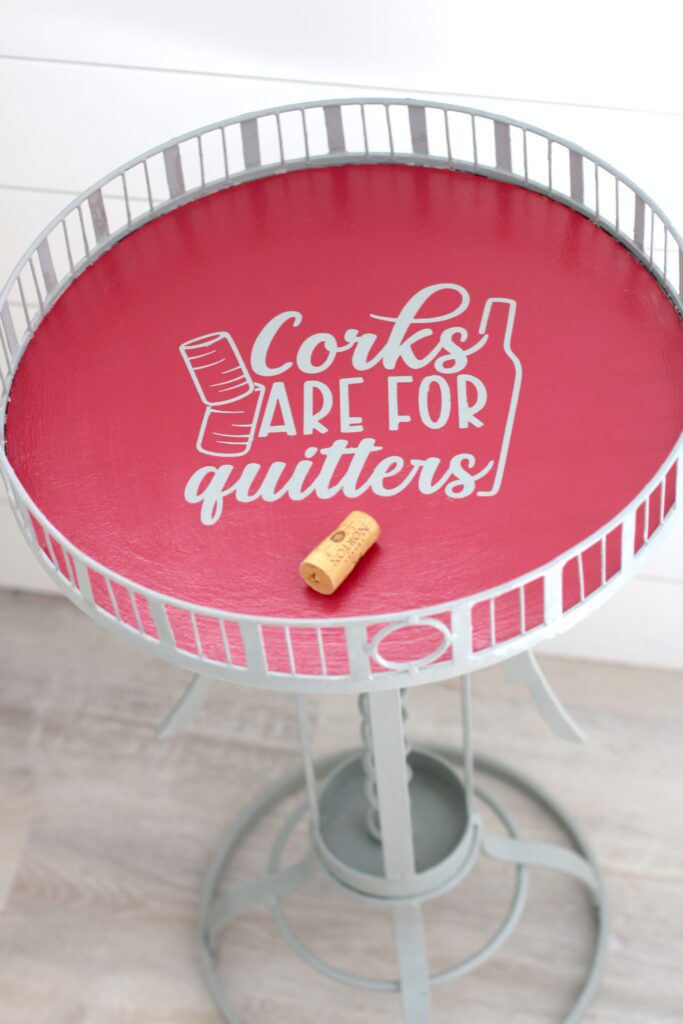
Corks are for Quitters
on the inside in honor of the previous owners.
WAIT…ONE MORE THING!
Because the sides are not solid, I thought it would be fun to add some lighting.
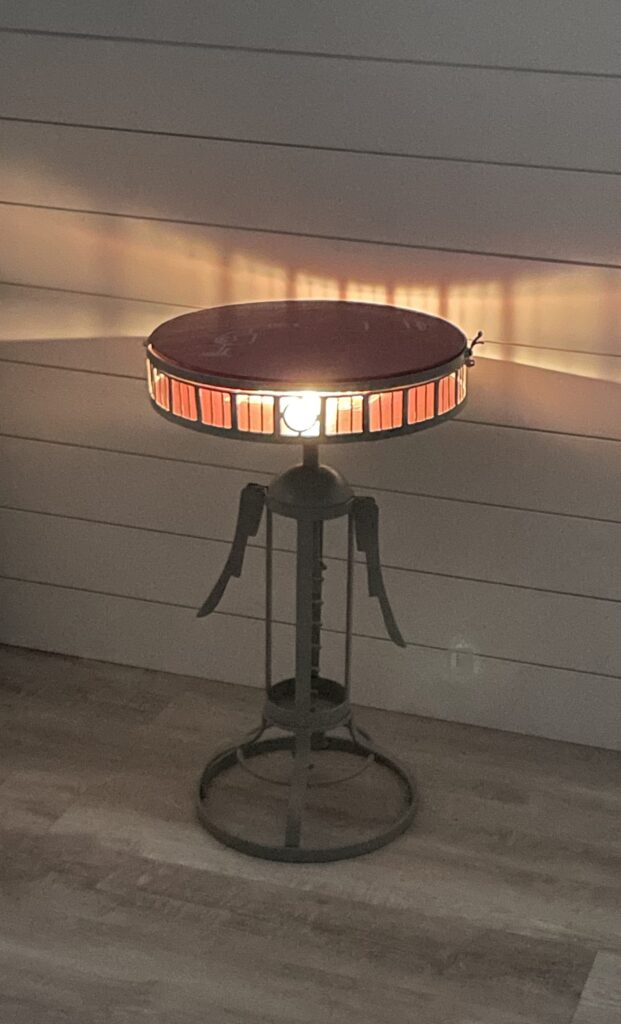
I added it in the easiest way possible…I used a stick-on touch light. You can’t see the actual disc when the table is closed, but you can see the pretty light!
No plugs or wires to mess with either!
That is officially it!
Be sure to follow Black Dog Salvage Furniture Paint on Facebook!
Can’t Get Enough Furniture Makeovers?
Thanks for checking out this project! If you want to see some other great furniture makeovers, check out these!
- AMAZING Ottoman Makeover
- Glam Resin Table Makeover
- Rusty Patio Chairs Makeover
- FUN Outdoor Table Becomes Emoji Decor
Thanks for stopping by!
Remember: Life’s too short not to shimmer, so grab your glue gun and your glitter!™ Stay safe!
Mona
Be sure to PIN IT for later!

Great find! Great make over!
Definitely have to try the paint.
Thanks for sharing.
Thanks, Jules! It was a great find! I thought it was so fun definitely deserved another chance. The paint is amazing! Really good quality!