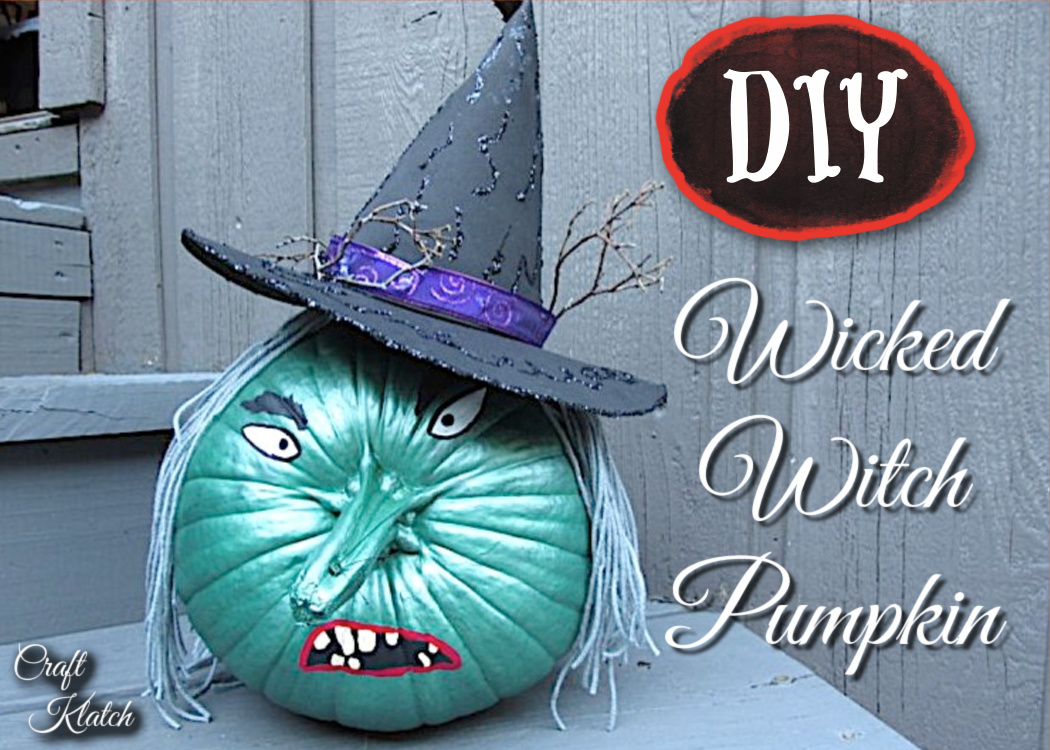
If you like pumpkin decorating without carving, this painted pumpkin was inspired by the Wicked Witch in the Wizard of Oz! A painted pumpkin witch is a perfect addition to your Halloween decorations.
It is an easy tutorial!

Supplies You Will Need for Your Painted Pumpkin Witch
*This blog uses affiliate links. As an Amazon Associate I earn from qualifying purchases, at no additional cost to you.
- Pumpkin – pick one with a good stem
- Acrylic paint – greens, black, white, yellow, red: https://amzn.to/2WzTYf1
- Glue: https://amzn.to/2ELdR8H
- Black craft foam: https://amzn.to/2wwwkRV
- Ribbon: https://amzn.to/2WKttmZ
- Sticks – optional
- Yarn, raffia, or sticks (for hair): https://amzn.to/2W9B6yV
- Fishing line: https://amzn.to/2Kmoen3
Here is the Painted Pumpkin Witch Video Tutorial
Directions for the Painted Pumpkin Witch
Step 1
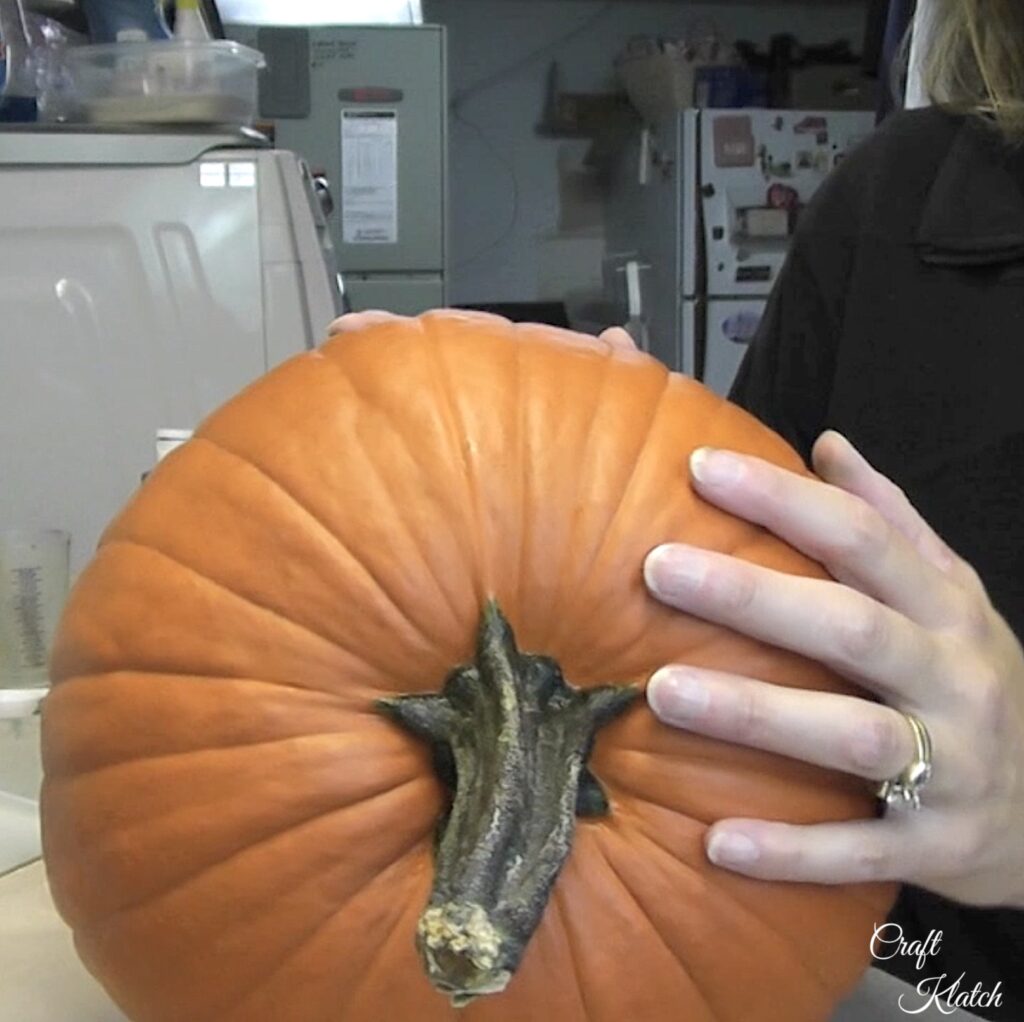
Find a pumpkin with a nice stem. You are going to use it laying on its side because the stem will become the nose.
Step 2
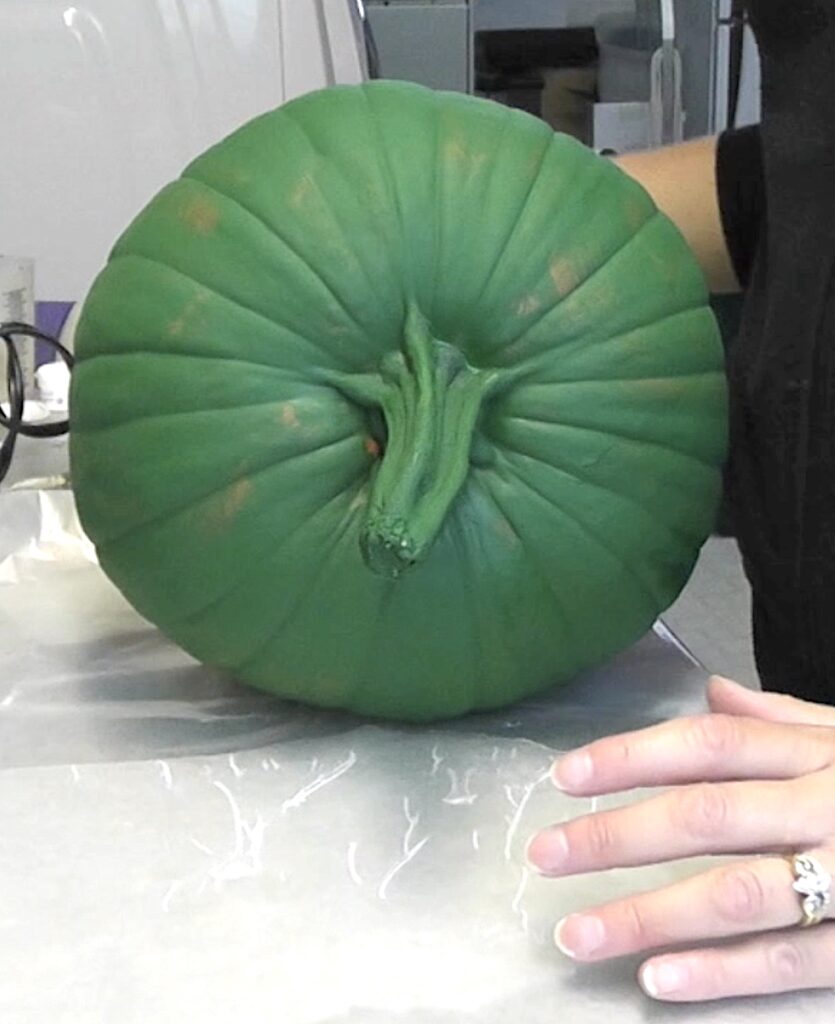
Paint your pumpkin with a green base coat and allow to dry.
Step 3
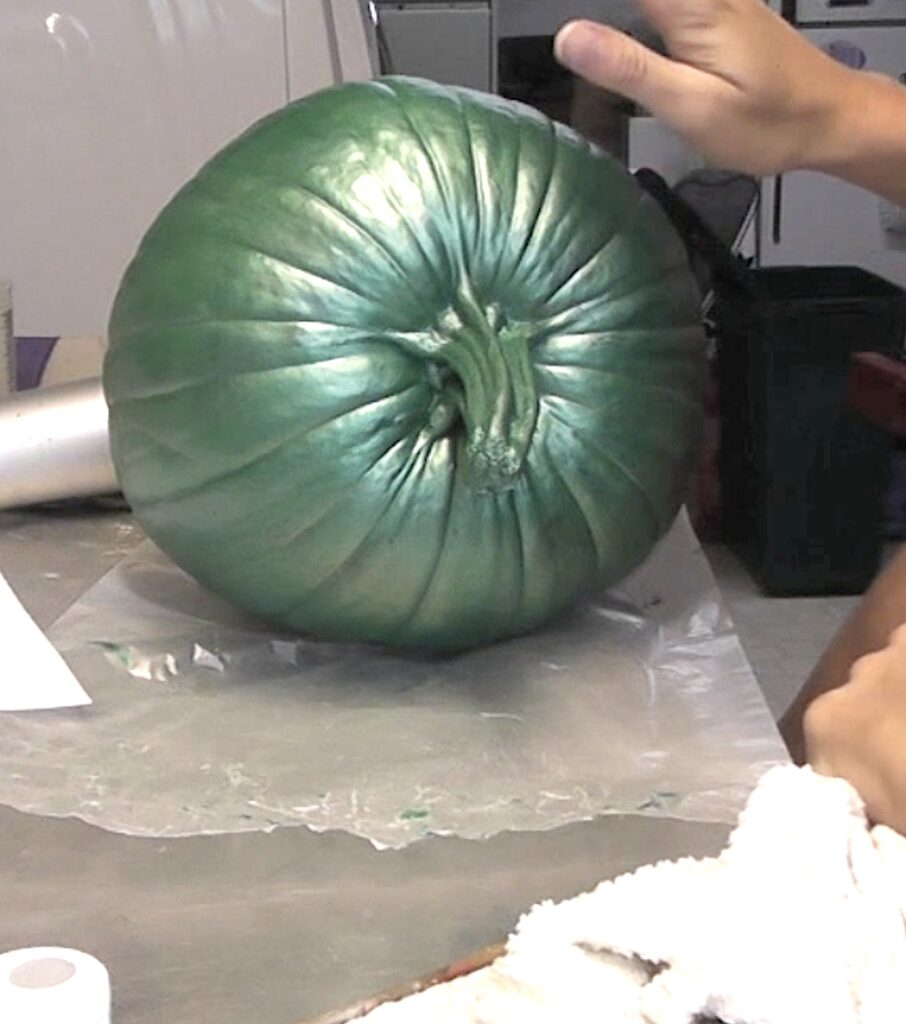
Give your pumpkin green metallic flair. I used a mix of green, metallic green, metallic white, and metallic silver. Don’t worry about exact measurements. I just put a bunch of the different colored paints on my palette and mixed them together until I got the color I wanted. Paint the entire pumpkin with that mixture and allow it to dry.
Step 4
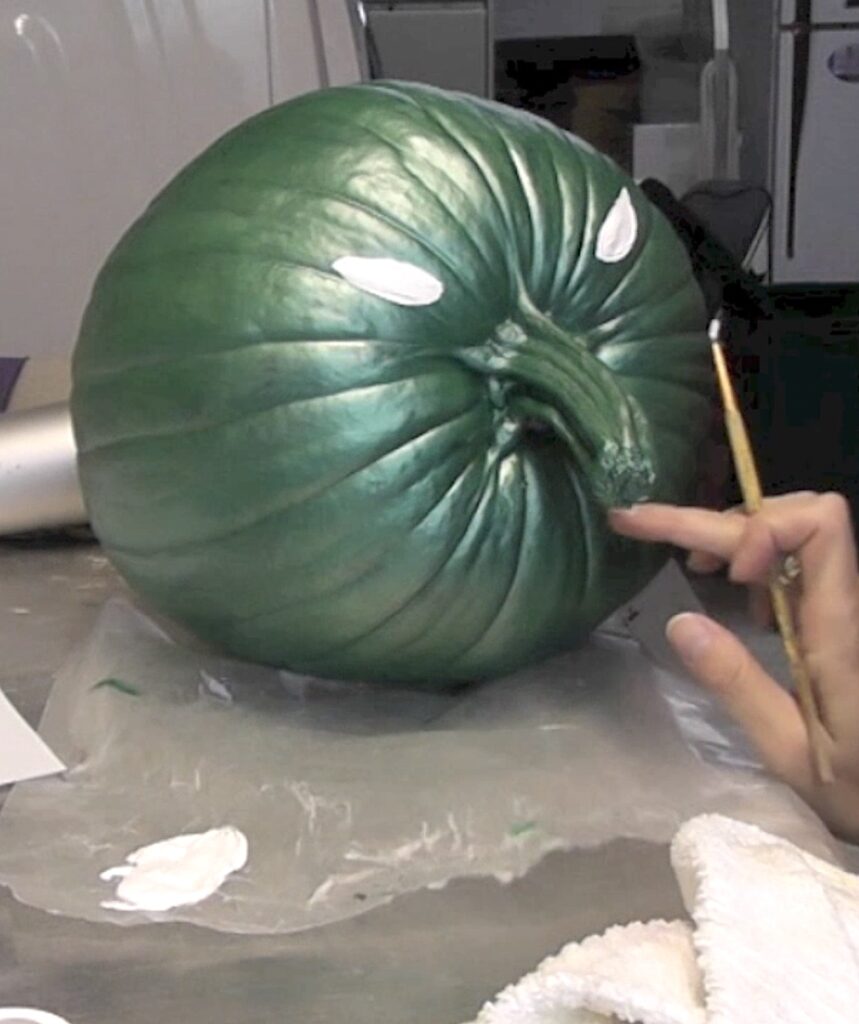
Paint on the eyes using white paint.
Step 5
Paint on the rest of the face, including:
- Paint the pupils black
- Outline the eyes with black
- Paint the eyebrows with black
- Paint the mouth with black
- With a mix of yellow and white paint, paint snarly teeth
- Outline the mouth with red
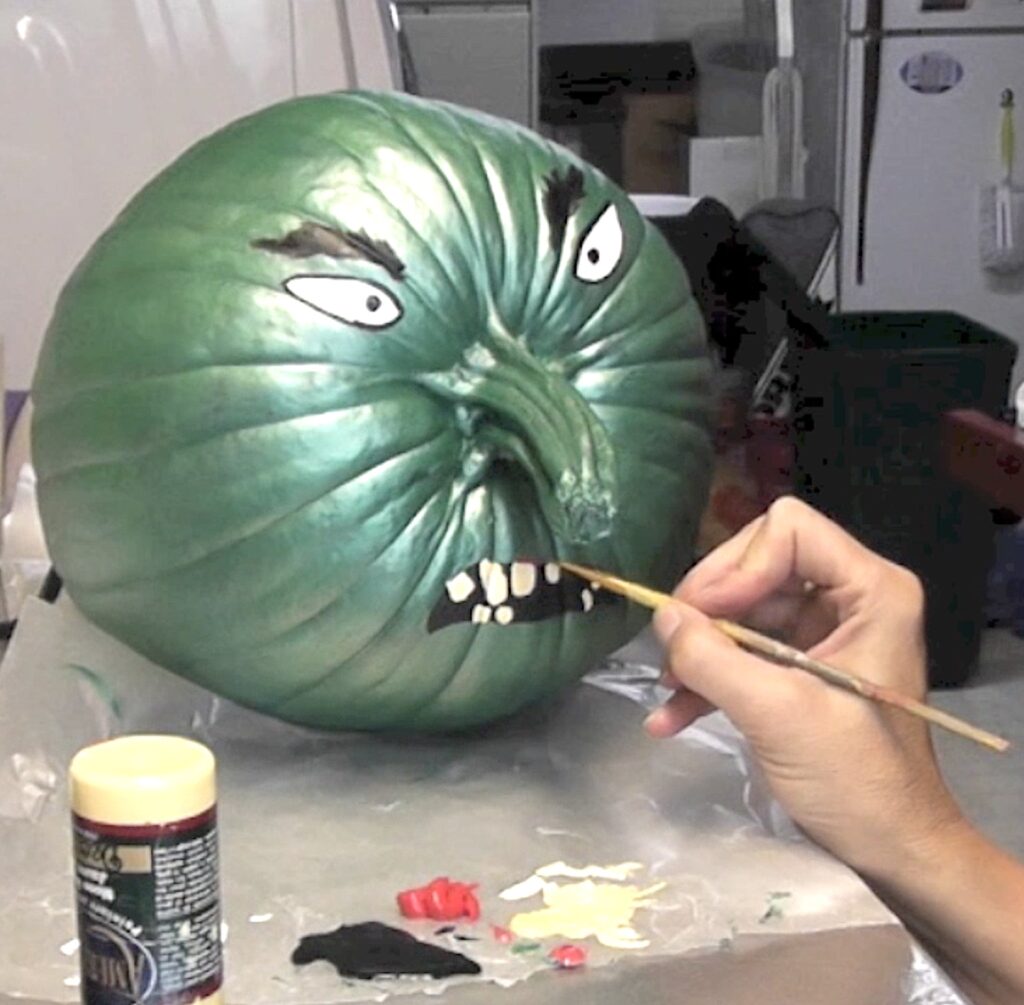
Step 6
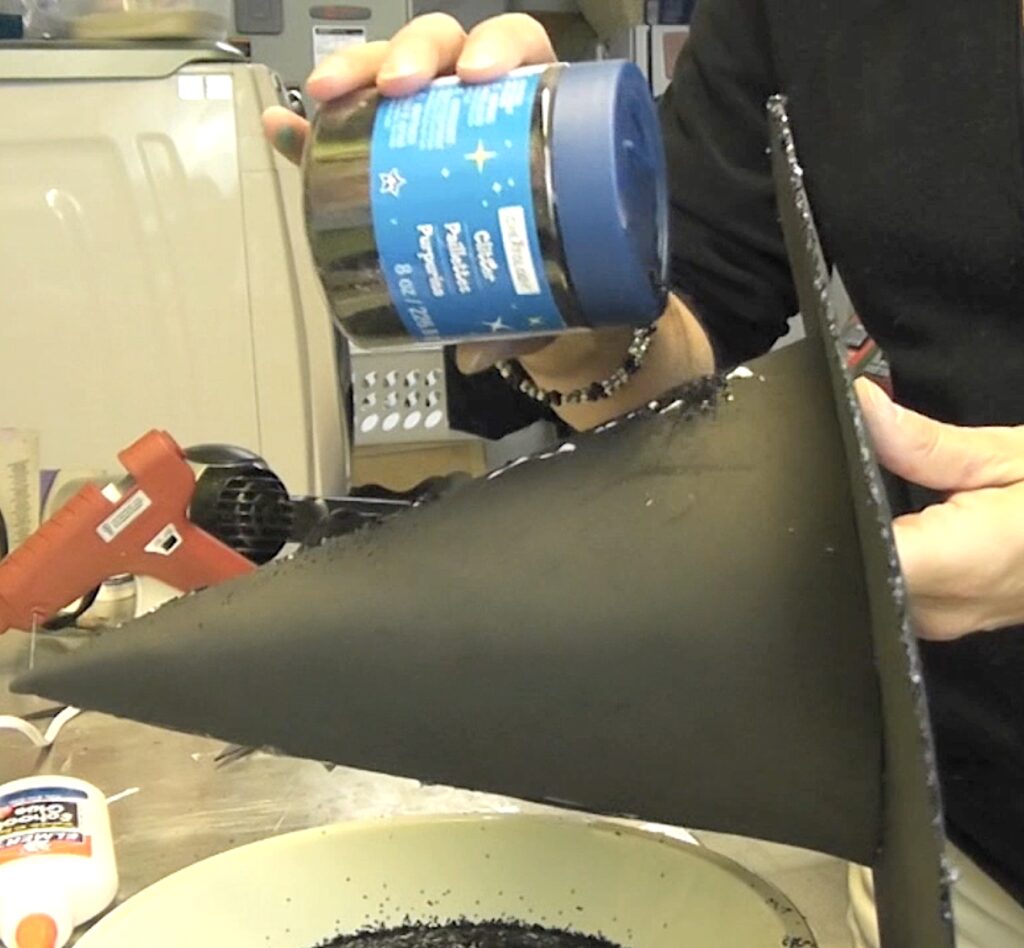
Create a cone and circle using craft foam, for the hat. I explain it further in the video. Also, HERE is a full Witch Hat Tutorial. Glue the two pieces together.
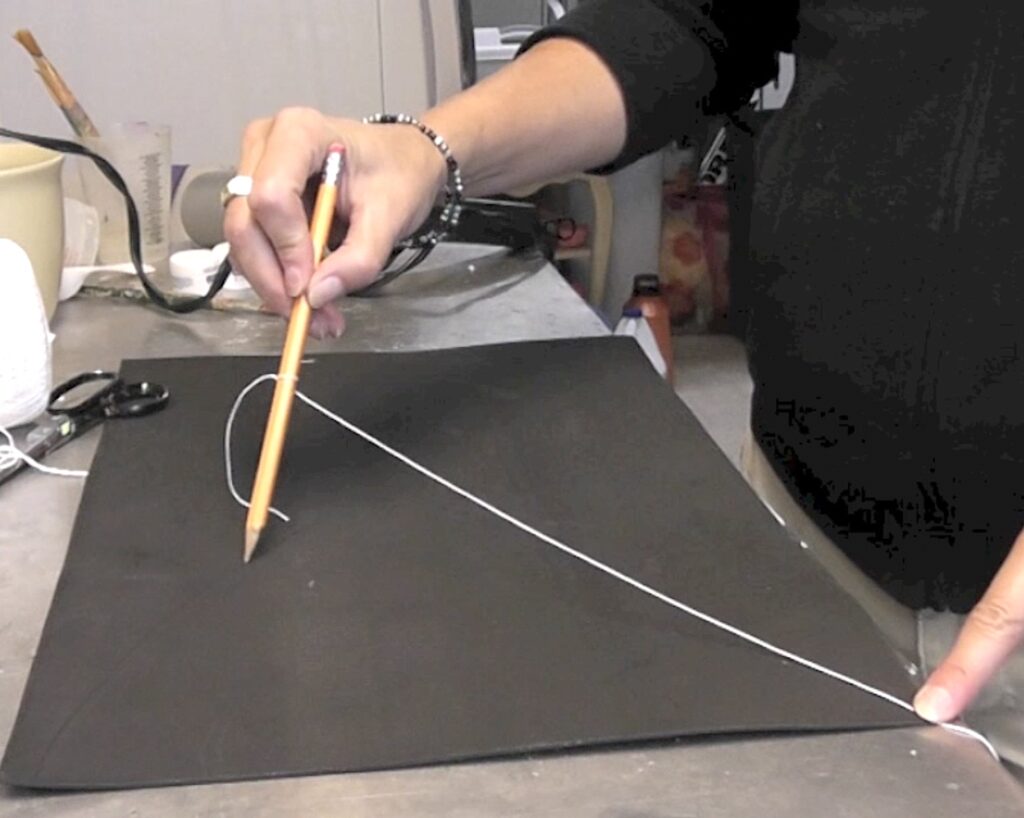
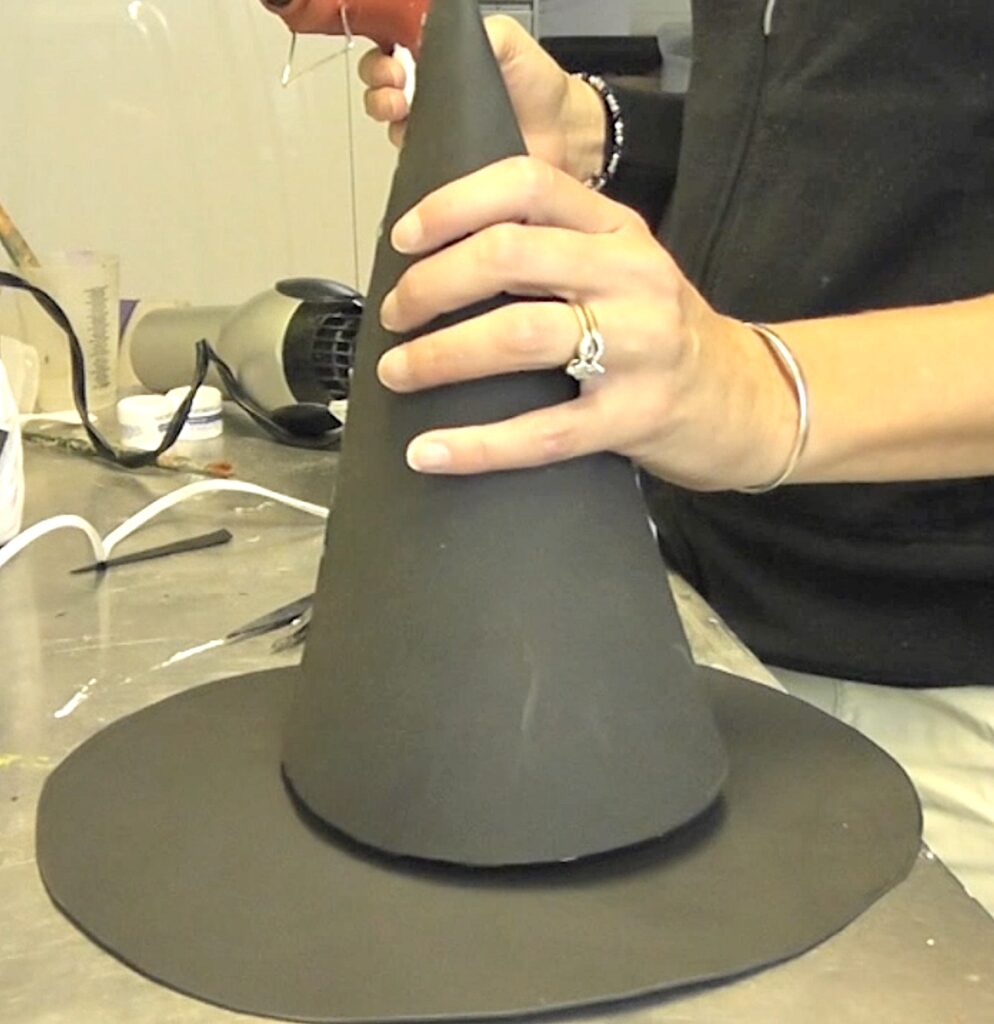
Step 7
Add a little glue and black glitter for accents and to hide the seam and any excess hot glue.
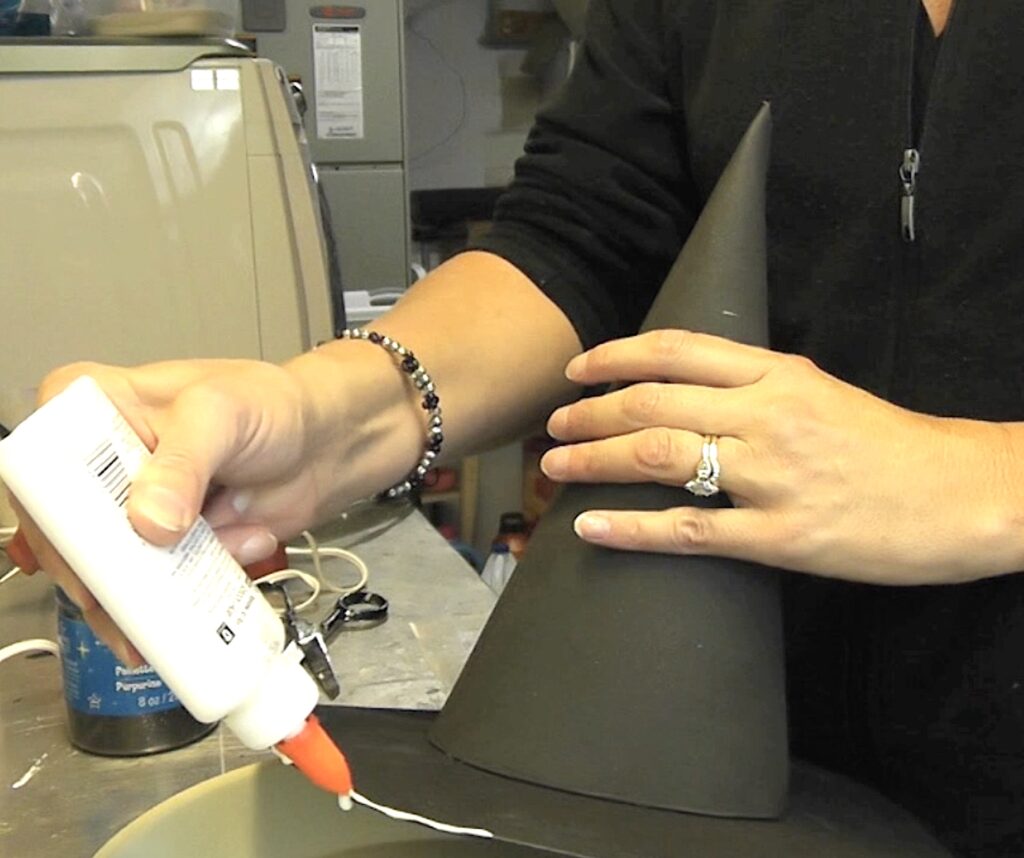
Step 8
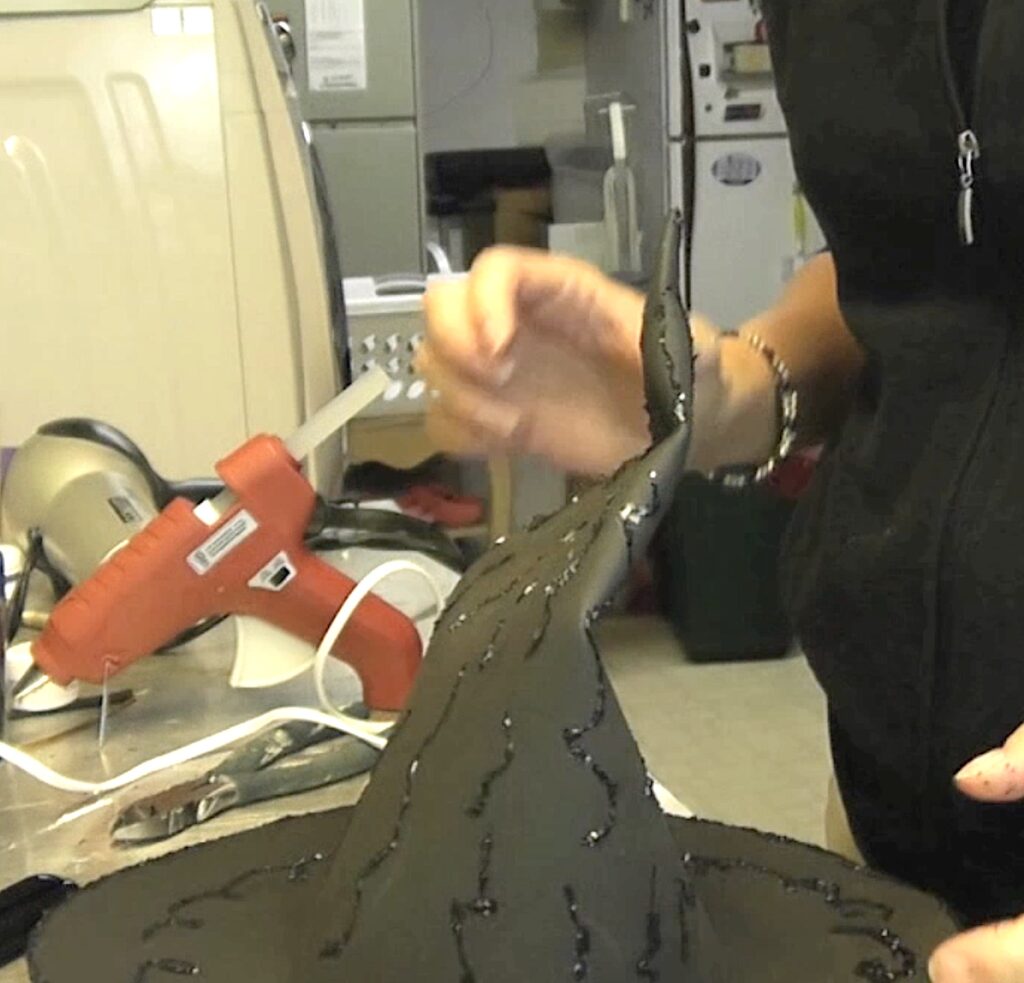
Glue a piece of wire in the cone portion of the witch hat. Then, you can bend it and make it crooked.
Step 9
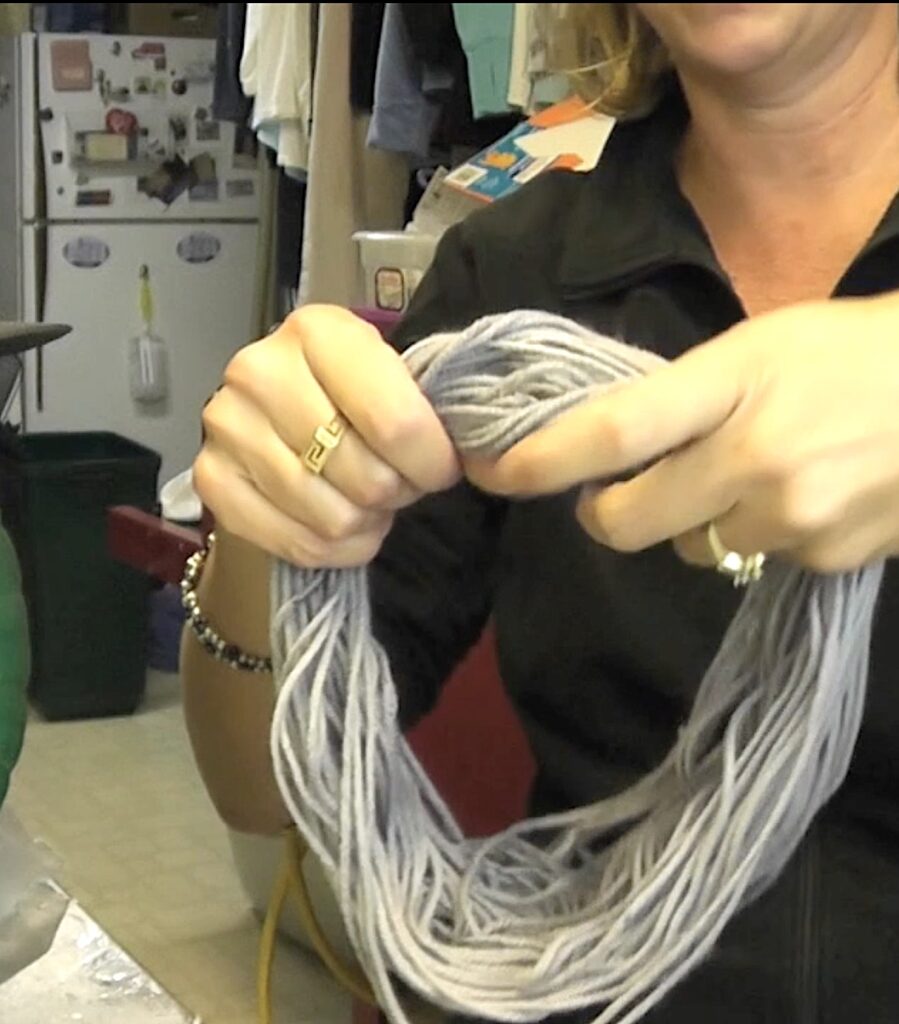
Make a loop of gray yarn and cut it.
Step 10
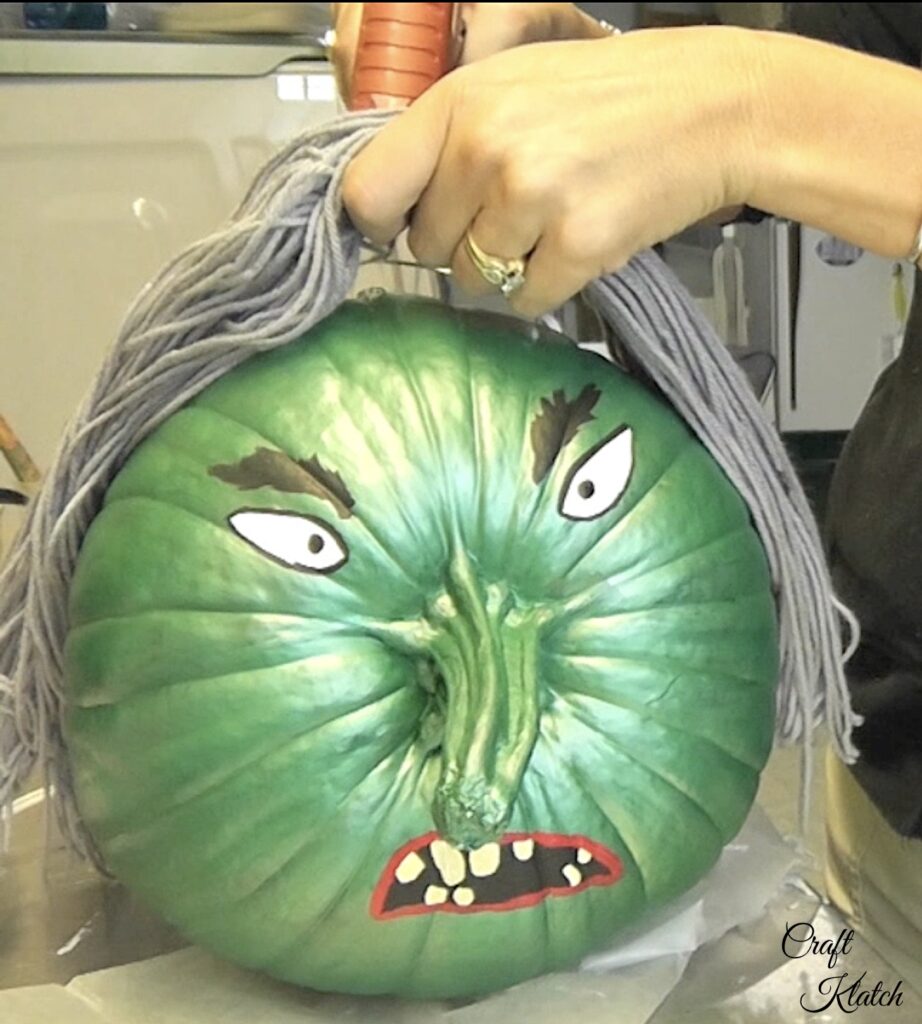
Glue it onto the top of the painted pumpkin witch head. Use lots of hot glue to keep it in place.
Step 11
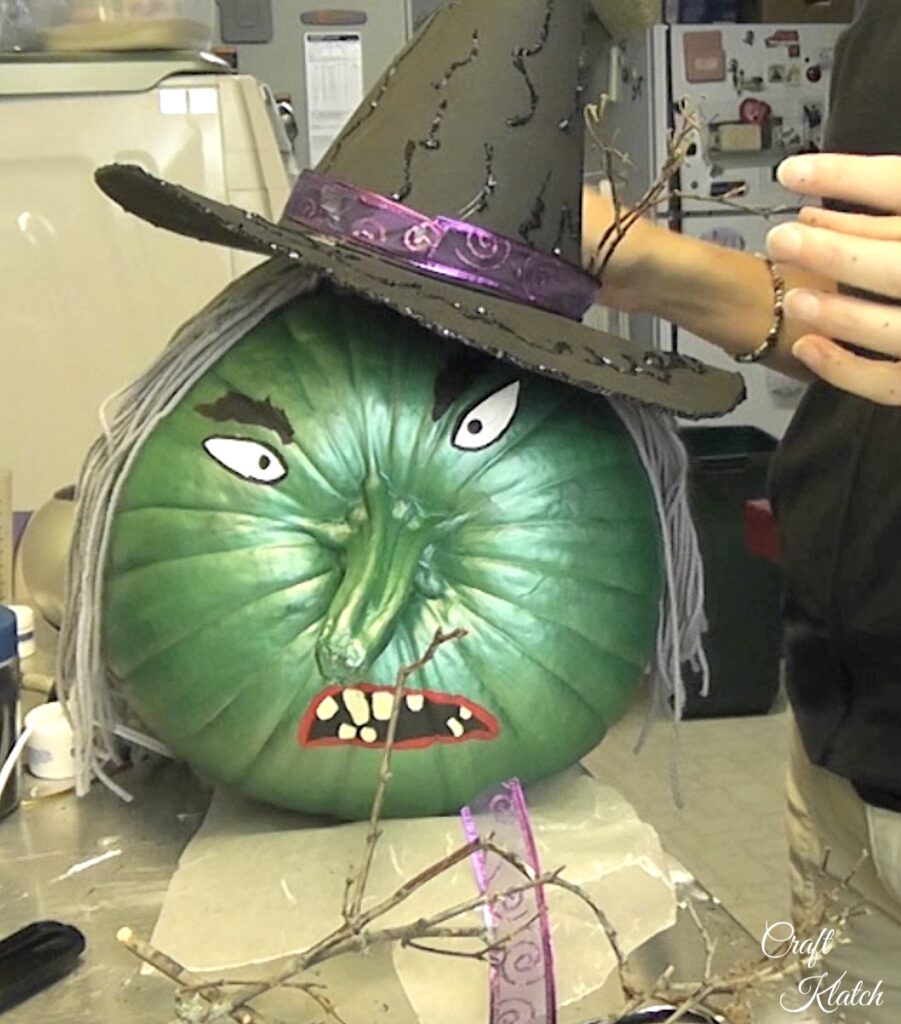
Glue ribbons and sticks to the hat and then glue it to the top of the pumpkin witch.
Step 12
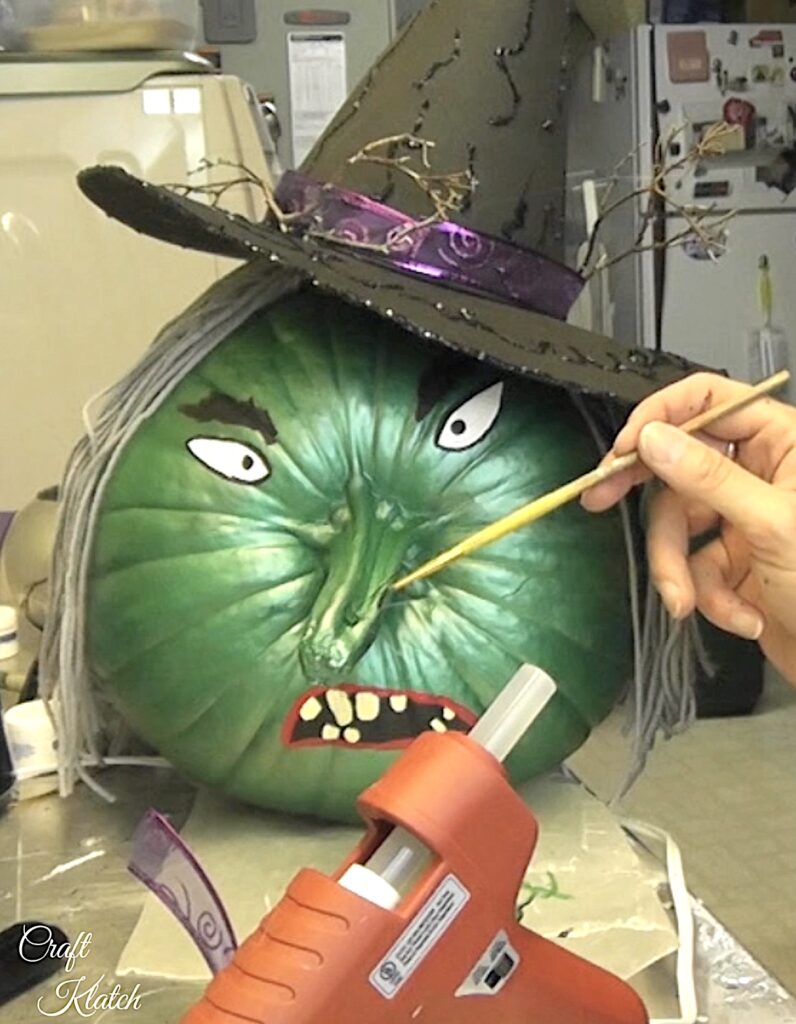
Create a hairy wart on the end of the nose. I can’t remember if the wicked witch in the Wizard of Oz had one, but this wicked with will!
*Create the wart by adding a small mound of hot glue at the end of the nose (stem). While the glue is still hot, put three short pieces of fishing line into the glue and hold it until it cools. Paint the hot glue with a darker green than the rest of the witch. Paint the individual pieces of fishing line with black paint, so they stand out more.
Be sure to PIN IT for later!
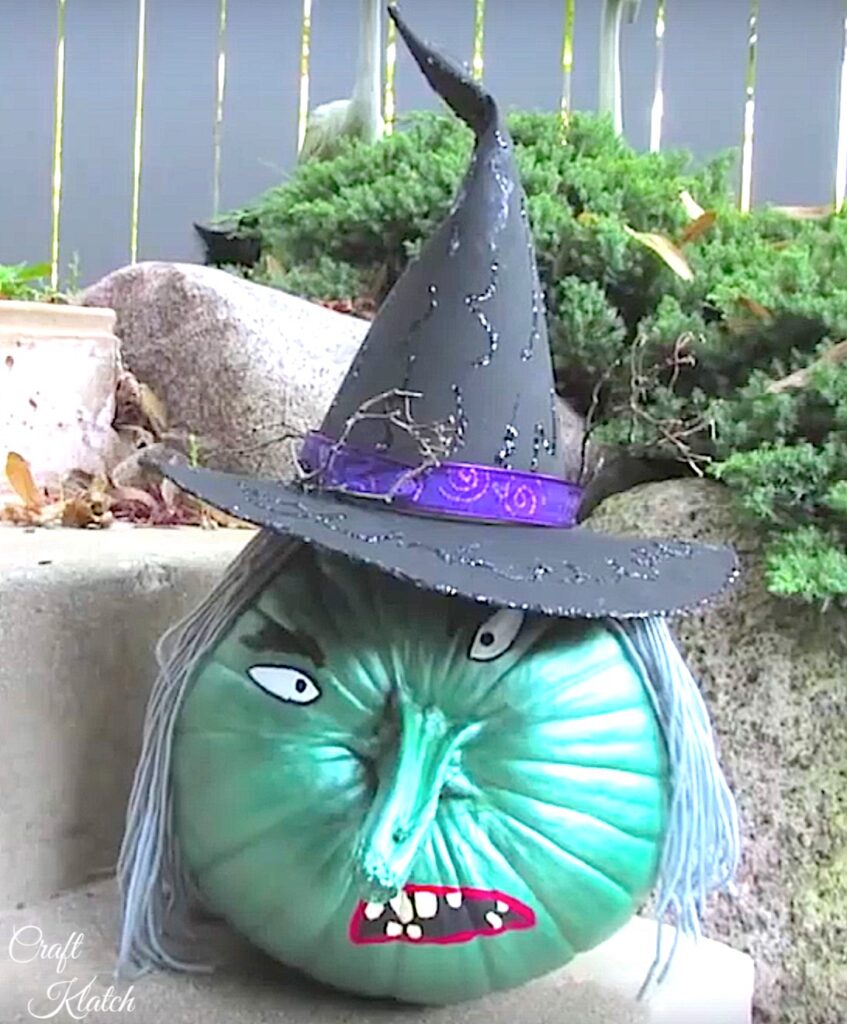
Have fun with it! I’d LOVE to see what you make! Be sure to share it over on my Craft Klatch Facebook Group! It’s Free! ❤️
Fun Painted Pumpkin Ideas
If you want some fun painted pumpkin decorating ideas without carving, I have a quite a few that you might enjoy and even a gourd project!
- Frankenstein Painted Pumpkin
- Black Cat Painted Pumpkin
- Zombie Pumpkins
- Bat Pumpkin
- Princess Pumpkin
- Spider Pumpkin
- Turkey Pumpkin
- Spider Infested Pumpkin
- Alien Gourds
If You Enjoy Witch Decorations…
If you enjoy DIY witch Halloween decorations, but don’t have time to make a bunch yourself, here are some fun witch decorations you might enjoy!
Thanks so much for stopping by!
Remember: Life’s too short not to shimmer, so grab your glue gun and your glitter!™ Stay safe!
Mona


Hi Mona,
I love your videos. They are really inspiring. I am definitely going to try painting a pumpkin this year – you've provided some awesome ideas here – both Frankenstein and the witch are great. Thank you so much!
Debbie
Thanks Debbie! That's really sweet! I hope you try them or anything and get a picture to me so I can share it on a Wednesday!
Mona
Made the witch for our decorating contest at work. Turn out great. How do I attach a picture.