Make AMAZING wood heart coasters for Valentine’s Day! They are great gift ideas and holiday decor! Get ready to break out the glitter…and the resin!
Here’s another Valentine craft to make your home more festive AND it’s functional because they are drink coasters!
I found these unfinished wood hearts that have beautiful laser cutouts in them.
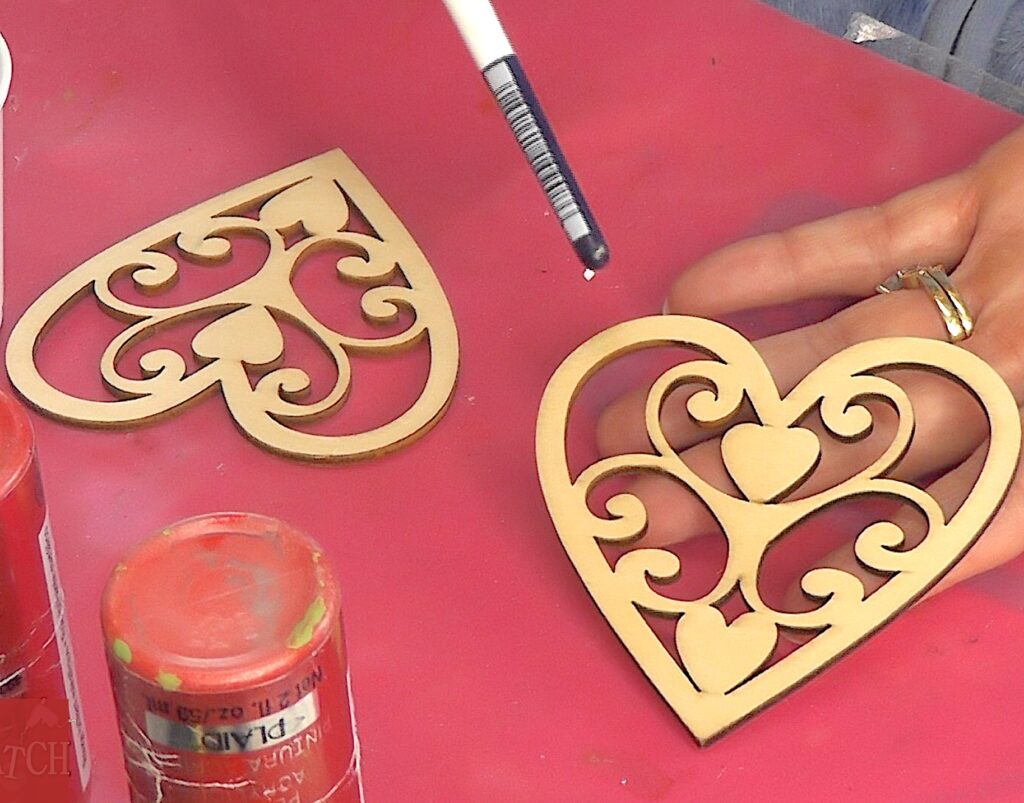
I thought they would make AMAZING coasters!
Quickie Video of the Wood Heart Coaster Tutorial
You can find the full video tutorial at the end of this post!
Supplies for the Wood Heart Coaster
*This blog uses affiliate links. As an Amazon Associate I earn from qualifying purchases, at no additional cost to you.
Here are the items you will need to make the wood heart coasters:
- Resin
- When deciding on which resin to use for your coasters, you need to keep in mind whether you want it just for cold cups or for hot ones as well.
- If only for cold drinks, you can be flexible and use whatever brand you like:
- If you want it to work for both hot and cold drinks, you need to look for a heat-resistant resin, like these:
- Stone Coat (Quick coat)
- Stone Coat (Heat resistant)
- FX Poxy ~ According to the manufacturer, this one is heat resistant to 500° F.
Directions for Wood Heart Coasters
Here are the full directions on how to make these beauties!
Step 1: Paint the Wood Hearts
Paint the wood hearts silver…
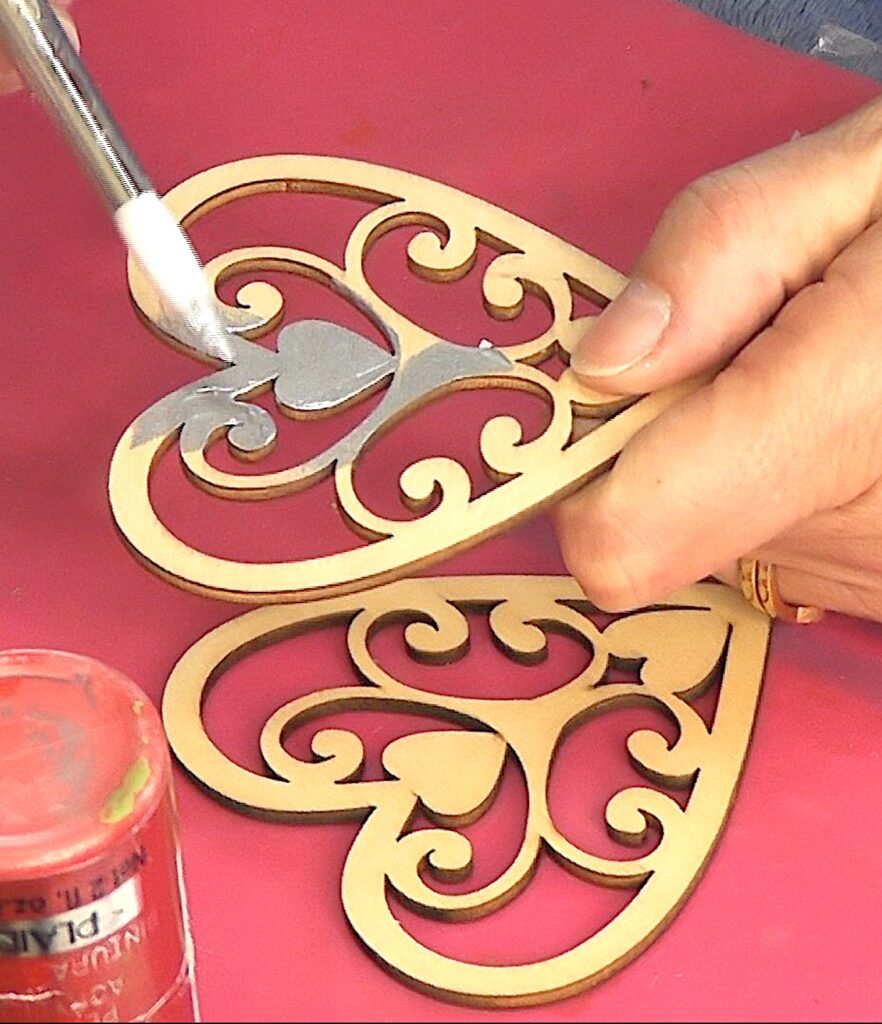
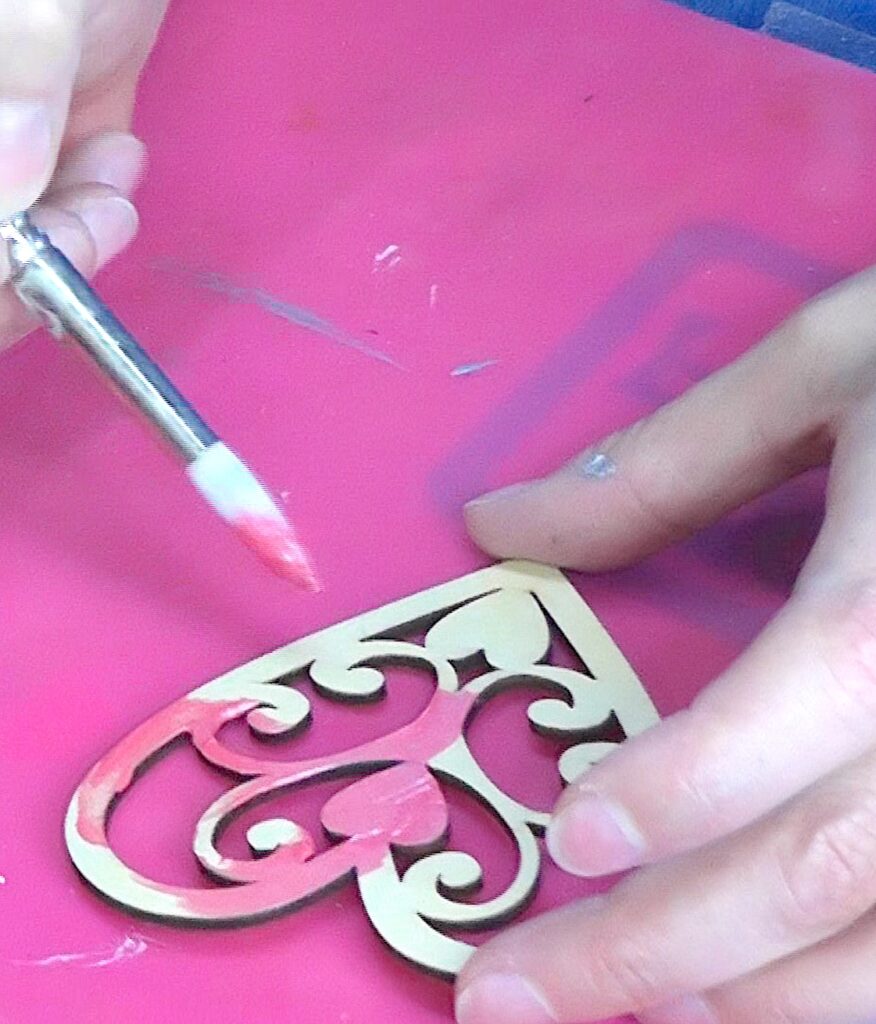
…and pink. Plan on it taking at least two coats.
Step 2: Tape It!
Once dry, use packing tape and tape it to the back of the hearts. Make sure there is a good seal between the heart and the tape, so the resin does not seep out.
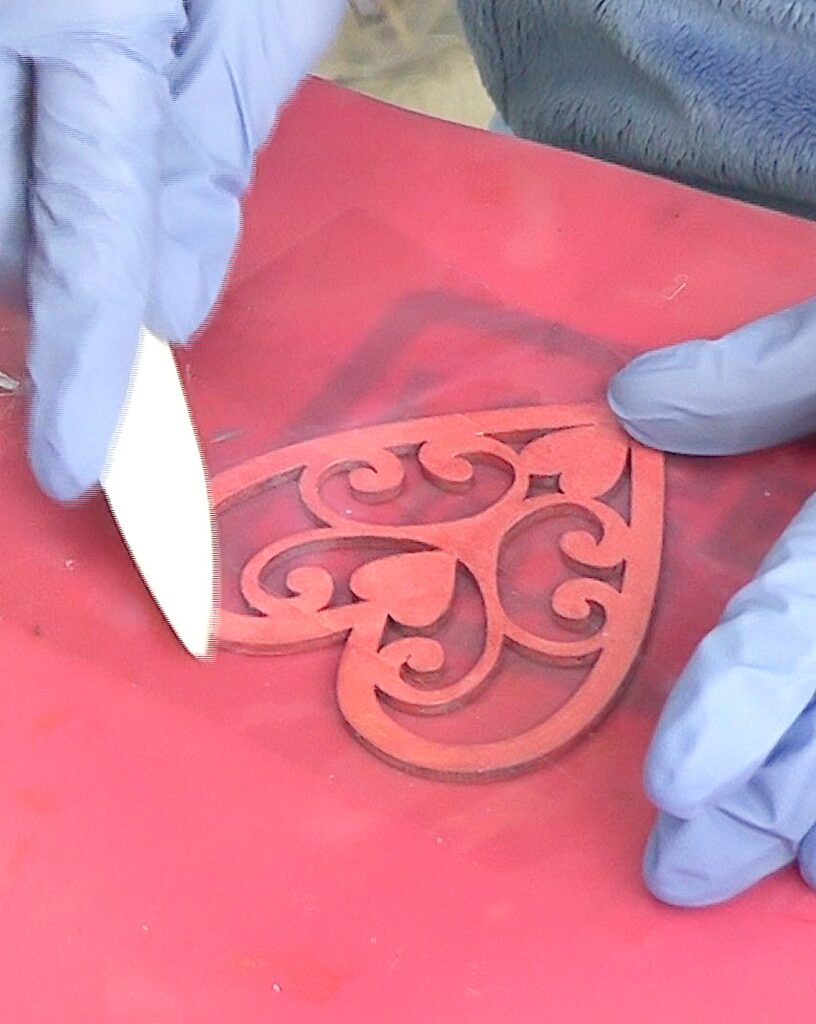
The best way to get a good seal is to burnish the tape to the wood heart by rubbing it down with a bone folder, a credit card, or a smooth piece of wood, etc.
Step 3: Oooh! Oooh! Here Comes the glitter!
Mix half an ounce of resin with fine red glitter.
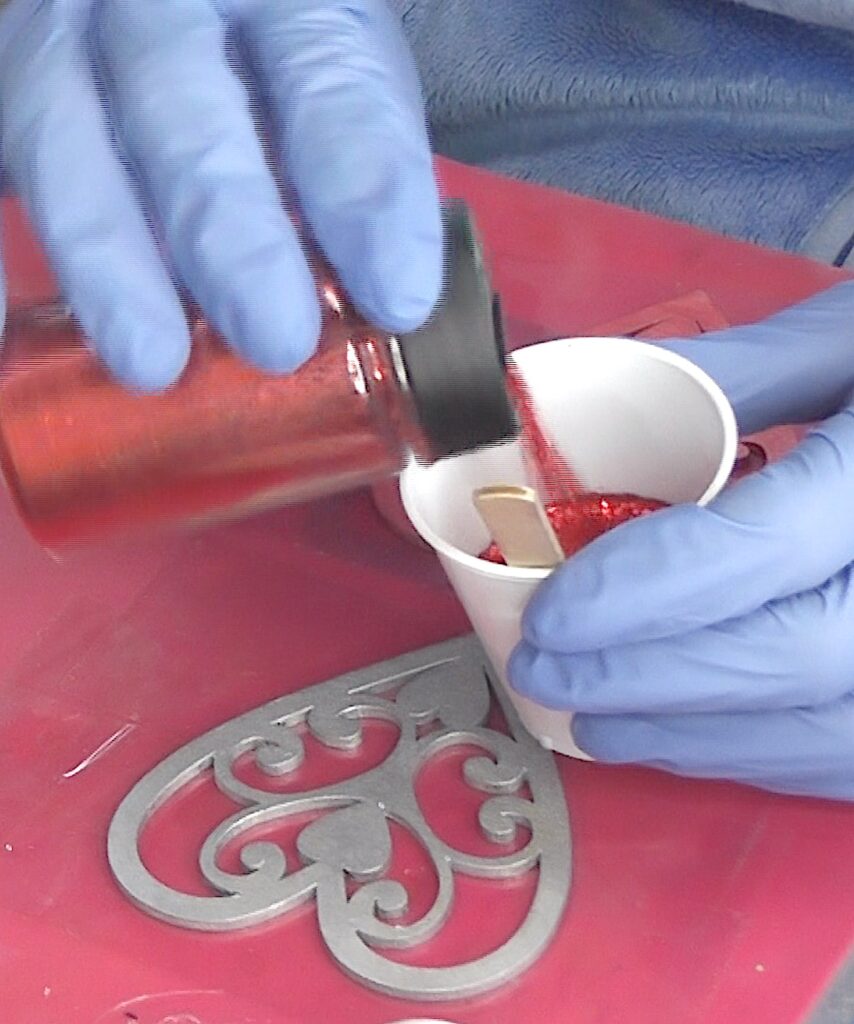
Step 4: The Big Drip!
Using your stir stick, drip it into the openings of the wood heart.
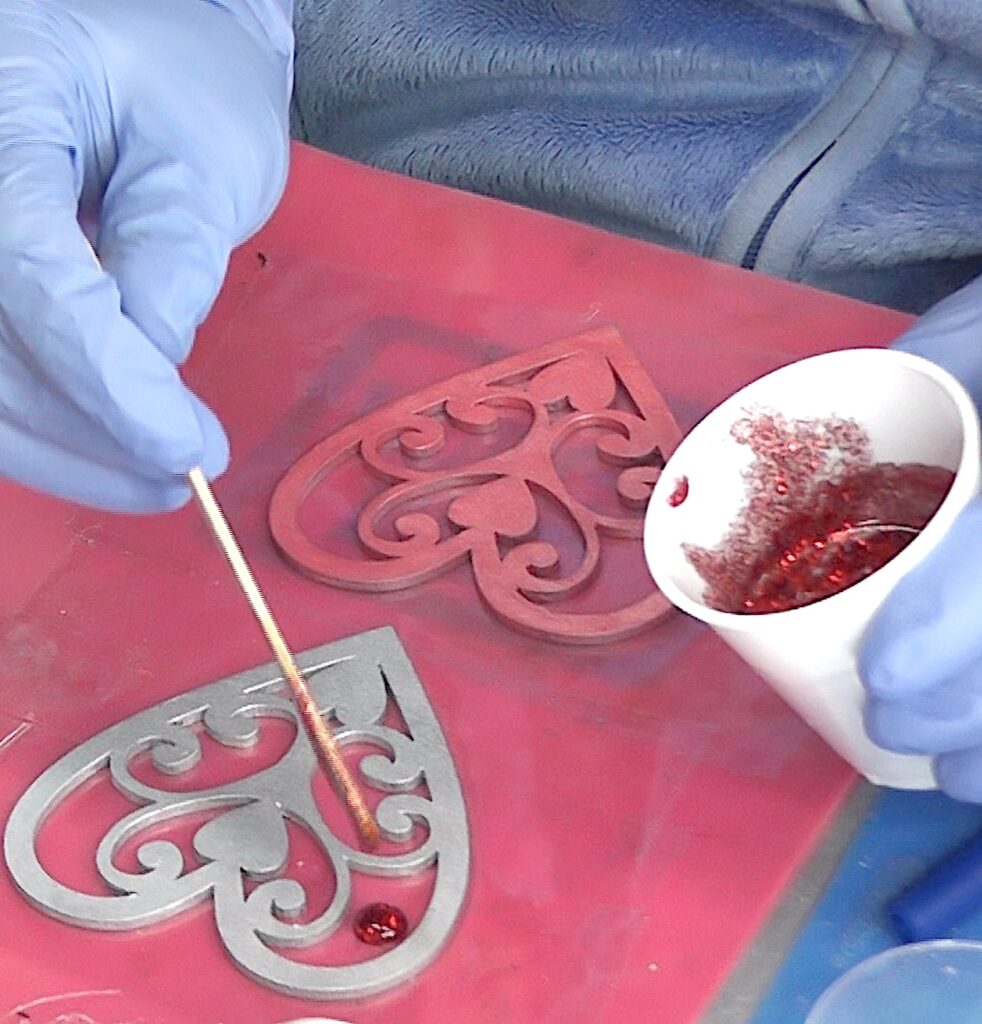
Step 5: Pop! Pop! Pop! Go the Wood Hearts
Once the hearts are full of resin, use your lighter to pop the bubbles. Then, let them cure for a minimum of 12 hours.
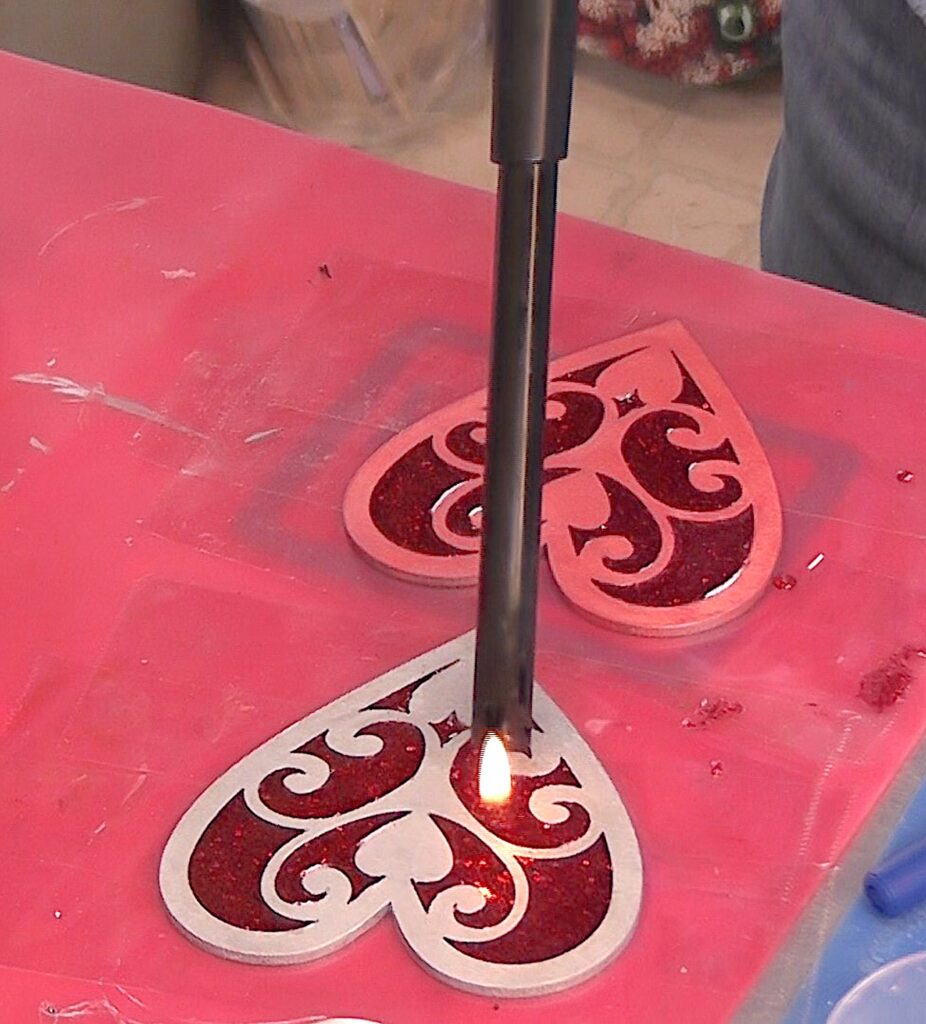
*TIP: Just remember, you are working with wood frames. Move the lighter quickly across the hearts because you don’t want to set them on fire!
Step 6: Pull the Tape
Once cured, you can remove the tape off the back of the coasters.
*TIP: Pull parallel to the coaster and down. If you pull straight away, you run the risk of pulling out some of the resin.
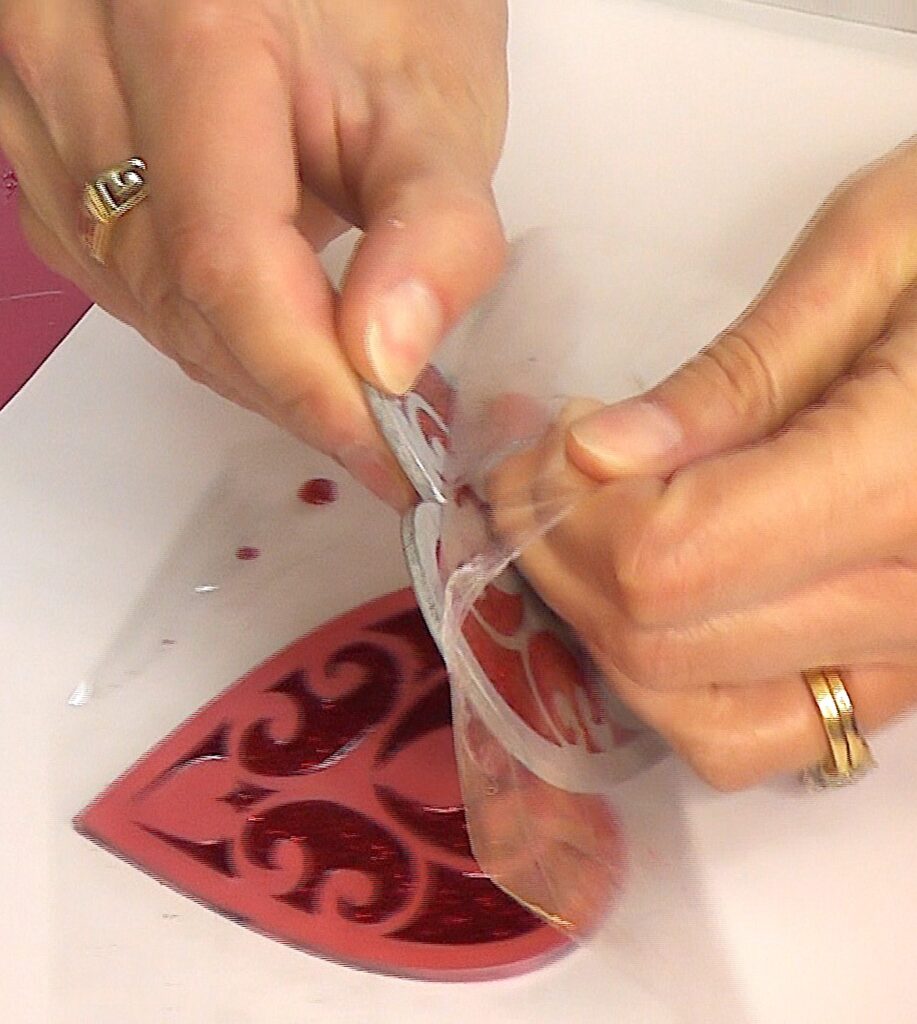
*TIP: The tape I used did not leave a sticky residue, but sometimes the tape will. If your tape does, you can either paint a thin coat of resin over it and let it cure, or you can use clear nail polish or another clear sealer or varnish.
Here are the wood heart coasters all finished!
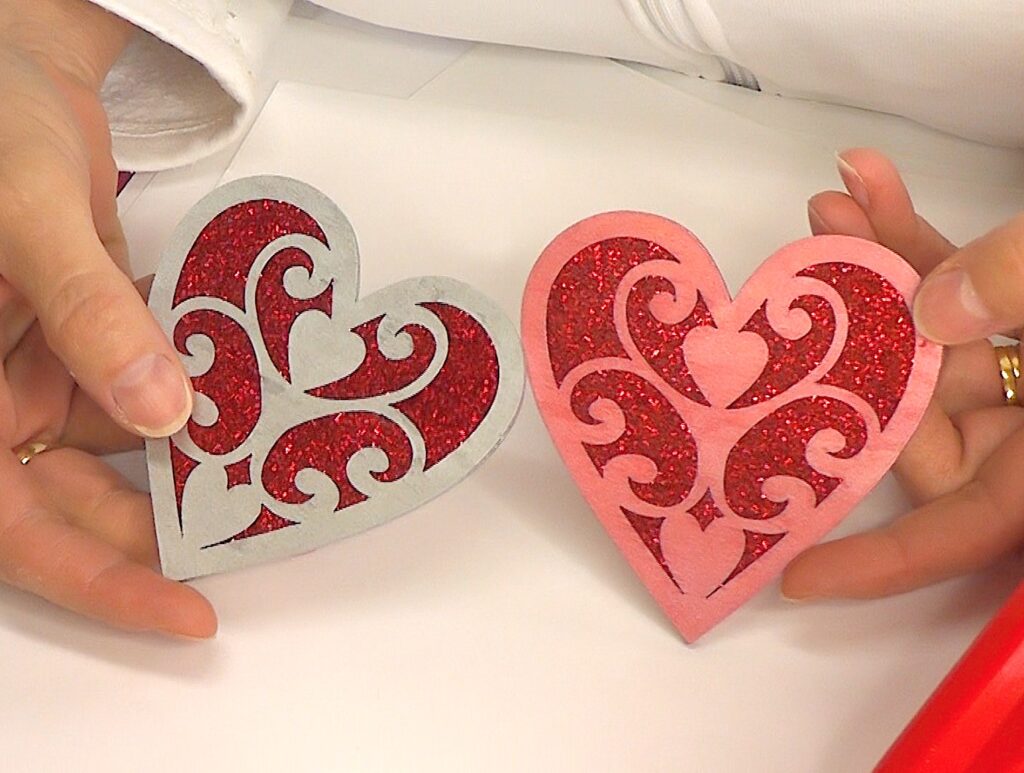
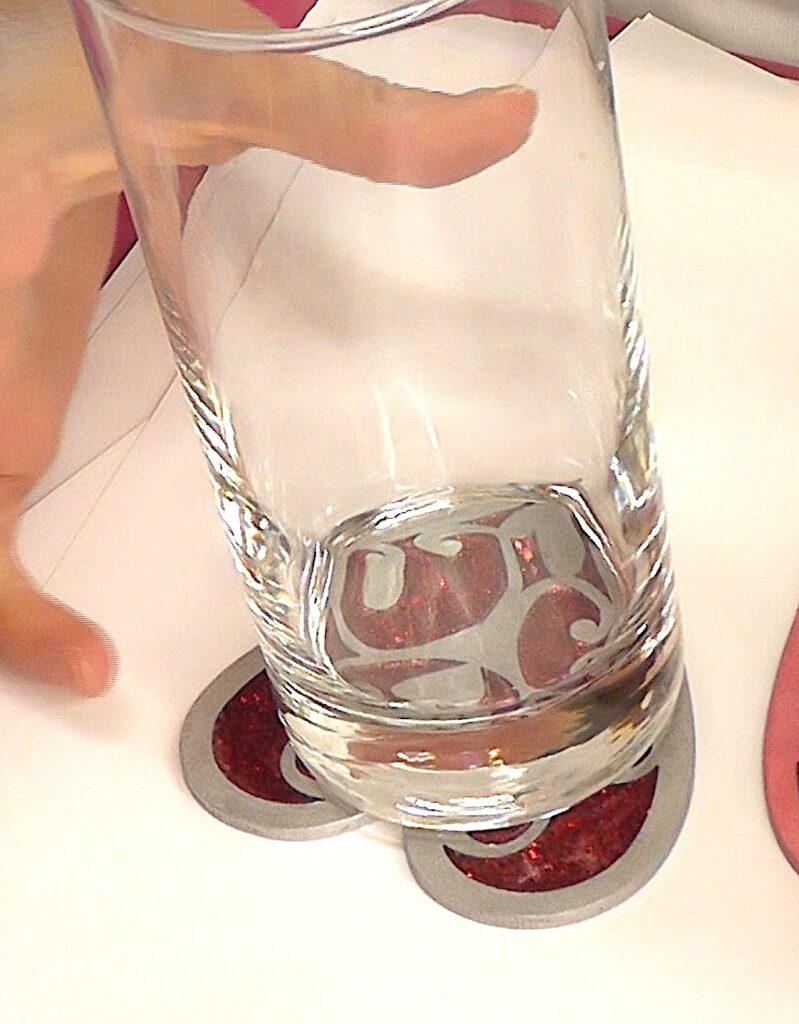
Have fun with it! I’d LOVE to see what you make! Be sure to share it over on my Craft Klatch Facebook Group! It’s Free! ❤️
Have you found me on Instagram yet? If not, you should, HERE!
Other great Valentine Crafts!
If you love a good Valentine’s Day craft, I have lots of them for you! Here’s just a sampling:
- Glitter Heart Coaster
- DIY Resin Heart Art
- Sequin Heart Coaster
- Resin Heart Valentine Decor
- 35 Valentine Craft Projects
HEARTS!
If you want to add a little heart decor theme to your home, here are some great coasters to get you started!
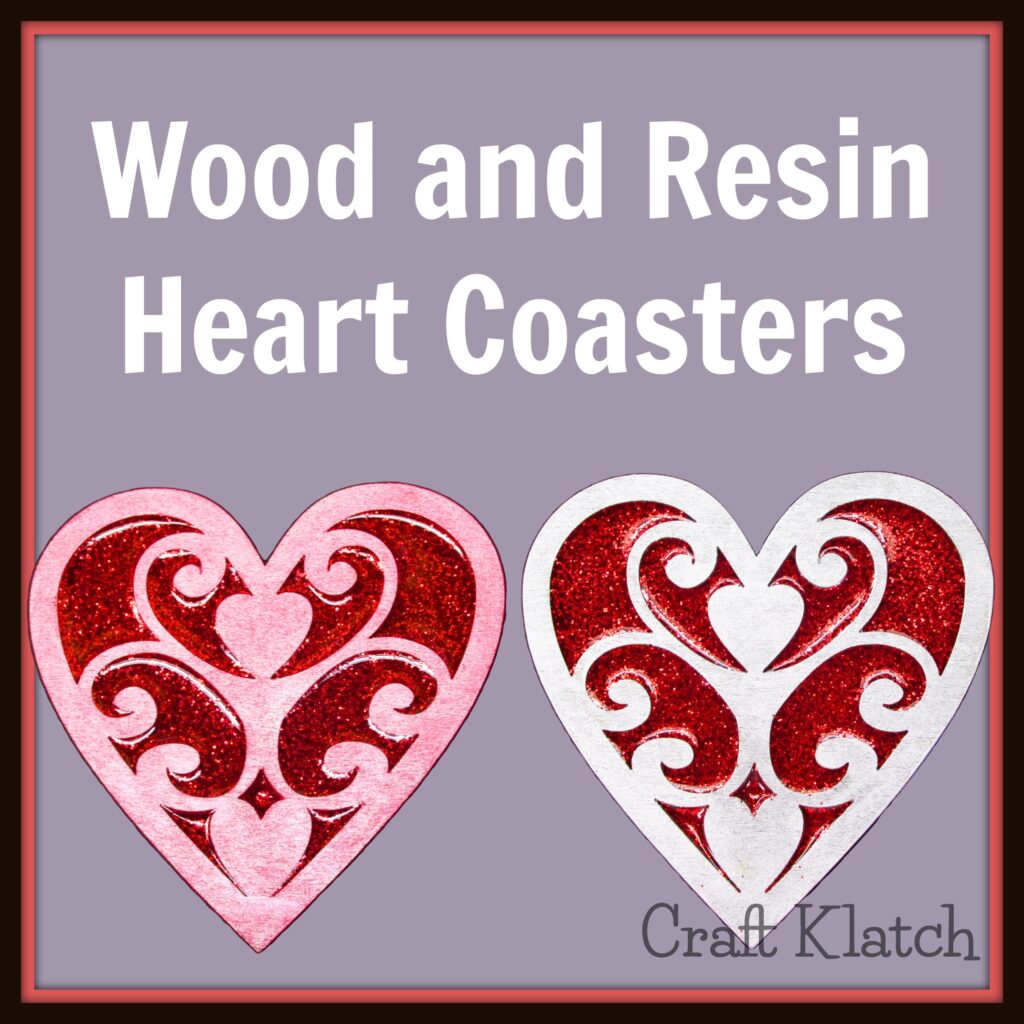
Be sure to PIN IT for later!
Full Wood Heart Coasters Video Tutorial:
As promised, here is the full video tutorial, which should answer most, if not all of your questions regarding the process!
That’s it! Thanks for stopping by!
Remember: Life’s too short not to shimmer, so grab your glue gun and your glitter!™ Stay safe!
Mona


Did you apply a sealer to the wooden hearts to protect them from condensation?
It depends on the kind of paint you use. There is a multi-surface paint that does not require it. If you use regular acrylic paint, I would use a sealer or varnish.
What a great project! Happy Valentine’s Day! Thank you for sharing for Tuesday Turn About!
Thank you, Lynne! Happy Valentine’s Day to you too!