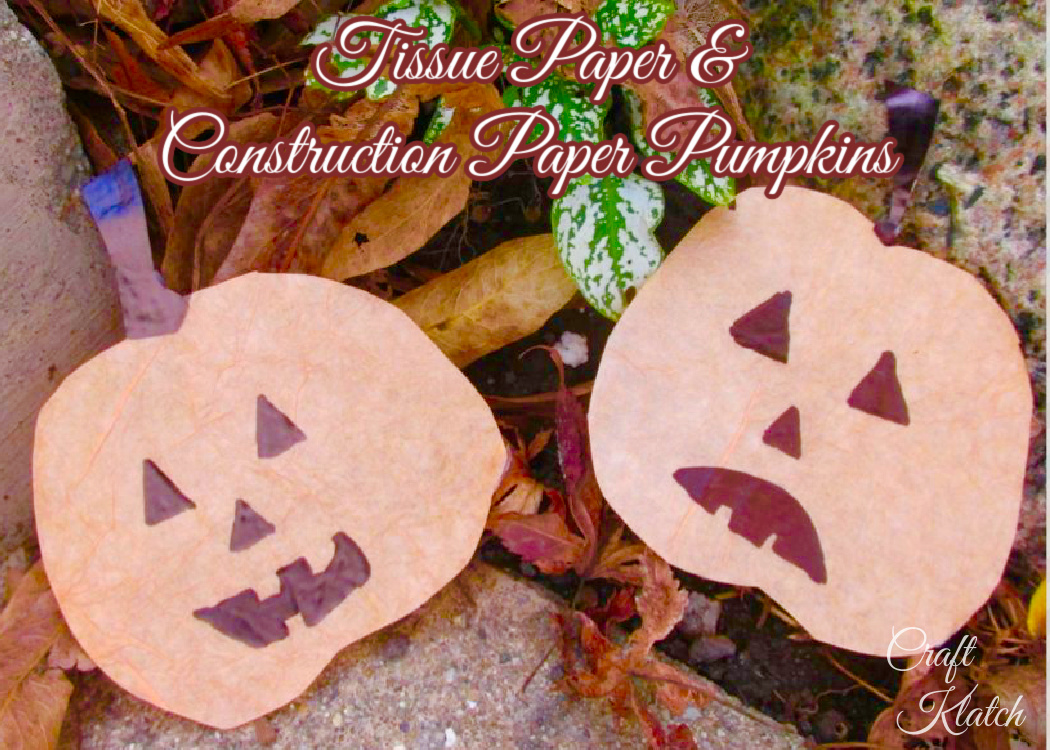
Here is maybe the easiest craft I have posted thus far!
You will need:
*This blog uses affiliate links. As an Amazon Associate, I earn from qualifying purchases
- Clear contact paper: https://amzn.to/2XfLR3h
- Orange tissue paper: https://amzn.to/2KNTZ9q
- Black permanent marker: https://amzn.to/2NnJvje
- Scissors: https://amzn.to/2xolGgl
- Kids scissors: https://amzn.to/2Np7TRF
Here is the video tutorial:
Directions:
1. Cut two similar sized rectangles of contact paper.
2. Remove the backing of one of the sheets and lay it on your table, sticky side up.
3. Take a piece of tissue paper, it can be larger than the contact paper, and crumple it up. Uncrumple it and then crumple it again.
4. Lay the sheet of tissue paper on the sticky side of the contact paper. Flatten it out – wrinkles are good.
5. Take the other sheet of contact paper and line it up with the other sheet. Smooth it out.
6. Cut out the shape of a pumpkin.
7. With a permanent marker, draw the face of the pumpkin and color in the stem.
That’s it! You can use it as table confetti. Put a little double-sided tape on the back and hang it in a window. Create a bunch and make a garland or a wreath!
Happy Halloween! Thank for stopping by and remember: Life’s too short not shimmer, so grab your glue gun and your glitter!™ Stay safe!
Mona


