Have you ever used tile stickers? I have not…UNTIL NOW! Turns out they are perfect to jazz up furniture too!
Though I have never used tile stickers, my cousin has used them to cover a backsplash in her camper.
And I have to say, it looks good!
I’ve always thought they would be fun to use but have never tried them.
My sister, Tina, bought this great desk but she felt like it needed a little something something….
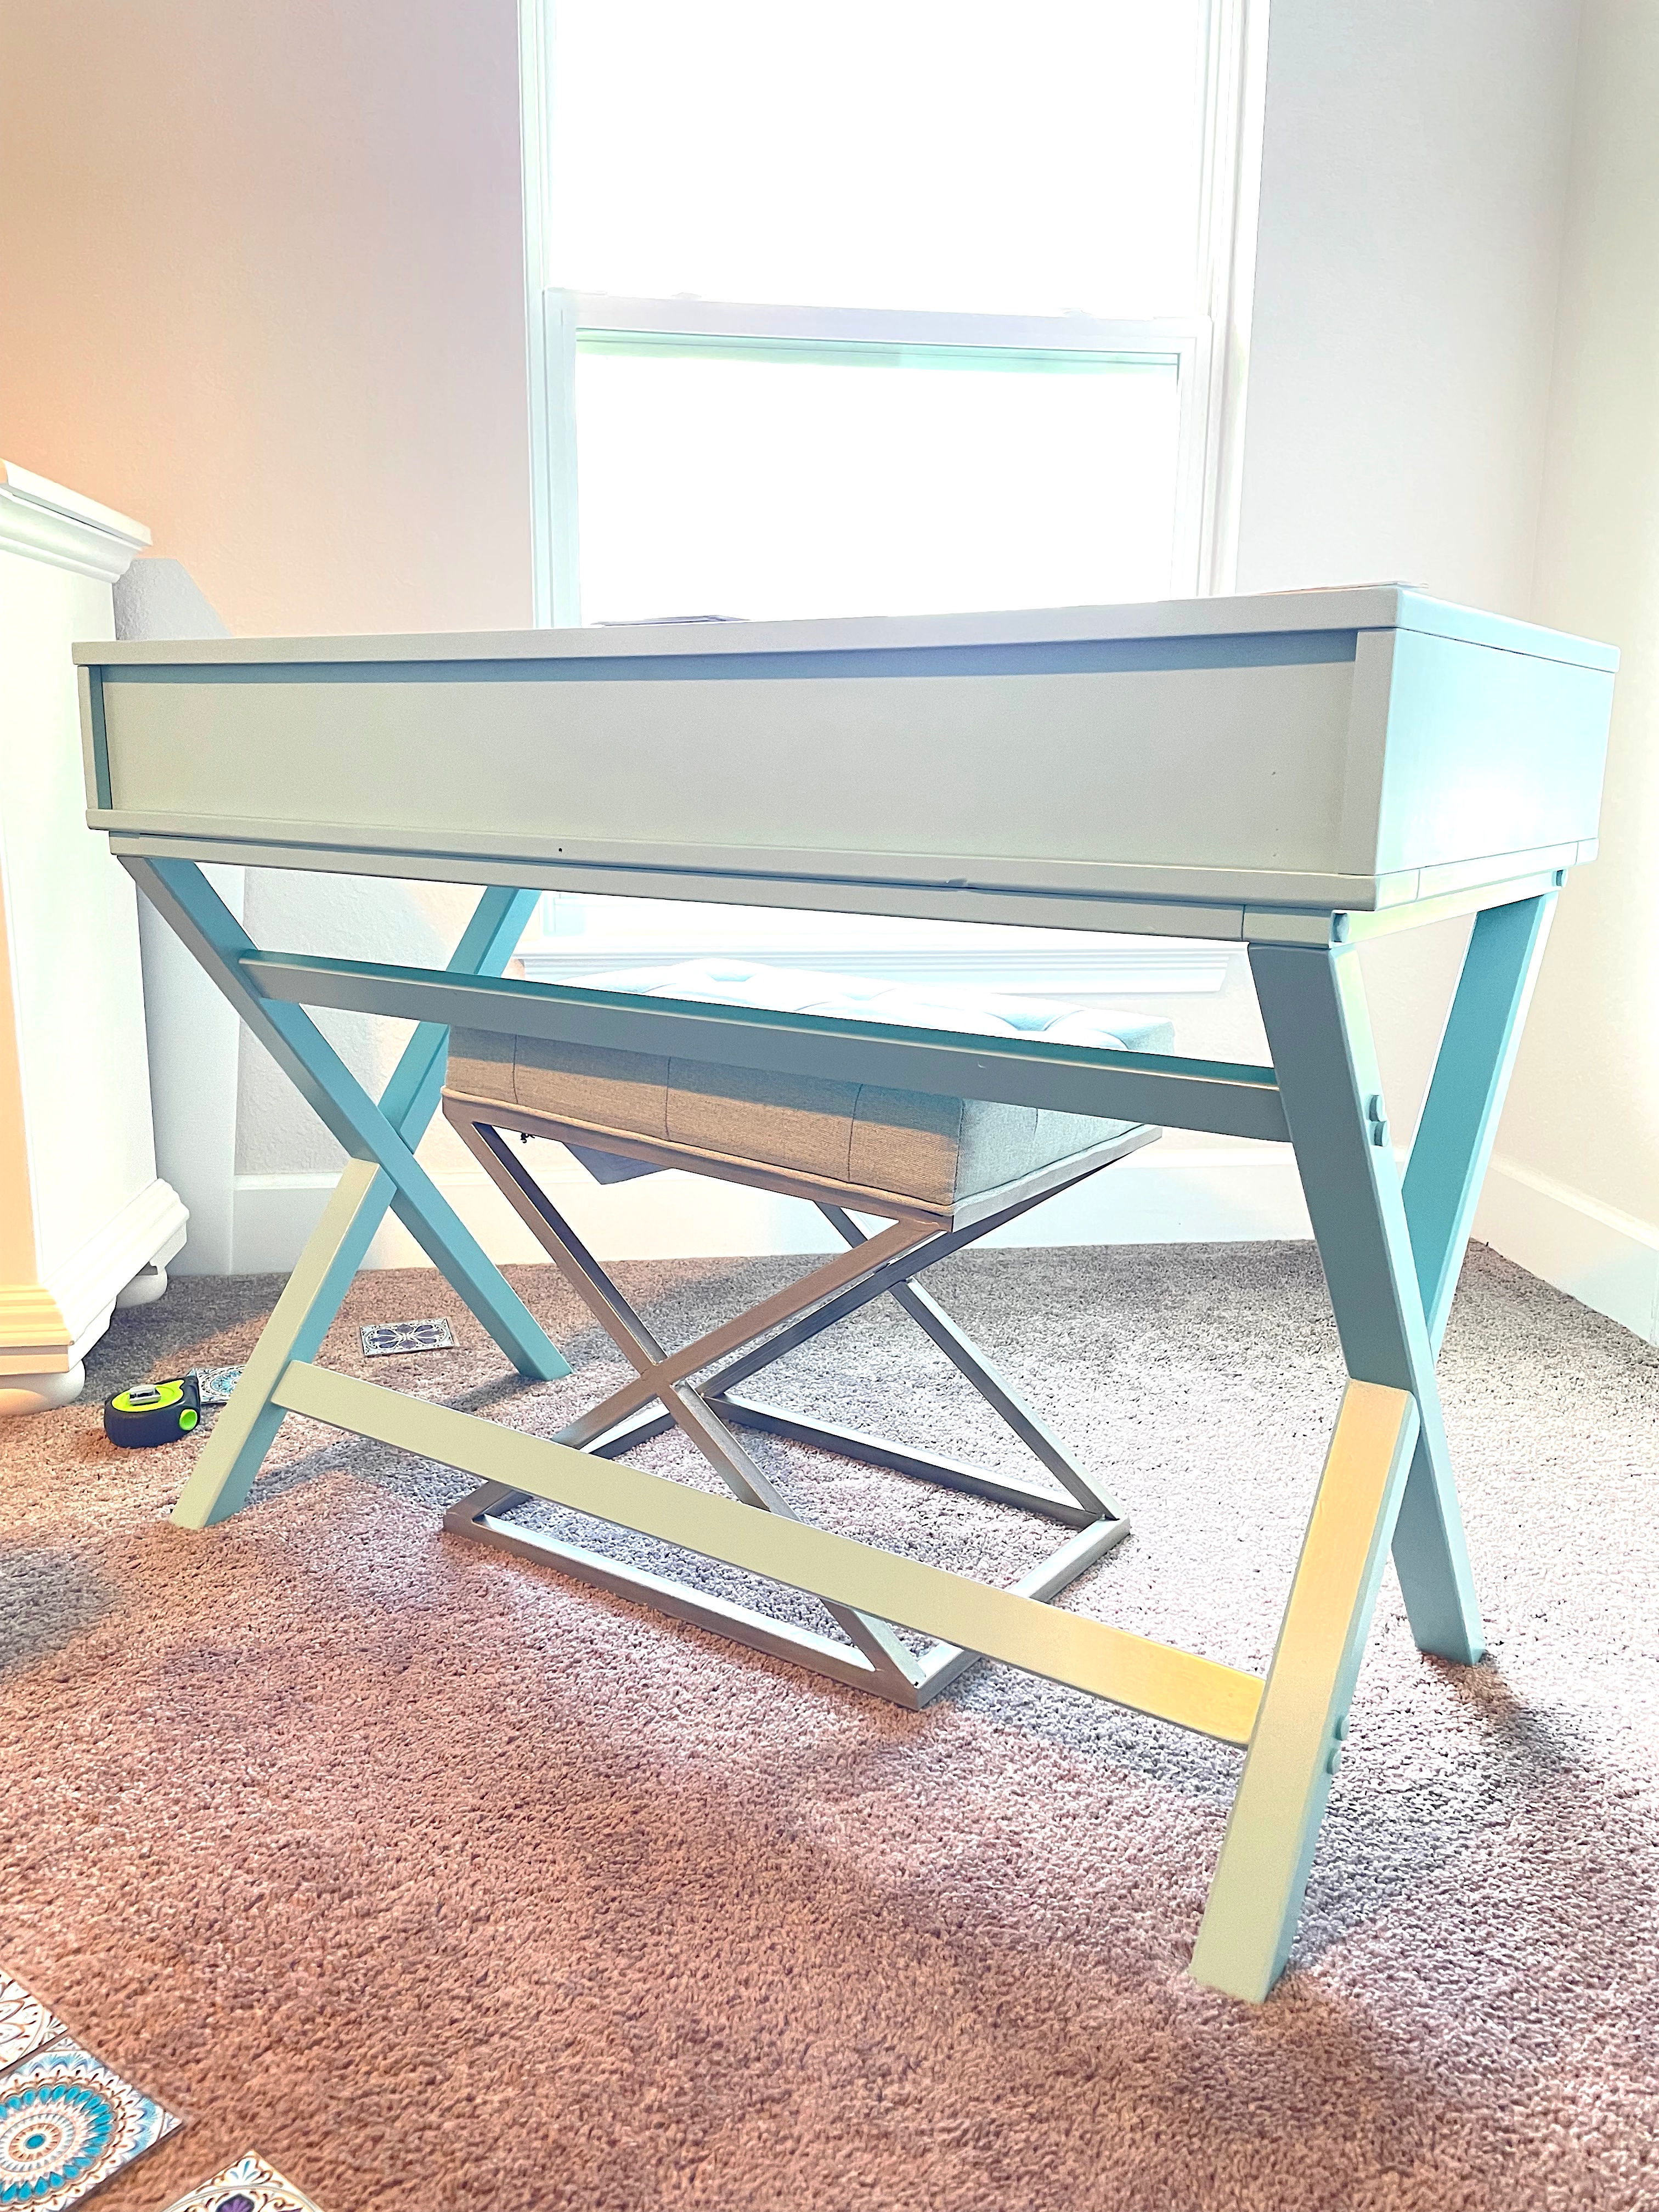
She did a little online shopping and found these fun mandala tile stickers that went with her decor.
They were the perfect fit for the inset of her desk.
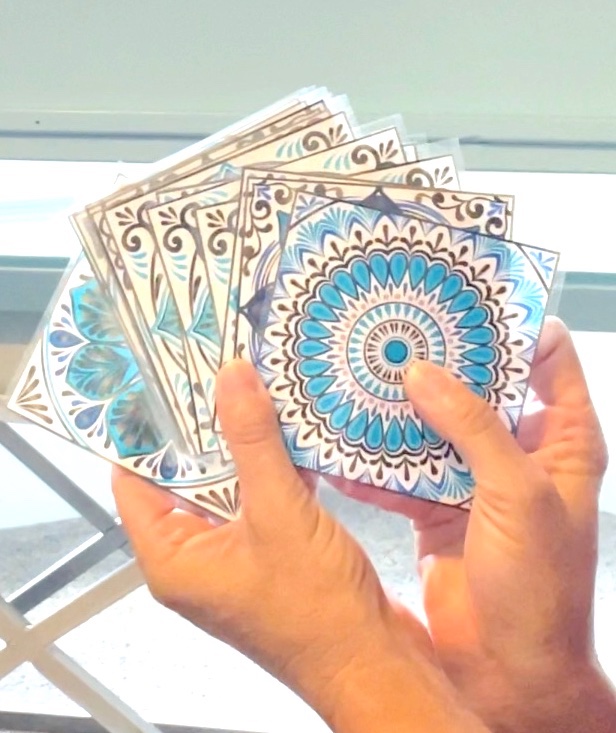
She asked if I wanted to help…um…YES!
I thought what a fun idea and I wanted to share it with you all!
*This blog uses affiliate links. As an Amazon Associate I earn from qualifying purchases.
Here are the tile stickers that she found. They have pretty mandala patterns.
5 Uses for Tile Stickers
I have to be honest with you, now that I have used the tile stickers, I’m excited to use them again!
Here are a few ideas:
- To cover up an outdated kitchen backsplash
- To dress up plain furniture
- Add to a frame for artwork
- Add interest to stair risers
- Create a frame around a mirror
How We Used The Tile Stickers On Her Desk
Step 1: Figure out a pattern or design for the tile stickers
Before I had gotten there, Tina had gone through several patterns. Then, we proceeded to go through about 10 more options.
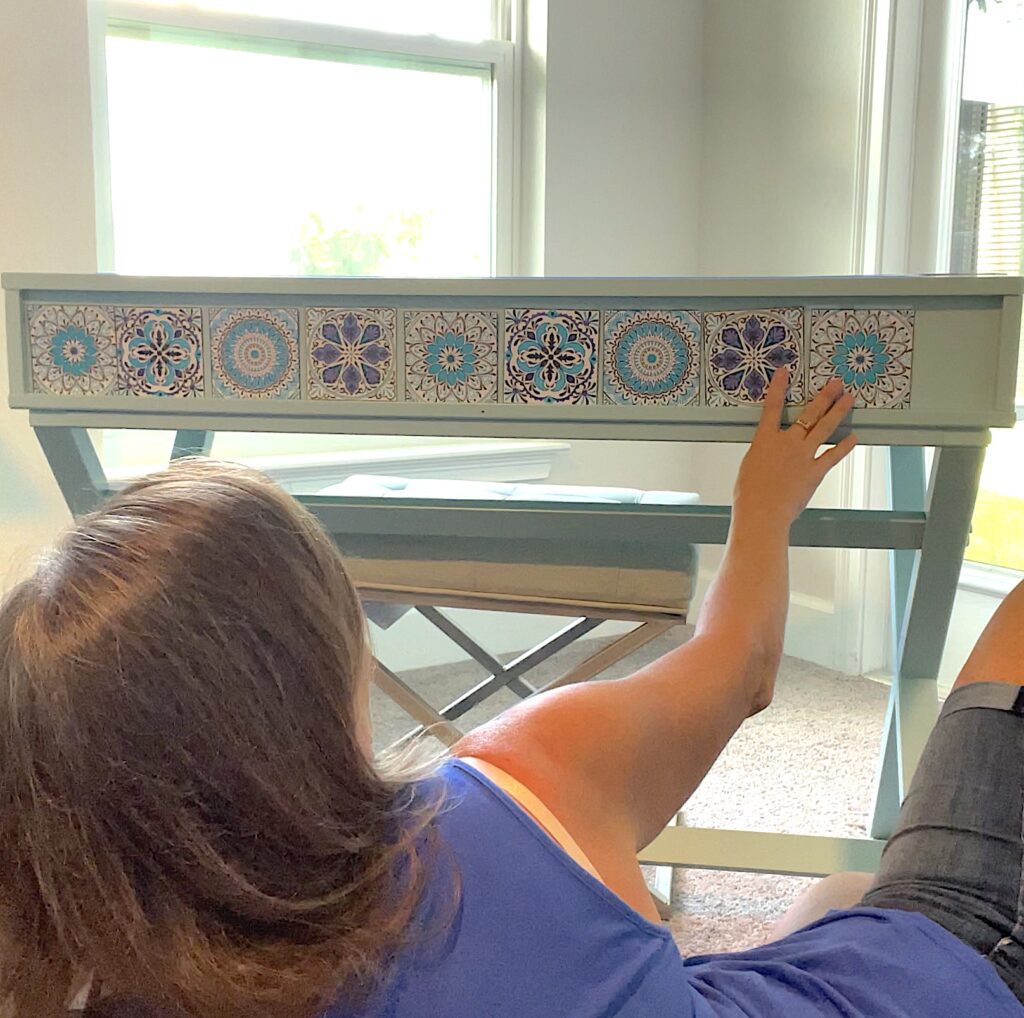
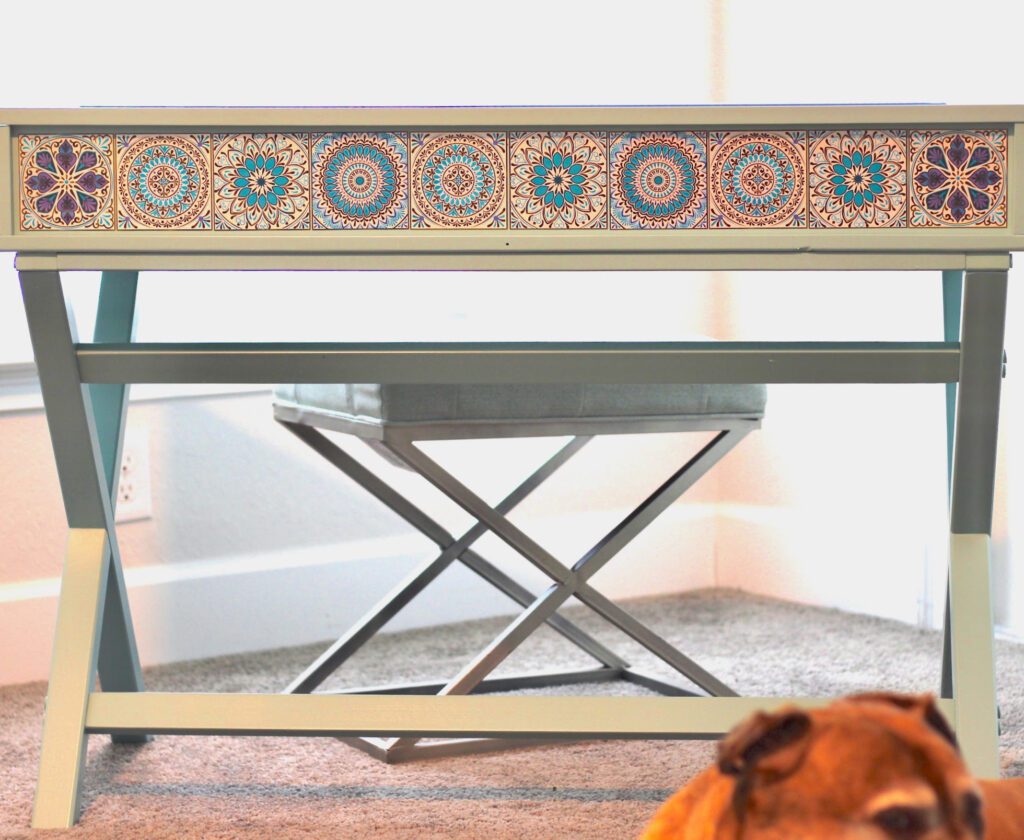
She mostly wanted to stick with the blues but the purple added a nice pop of color.
We decided to use the purples to anchor the ends and use the lighter colors in the middle. When we tried to intersperse the purple, it wasn’t the look she was going for.
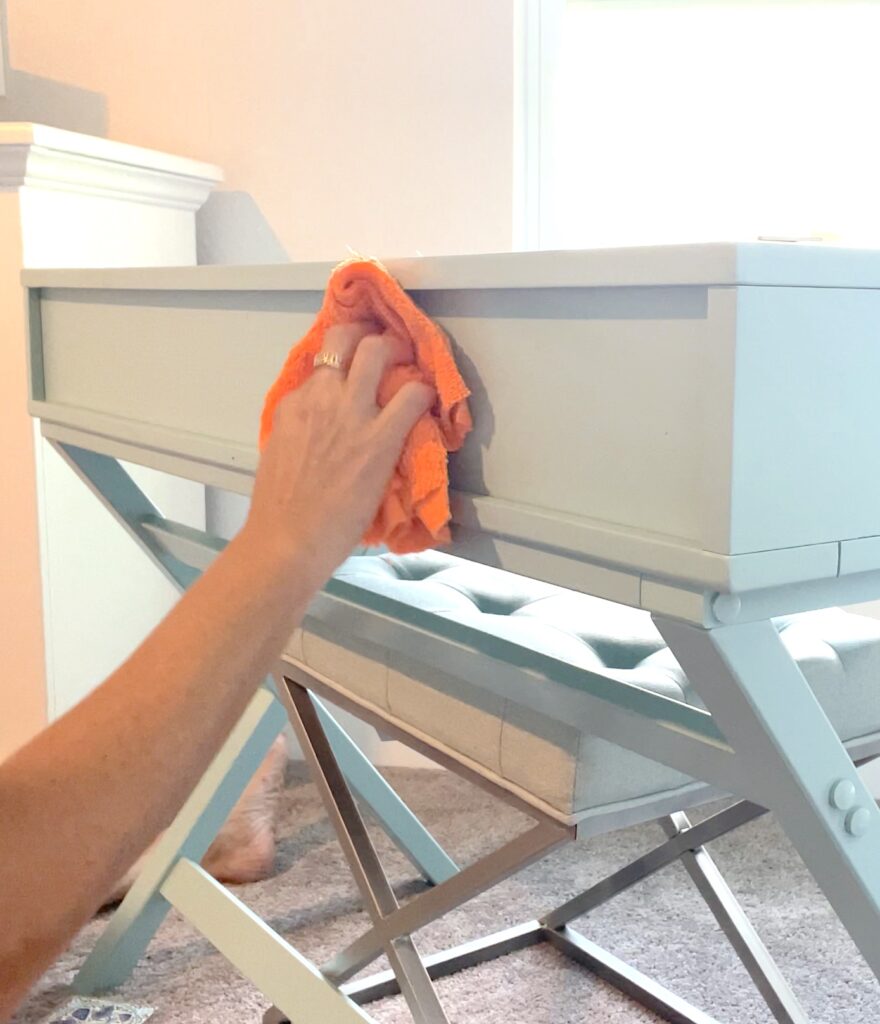
Step 2: Prepare the surface
Depending on the surface you are using the stickers on, you want to make sure it is clean and dry. You can use soap and water or in some cases rubbing alcohol.
Step 3: Add your stickers
We talked a lot about the spacing.
Once we found the center, we measured…
…measured…
and measured again…
…there may have been some division involved…
We tossed aside the tape measure and decided that having the middle was enough.
We could eyeball the rest.
Agreed on the spacing and went to work.
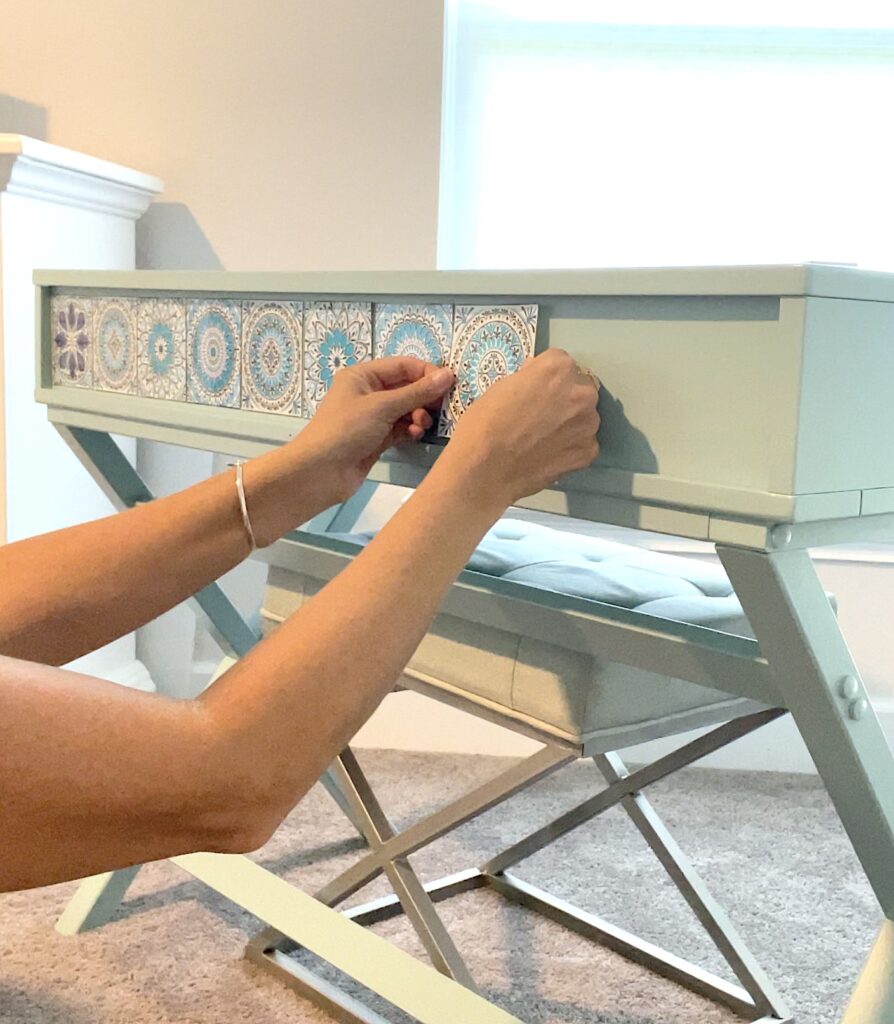
It turns out, she works much faster than I do.
Step 4: Once the tile stickers are on
Once the stickers were on, we just rubbed them to make sure they were stuck.
We did not initially rub them down in case we needed to tweak the position.
The ones we had had protective clear sheets over them. They peeled right off.
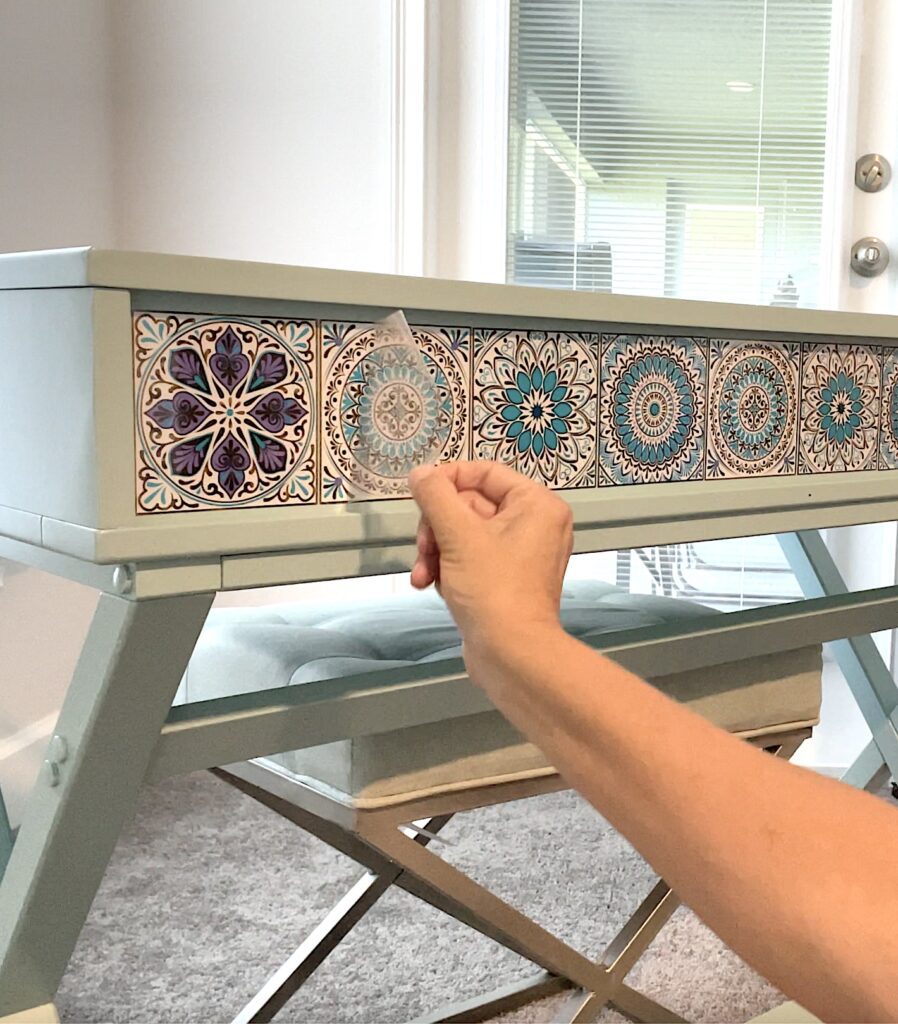
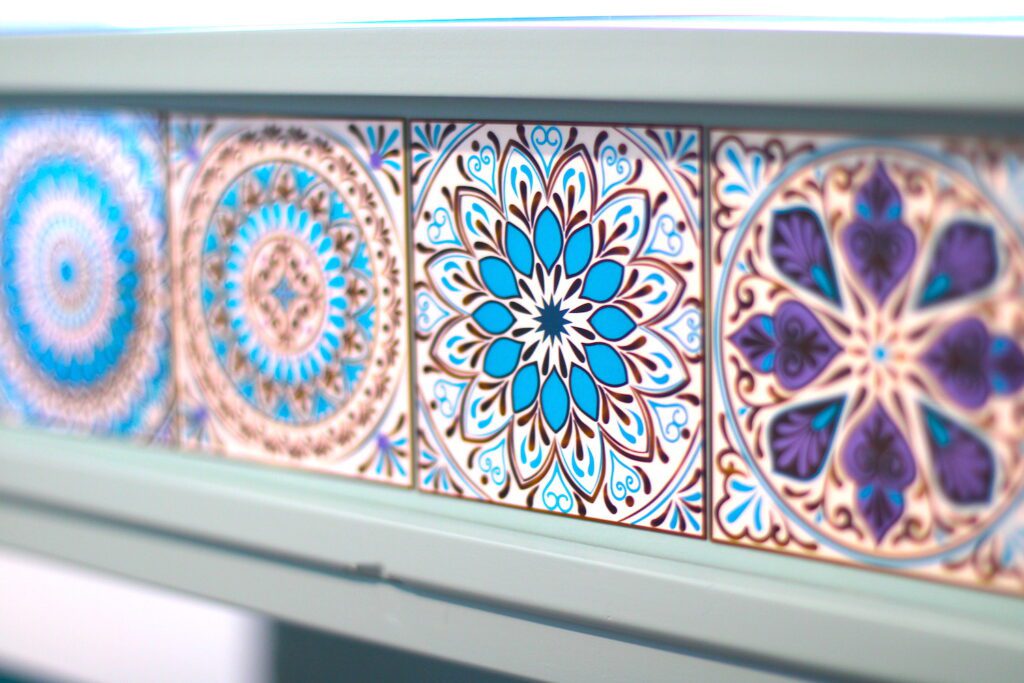
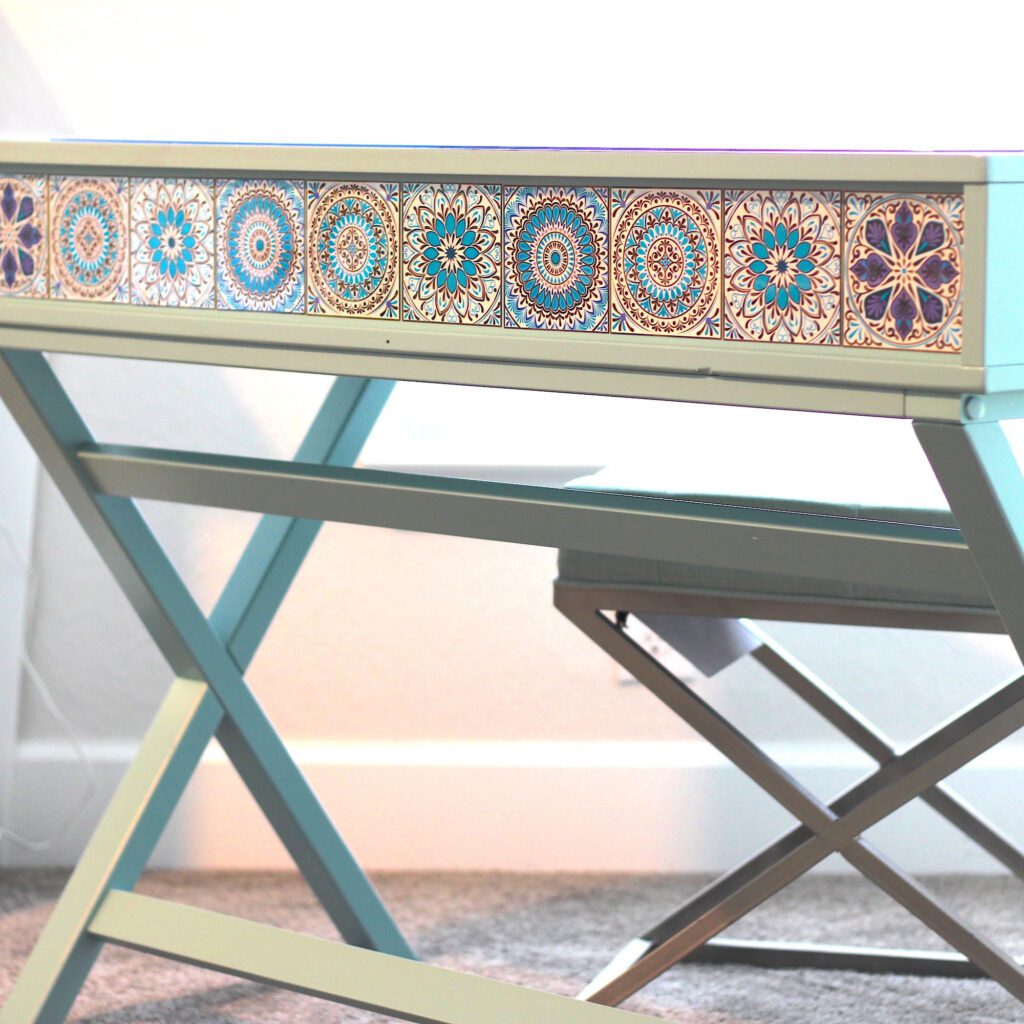
The tiles were shiny and actually looked like tile!
Imagine that!
Here is the desk all finished.
Other Makeovers You Might Enjoy!
I have done quite a few furniture makeovers. Here is a just a sampling:
- Cedar Chest Makeover
- Dining Room Table Makeover
- Whiskey Sippin’ Chair
- Desk Makeover with Unicorn Spit
- Chair Makeover
- Outdoor Table Makeover
Amazing Tile Sticker Options!
So, I have not looked into what kind of tile stickers are available…until now!
CHECK…THESE…OUT!
FULL TILE STICKER DESK MAKEOVER VIDEO TUTORIAL
You can find the full video tutorial HERE!
Thanks for stopping by! Remember: Life’s too short not to shimmer so grab your glue gun and your glitter!™ Stay safe!
Mona

I used tile stickers for the baseboards of our old house leading to the basement family cave room. Turned out super cool looking. Your sisters turned out great too.