Dive into the fun of creating a dazzling resin flower vase, and then turn the leftover resin into gorgeous artwork! This step-by-step tutorial will guide you through the exciting resin pour process on a glass vase, making the whole experience a blast.
Creating resin art is a fun craft that transforms ordinary objects into stunning masterpieces that you actually want to put in your home!
Let’s be honest…
Most of us have vases stowed away in the cabinet over the fridge that haven’t seen the light of day in over 10 years.
It’s time to break those puppies out!
If you are the exception, you can pick up some vases at the dollar store or go thrifting!
I went Goodwill shopping for home decor (okay – vases because I might be addicted to this process). I found that all Goodwills are not created equally. I stumbled across one that is well organized, super clean and if a vase doesn’t have a tag on it, it’s 50 cents!
WHAT?!?!
The one I normally go to that smells of stale dust, vintage sweat and forgotten dreams, charges $1.99 for a used vase from Dollar Tree…they are usually grimy and were probably purchased back when things actually cost a buck.
I wish I was kidding!
I must confess, I couldn’t resist the 50 cent vases and even scored a few “silver” platters at bargain bin prices!
In this tutorial, I’ll guide you through the process of pouring resin on a textured glass vase and making a beautiful resin art piece from the runoff resin.
Let’s get started!
Before we start, check out this resin pouring project that is blowing up on Instagram! By the way, remember to follow me there!
Materials Needed for the Resin Flower Vase
*Disclosure: This blog uses affiliate links from Amazon and other retailers. I earn a small amount from qualifying purchases at no additional cost to you.
- Glass vase (cleaned with rubbing alcohol)
- Resin (12 ounces)
- Cups (for elevating the vase)
- Water bottle caps (for elevating the canvas) or better yet these
- Resin pigments: blue, purple
- Opaque white pigment
- Opaque green pigment
- Canvas
- Stir sticks
- Gloves
- Garbage bag or protective covering for your work surface
Resin Vase Pouring Video Tutorial
If you want to see the resin pouring and flowing in action, check out this video tutorial!
Resin Flower Vase Step-by-Step Instructions
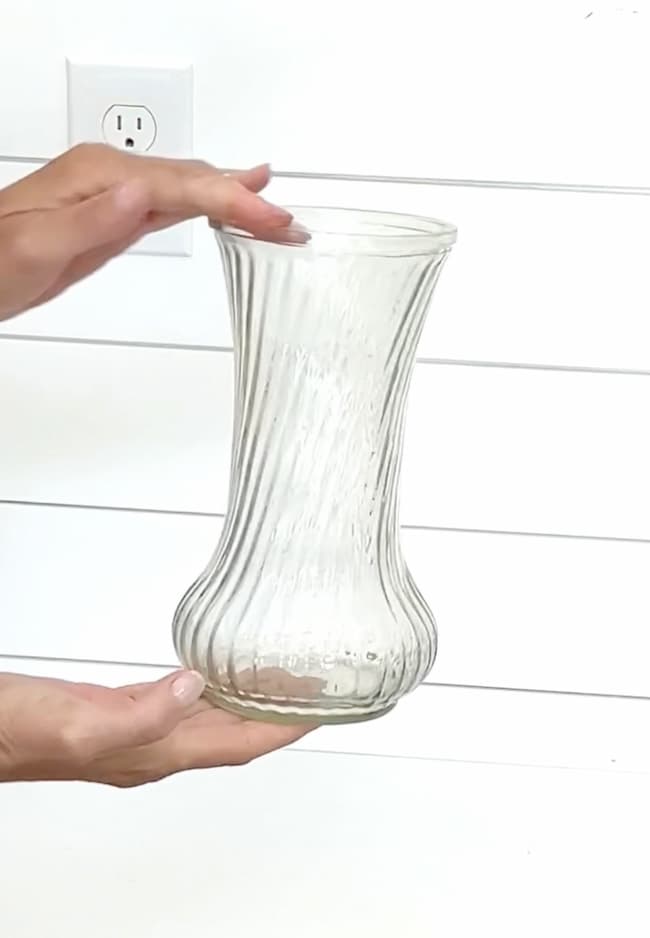
1. Prepare Your Workspace and Clean the Vase
Set up a clean, well-ventilated workspace. Cover your work area with a drop cloth, silicone mat or garbage bag to catch any resin drips. Elevate the glass vase using silicone or plastic cups and the canvas with water bottle caps, cups, or silicone cake shapers. This will allow excess resin to drip off, so your projects will not stick to your surfaces.
Clean your glass vase thoroughly with rubbing alcohol. This ensures that the resin adheres properly to the vase. You are removing greasy finger prints and any dirt that might be on it.
If your vase was very dirty to start with and you used dish soap, still follow up with the rubbing alcohol before you pour your resin. Some dish soaps will leave a residue.
2. Mix the Resin and Pick Colors for Resin Flower Vase
Mix your resin according to the manufacturer’s instructions. For the vase, I started with 6 oz of resin. If I were to do it again, I would have started with 12 ounces of resin right away.
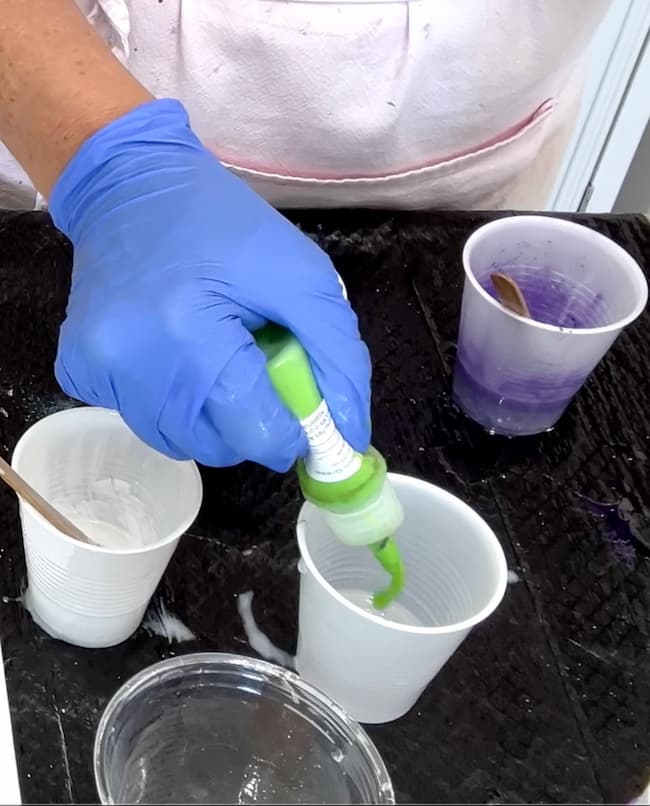
When you have your resin mixed, separate them into smaller cups and add different colors. I did an opaque white, mica/pigment powders in blue and purple and an opaque lime green.
*In the video you will see that the lime green was an afterthought but it worked out well.
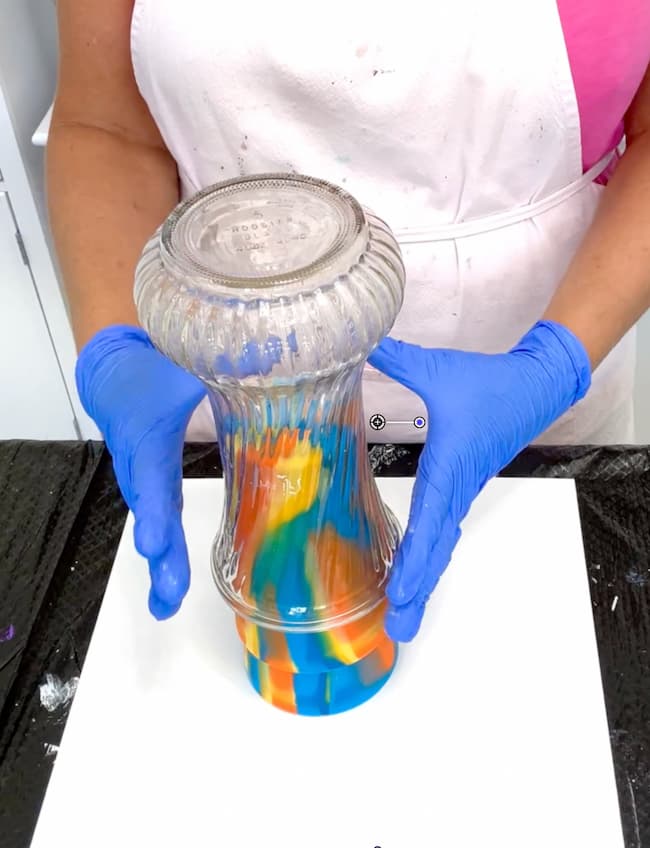
3. Pour the Resin on the Vase With Colors
Start by pouring white resin on the vase, ensuring it flows over all the ridges. Next, add purple resin, allowing it to blend naturally with the white and alternate the colors. Use your fingers to help spread the resin and cover any areas that need more coverage.
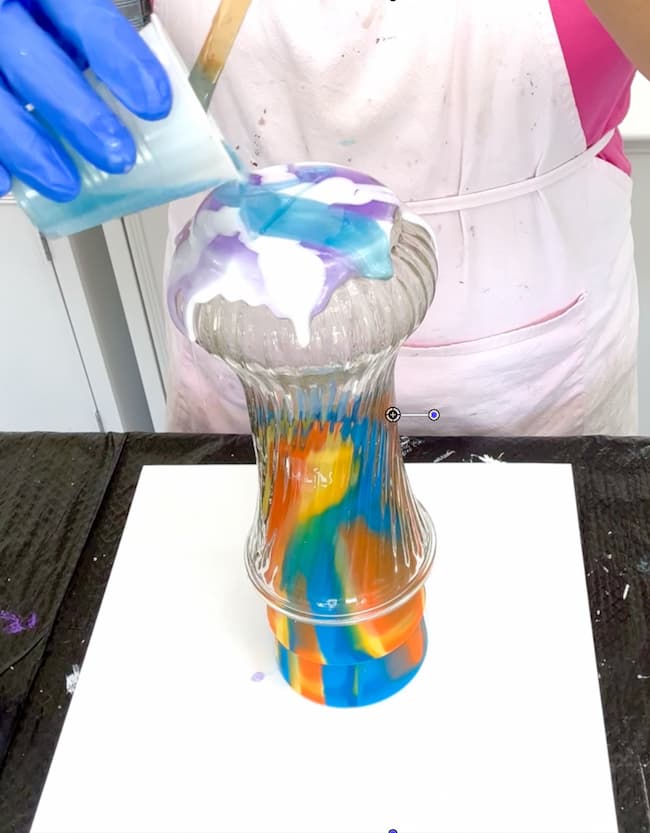
Don’t worry! It’ll all blend.
Halfway through, I introduced the opaque lime green resin to add a pop of color and I needed more opaque.
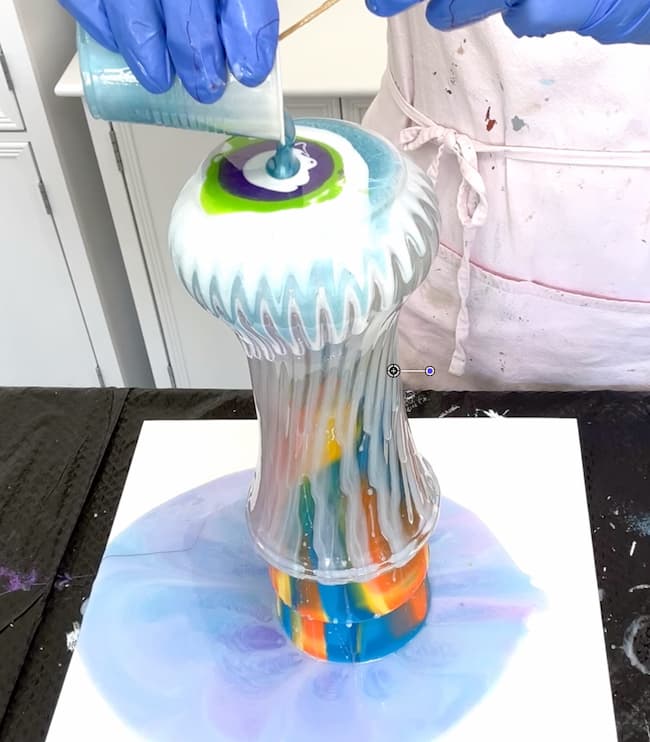
It’s important to alternate the white, especially between the resin with the pigment powders, or you will lose them.
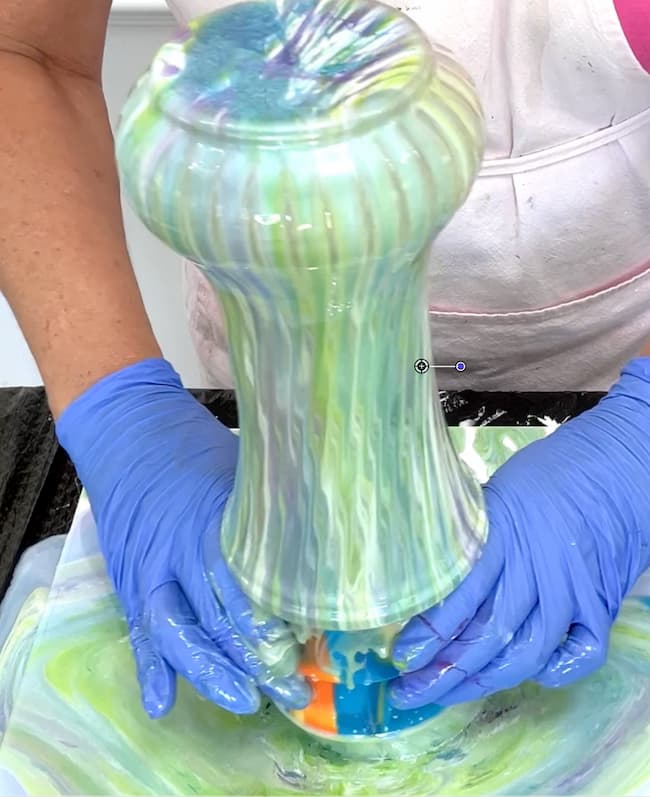
5. Manage the Drips and Create Canvas Art from Runoff
As the resin drips off the vase, use your finger to wipe the edges, ensuring a clean finish and a sealed edge. Keep it raised up on the cups until it cures. Don’t worry if you get a large drip, you can always sand it down after it cures.
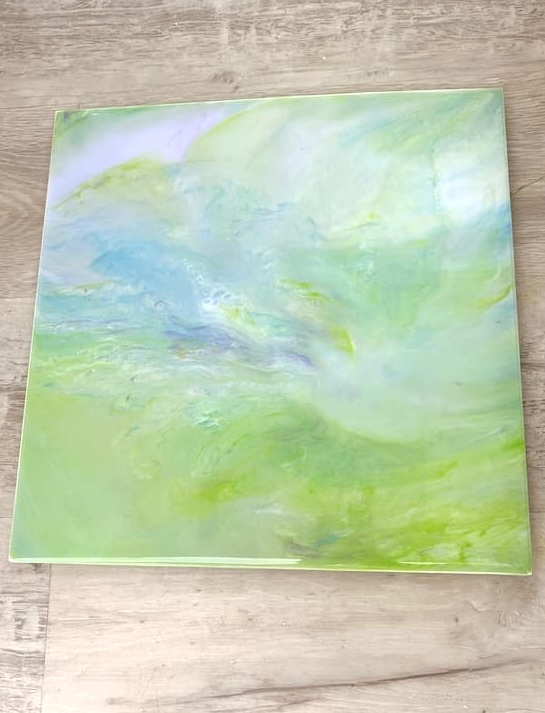
Once the vase is covered, carefully remove it from the canvas and put it on a garbage bag, where it can continue to drip. Turn your focus to the canvas. Tilt the canvas to allow the resin to spread and create unique patterns. Add any leftover resin to fill in gaps and enhance the design.
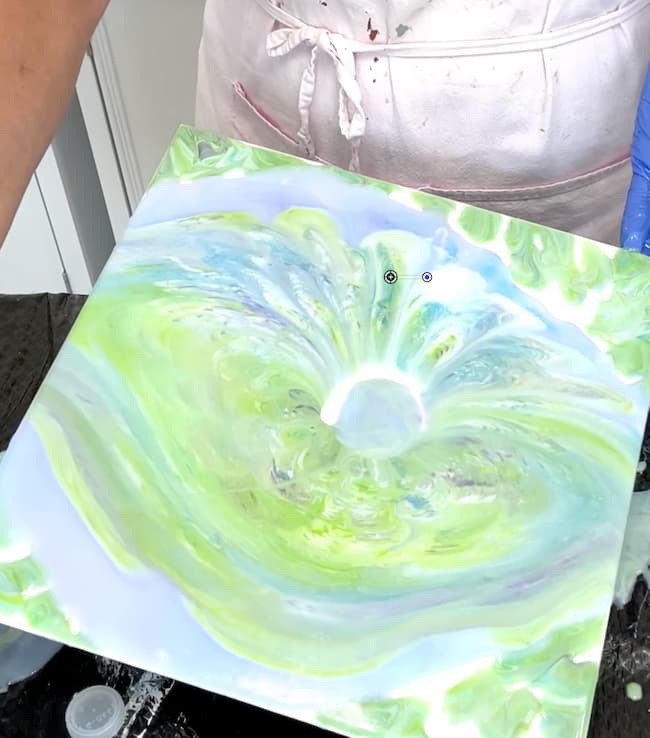
It helps to add resin to the edges for full coverage – see video above.
Final Touches
Check both the resin flower vase and the canvas periodically to manage drips and ensure even coverage. Let both pieces cure completely according to the resin manufacturer’s instructions.
You can spritz the canvas with rubbing alcohol to pop bubbles OR you can use a heat gun OR a torch.
VERY IMPORTANT: If you spritzed rubbing alcohol DO NOT use a lighter or a torch on the resin. You will only light the alcohol on fire – let’s avoid that fire hazard altogether and choose one bubble popping method per project.
Also, do not add heat to the vase. Since the resin is on a vertical surface, if you heat it up, it will run right off the vase.
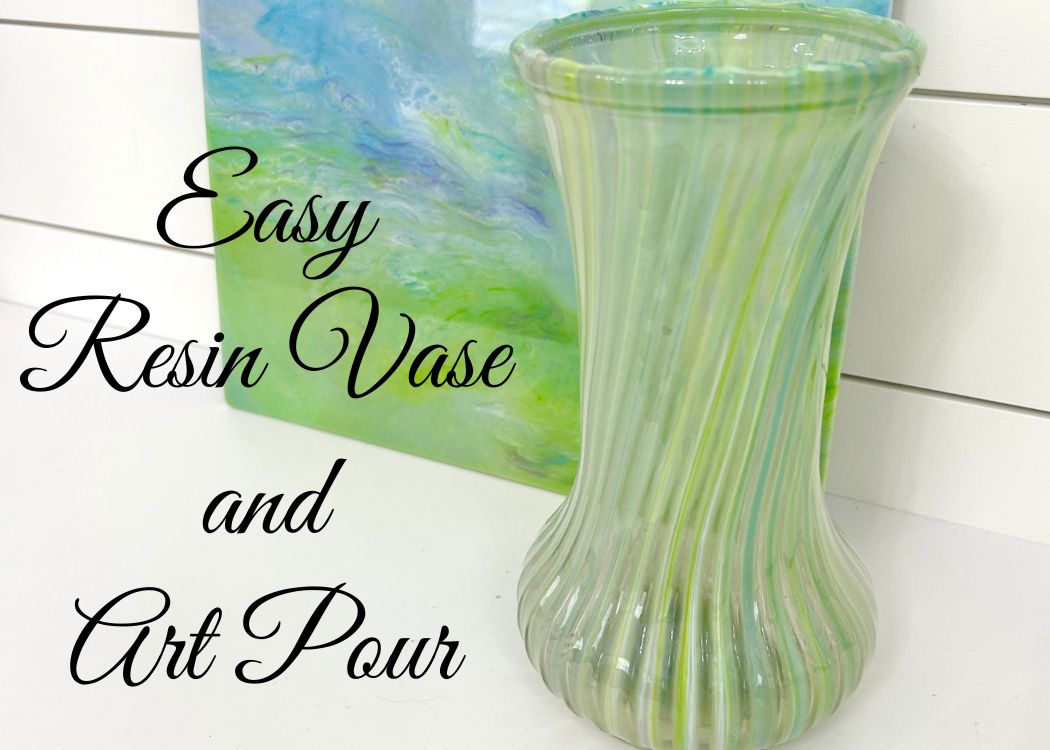
Final Results and Tips
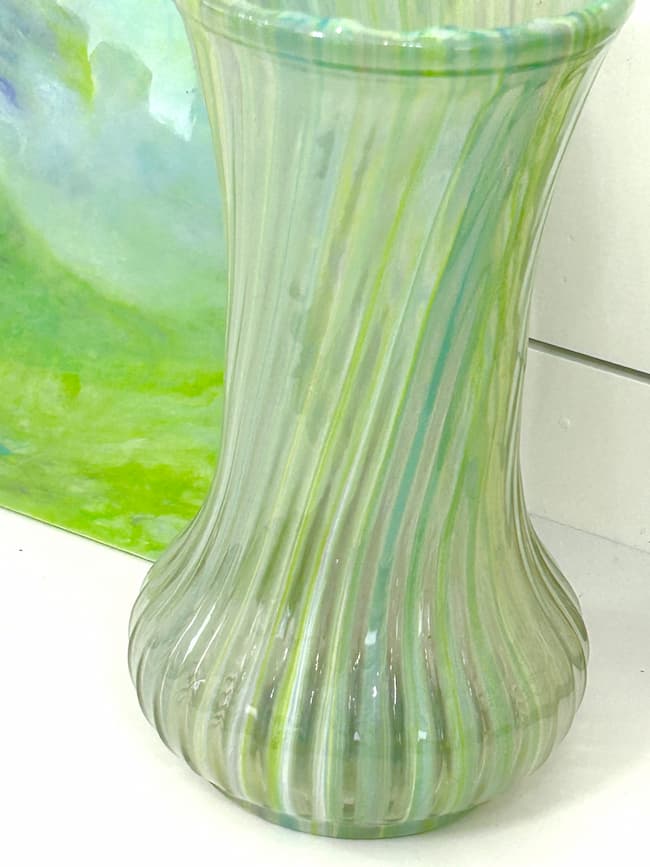
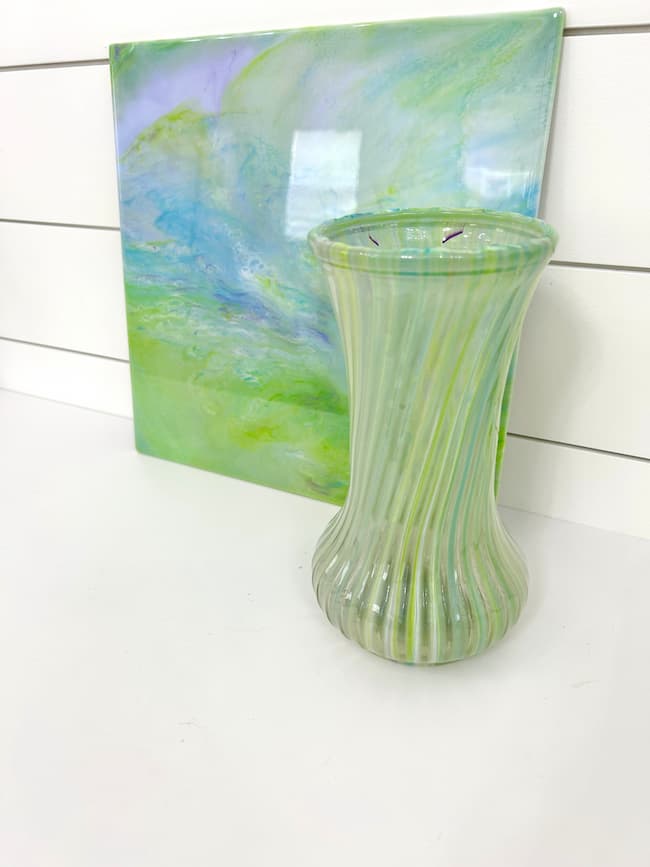
Here’s the big reveal! The glass vase now has a beautiful, unique finish resembling blown glass. The colors blend beautifully, creating a stunning piece of art.
The canvas, with its coastal, beachy feel, matches and compliments the resin flower vase perfectly.
Resin art is a an easy craft and really beautiful. You cannot predict how it will look. I always say you can pour it but it’s going to become what it wants to become, so don’t be afraid to experiment with colors and techniques.
Remember, there’s no right or wrong way to create art!
How to Resin Art for Beginners
This resin pour project is perfect for beginners and advanced resin crafters and artists alike.
It shows you how easy and rewarding it is to make things with epoxy resin. If you are a beginner and were looking of a project, this is a great introduction to resin crafts for beginners.
The combination of a resin flower vase and matching canvas art makes a beautiful set that you can display proudly in your home or give as a gift! Straight from your heart!
Using Dollar Tree to Make Decor
For thoseIf you are looking to create stunning home decor on a budget, consider using Dollar Tree finds to help make that decor. Many of the items you need for resin art, like glass vases, or bowls, or glasses can be found at dollar stores, making this an affordable and accessible craft.
Goodwill Thrifting Home Decor
Another fantastic way to find unique items for resin art is through goodwill thrifting home decor. Thrift stores are treasure troves of potential resin projects. Look for interestingly shaped vases and canvases that can be transformed with a bit of resin magic. For this particular resin flower vase, I found the fluted vase at Goodwill, along with a bunch of other stuff.
This resin art project is perfect for beginners and experienced crafters alike. If you’re new to resin art or looking to improve your skills, be sure to download my free guide, Resin Revolution, which covers all the basics and more.
Projects You Are Going To Love
If you want to see other fun resin pouring projects, check these out!
- Acrylic Paint Pouring on Vases DIY
- DIY: How To Make Abstract Resin Pour Art Coasters
- High Heel Design: Transforming Old Stilettos into Glamorous Home Decor
- How to Reuse an Old Shirt and Turn It into a Stunning Resin Vase
- Transform Your Space: Stunning Sunflower Basket Table DIY You’ll Love
Glass Blown Vases
If you love the look of the vase but want a glass blown vase, check out these beauties:
Remember: Life’s too short not to shimmer…so grab your glue gun and your glitter!™ Stay safe!
Omg these are so beautiful!!!
Thank you, Sylvia! If you enjoyed this one, I think you will love this one: https://www.craftklatch.com/diy-old-fashioned-rock-candy-salt-resin-vase/
I can’t wait to try this new hobby! I love your work!
Thank you, Maureen! I think you will really enjoy the new one I just posted: https://www.craftklatch.com/diy-old-fashioned-rock-candy-salt-resin-vase/