- Resin
- When deciding on which resin to use for your coasters, you need to keep in mind whether you want it just for cold cups or for hot ones as well.
- If only for cold drinks, you can be flexible and use whatever brand you like:
- If you want it to work for both hot and cold drinks, you need to look for a heat-resistant resin, like these:
- FX Poxy ~ According to the manufacturer, this one is heat resistant to 500° F.
- Stone Coat
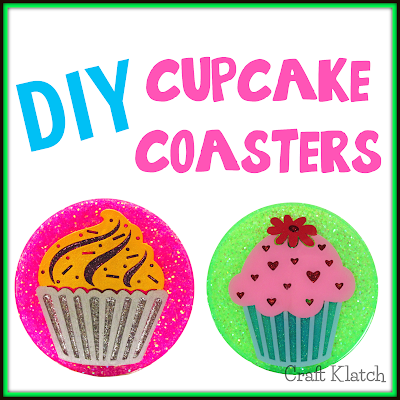
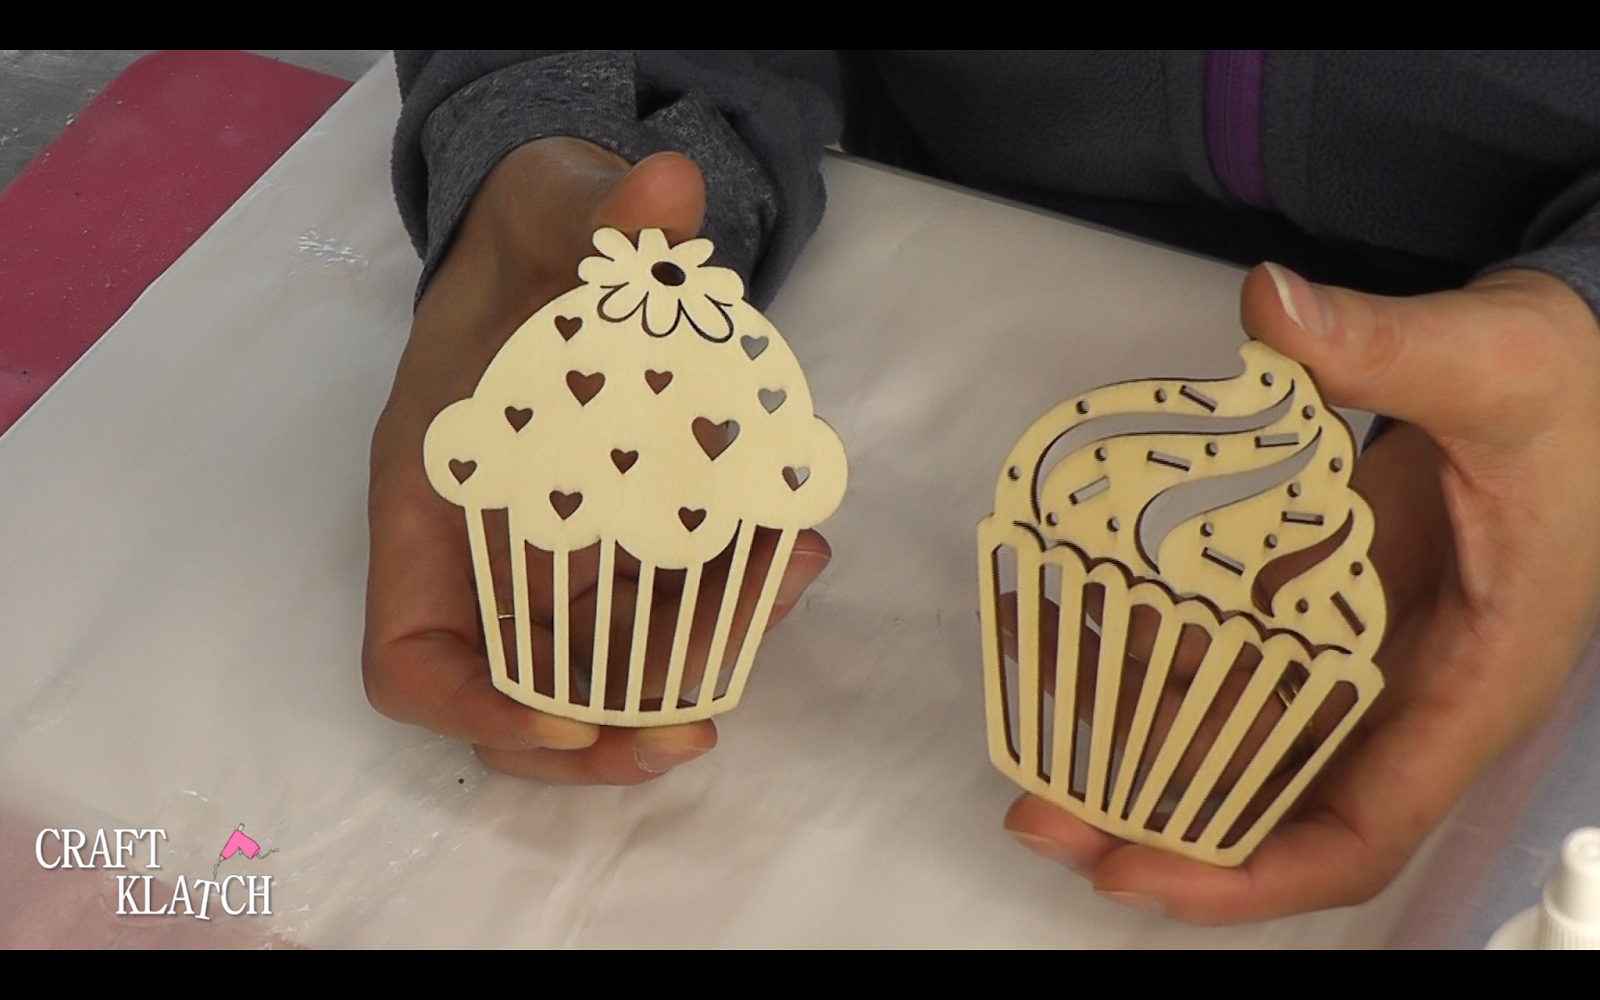
1. I found these wood cupcake cut outs. Mix two ounces of resin, according to the package directions.
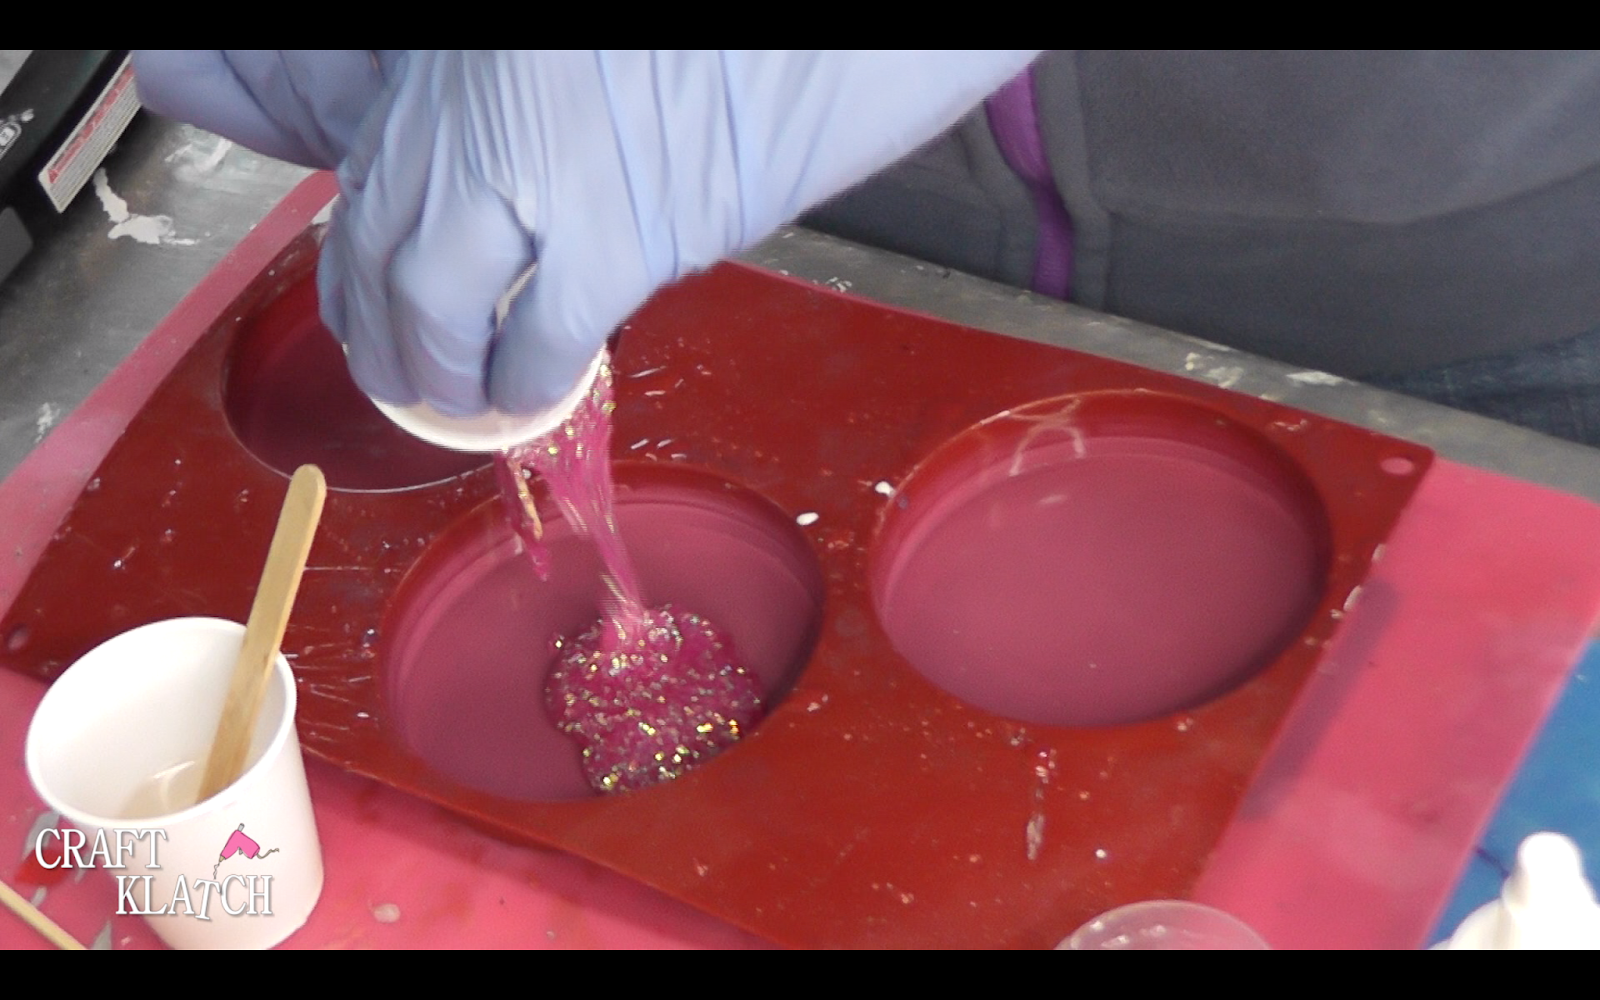
2. Separate into two different cups (one ounce each). Add desired glitter into each cup and pour into coaster mold.
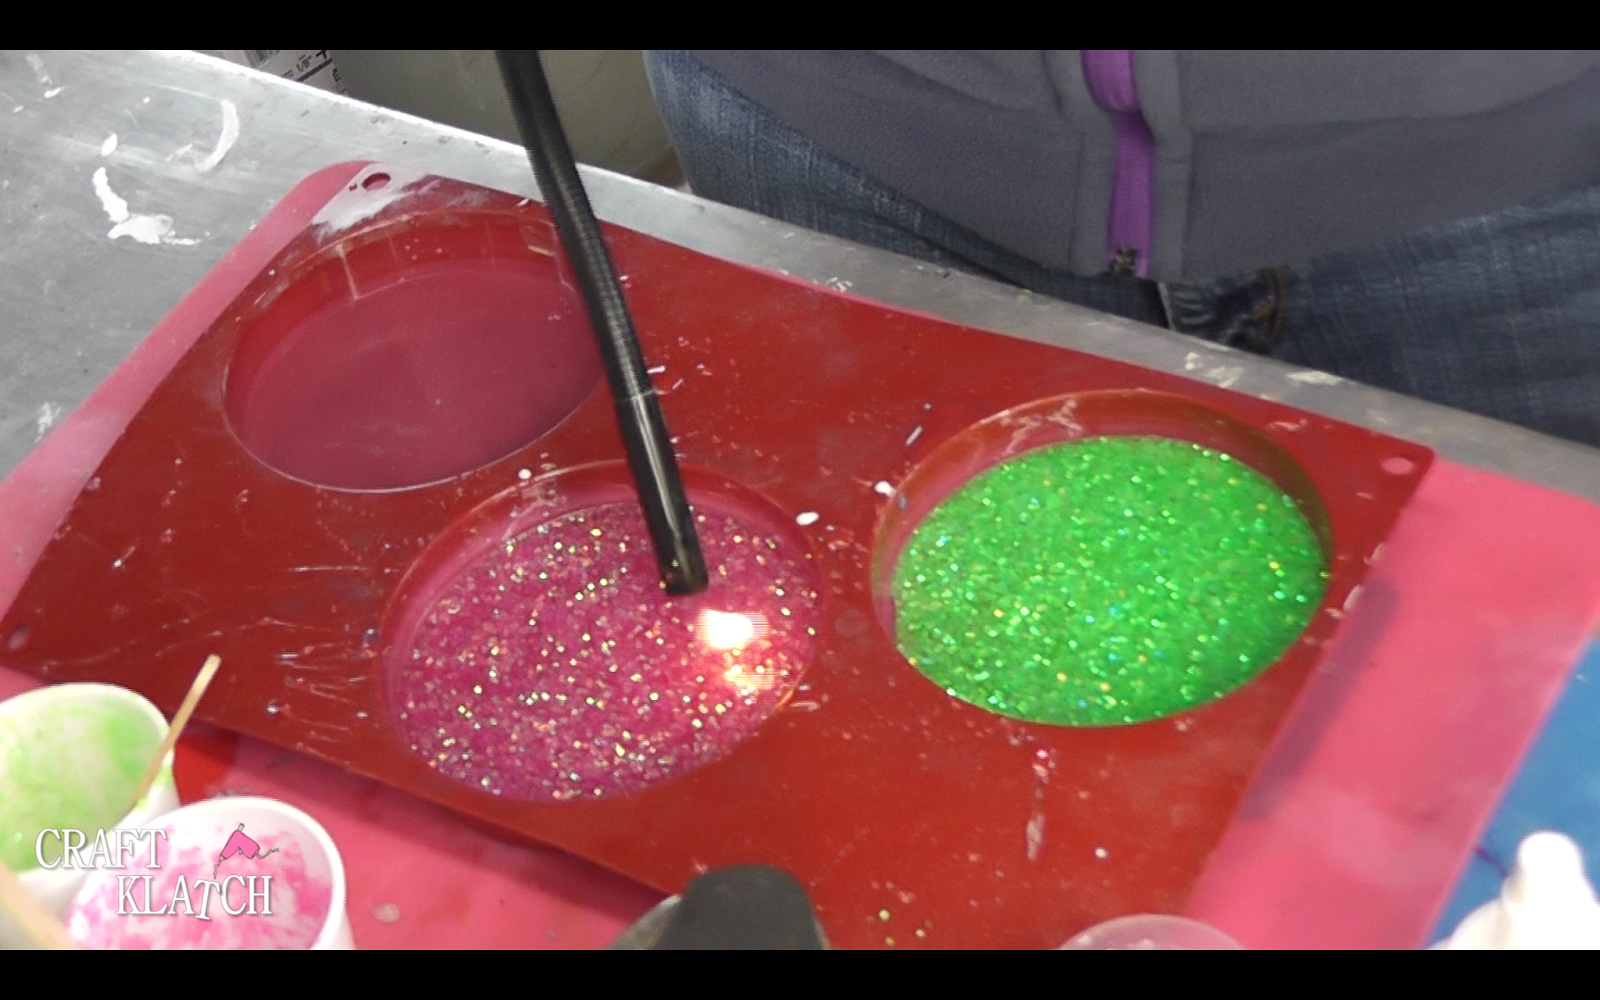
3. Pop bubbles with lighter and allow it to cure for at least 12 hours.
4. While it is curing, you can paint your cupcakes, whatever color you want. I used acrylic paints. Figure it will take at least two coats.
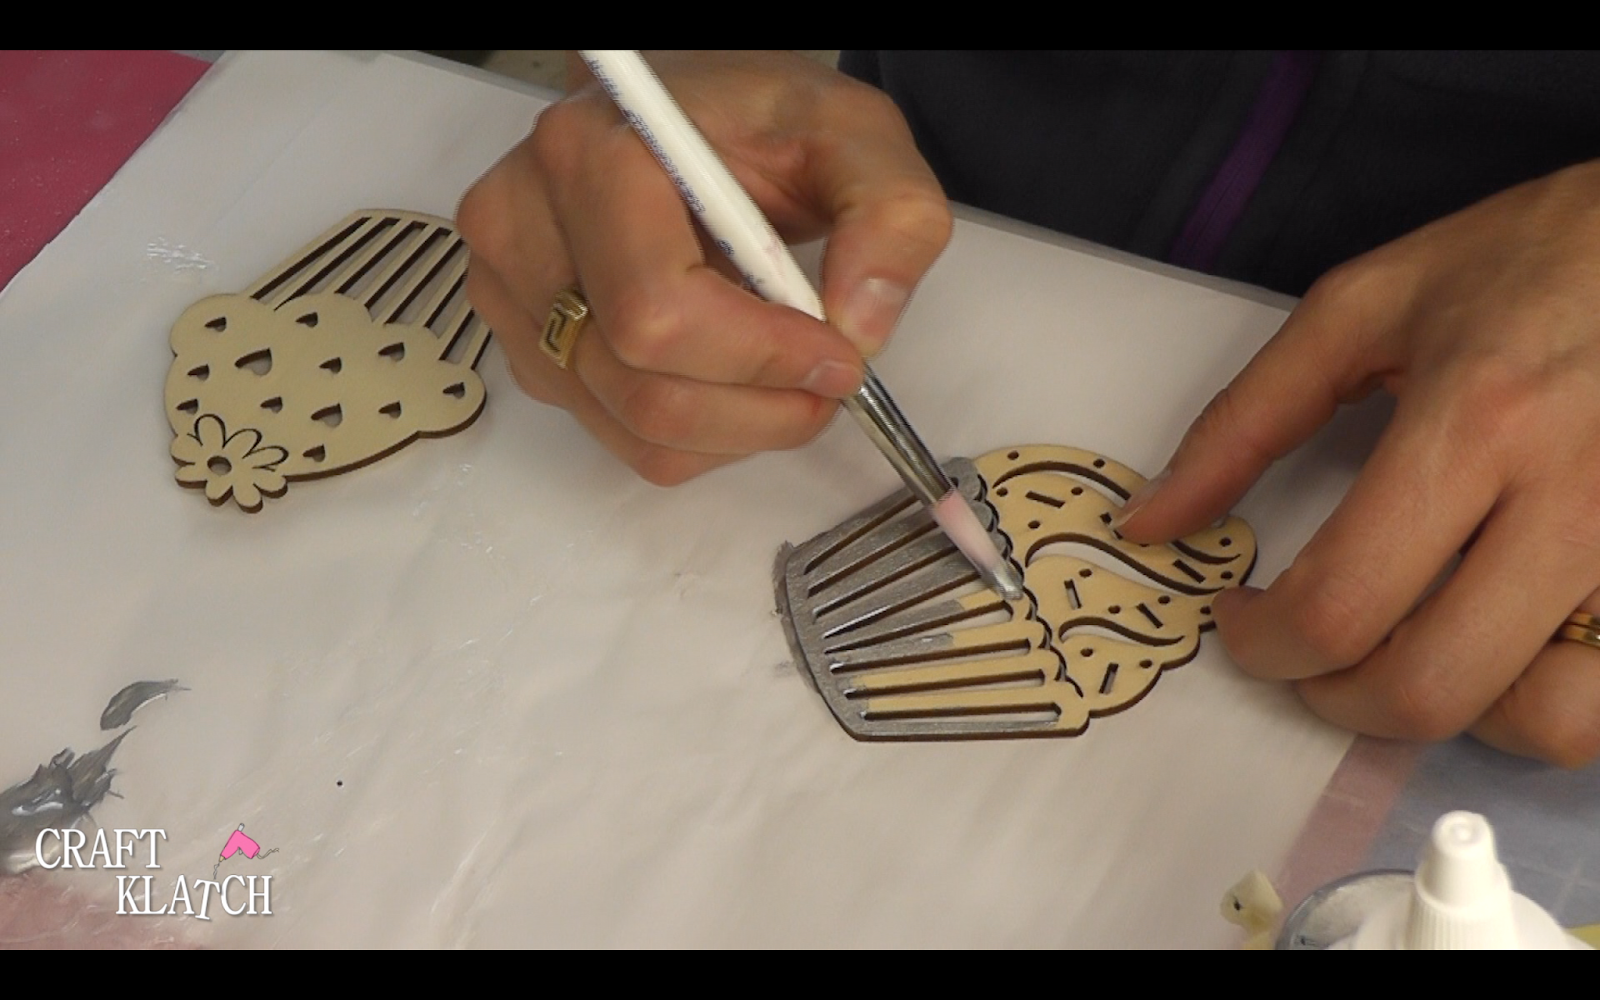
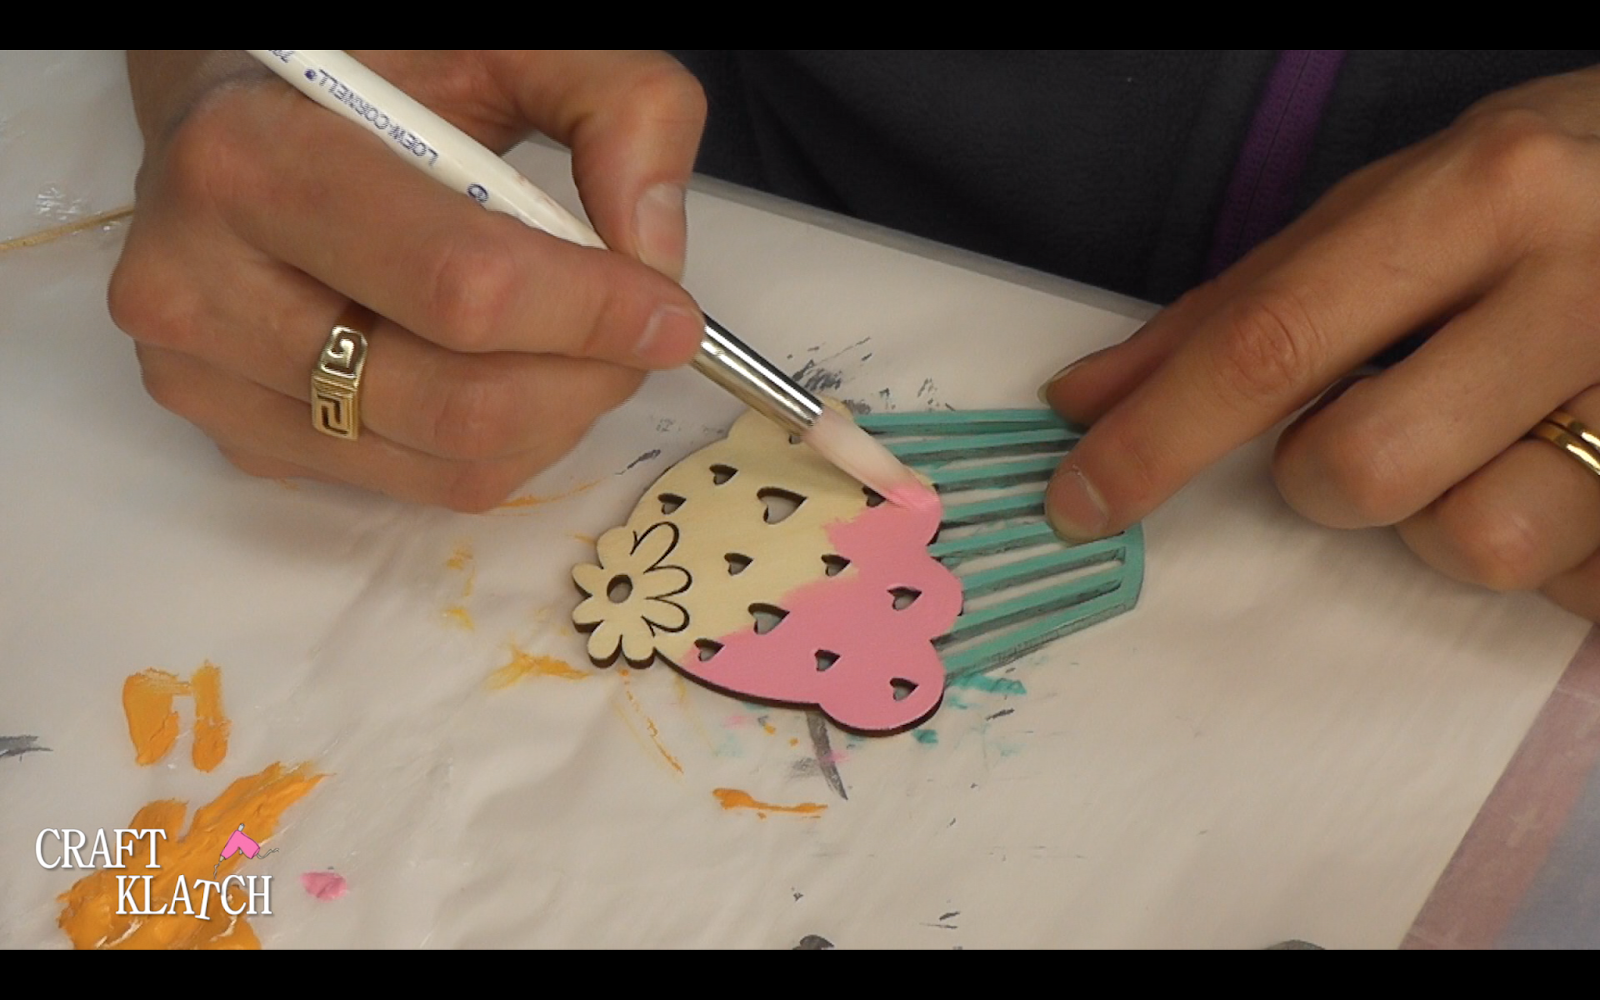
5. When the resin has cured and the paint has dried, put packing tape on the back. Be sure to burnish it down, so it is well adhered.
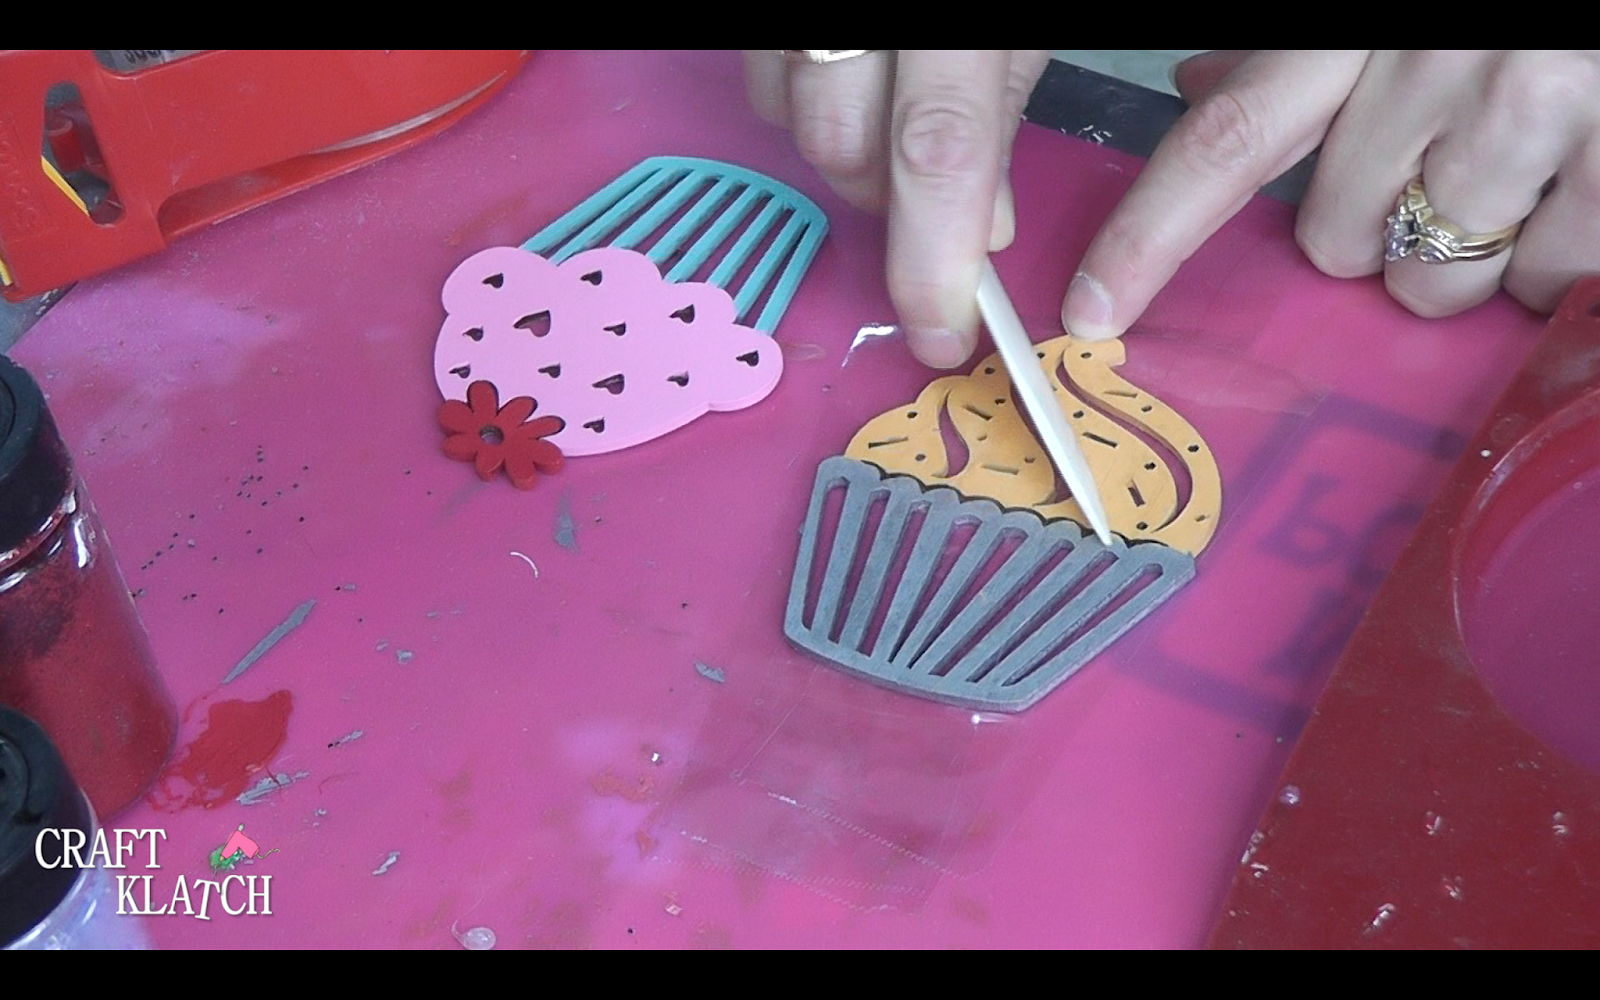
6. Mix a small amount of resin and mix in fun glitter. Carefully drip the mixtures into the open areas of the cupcakes.
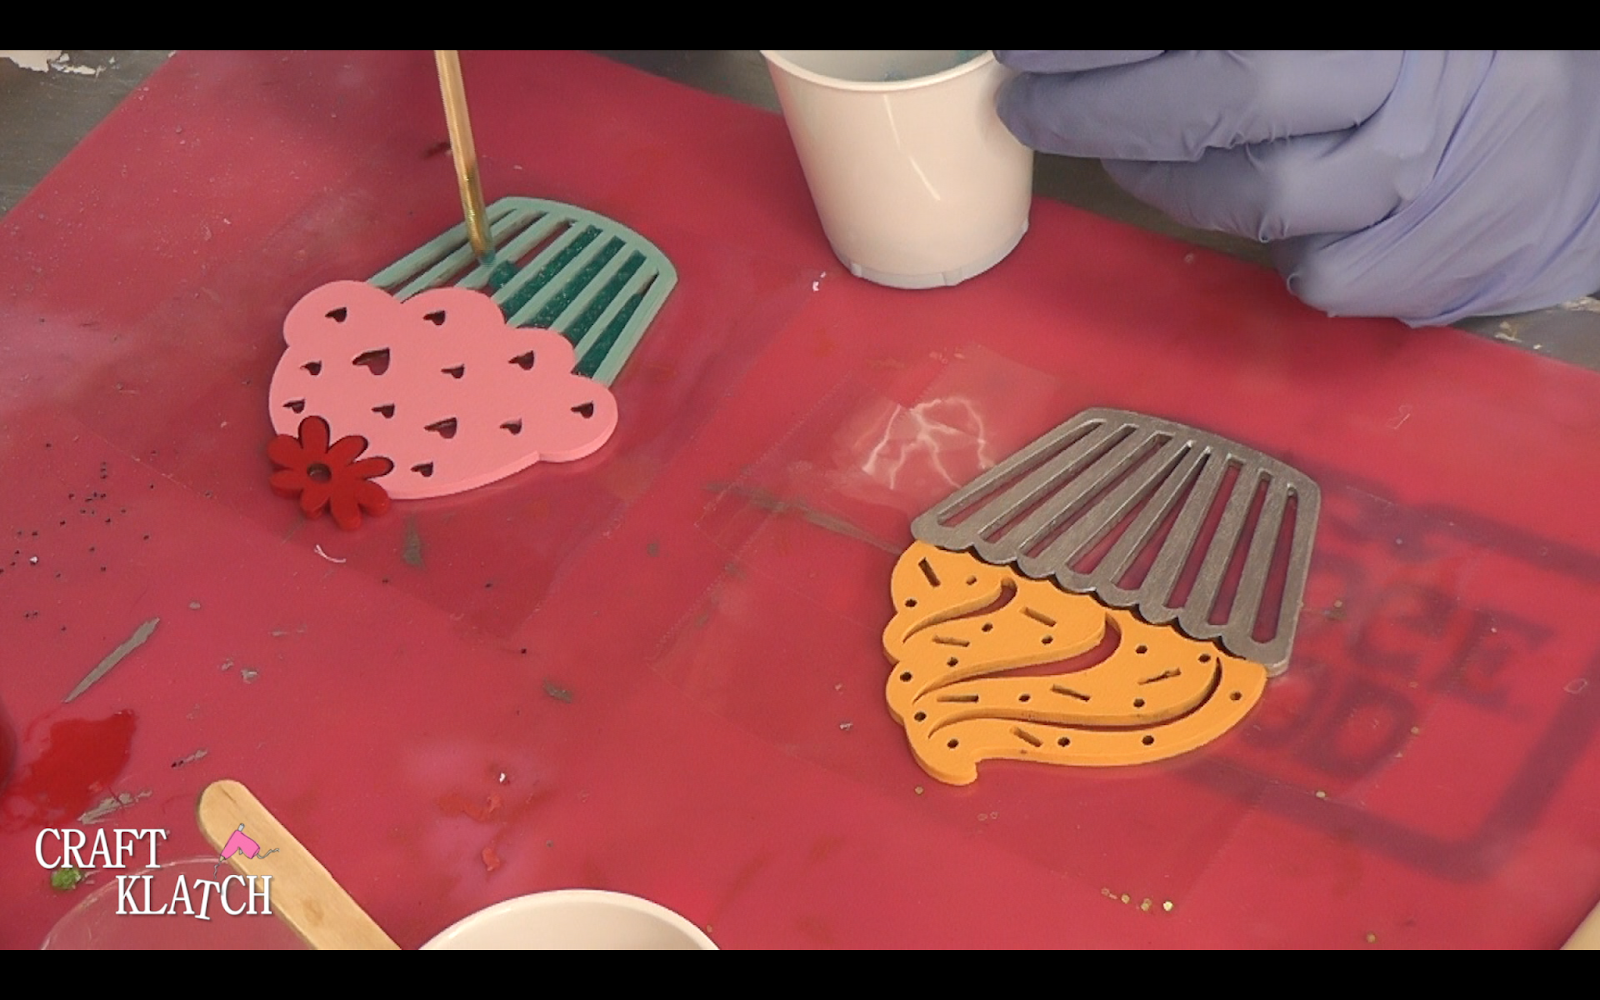
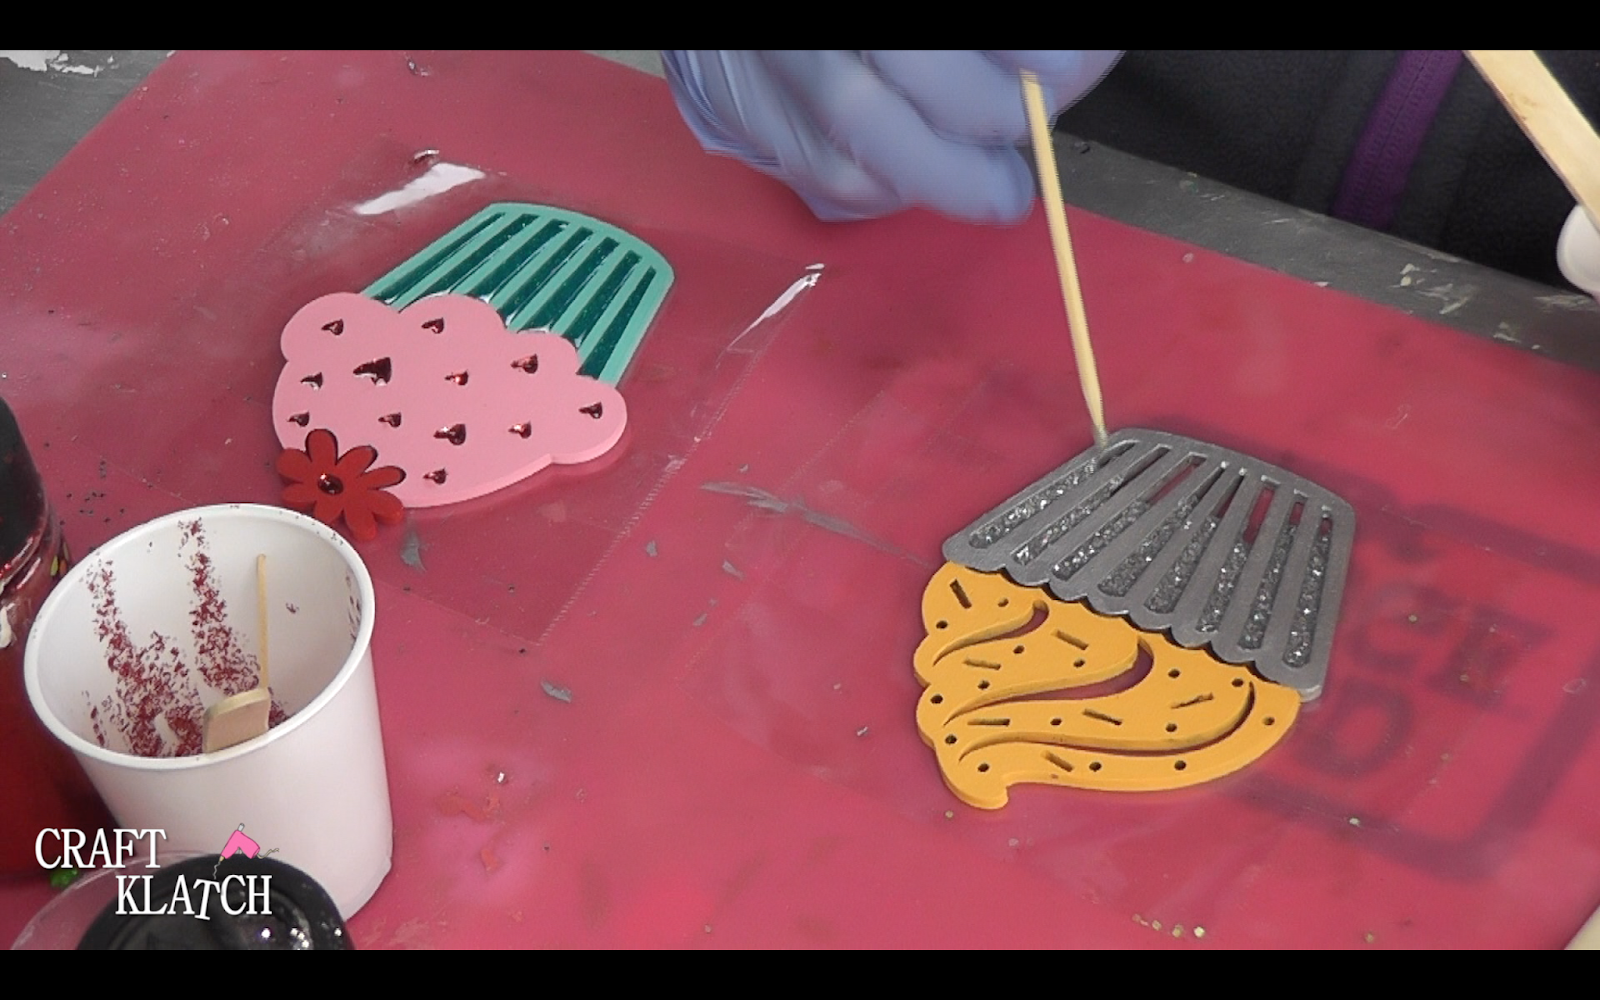
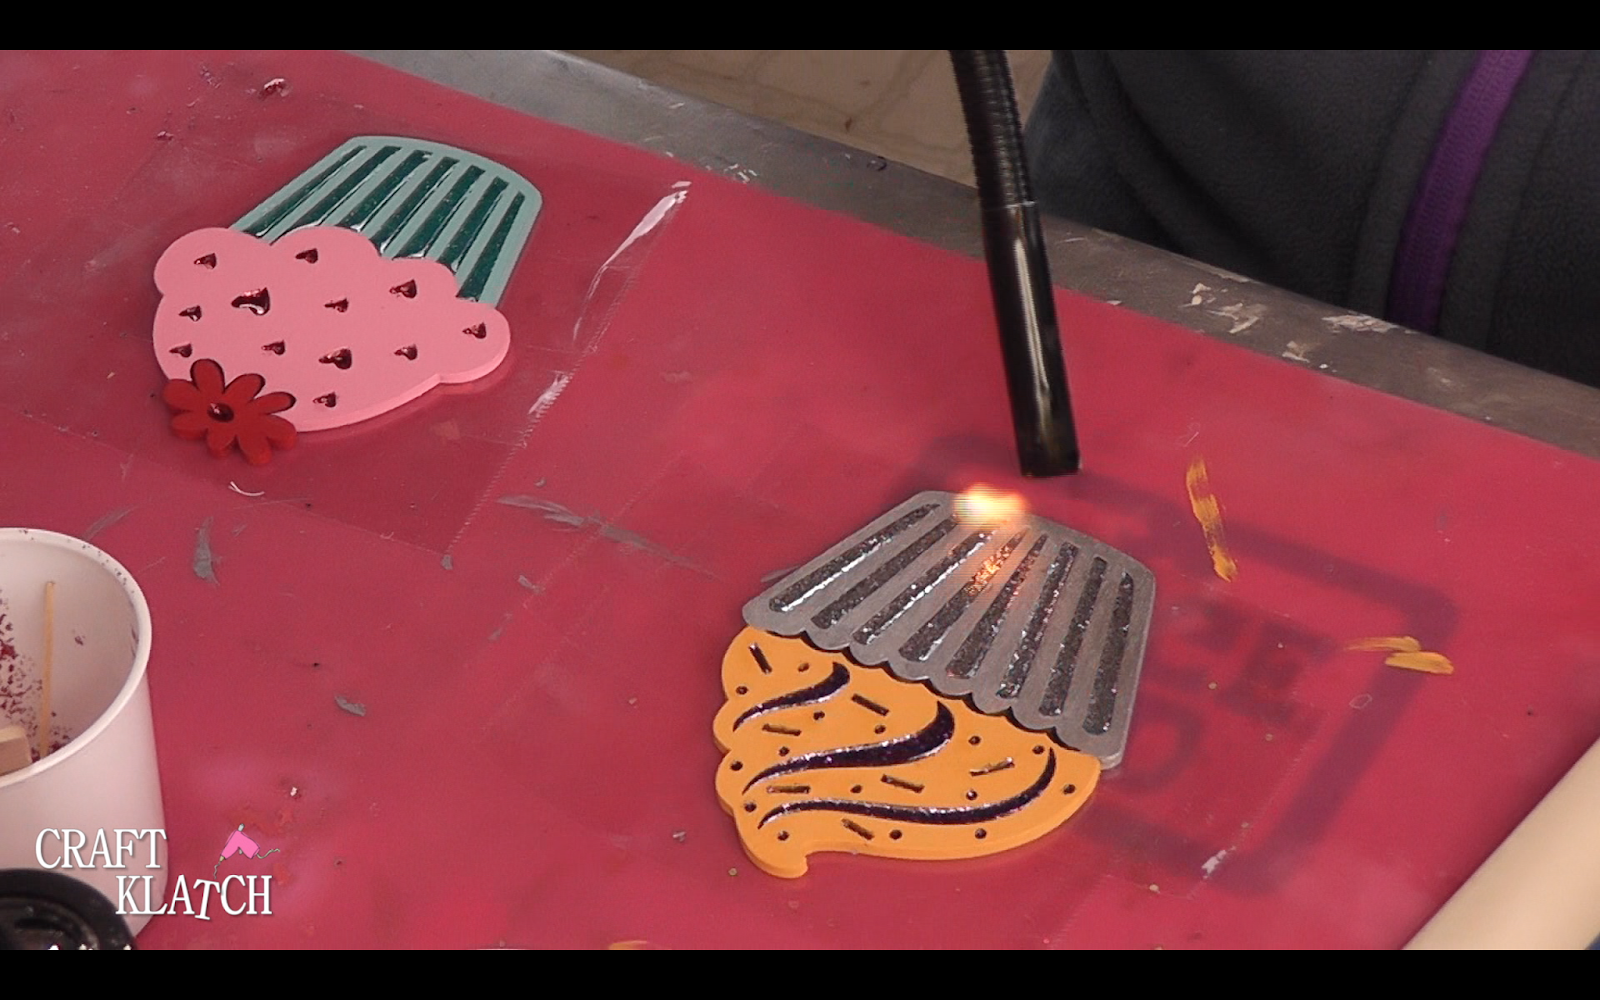
7. Carefully and quickly run your lighter over the resin areas. Remember, you are running a lighter over a piece of wood. Do not leave it over one spot too long. You do not want to set you project ablaze!
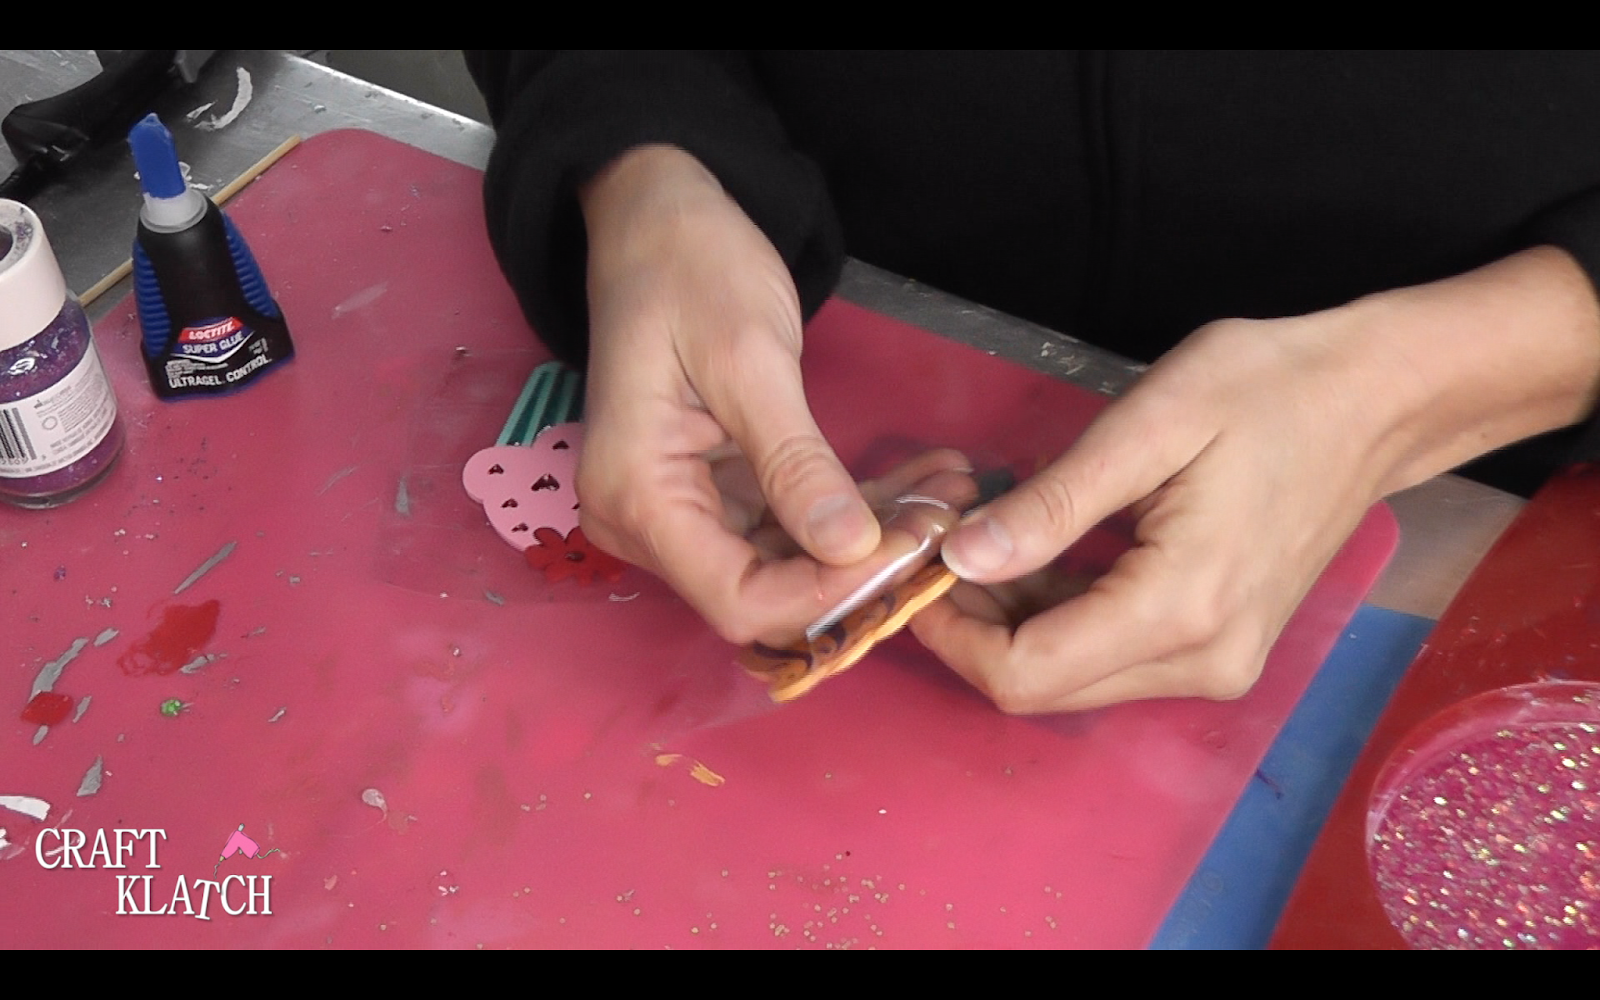
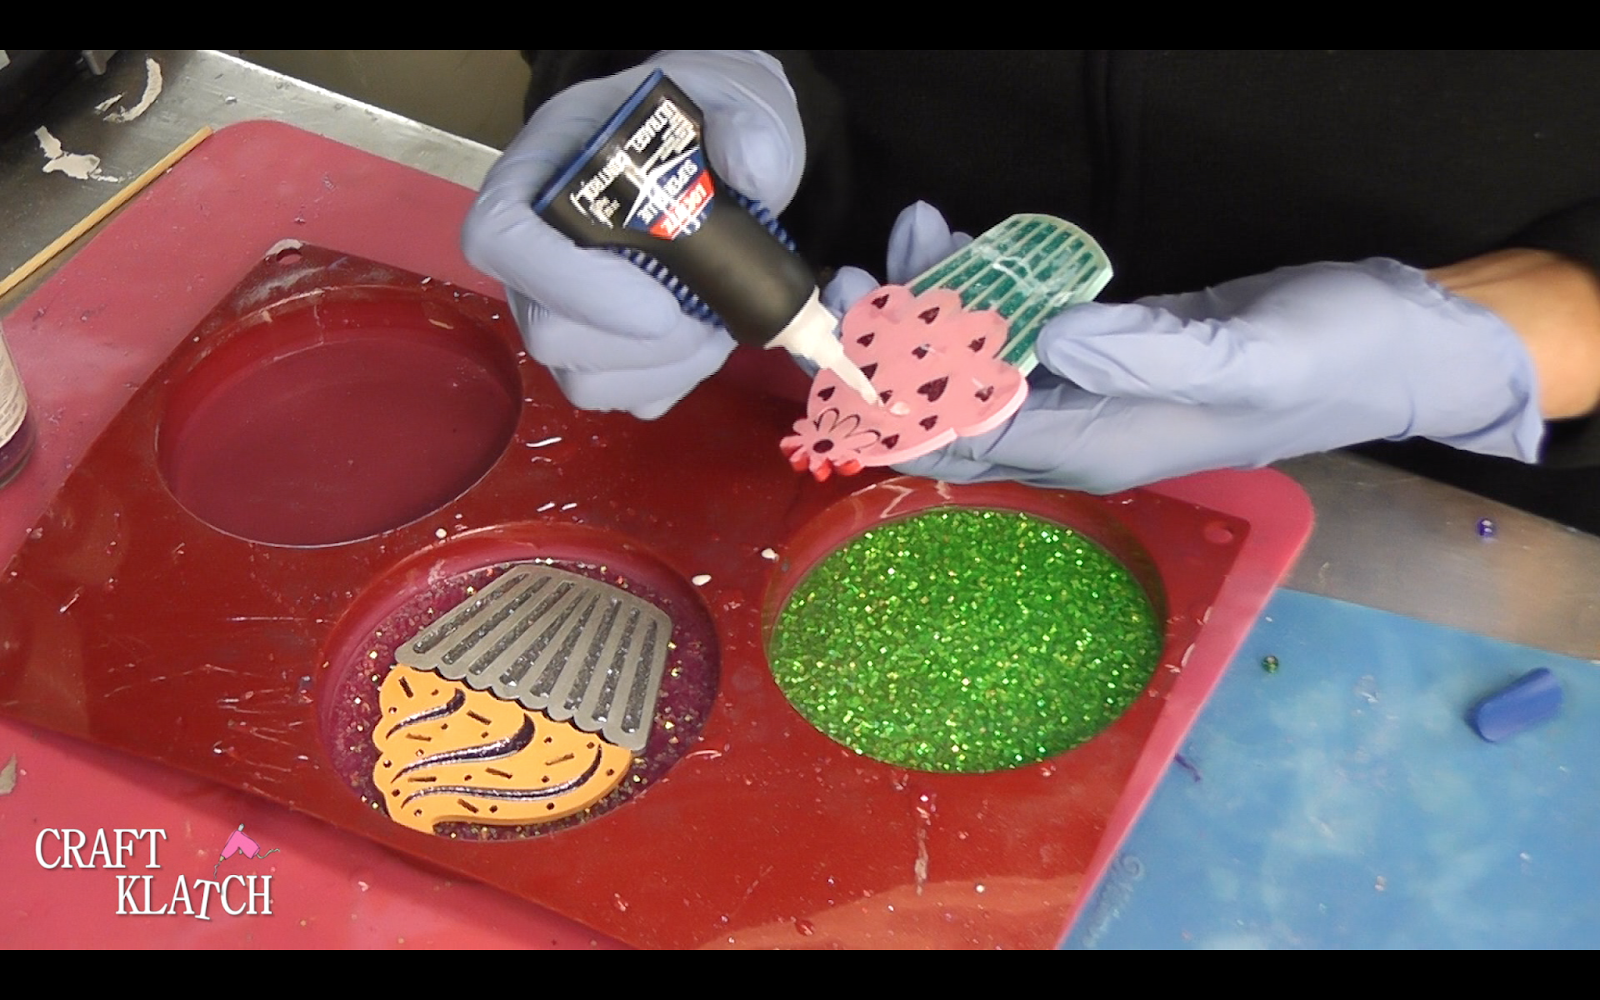
8. Once cured, remove the tape and use a small amount super glue, on the back, to tack it to the resin. Just a couple of small drops on the back of the cupcakes should do it. Place them onto the resin and let them dry.
9. Once they have dried, mix two more ounces of resin and pour it over the the cupcakes. TIP: Because there are voids between the wood and the resin, you will get more bubbles than usual. Be vigilant and keep checking and popping bubbles, until they stop appearing.
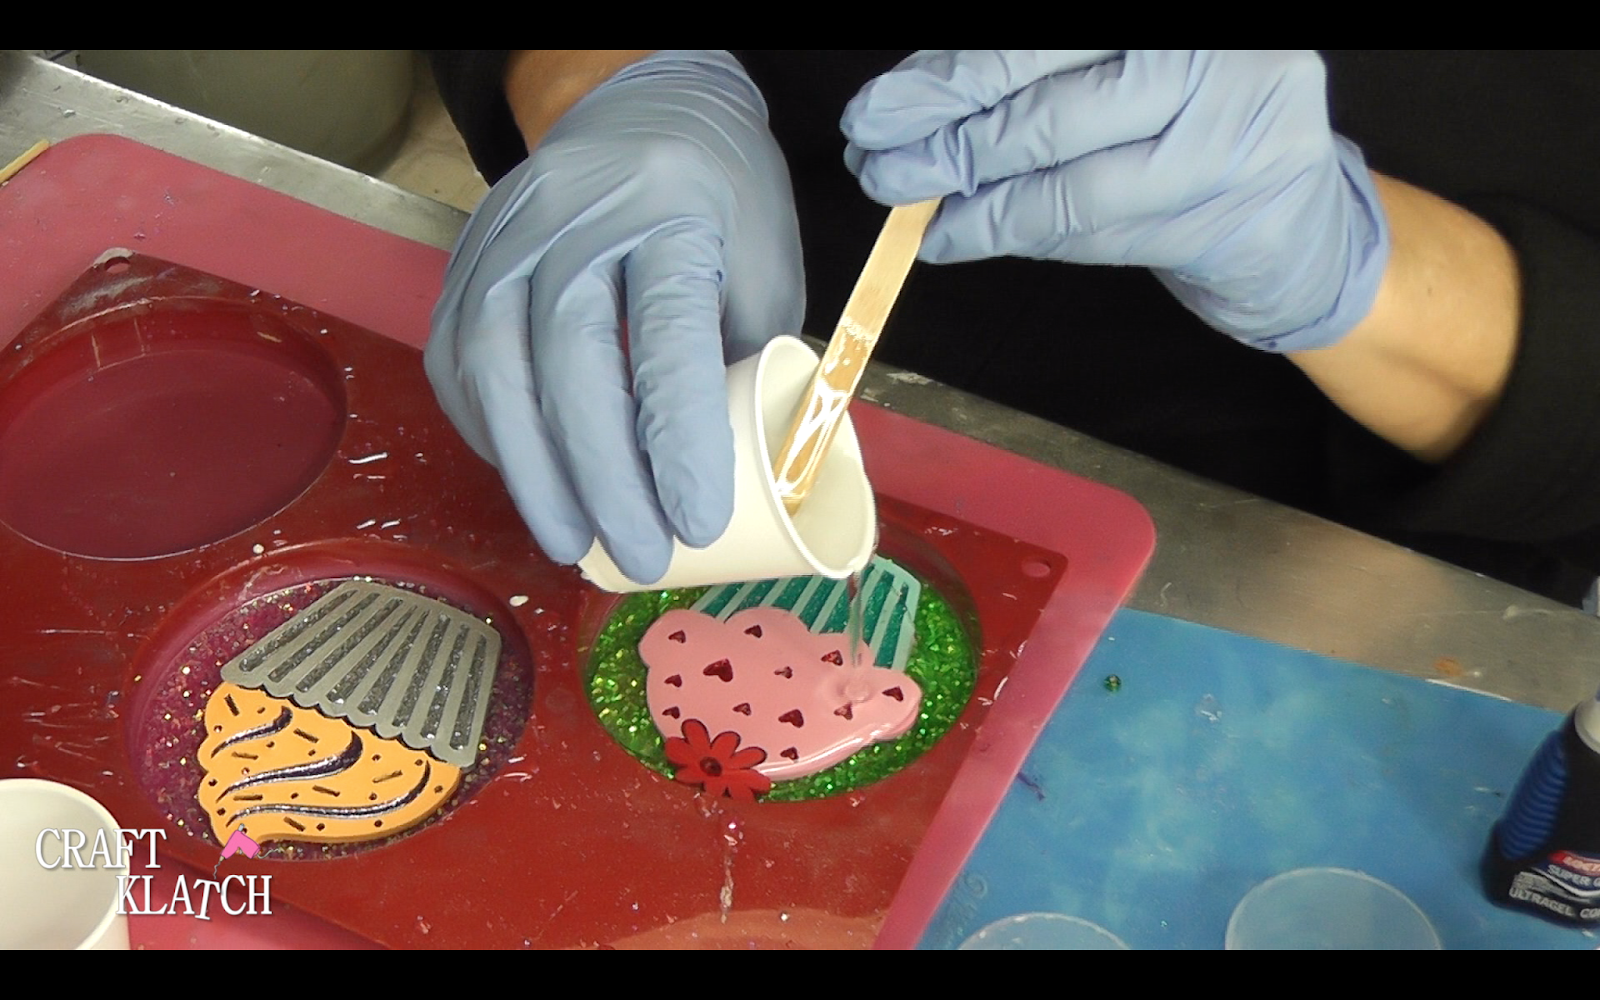
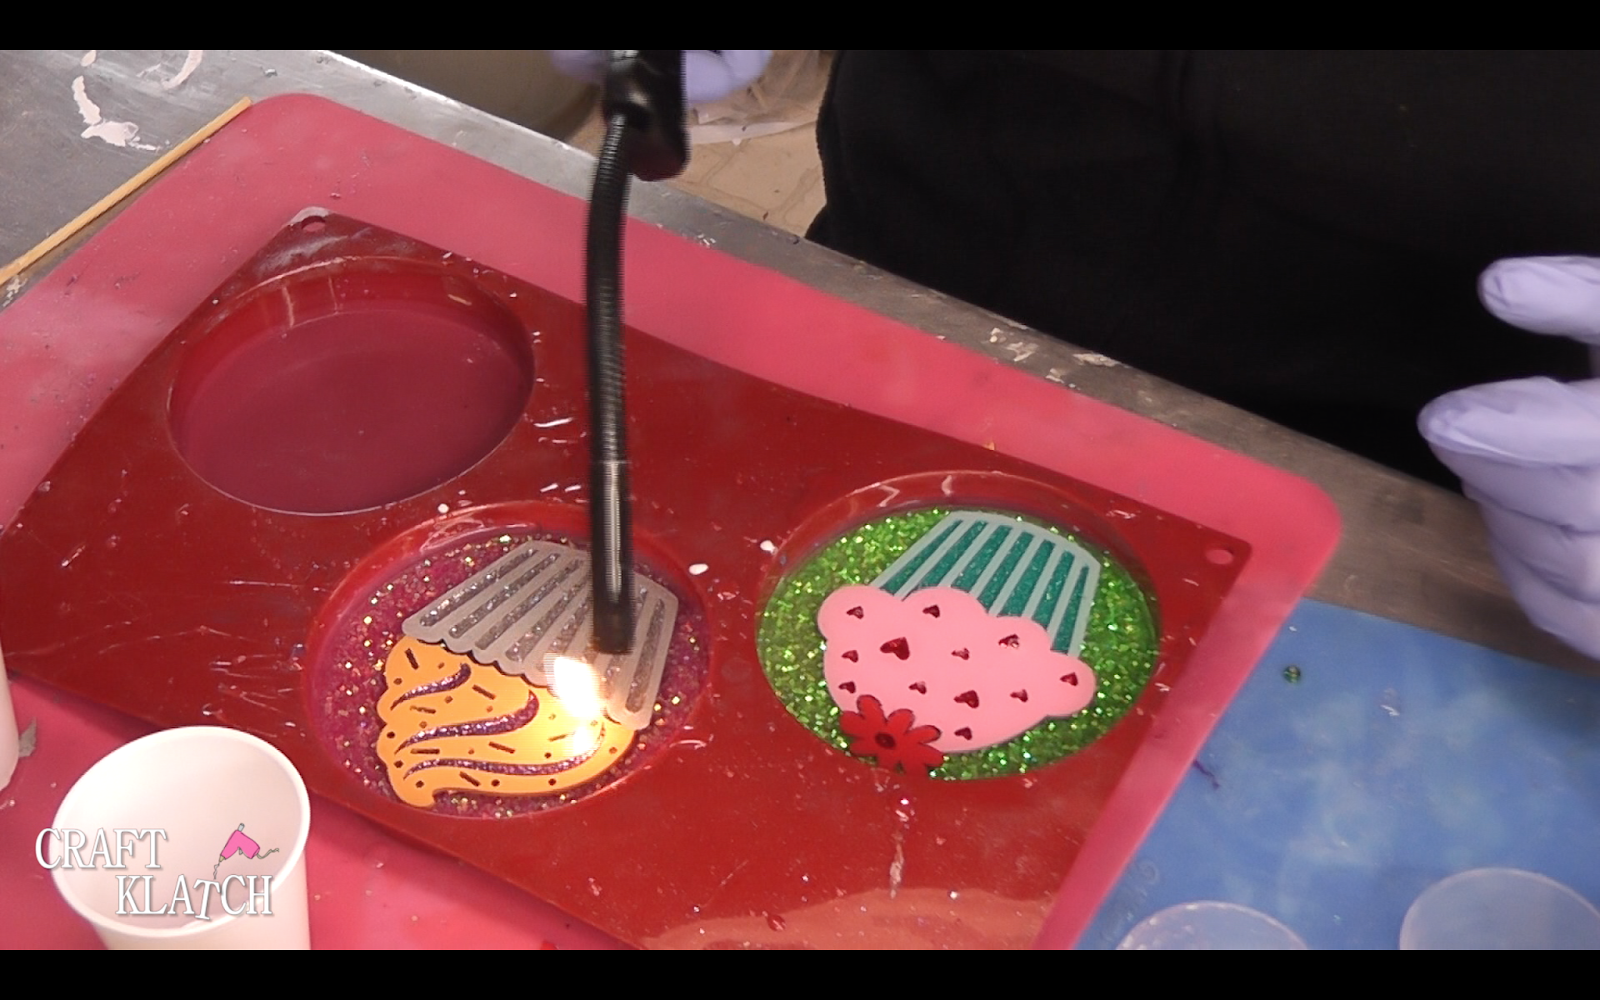
10. Allow to cure a minimum of 12 hours before unmolding.
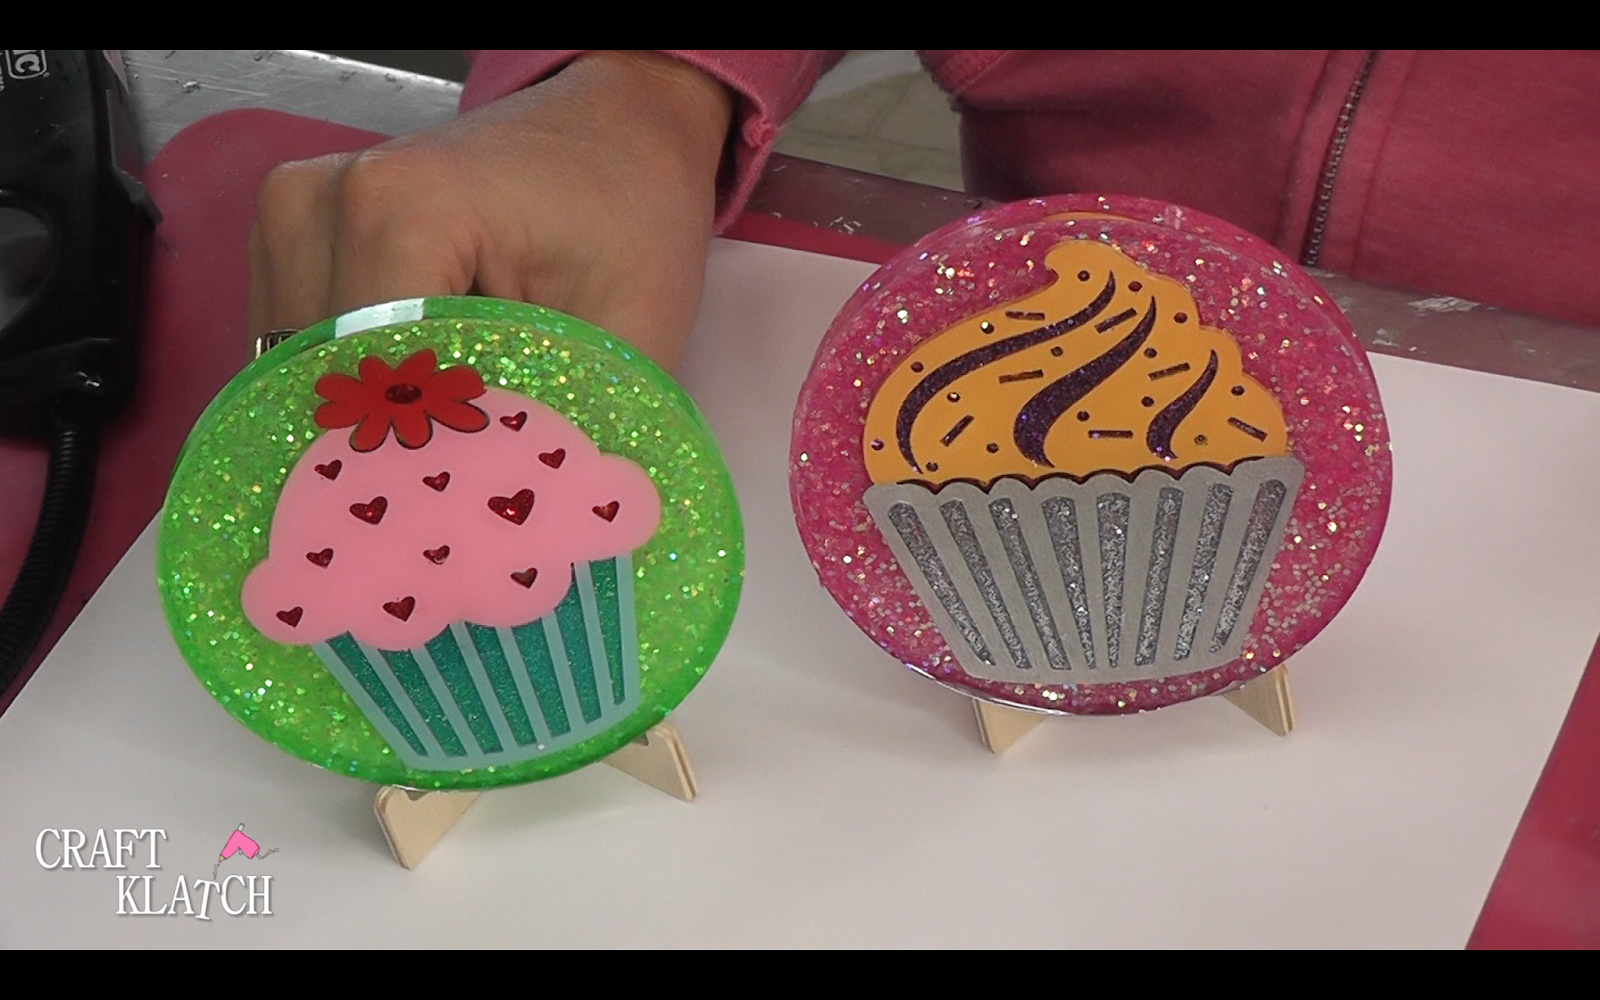
That’s it! Pop those puppies out of the mold and you have fun coasters to brighten your decor and your day!
Thanks for stopping by!!
Remember: Life’s too short not to shimmer, so grab your glue gun and your glitter!™ Stay safe!
Mona

May i ask why, just coasters ur so talented
I only do coasters on Friday Lauren. I have different projects every Monday. Look for Resin Art this Monday, on my YouTube channel! youtube.com/craftklatch
Easy to handle. I'll try. resin diy projects