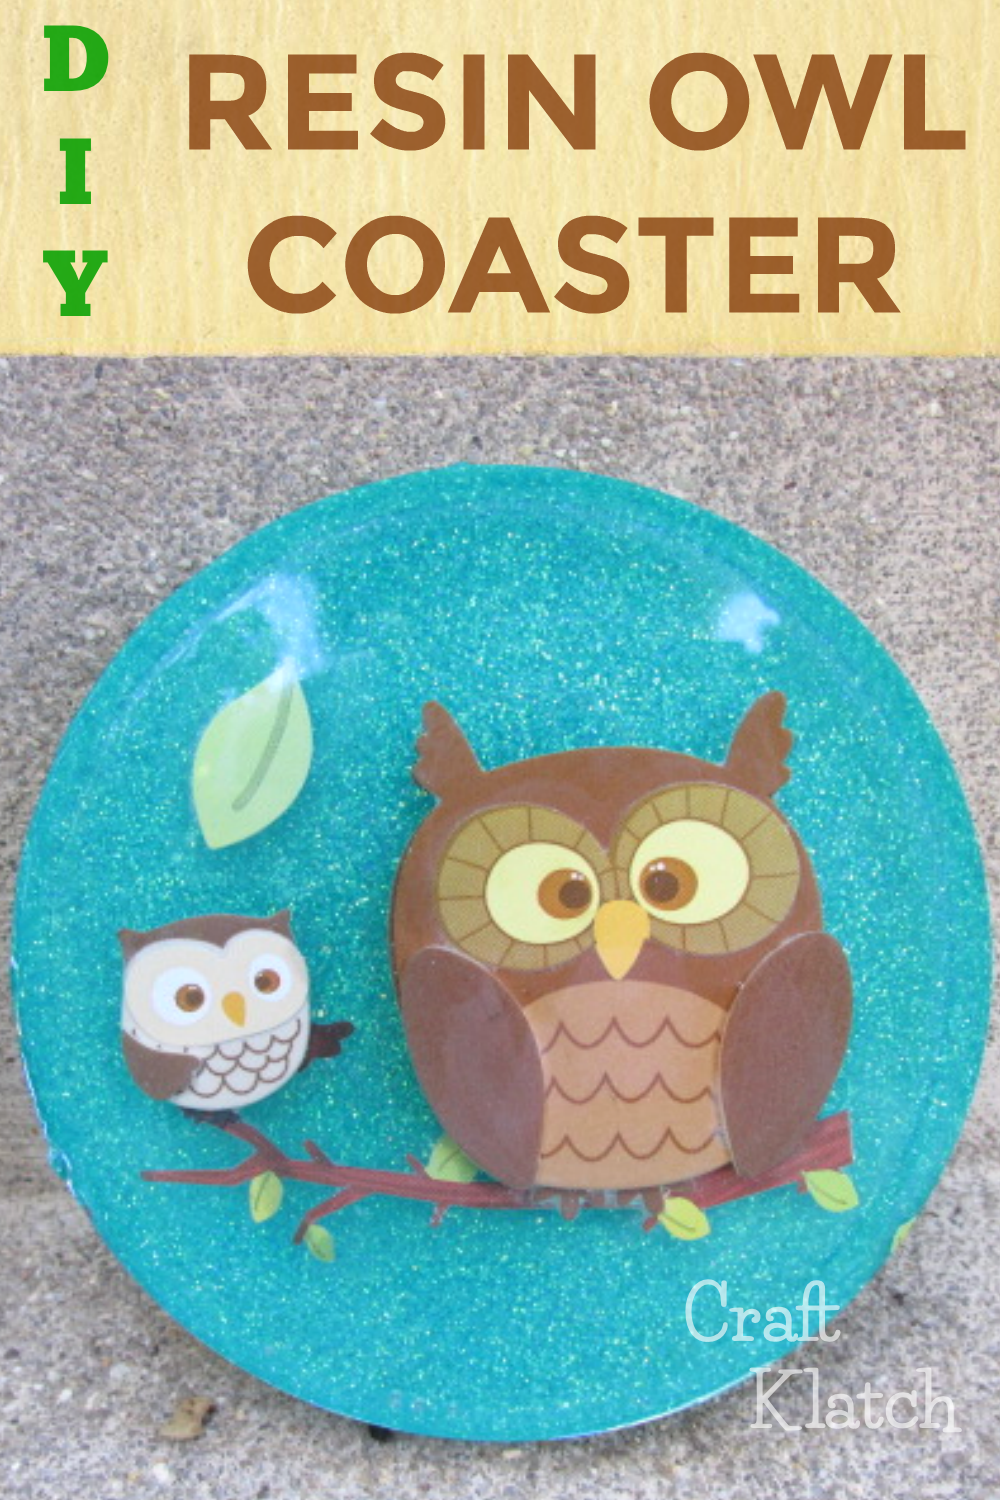
I found these cute dimensional owl stickers at Hobby Lobby and they cried out to become a coaster!!

You will need:
The links below help support this channel, as I may earn a small commission at no extra cost to you.
Mold: https://amzn.to/2FcRd7J
Mold: https://amzn.to/2FcRd7J
– Owl stickers: https://amzn.to/2VFPfIT
– Glitter: https://amzn.to/2W9O3gc
– Resin (use whatever resin brand you like):
Easy Cast: https://amzn.to/2yjYmBC
Art Resin: https://amzn.to/2yk9X3z
Clear Cast: https://amzn.to/2z4rxGw
FX Poxy: https://amzn.to/2AF3Pkk ~ According to the manufacturer, this one is heat resistant to 500 degrees F.
Easy Cast: https://amzn.to/2yjYmBC
Art Resin: https://amzn.to/2yk9X3z
Clear Cast: https://amzn.to/2z4rxGw
FX Poxy: https://amzn.to/2AF3Pkk ~ According to the manufacturer, this one is heat resistant to 500 degrees F.
Here is the video tutorial:
Directions:
1. Prepare your resin according to package directions.
2. Pour a thin layer into the bottom of the mold and sprinkle in the glitter. The glitter will sink to the bottom and leave you with a flat surface.
3. Allow to cure for at least 12 hours.
4. Place your stickers onto the the resin. If they are paper stickers, you might want to seal them with Mod Podge. If they have a coating on them, or are plastic, you don’t need to seal them. If you don’t seal paper stickers, they will get dark spots. The way to seal a sticker is to put it on the resin and then brush the Mod Podge over it. You must allow it to completely dry before pouring the next layer of resin, or else it won’t ever dry and you will have white or cloudy spots. If you let it completely dry, it will become invisible with the next layer of resin.
5. Pour enough resin to cover the stickers and again allow to cure for at least 12 hours.
6. Unmold and you have a great coaster!!
That’s it! Thanks for stopping by! Happy Crafting!
Mona


