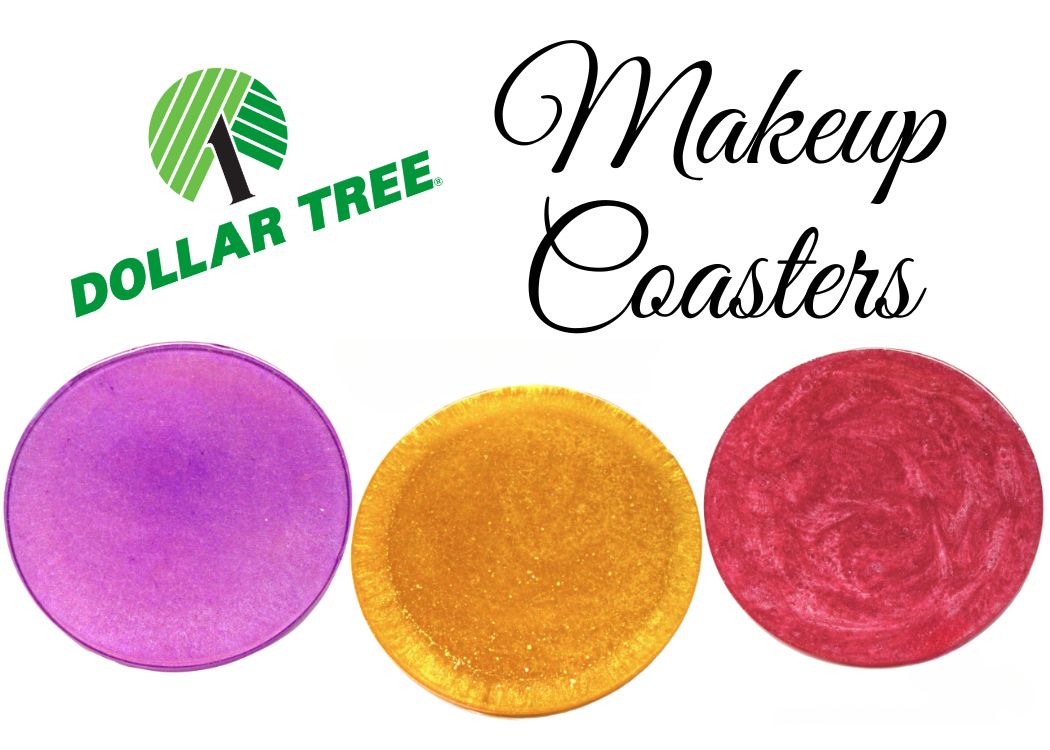
Create stunning resin coasters using Dollar Tree makeup finds. Discover how to use dollar store makeup products to color resin, making beautiful and affordable coasters with this easy DIY tutorial.
I always get asked about coloring resin. I often use pigment powder and pigments specifically made for resin. However, there are several other ways to color resin, and using Dollar Tree makeup is an affordable alternative!
Learn how to use Dollar Tree makeup finds – specifically powdered eyeshadow – to create beautiful resin coasters.
Dollar Tree Makeup Resin Coasters Video Tutorial
If you want to see exactly how I made these, check out this video tutorial! Sometimes it helps to see it in action.
Materials for Dollar Store Makeup Coasters
*This blog uses affiliate links. As an Amazon Associate I earn from qualifying purchases, at no additional cost to you.
- Coaster mold
- Powder makeup (If you have a Dollar Tree store nearby, go there!)
- Resin
- When deciding on which resin to use for your coasters, you need to keep in mind whether you want it just for cold cups or for hot ones as well.
- If only for cold drinks, you can be flexible and use whatever brand you like:
- If you want it to work for both hot and cold drinks, you need to look for a heat-resistant resin, like these:
- Stone Coat (Quick coat)
- Stone Coat (Heat resistant)
- FX Poxy ~ According to the manufacturer, this one is heat resistant to 500° F.
Dollar Tree Makeup Coaster Directions
Step 1: Mix the Resin and the Dollar Tree Makeup
Mix three ounces of resin according to the package directions. Then, divide the resin into three smaller cups for coloring. Add Dollar Tree makeup products, like powdered eyeshadow to each cup. Stir until the color is fully mixed into the resin.
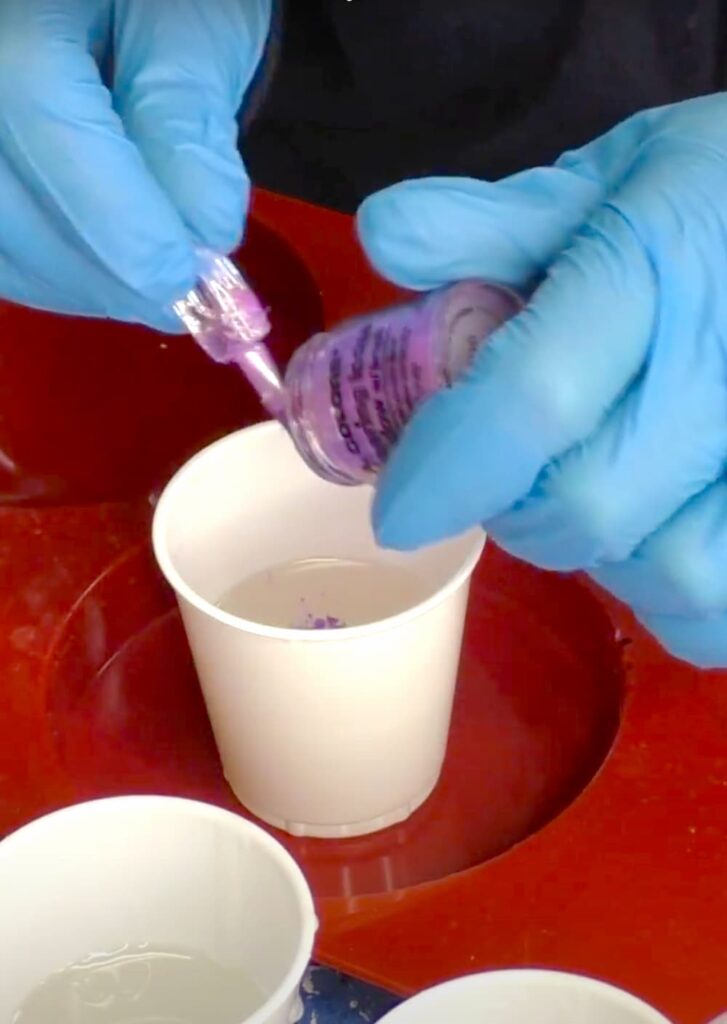
I started with the purple eye shadow. It’s a loose powdered pigment eye shadow and therefore PERFECT for this use!
The colors are pretty. They are more affordable than traditional pigment powders to color resin.
Step 2: Pour the Resin into the Molds
Then, pour the resin into the molds and pop bubbles with a lighter. Allow it to cure for a minimum of 12 hours.
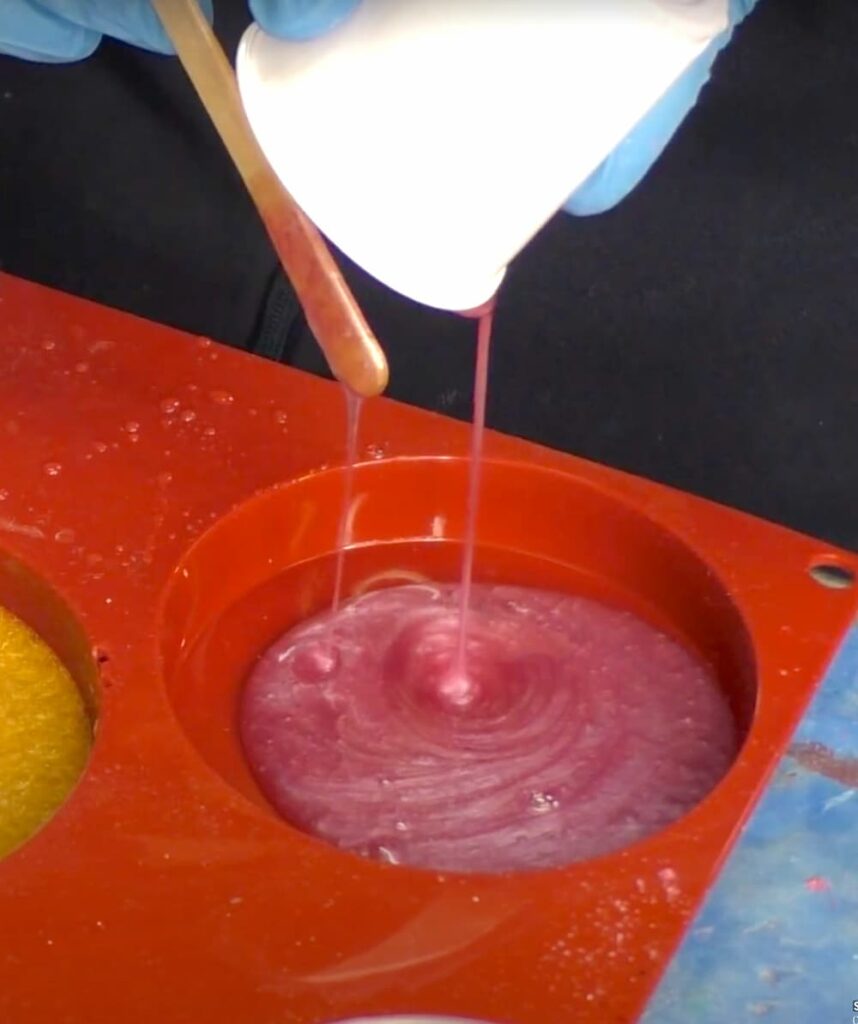
Look how pretty the powders look mixed in with the resin!
Step 3: Pop and Cure
Use a lighter to pop bubbles in the resin and allow it to cure for a minimum of 12 hours.
I removed the coasters from the mold and the colors are beautiful!
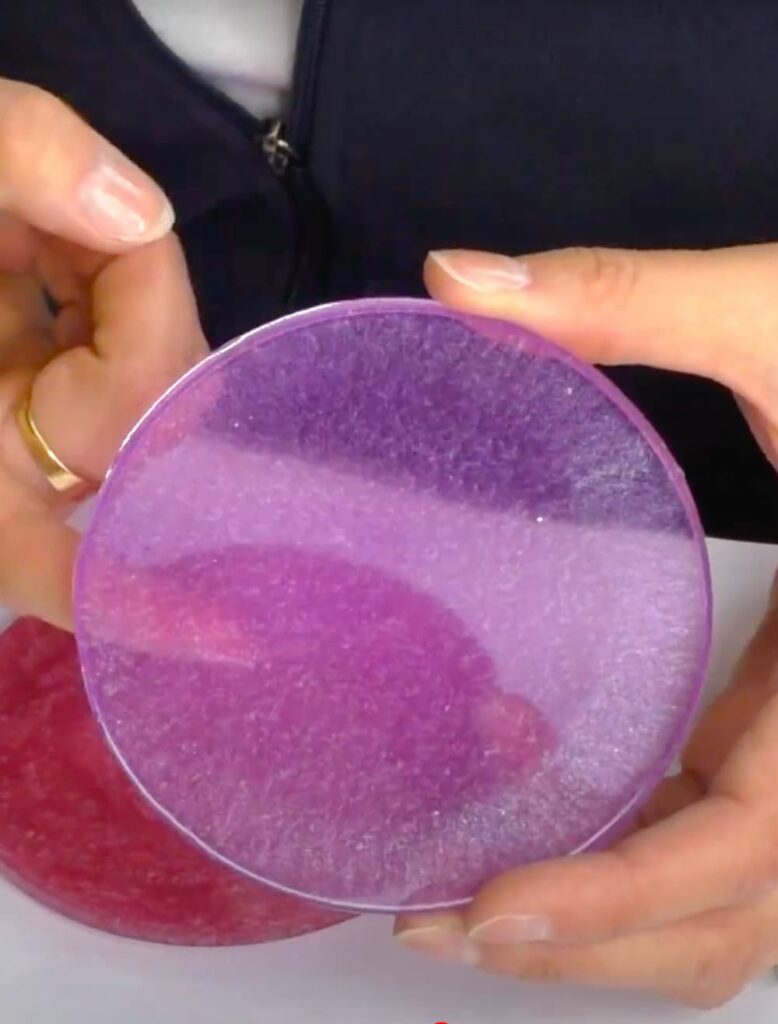
Depending on how much of the eyeshadow you use, determines how opaque the coasters will be.
I used less on the purple and you can still see through it.
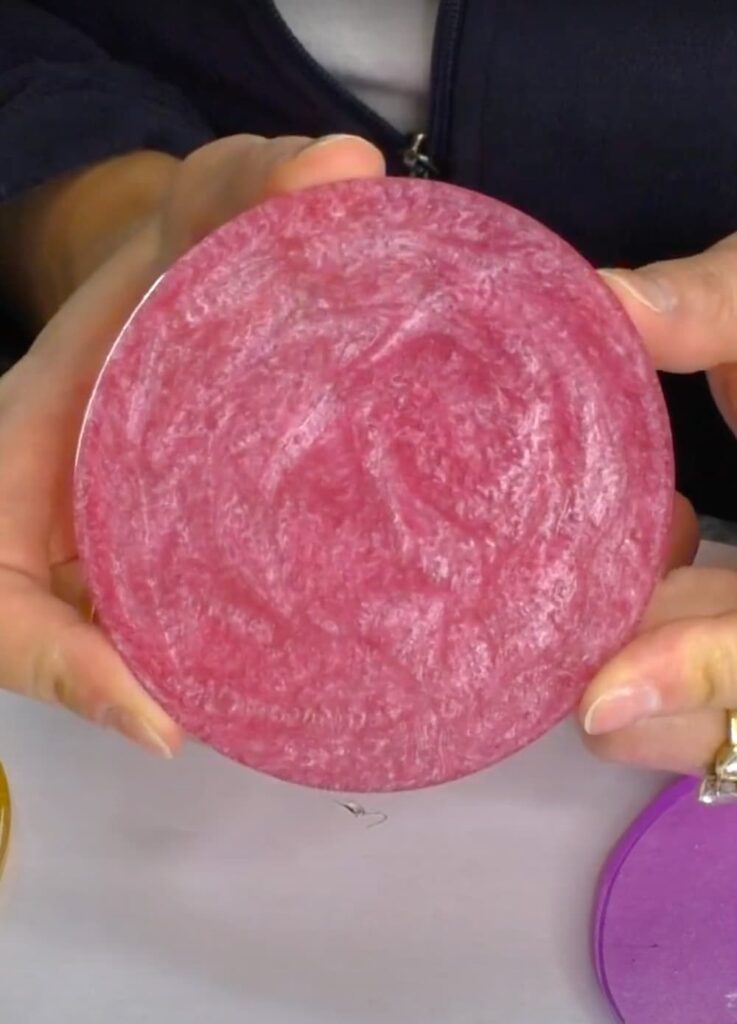
The pink turned out nice and opaque. The metallic patterns that happen are just so pretty!
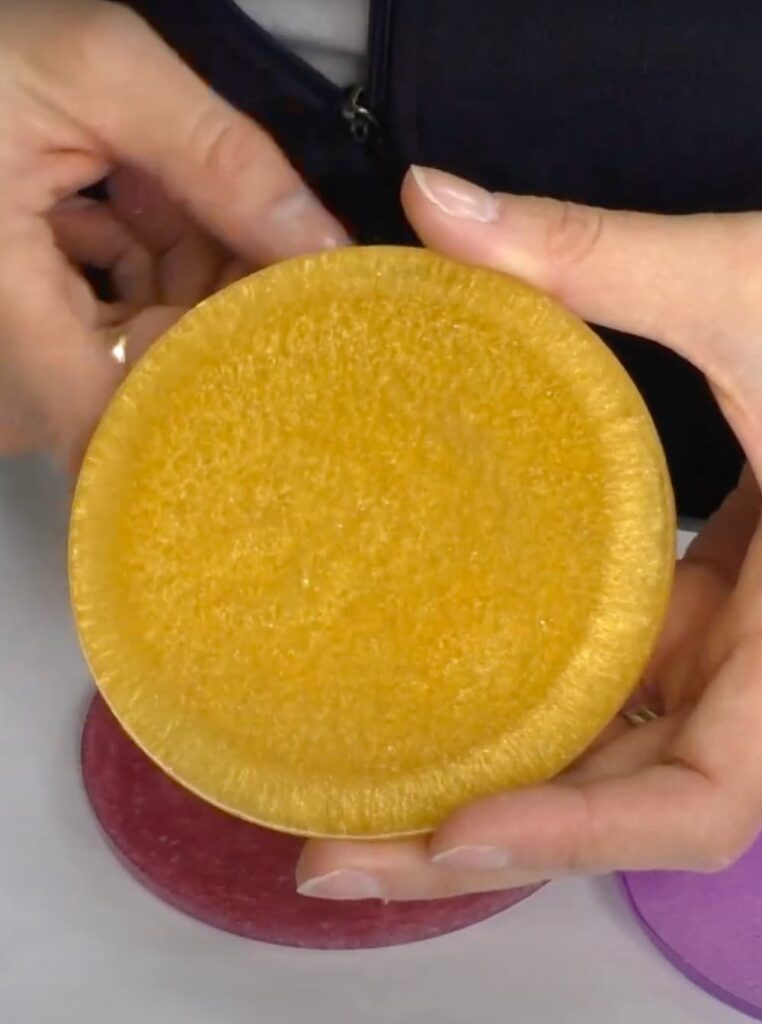
The yellow is also opaque but the eyeshadow on this one had a total different look and pattern.
That is one of the things I love most about resin is you can mix things, pour things, move things around and they are still going to become whatever they want to become!
That’s it! I hope you make good use of Dollar Tree makeup to color your resin. It’s super budget-friendly and they look great on their own or to use as a background.
Other Fun Resin Coaster Crafts
If you are looking for other fun coaster ideas, I have a TON! Here are a few:
- Step-by-Step Resin: How to Color-Blend Coasters [Video]
- Your Resin Coasters Are Not Curing: Top 5 Reasons Why
- Not Your Grandma’s Doily Coaster #1 | Another Coaster Friday
- Color Shift Paint Resin Coasters Black Background | Another Coaster Friday
Thanks for stopping by! Remember: Life’s too short not to shimmer, so grab your glue gun and your glitter!™ Stay safe.
Mona

