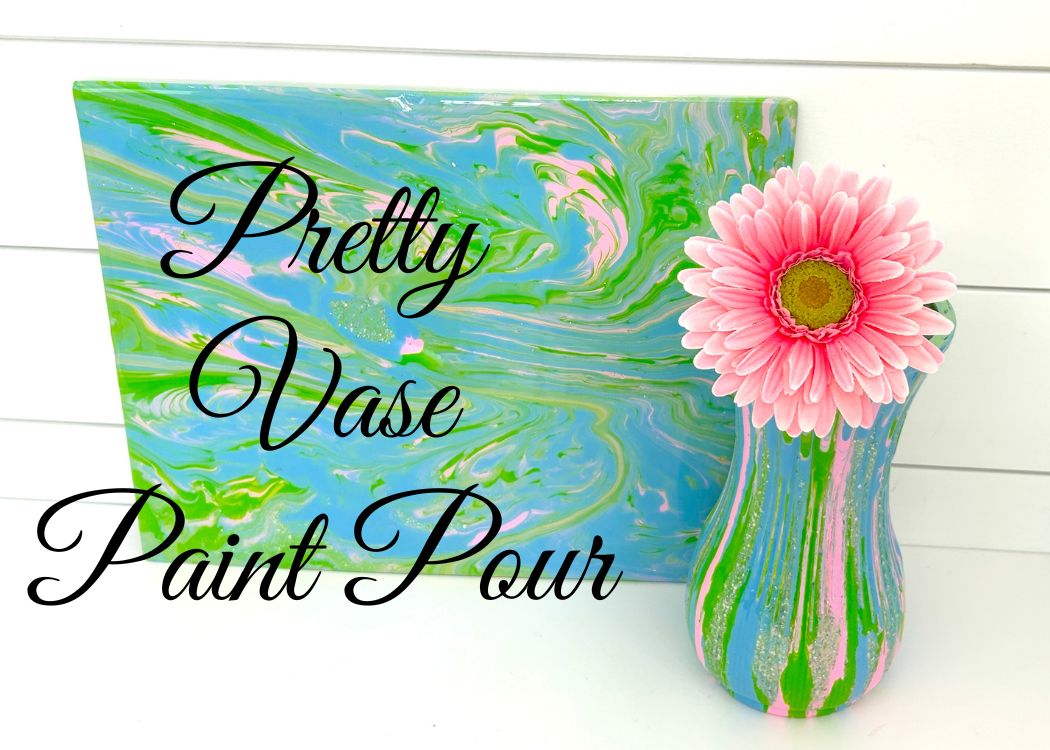
Ready to turn a thrift store find into something spectacular? Today, I’m walking you through a super fun and colorful project: creating a pretty vase with an acrylic paint pour. We’re talking about vibrant colors, glittery goodness, and a one-of-a-kind piece that’ll make your home decor pop!
What You’ll Need:
*Disclosure: This blog uses affiliate links from Amazon and other retailers. I earn a small amount from qualifying purchases at no additional cost to you.
- A vase (I snagged mine for 50 cents at the thrift store!)
- Acrylic pouring paint (I used sour apple green, light pink, and light blue)
- Disco Dust (a glittery paint pouring medium)
- Rubbing alcohol (for cleaning the vase)
- Silicone lifts or stands (to elevate your project)
- A mat board or canvas (to catch the drips)
- Resin:
- When deciding on which resin to use, there are a lot of qualities that might be appealing, UV resistant, price, heat resistance, etc. Just make sure to select a resin that fits your needs.
- Use whatever brand you like:
- Easy Cast
- Art Resin
- Let’s Resin
- Promise Epoxy
- These are heat resistant resins:
- FX Poxy
- Stone Coat
Video Tutorial:
You can find the FULL VIDEO HERE!
Step 1: Prepping the Vase
First things first, grab that vase and give it a good clean with rubbing alcohol. We want that surface to be spotless so the paint adheres beautifully. Place the vase on your silicone lifts to keep it elevated and ready for some paint-pouring action!

Put a canvas under the vase, so the paint that drips off the vase creates an equally beautiful acrylic paint pour art that coordinates perfectly with the pretty vase.
Step 2: Time to Create a Pretty Vase and Acrylic Paint Pour
Now comes the fun part—pouring the paint! Start with your chosen colors: sour apple green, light pink, and light blue. Just go for it! There’s no right or wrong way to do this—let the paint flow off the sides and do its thing. If you’re feeling adventurous, swirl it around to create some cool patterns. And remember, if a spot needs a little more color, just add it in! This is your creation, so let your inner artist shine.

Let’s kick things up a notch with Disco Dust! This magical paint pouring medium contains glitter that’s going to add some serious sparkle to your vase. The disco dust is and acrylic paint pour medium and when it dries, you’ll be left with just the glittery goodness, making your vase truly shine.
Step 3: Now Turn Your Focus the Canvas
All that acrylic paint will pour and drip off the vase and right onto the canvas. When most of the dripping has ended, carefully remove your pretty vase from the canvas and let it keep dripping onto a garbage bag or something that is protecting your work surface.
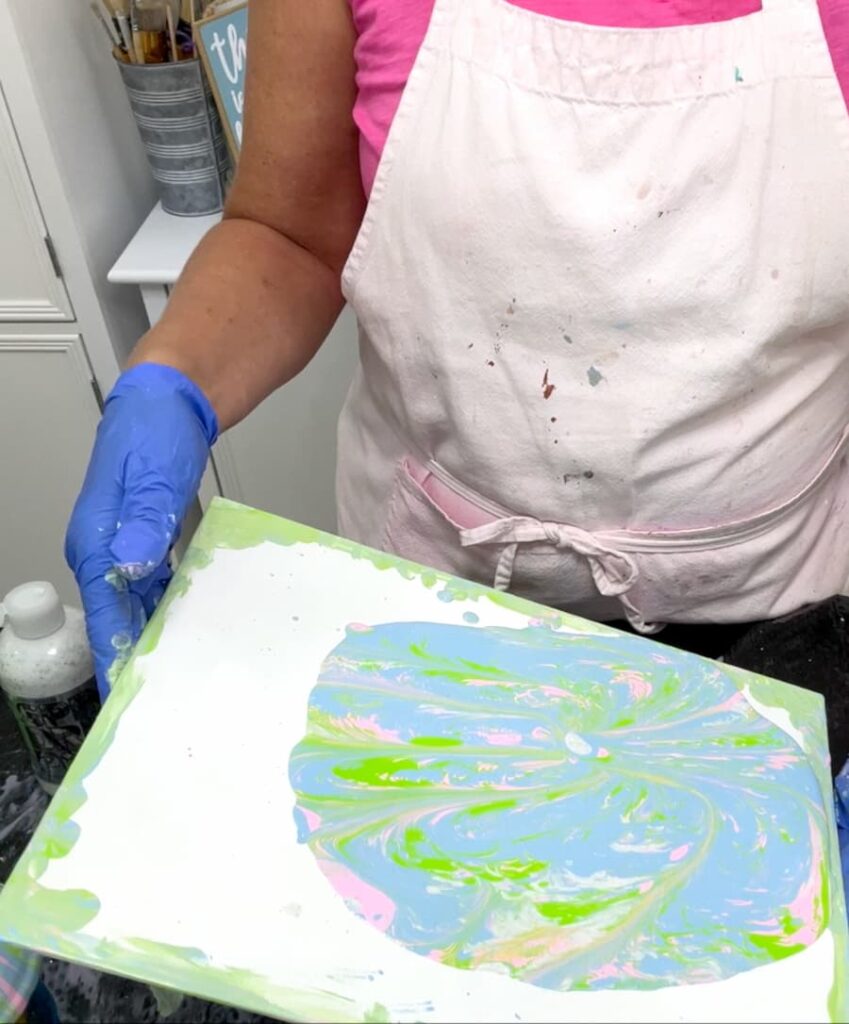
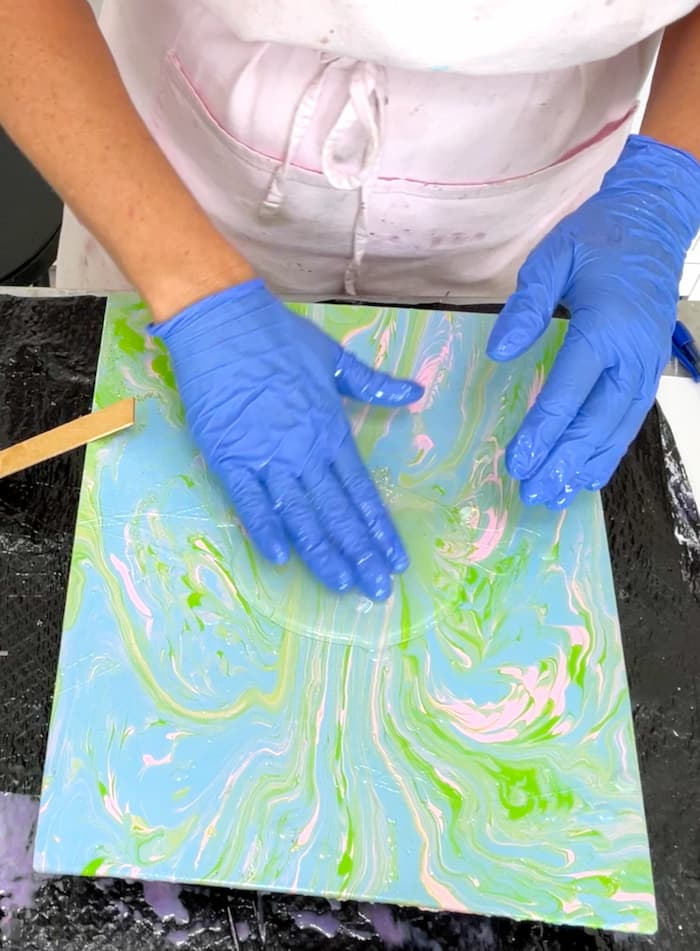
Then, pick up your canvas from the edges and move it around to get the acrylic paint moving to completely cover it.
*TIP: As the paint was dripping off the vase, I took my finger and ran it along the lip of the vase. I took that paint and put it on the edges and corners of the canvas, which helps the paint run to those areas.
Now, patience is key! Let your vase dry completely overnight. This allows all the colors to settle and blend beautifully, while the disco dust carrier base dries clear and you only see the glitter.
*I say overnight but that depends on how thick it is and your humidity and temperature levels. My vase took a couple of days for the bottom to fully dry.
Step 5: Seal the Deal with Resin
Once your pretty vase is dry and looking fabulous, it’s time to seal it with resin. Pour the resin over the vase, making sure to cover every inch. Use your hands (or a cup turner if you have one) to spread the resin evenly. Don’t forget the bottom edges! The resin will make the colors pop even more and give your vase a glossy, professional finish.

Also, pour resin over the canvas to protect that too.
Let the resin cure completely, and then admire your masterpiece! Your vase is now not just a pretty face—it’s durable and ready to show off anywhere in your home.
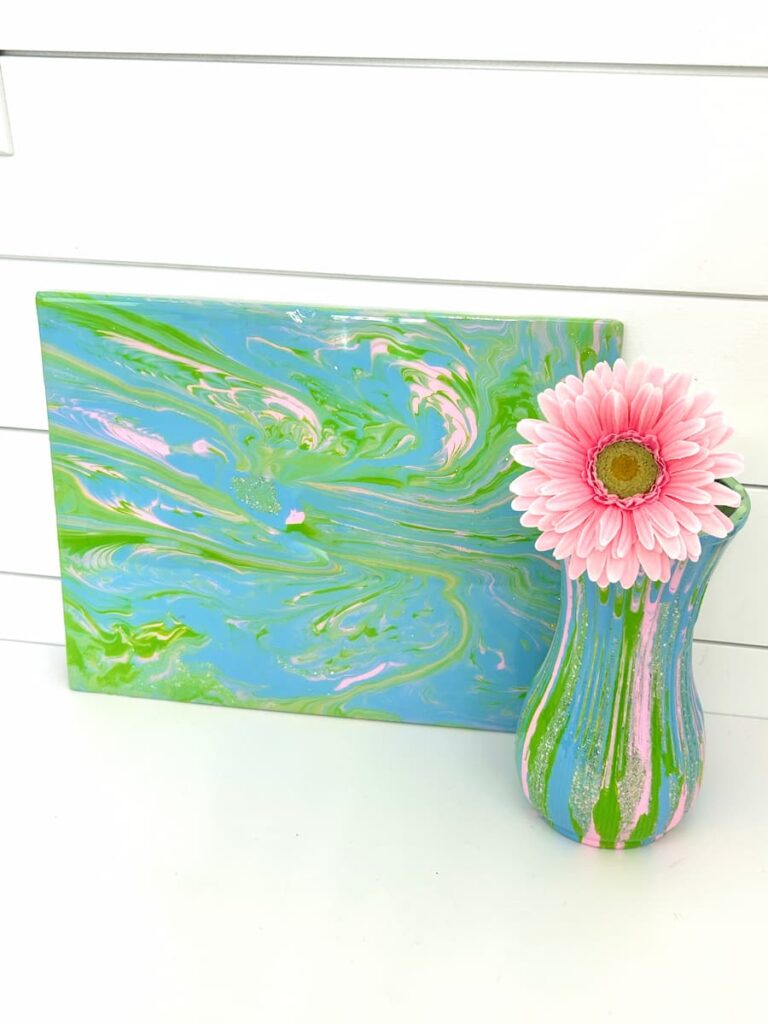
The Big Reveal
After the resin has cured, your vase will be glossy, glittery, and absolutely gorgeous! The colors will have blended into a beautiful pastel swirl, and the glitter will add that extra wow factor. You can also use the leftover resin and paint drips on the canvas or mat board to create a matching piece of art. Talk about a two-for-one project!
What do you think of your new pretty vase? I’d love to hear about your color choices and how it turned out! And if you’re new to resin, check out my free guide, Resin Revolution, to answer all your burning questions.
For More Amazing Resin and Acrylic Paint Pours
- Acrylic Paint Pouring on Vases DIY: Transform your glassware
- DIY Old Fashioned Rock Candy Salt Resin Vase: A Stunning Dollar Tree Project
- How to Reuse an Old Shirt and Turn It into a Stunning Resin Vase
- Resin Flower Vase and Art
Remember: Life’s too short not to shimmer, so grab your glue gun and glitter, and let’s keep crafting!
My mum does a lot of crafts like this. I decorated a jug using this method not so long ago, it was fun to do.
Thanks for linking with #pocolo
How fun to do it with your mom!