You all know how much I love resin and the Dollar Tree! While perusing the Christmas section, my brain sparked with the idea to make a luminary Christmas craft with some super cute Dollar Tree gift bags!
And of course resin would make it extra special!
I have created A LOT of Christmas crafts using resin and one of my all time favorites is the Penguin Coaster set.
And I’ve also made a lot of Christmas DIYs using Dollar Tree items, like when I did the first Ornament Makeover that led to three others.
Psst…I might have another ornament makeover this year!
Back to the luminary craft! Imagine these on your front porch or lining your front walk on Christmas Eve and Christmas Day!
Stick around to the end and I’ll tell you what else you can use them for and you’ll find the full video tutorial!
Supplies You Will Need
*This blog uses affiliate links. As an Amazon Associate I earn from qualifying purchases, at no additional cost to you.

- Gift bags
- Anywhere Hole Punch
- Twinkle lights
- Foam brush
- Silicone mat (my next planned upgrade)
- Heat gun
- Resin:
- When deciding on which resin to use, there are a lot of qualities that might be appealing, UV resistant, price, heat resistance, etc. Just make sure to select a resin that fits your needs.
- Use whatever brand you like:
- Easy Cast
- Art Resin
- Let’s Resin
- Promise Epoxy
- These are heat resistant resins:
- FX Poxy
- Stone Coat
Christmas Dollar Tree Gift Bags Luminary Directions
Step 1
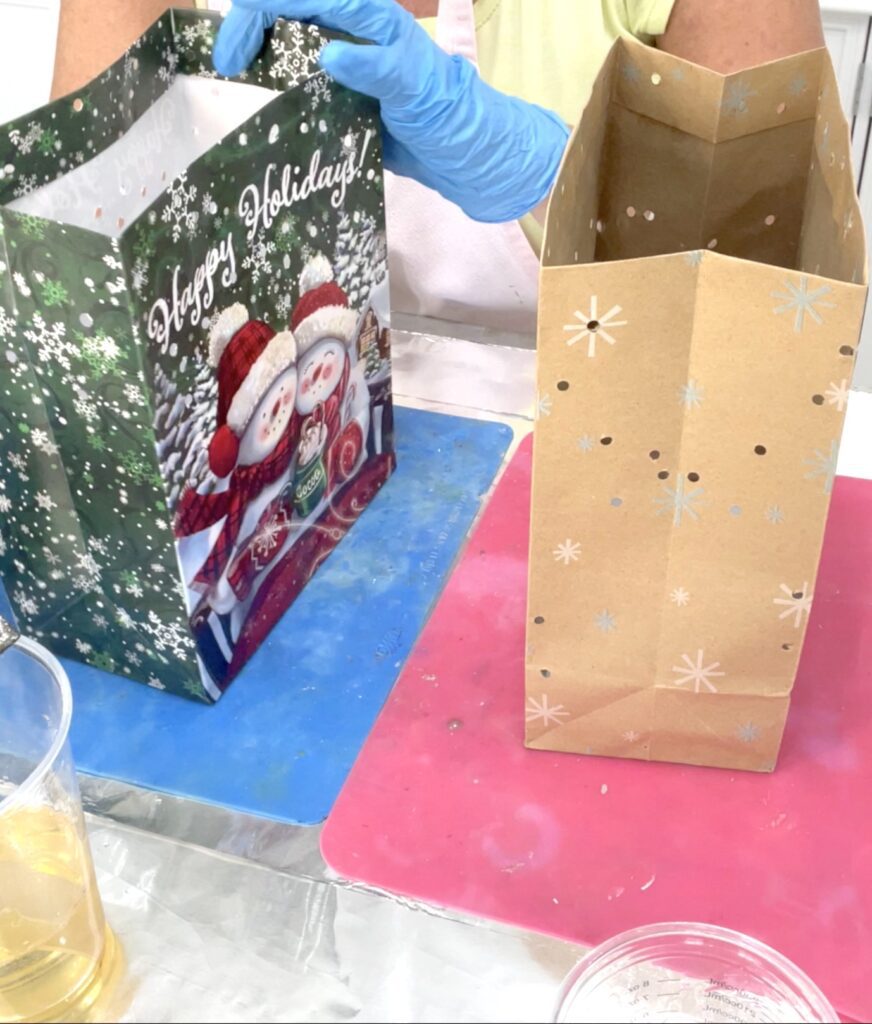
Remove the handle from the gift bags and put them on a surface that you will able to remove them from. I put them on my silicone mats. An alternative is to use parchment paper. Resin will peel off of parchment paper.
Step 2
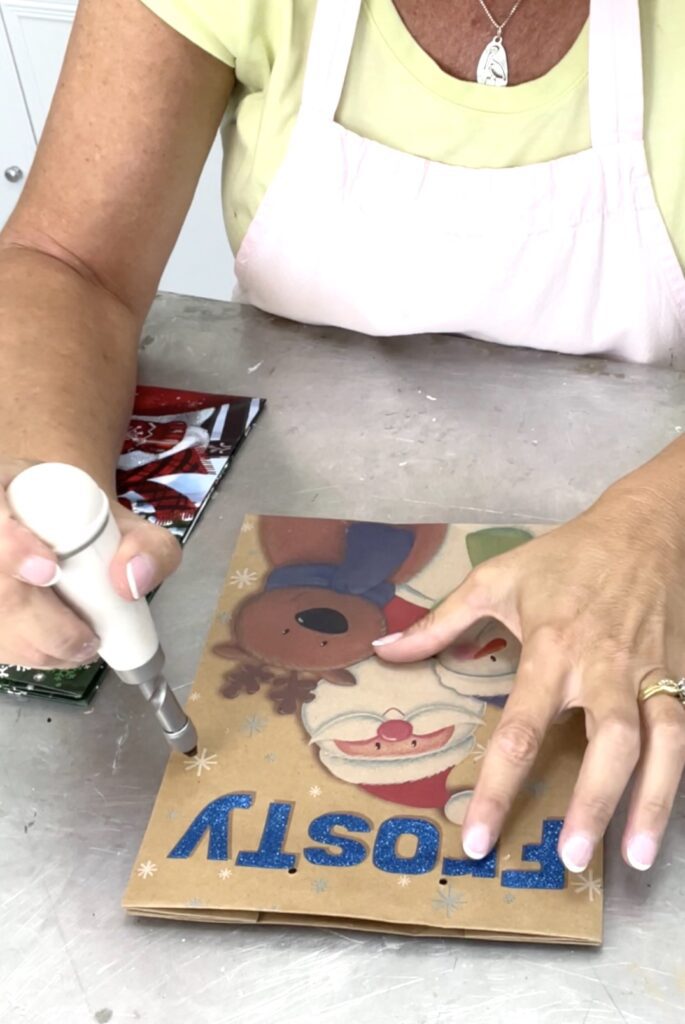
Using the Anywhere Hole Punch or you can use an ice pick, put holes in the gift bags. I put them where there happened to be snowflakes but you can randomly space them.
Step 3
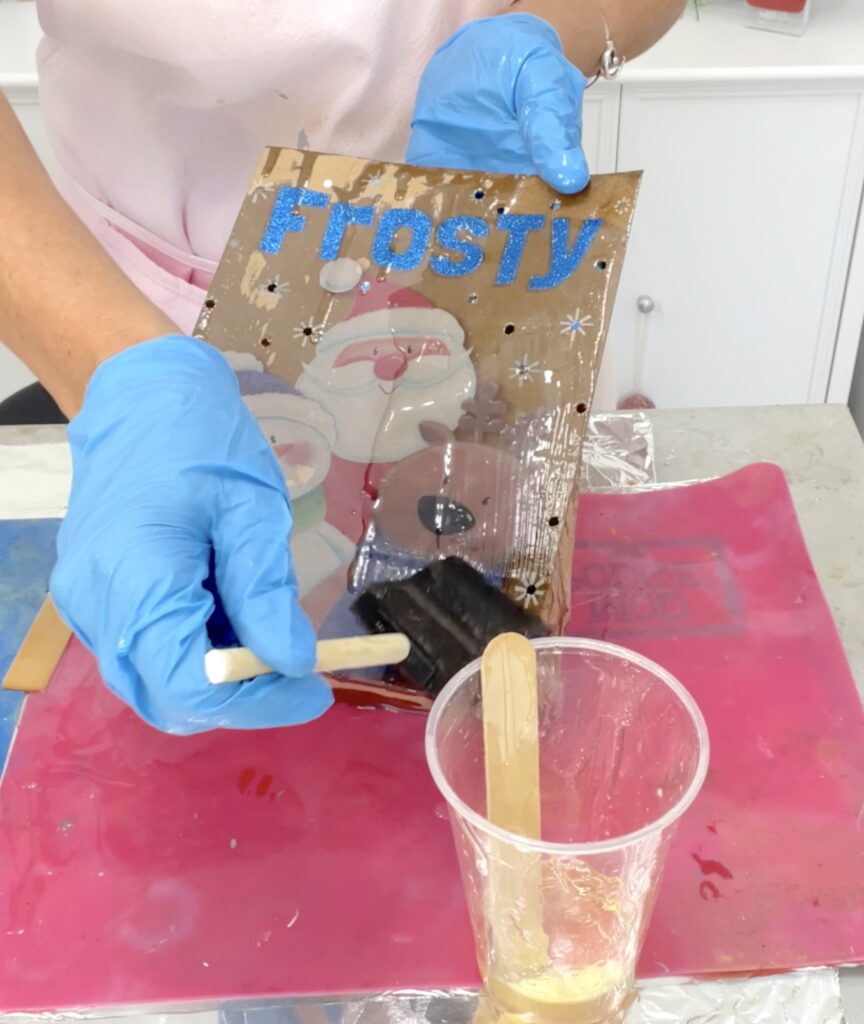
Mix your resin and brush the resin all over the gift bags. Make sure you put it inside and out. The resin will soak into the paper.
Step 4
Once the Dollar Tree gift bags are covered with resin, you can place them on the silicone mat or the parchment paper to cure.
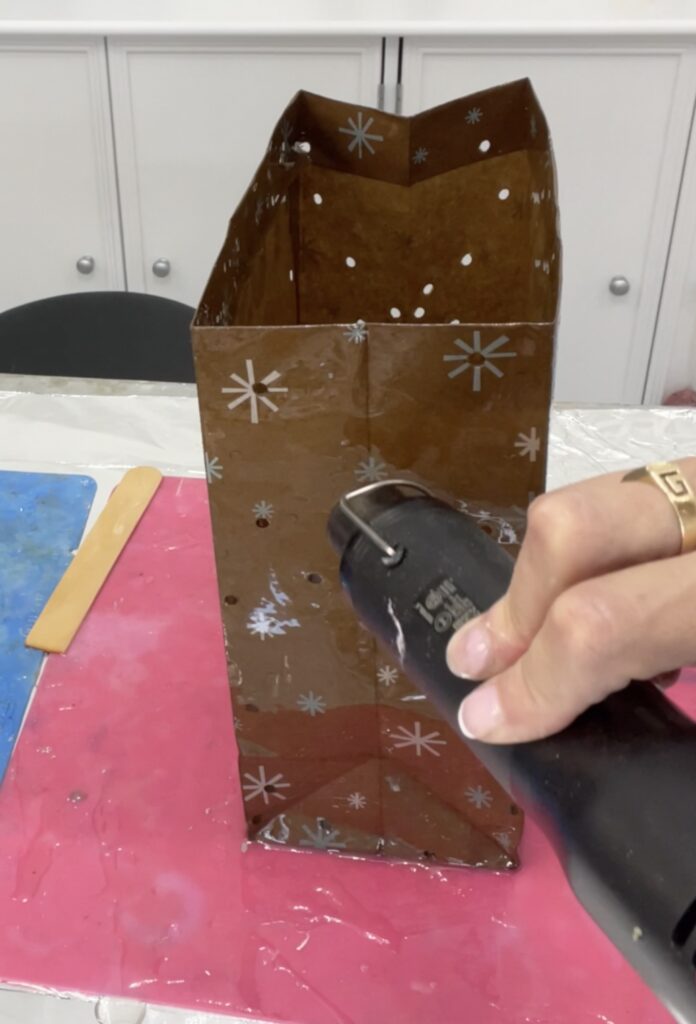
Make sure they are upright because they are going to cure to that shape. Let them cure a minimum of 12 hours. Use a heat gun to pop any bubbles.
These are paper so DO NOT use a lighter to pop the bubbles!
You seriously might set them on fire!
Step 5
Once cured, peel them off of the silicone mat or the parchment paper and if the resin is still pliable, you can use an old pair of scissors to trim off the excess. If you need to smooth it a little more, you can use a sanding block or rotary tool to smooth the edges.
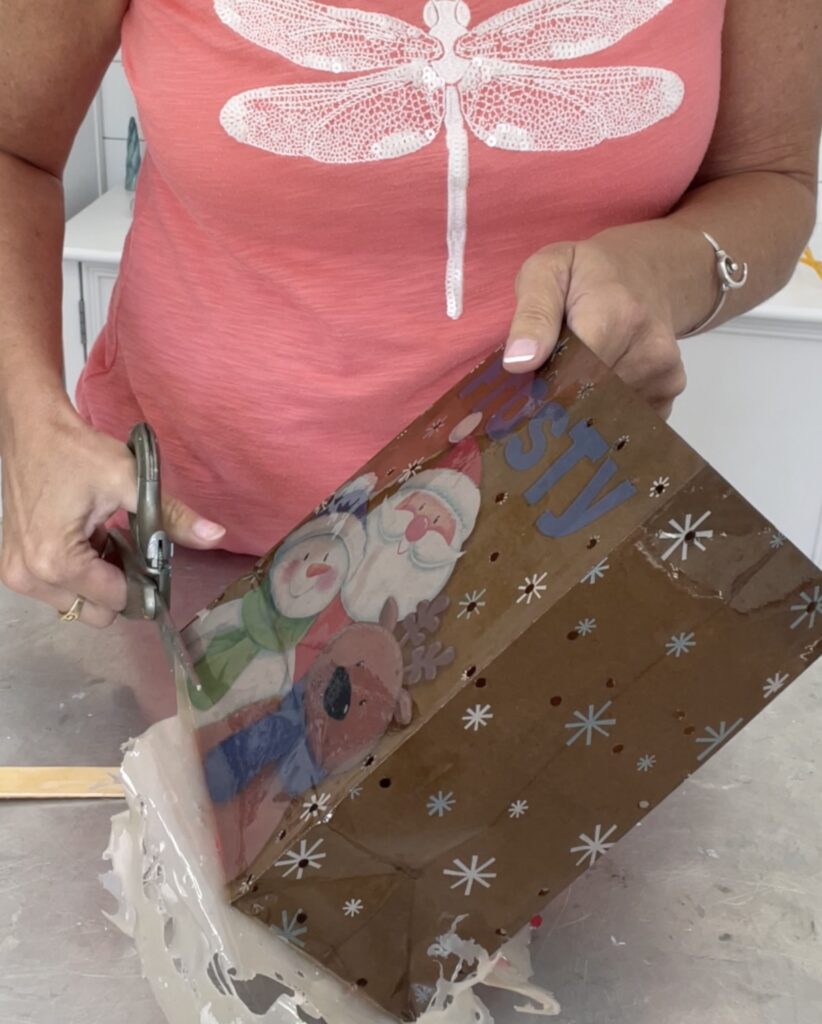
Step 6: Time to Become a Luminary
Add twinkle lights or fairy lights or battery operated flickering candles and put them outside!
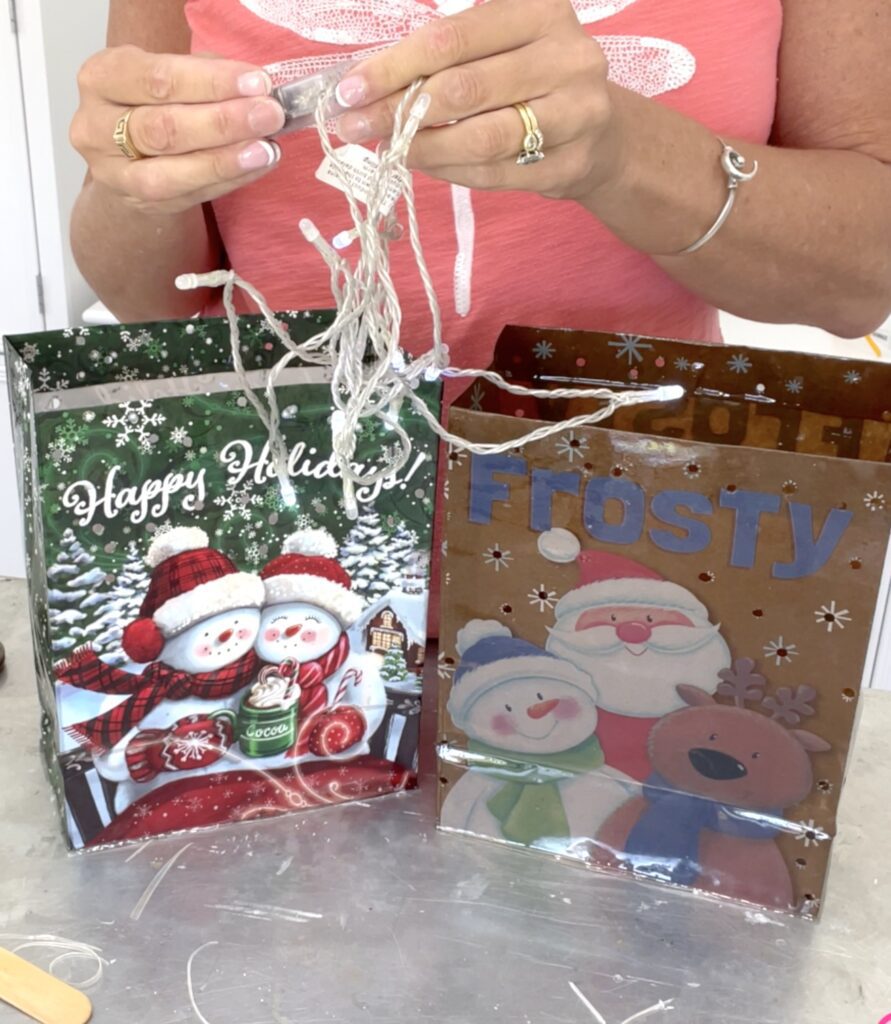
It could not be easier and now they will last year after year and are weather resistant!
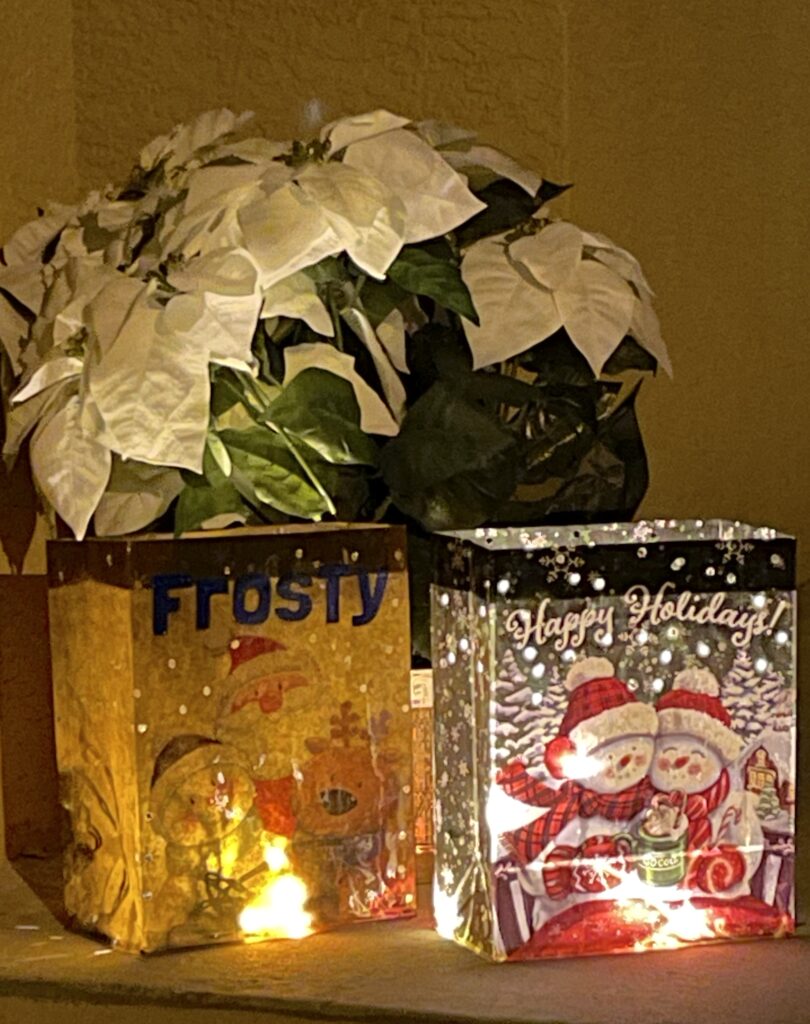

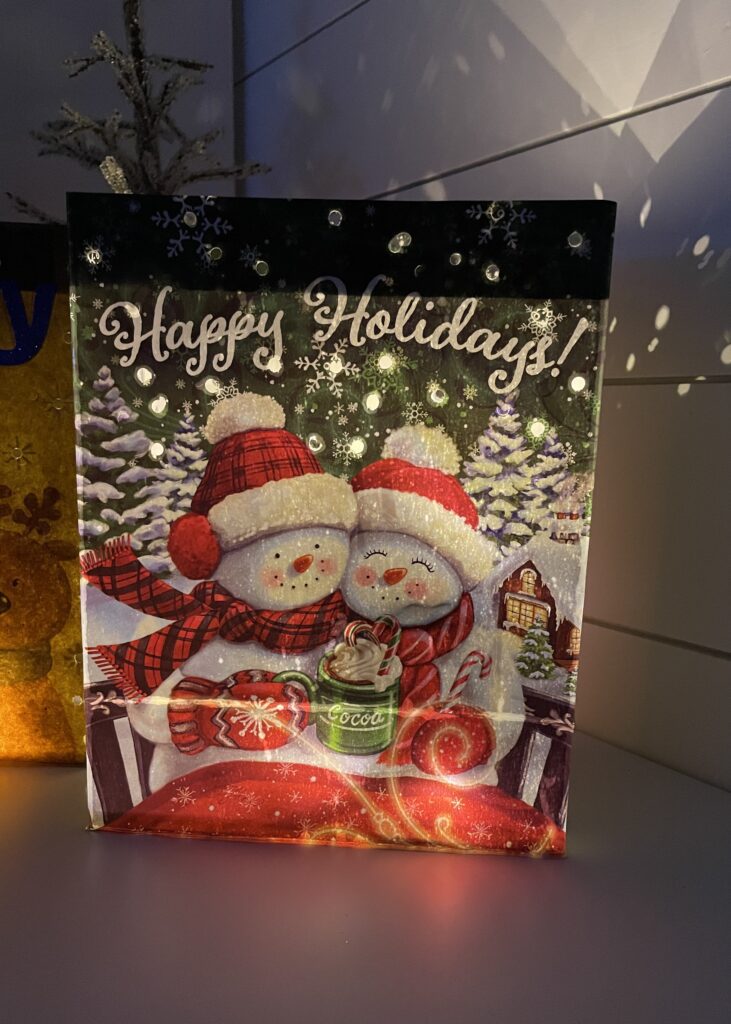
Alternative Dollar Tree Gift Bag Use (It doesn’t just need to be a luminary!)
Okay! I made these to use as luminaries.
BUT…how about a vase?
Years ago, I made a paper lunch bag into a vase and this is basically the same concept.
You just need to make sure you don’t put any of the holes too low or you’ll be leaking all over the place!
You can also put Christmas flowers or greens into the Dollar Tree gift bags and add the lights and it does double duty as a vase and a luminary!
I had a subscriber on my YouTube channel comment that she enjoyed the project because she could use gift bags she was given from years past and it’s a memory and a great way to reuse them!

Gotta throw some hearts on that one!
But What If…
But what if you don’t have the time to make this fun project? No worries, you can buy some cool stuff here!
Dollar Tree Gift Bag Christmas Luminary Video Tutorial
As promised, here is the complete video tutorial!
Thanks for stopping by! Remember: Life’s too short not to shimmer, so grab your glue gun and your glitter!™ Stay safe!
Mona

