To stay up on the latest, be sure to
SUBSCRIBE to my YouTube Channel!
You can click right HERE!
For easy reference, click on the Tutorials tab above.
Also, I created an Amazon store link, with items that I use in my crafts, just click on the
Products I Use above!
Products I Use above!
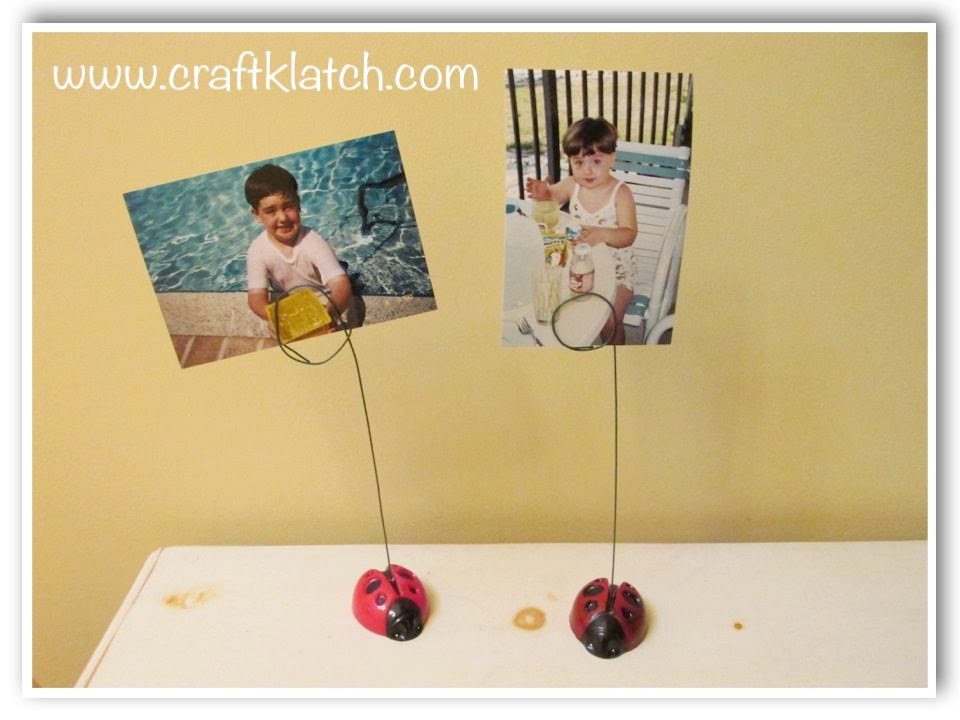
Do you remember when I made the resin ladybugs? Here is one use for them:

You will need:
– Resin ladybugs
– Drill
– Wire (wire hangers will work too!)
Here is the video tutorial:
Here is the video tutorial on how to make the ladybugs:
Directions:
1. Take your drill and drill a hole directly into the top of the ladybug.
2. Cut wire to length – you can use a wire hanger.
3. Bend the wire into a circle.
4. Put wire into the hole you drilled.
That’s it! Now you can use it to hold pictures, business cards, greeting cards, etc.
Thanks for stopping by! Happy Crafting!
Mona


What fun! Thanks for sharing
Hi my Love Mona, Oh my goodness, ladybugs are a favorite of mine. These are just too cute! Tfs Love ya' Patricia