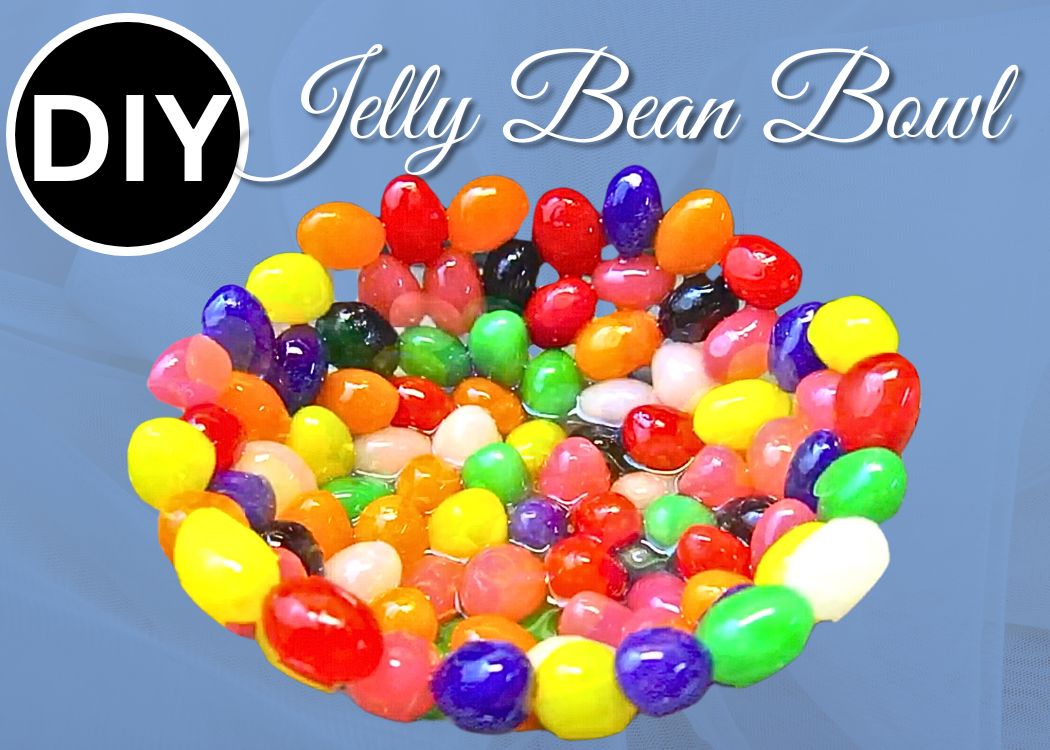
Make a colorful Easter candy bowl using resin and jelly beans! This fun DIY craft is perfect for wrapped candy, keys, or festive holiday decor.
Have you ever wanted to make fun and colorful decorative bowls? I love making unique resin pieces, so I decided to create an Easter candy bowl using jelly beans! It turned out bright, festive, and perfect for holding wrapped candy, keys, or loose change.
I’ve made a few resin bowls before – one with dyed pistachios and another with mint candies – but this time, I wanted a smoother finish. I used Cling Wrap on my first bowls to shape the resin and allow it to release from the plastic bowl…but it left wrinkles (and let’s be honest, I have enough wrinkles to deal with!).
That’s when I discovered EasyMold Silicone Rubber and I figured out how to make my bowl mold. If you want to see how I did that, check out my How To Make A Silicone Bowl Mold HERE!
Once I had my mold, it was time to make my jellybean bowl…
…full disclosure, I probably ate more jelly beans than I used in the project!
What You’ll Need for the Easter Candy Bowl
- Jelly beans – I went with the classic size and colors, but you can use any you like, just make sure you have enough to snack on too!
- Rice (optional)
- Silicone bowl mold
- Resin:
- When deciding on which resin to use, there are a lot of qualities that might be appealing, UV resistant, price, heat resistance, etc. Just make sure to select a resin that fits your needs.
- Use whatever brand you like:
- Easy Cast
- Art Resin
- Let’s Resin
- Promise Epoxy
- These are heat resistant resins:
- FX Poxy
- Stone Coat
DIY Easter Candy Bowl Video Tutorial
Get ready to craft a jelly bean bowl made with resin. I just love how it turned out!
How to Make an Easter Candy Bowl Directions
1. Prep Your Mold
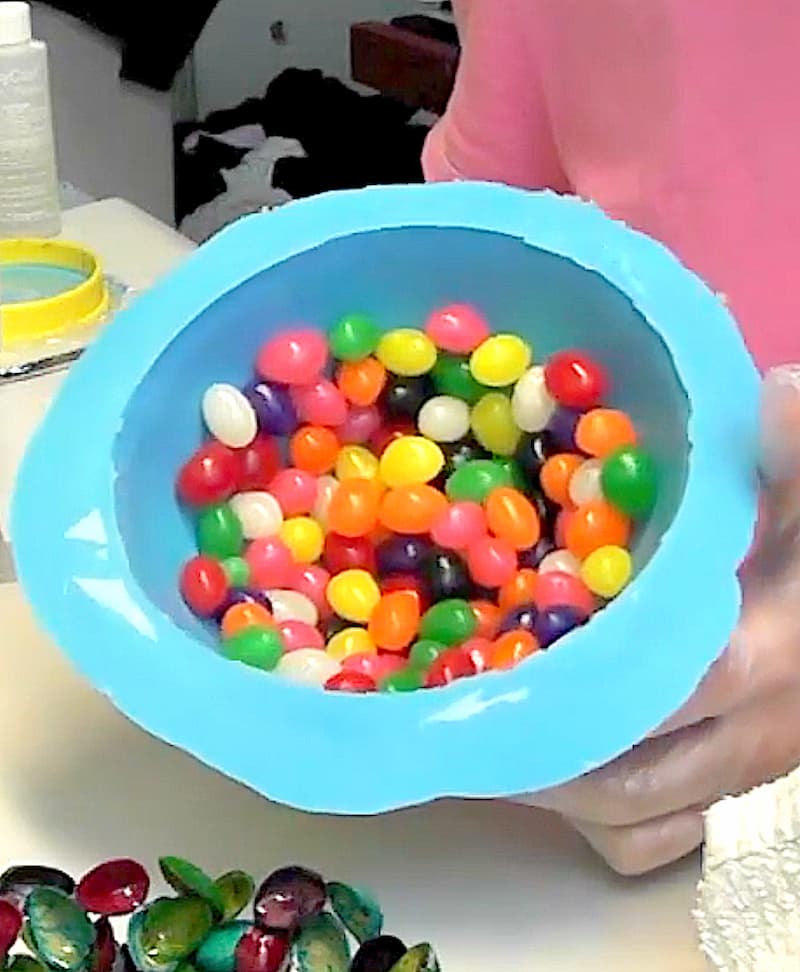
Take the bottom part of your silicone mold and place it back into the original bowl for support. Pour some jelly beans into the mold to get an idea of how many you will need.
2. Mix Jelly Beans and Resin
This is the magical mixture for the Easter candy bowl.
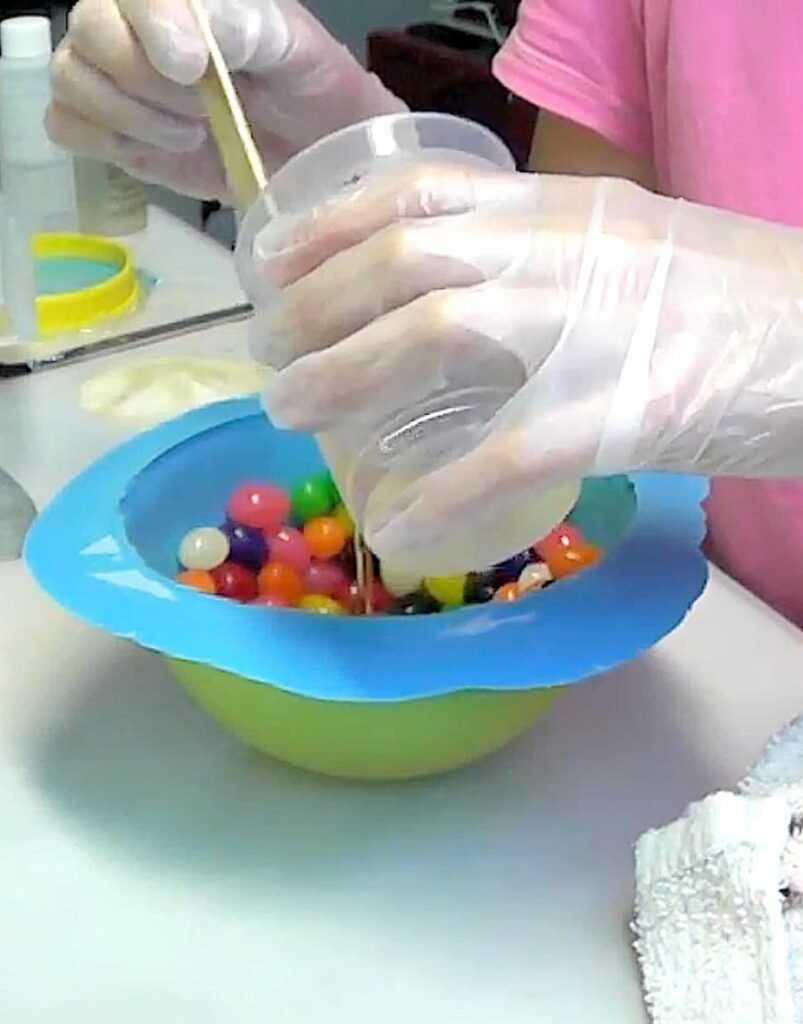
Follow the directions on your resin packaging to mix it properly. Then, pour the resin over your jelly beans and mix well, making sure every single one is completel coated.
3. Shape Your Easter Candy Bowl
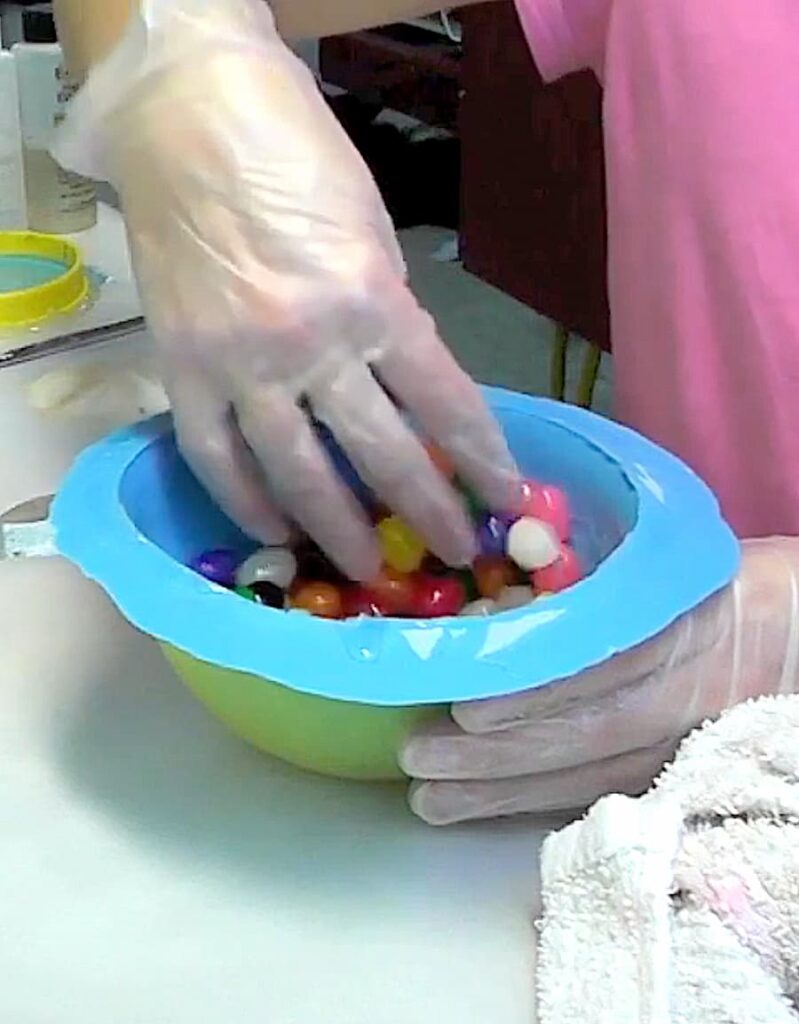
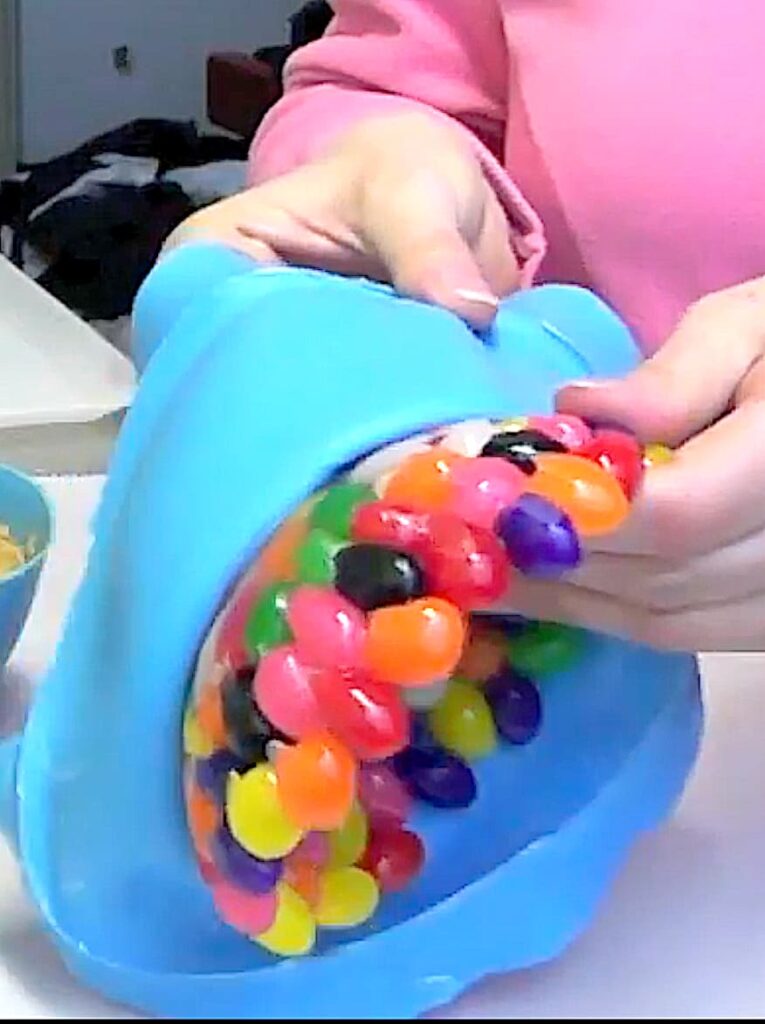
Spread the jellybean mixture evenly around the mold. I kept mine to a single layer so the shape of the bowl wouldn’t get lost.
4. Secure and Let It Cure
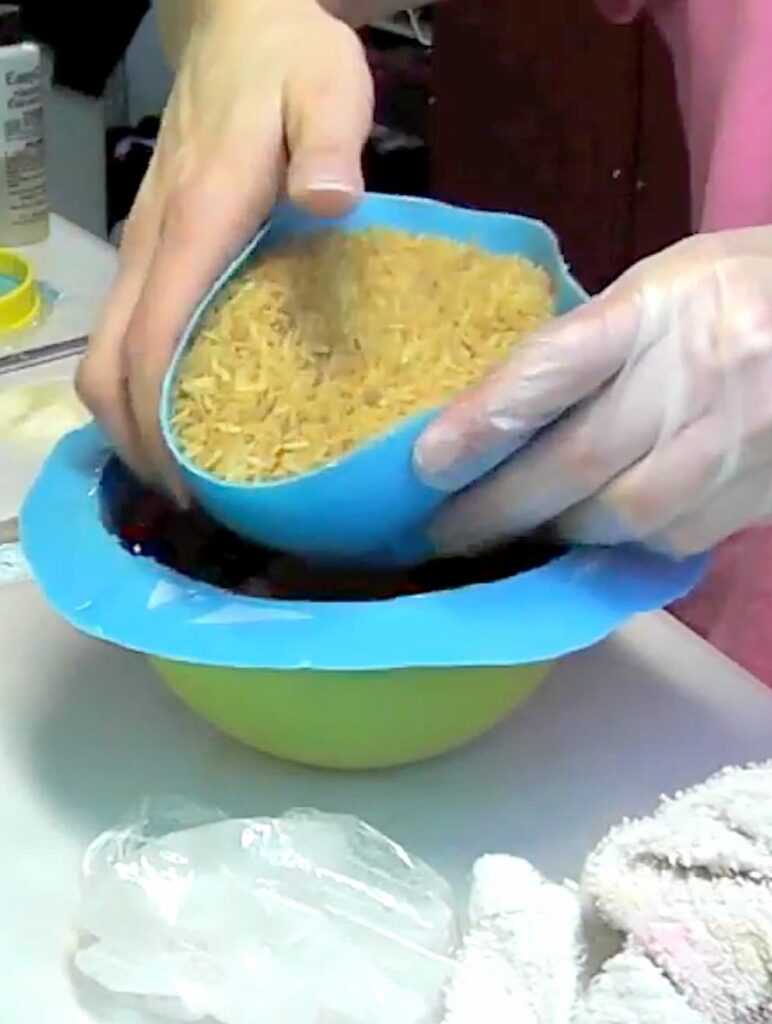
Place the inner part of your mold on top, pressing down gently. If needed, use rice or another small weight to keep everything in place. Let it cure for about 12 hours.
5. Unmold and Enjoy!
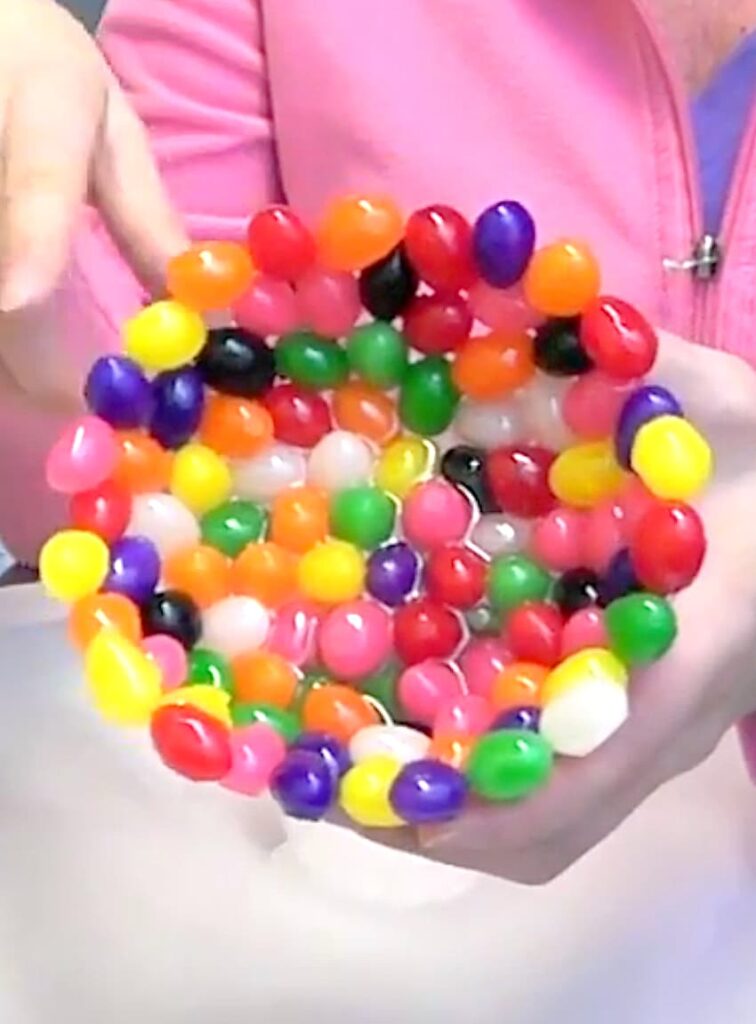
Once th resin is fully cured, pop your Easter candy bowl out of the mold. The resin holds everything together, creating a strong, waterproof bowl that’s as fun as it is functional!
A Fun Easter Craft Idea
This Easter candy bowl turned out so cute, and I can’t wait to use it! Since making this, I’ve also created a Glam Resin Glitter Bowl (because glitter makes everything better) and a Valentine’s Day Bowl with hearts and confetti.
If you love jelly beans, I also have a fun Easter centerpiece idea that will that you might want to check out!
One quick note: I’m not sure if the resin I used to food-safe, so I only use my bowls for wrapped candy, keys, or small items. Always check with your resin manufacturer if you’re unsure.
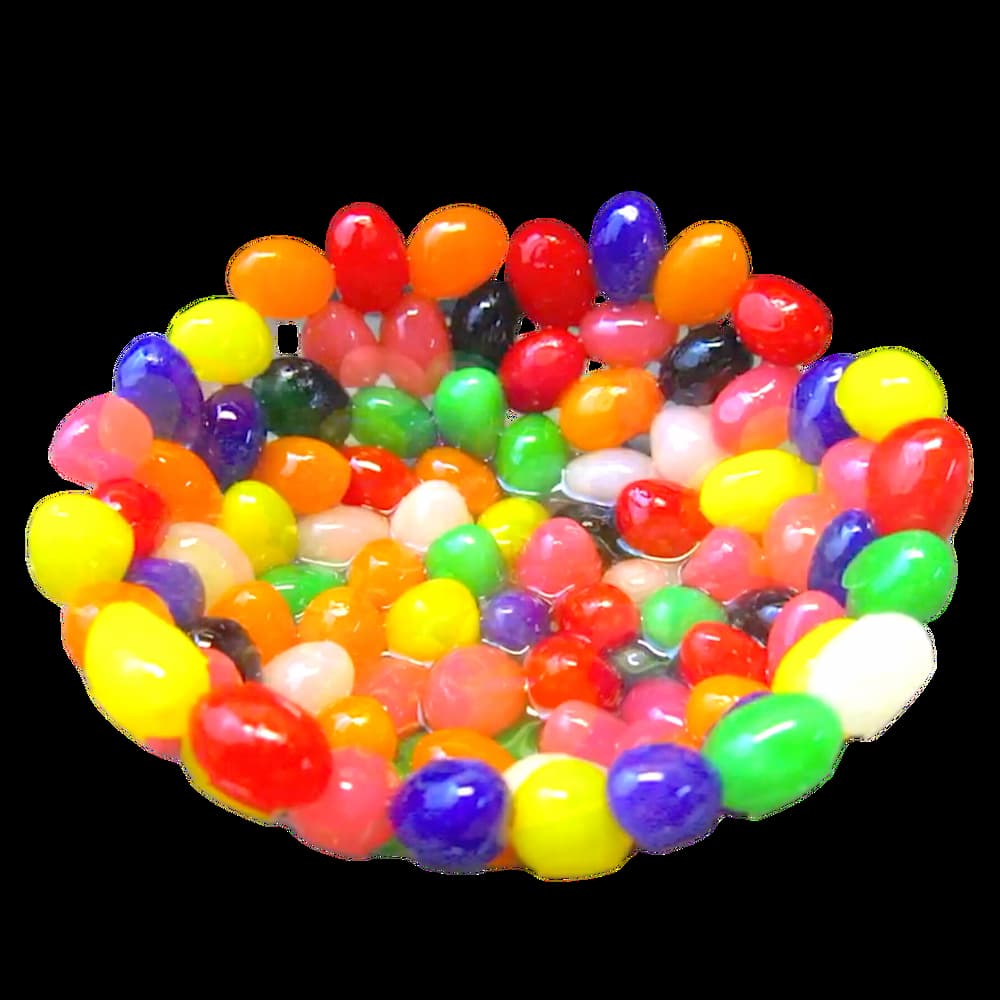
The resin coats the jelly beans protecting them (yes it’s waterproof) and the resin also works as a glue holding your bowl together. I like to make enough for it to pool at the bottom a little, giving it some weight.
It is remarkably sturdy!
Sooooo Cooool!!! I love it! I can’t wait for Easter!
Thanks for stopping by!
Be sure to follow me on Instagram!
Remember: Life’s too short not to shimmer, so grab your glue gun and your glitter!™ Stay safe!
Mona

Thanks for the videos. Learned a lot. I do have a question for you regarding the resin bowls you've made. With both the pistachio and jelly bean bowls you've used the resin basically as a bonding agent. What if you'd like a smooth finish on both the inside and outside of bowl so that the media, be it nut shells, jelly beans, pebbles, etc. were encased in the resin. I could experiment, but I was hoping you'd show us how to do it. Again thank you.
I do have some more bowls planned and I actually was going to make one that was full encased. I used the resin as a bonding agent for the pistachios. The jelly beans were all encased, but i wanted the bowl to keep the shape of the jelly beans. When doing a smooth bowl, you would want to fill the mold up further (the mold I used for the jelly beans) and have the inner portion of the mold in place. That will give you a smooth surface inside and out. I am planning one……or many….. in the future, so stay tuned!!
Mona
Hi again; any idea when we can expect a video on how to make one of these bowls? Thank you.
I'm hoping soon! I was out of town, we just rescued two stray cats and I'm a little swamped at my regular job. I'm trying to get back into the groove! Hopefully one day I will be able to do my crafts as my regular job and get a regular schedule going!! Thanks for continuing to watch.
Mona
Never mind, I just couldn't wait any longer so I bought The River Stones Bowl from MoMA.
I like this video….can you please the detilas..
Where will I get not stick the the Cling Wrap??
What was that you pour on in bowl..is that glue?
Any type glue we can use or is it any particular??
Can we get in walmart or machales????
Please let me knw…I really appreciate this…
my id: shailaja.lolam[at]gmail.com
Shail
Hi there. Will the jelly beans eventually decay or will resin preserve them? I have no idea how long this bowl would last :/
Thank you!
I just found this video of yours and was wondering do I have to use a silcone bowl?
No. You can use Vaseline as a mold release, but I have not tried that. Also, if you find my Pistachio Bowl, you will see I used Cling Wrap. Hope that helps! Mona
Where did you get the bowl that you put the jellybeans in.
Jean – I made it. Here are the instructions: https://www.craftklatch.com/how-to-make-silicone-bowl-mold-craft/