Learn how to make a Dollar Tree snowman craft using budget-friendly materials! Follow this step-by-step tutorial to create the perfect winter decoration.
Hey everyone, and welcome back to CraftKlatch! It’s that magical time of year when the air is crisp, the cocoa is hot, and the crafting spirit is strong! Today, we’re diving into a festive DIY that’s perfect for both Christmas AND winter decor: an adorable snowman ornament made from Dollar Tree finds!
If you’ve been following me for a while, you know how much I love crafting with Dollar Tree stuff! Greg might call it an obsession…but he might be overstating it.
I love that they are affordable and the Dollar Tree craft section has just exploded!
Give me $20 and an empty cart and I’ll give a pile of crafts waiting to happen…and maybe a snack from the checkout line!
One of my go-to favorites is the unfinished wood ornament. It’s a blank canvas for creativity! I’ve used it at least five times and every time, I think, This is the best one yet! FYI: They have all been the best, I don’t have a favorite.
It never gets old! Each time, I find a new way to give the ornament a fresh look, and it’s always fun to see how a simple unfinished ornament can transform into something amazing!
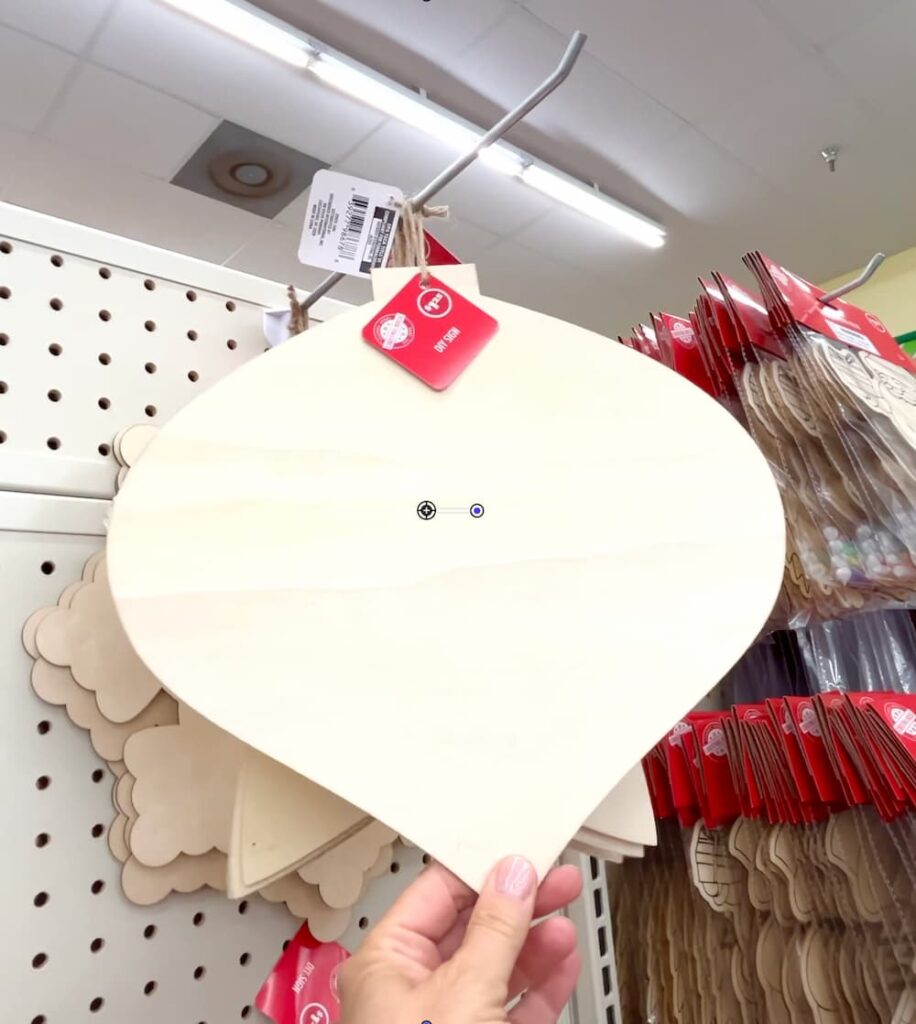
The Ornament
This snowman is no different! He’s simple and adorable, and I think he’ll make you smile!
Oh, and because I know you’ll ask, here are the links to my other Dollar Tree Ornament Makeovers:
- Rustic Snowman Ornament
- Merry and Bright Ornament
- Frosty Snowflake Ornament
- Gingerbread Man Ornament
- Grinch Ornament
In this post, I’m going to tackle the latest Craft or Crap Challenge and show you how to make a Dollar Tree snowman craft using this trusty ornament.
The Rules for the Craft or Crap Challenge
Before we get started, let’s break down the rules for this snowman craft challenge.
Chas from Chas’ Crazy Creations and I take on these challenges each month and we are always excited to see what we can come up with using a specific set of rules.

- Snowman Theme: The project must be a snowman craft that can stay out through the entire winter season.
- Dollar Tree Materials: Every item must be purchased at Dollar Tree. Nothing fancy to see here…just budget-friendly finds.
- Fabric Required: Fabric must be incorporated into the project. For this snowman craft, I used chenille yarn and an art canvas for the fabric portion of this post.
Now keep these rules in mind and let’s move on to the fun part – making our snowman craft!
How to Make a Dollar Tree Snowman Craft Video Tutorial
Making a snowman craft from affordable and unusual materials is fun! I’ll walk you through the steps on how to make a Dollar Tree snowman craft…because what could be more affordable?
Materials Needed
As per the rules, all of the main items for this snowman craft are from Dollar Tree.
*Disclosure: This blog uses affiliate links from Amazon and other retailers. I earn a small amount from qualifying purchases at no additional cost to you.
- Unfinished wood ornament
- Slat of wood
- Small canvas
- Black chenille yarn
- Rope
- Black acrylic paint
- White acrylic paint
- Black dimensional paint
- Orange dimensional paint
- Mod Podge
- Black glitter
- Hot glue
- Gorilla Glue
- Screws and drill
Step-by-Step Directions on How to Make a Dollar Tree Snow Man Craft
Step 1: Preparing the Ornament
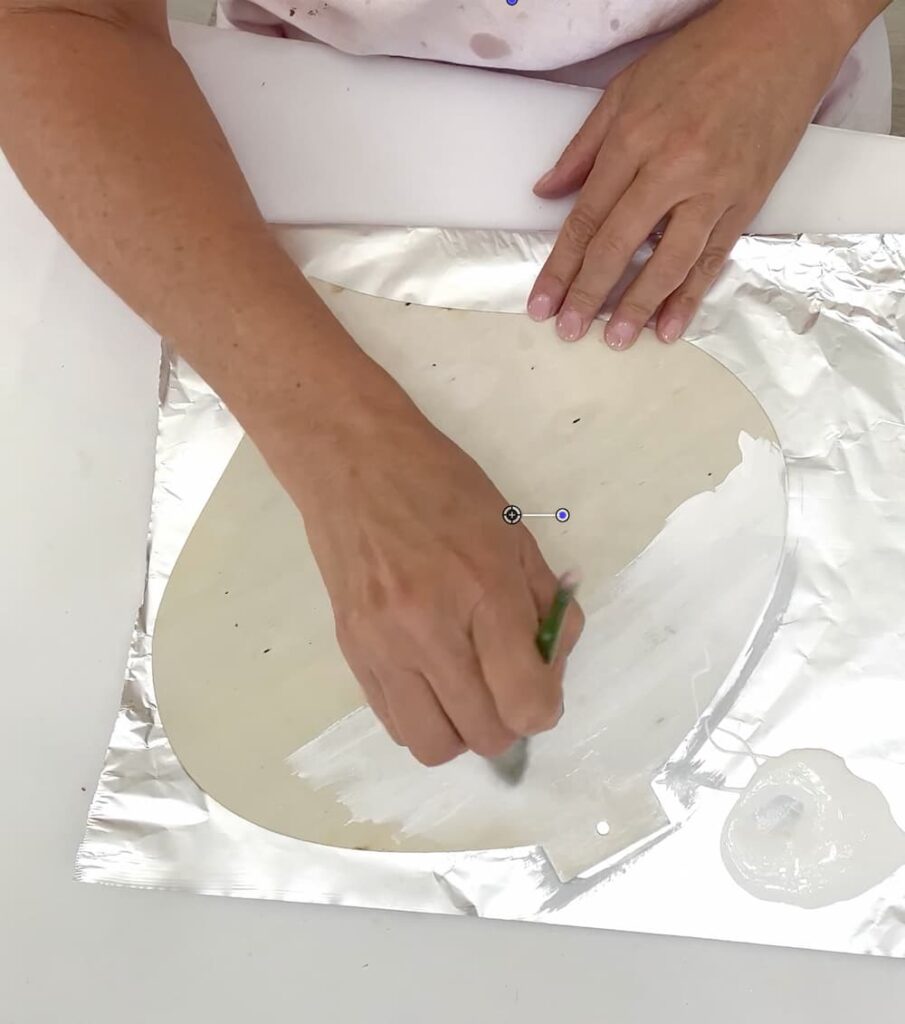
Remove the string from the ornament and paint the front and back with white acrylic paint. It will take 2-3 coats for a smooth and solid surface.
Step 2: Building the Snowman’s Hat
Next, paint the slat of wood and a small canvas black with acrylic paint. Make sure to cover all of the sides.
Once the paint is dry, glue the canvas to the slat of wood using hot glue and Gorilla glue, or other strong clear drying glue. Adding more of the Gorilla Glue to the seam ensures extra durability for the hat.
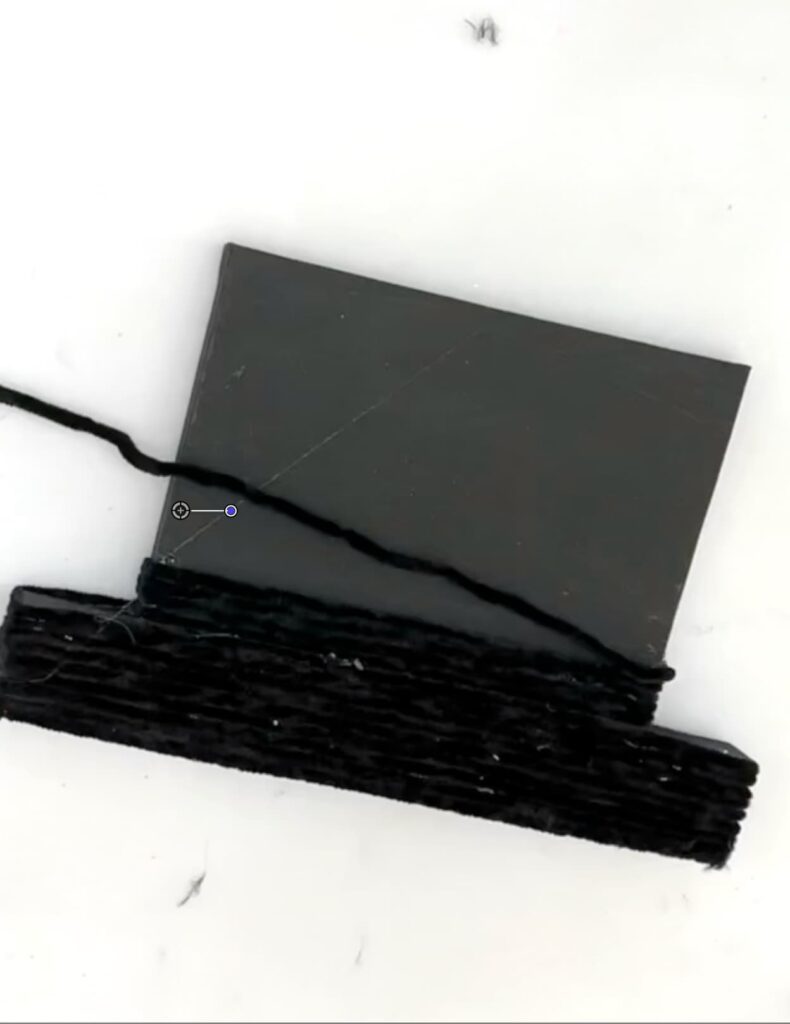
Now, wrap the chenille yarn around the hat frame, gluing as you go. I used the hot glue for this step.
The yarn is so soft and cozy, it’s going to make the hat look great!
Try to be as neat as possible, only a little hot glue is needed at a time but don’t worry if some squishes between the yarn…we’ll take care of that!
Make sure you cover all of the surfaces. For the horizontal areas, I just cut strips and glued them in place, trimming off any excess.
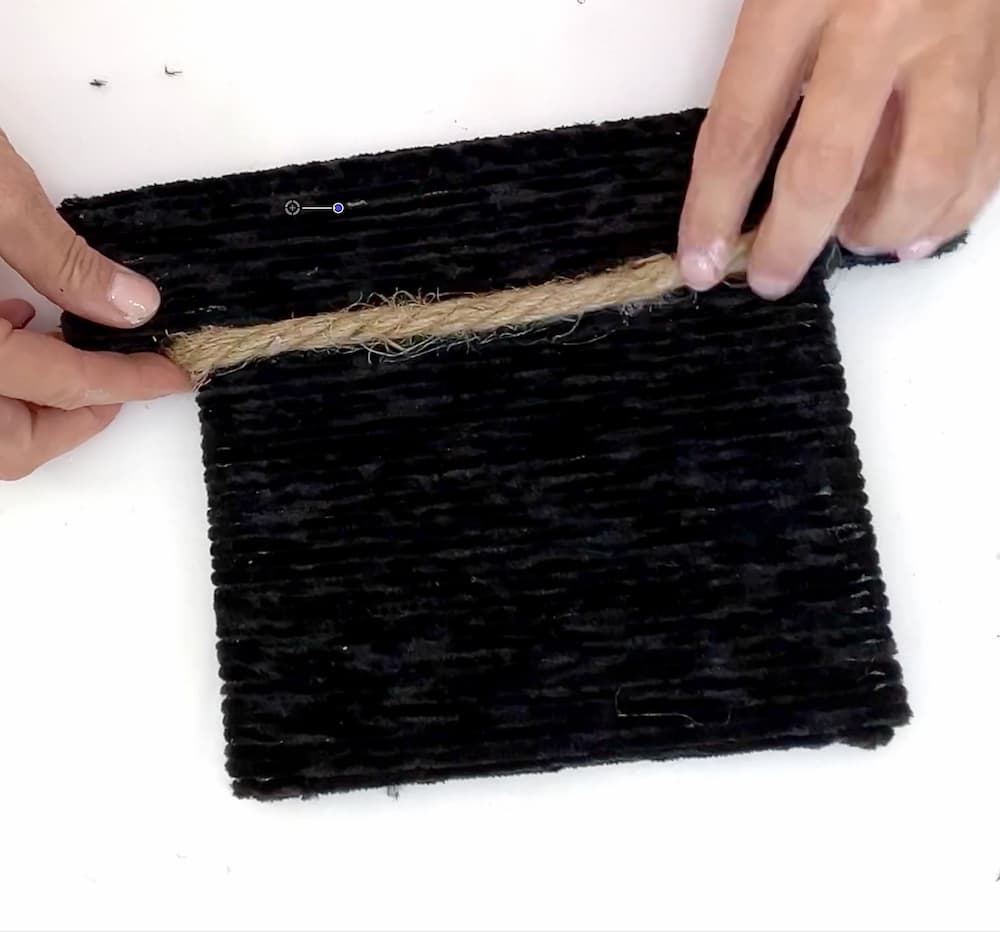
When the chenille is all in place, Use the rope as a hat band for a rustic touch. Remember when you cut the ends of the rope to seal them with hot glue because it can unravel and fray otherwise.
Step 3: Assembling the Snowman Craft
Once the hat is ready, glue it to the top of the ornament using hot glue. You can have the hat straight, but I liked it angled to the side a bit for a little personality.
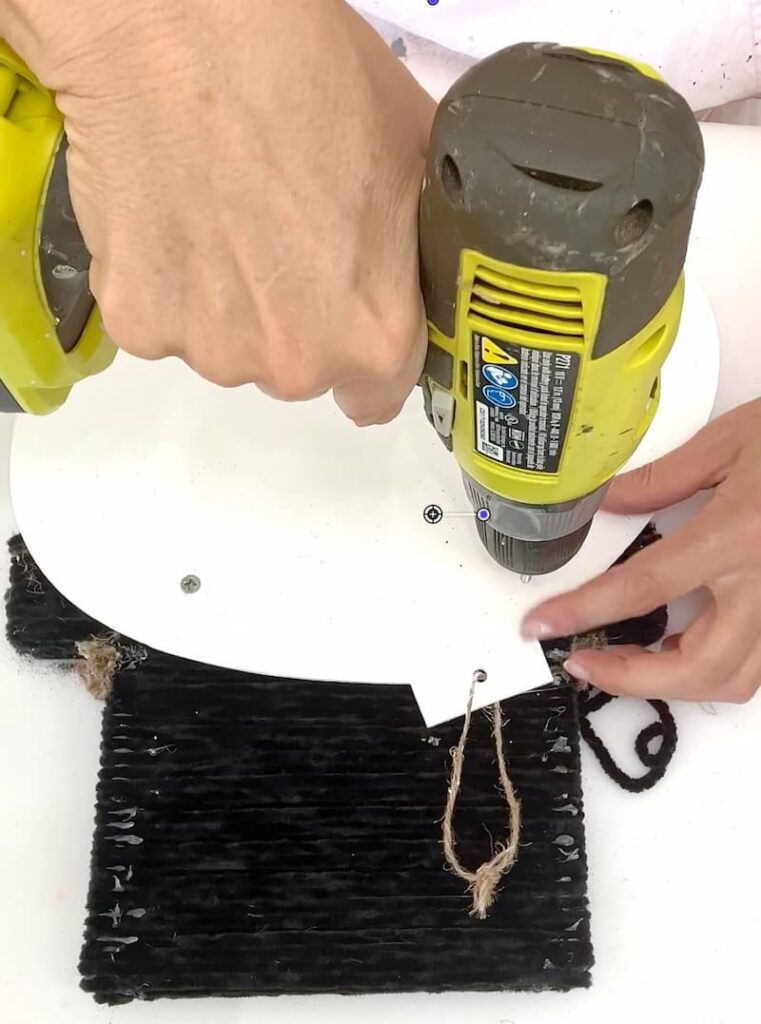
For extra durability, flip the ornament over and pre-drill a couple of small holes where the ornament meets the slat of wood. Then, add two small flathead screws and your snowman will be sturdy!
Don’t forget to add a hole for the string since the ornament won’t hang right with the original hole. Then, you can put the string back in place.
Step 4: Adding the Details
If you are wondering how to make a snowman face on this ornament, I’ve got you covered!
I laid two buttons on the face for the eyes, just as a reference for placement. Then, I used black dimensional paint to create the eyes and the smiling mouth. For this snowman, I opted to give him a real smile instead of coal.
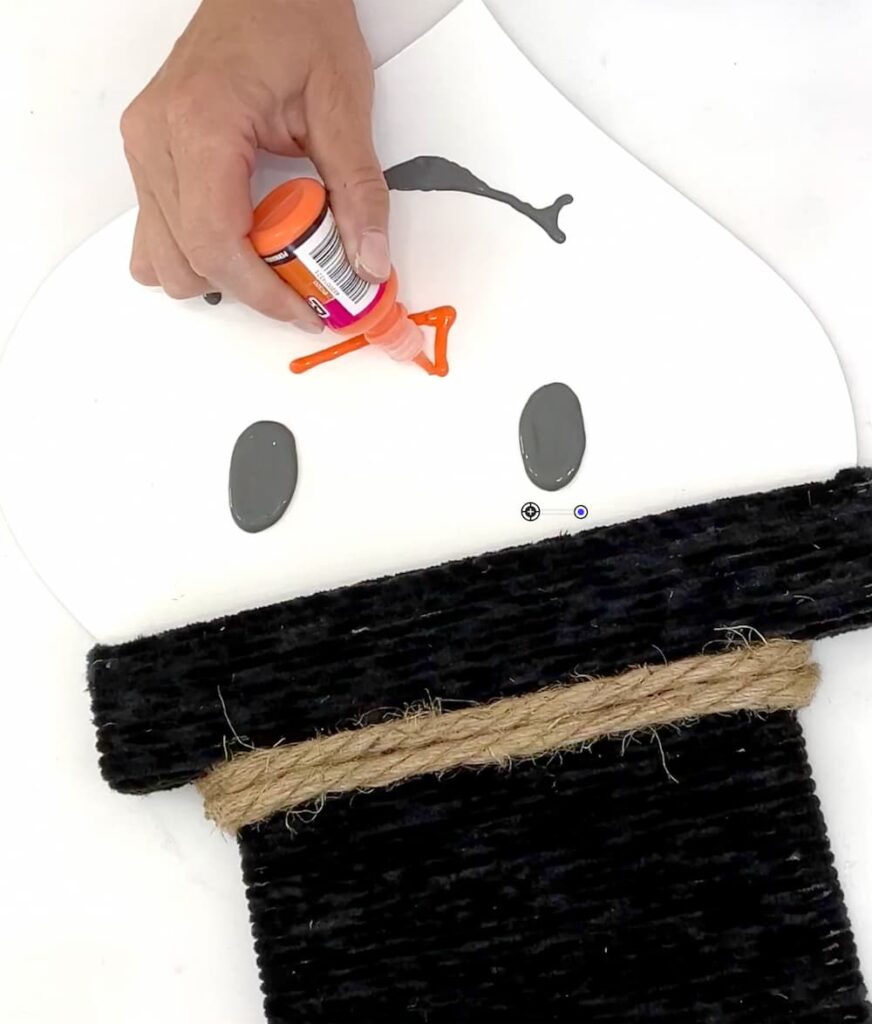
For the nose, I used orange dimensional paint and did a long triangle to look like a carrot nose.
Step 5: The Final Details
You might not be surprised that the final details involve glitter. If you are a glitter phob, this step is optional.
If, despite your best efforts, you had some of the hot glue squished between the chenille yarn, now is the time to take care of that. Take a little Mod Podge and brush it onto the glue areas, then sprinkle with fine black glitter. Tap off any excess.
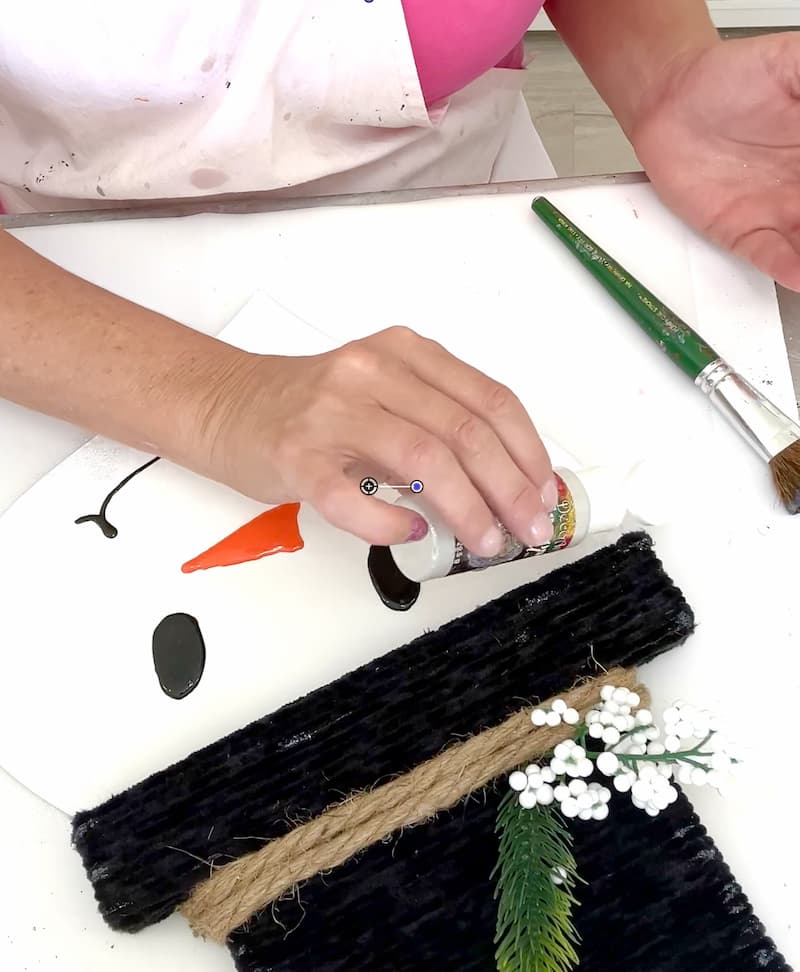
If you want to take the snowman up a notch, you can do a light coat and sprinkle of white glitter on the snowman’s face.
Ooh laa laa!
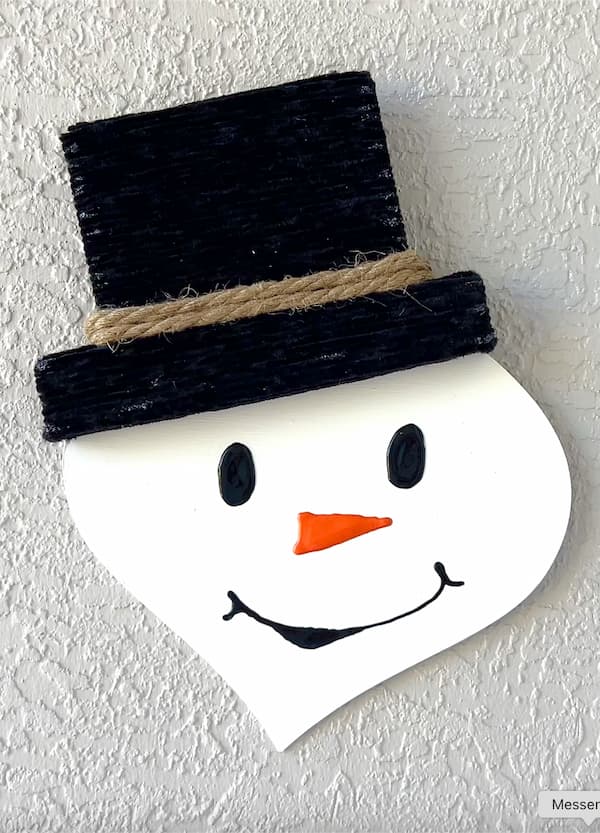
Let’s talk about displaying…
The Dollar Tree snowman is done and looks great for any time during the holiday season! But as a special touch, use a red flower or red berries for Christmas.
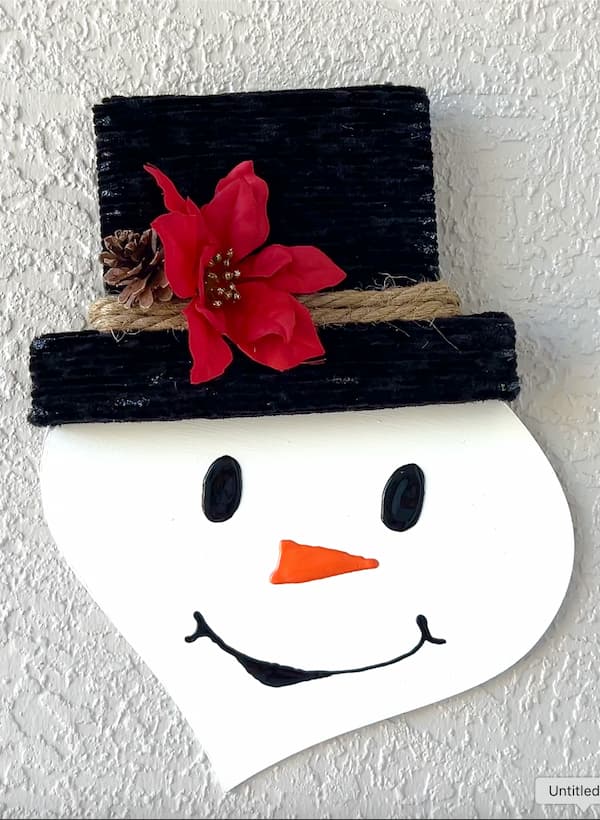
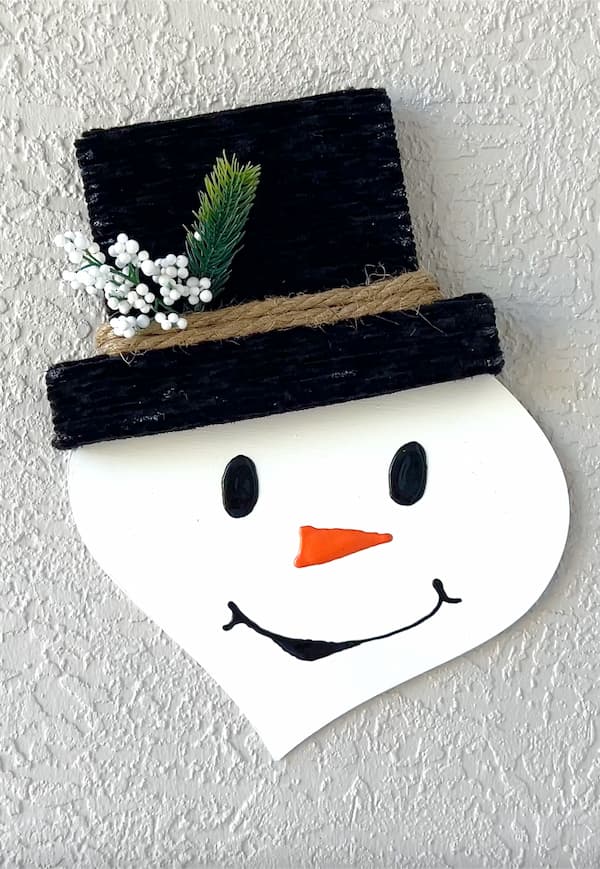
The rest of the season, and a wintery vibe, it could simply be white berries and maybe some pine.
It’s Time for You to Decide!
Now that you know how to make a Dollar Tree Snowman Craft, you need to craft one of your own!
BUT…
Before you run off and get started, is it CRAFT or is it CRAP?
Remember to check out Chas’ creation and let her know if her project is CRAFT or CRAP too!
Check Out Chas!
Don’t forget to check out Chas’ Dollar Tree Snowman Craft over at Chas’ Crazy Creations! I can’t wait to see it!
If you enjoyed this tutorial, be sure to check out the previous Craft or Crap challenges! You won’t believe some of the things we have made!

Get Featured!
Share what you make based on our Craft or Crap Challenges!
Share what you make based on the rules of current or previous Craft or Crap challenges!
Here’s a quick video on how to get featured or follow the directions below:
- Join our Craft or Crap Facebook Group and share your pics! So you can craft along with us, have fun, and inspire others!
- On Instagram: Post a picture of your project on Instagram and tag: @CraftKlatch and @ChasCrazyCreations ***Be sure to use the hashtag #CraftorCrap
- If you aren’t on Instagram or Facebook…NO PROBLEM…email your pictures to us at [email protected] or Chas at [email protected]
Check Out Other Craft or Crap Projects!
- Fall Gnome Scarecrow Decoration DIY | Craft or Crap Fall Crafts
- Epic Yard Art Showdown Craft or Crap Challenge
- Glass Christmas Tree Craft for the Holidays
- Craft or Crap DIY Sunflower Thrift Store Craft
Thanks for stopping by! Remember: Life’s too short not to shimmer, so grab your glue gun and your glitter!
Mona


This is definitely a craft! You always amaze me with your creativity and vision. Always fun doing this craft challenge with you!
Thank you, Chas!
It`s definitely CRAFT