
Create an adorable Easter chick using Dollar Tree supplies! This easy DIY Easter craft is perfect for spring decor. Follow this fun tutorial!
Looking for a fun and easy Easter craft? Last time, I did an Easter Bunny vase. This time, I’m going to try an Easter chick!
I have a long line of chick crafts behind me, including some Chick Charm jewelry and resin Goofy Chick Coasters and some easy Wood Chick Coasters. Those are just a few.
This time, I thought I’d try using a Dollar Tree vase because it’s always a budget-friendly option…
…and I’m kinda obsessed with these vases!
Let me show you how I did it so you can make your own!
Materials You’ll Need
*Disclosure: This blog uses affiliate links from Amazon and other retailers. I earn a small amount from qualifying purchases at no additional cost to you.
- Cylinder vase
- Mop brush
- Rubbing alcohol
- Hot glue
- Scissors
- Yellow Multi-surface paint
- Heat gun (optional)
- Orange cardstock
- Embossing tool
- UV Resin & Light
- Fine glitter (yellow, copper, clear, orange)
- Orange googly eyes
- Yellow bottle brush carrots (Dollar Tree)
- Wire cutters
- Faux or real flowers (daffodils are perfect!)
Easter Chick Video Tutorial
Step 1: Prep and Paint the Vase
I started by removing the sticker on the bottom of the vase. I used a razor blade and rubbing alcohol. You can probably peel it right off.
I cleaned the entire outer vase with rubbing alcohol to remove any oils, sticky stuff, and dust. This is so the paint will stick to the vase properly.
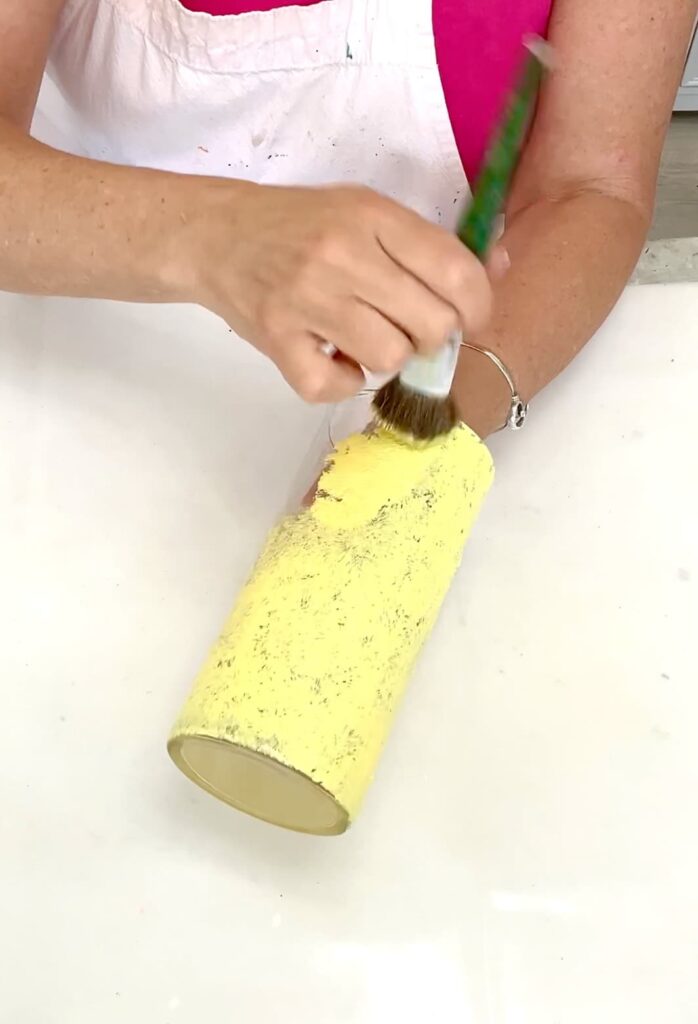
Then, I used a mop brush to dab the yellow multi-surface paint all over the vase. I used my heat gun to help it dry a little faster between coats. For the second coat of the Easter chick, I used two different colors of yellow paint to give it a little more interest and dimension.

Yes, I used the heat gun again because I’m impatient.
Step 2: Create the Easter Chick’s Features
I thought I would try something a little different this time and use some UV resin.
Using orange cardstock or scrapbook paper, I used a pencil to draw an upper beak, a lower beak, two eyebrows, and two chicken legs.
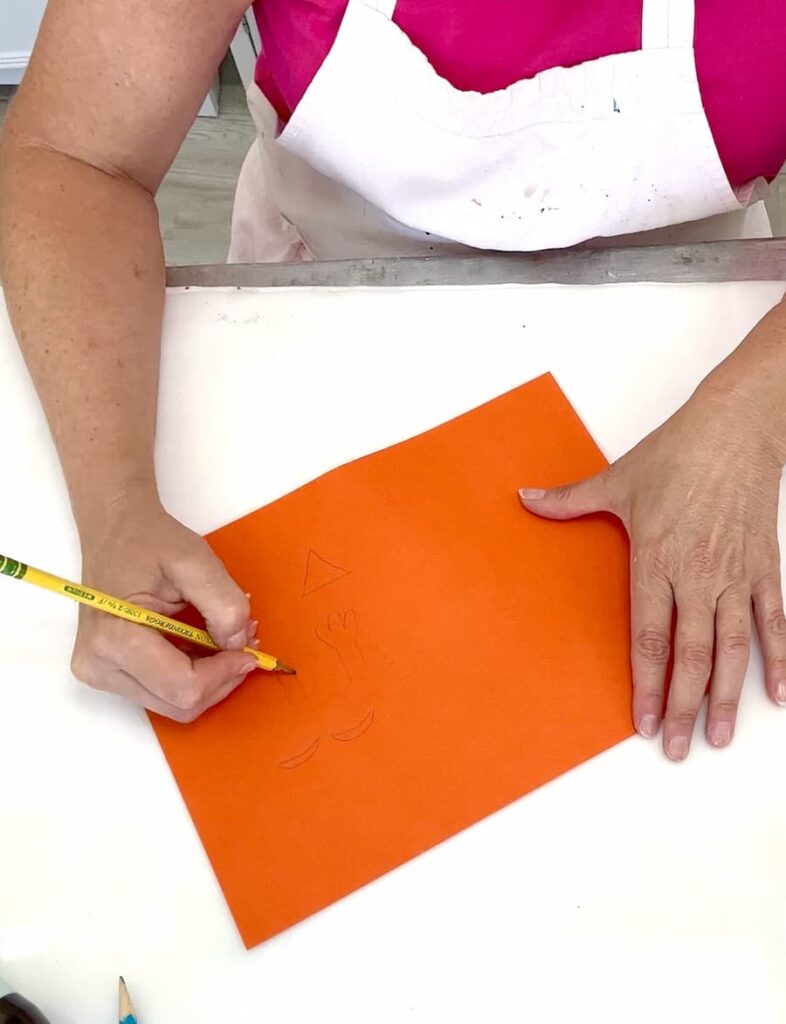
After cutting the pieces out, to make the cardstock easier to fold (and to get a cleaner fold), I used an embossing tool at the ankles of the chicken legs and down the middle and back of the beaks.
Step 3: Add Sparkle and UV Resin
In a little plastic bowl, I mixed UV resin with fine yellow, copper, and clear glitter. I did use a chunky orange as well.
Using my stir stick, I applied the mixture to the beak, eyebrows, and legs. I did one side first and then put them under the UV light. Once that side was cured, I applied it to the other side and cured it again.
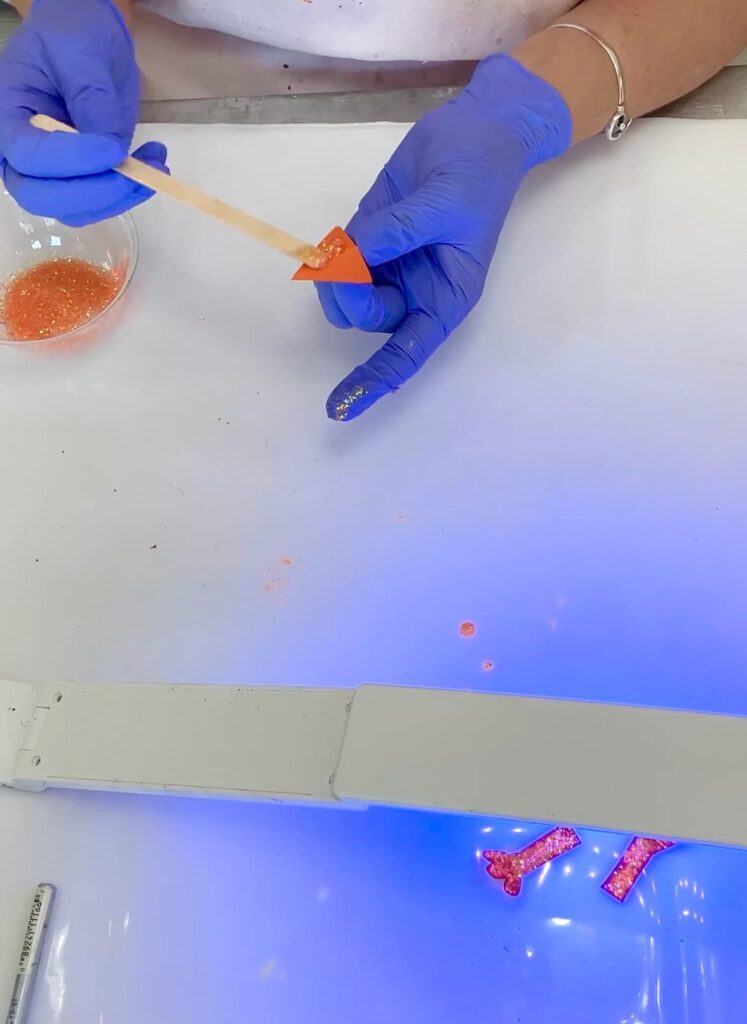
That way, the paper is completely covered, and you don’t even know it is paper and it’s way more durable!
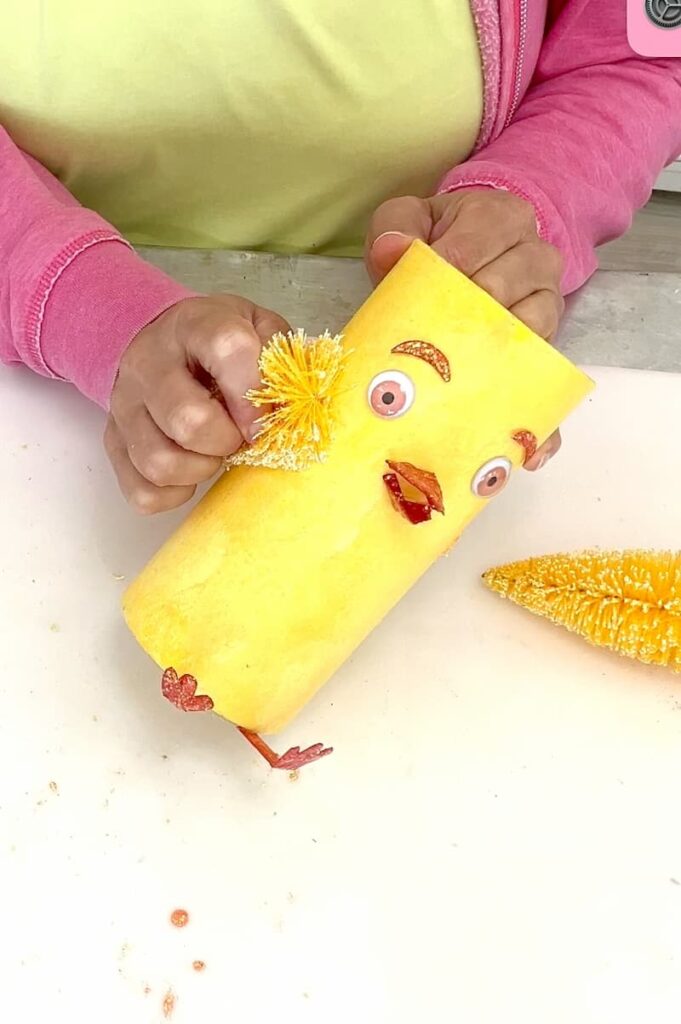
Step 4: Assemble the Chick
I used hot glue to assemble the chick’s features.
Starting with the googly eyes, I made sure I had good placement before attaching them.
Then, I did the top and bottom beaks…below and between the eyes.
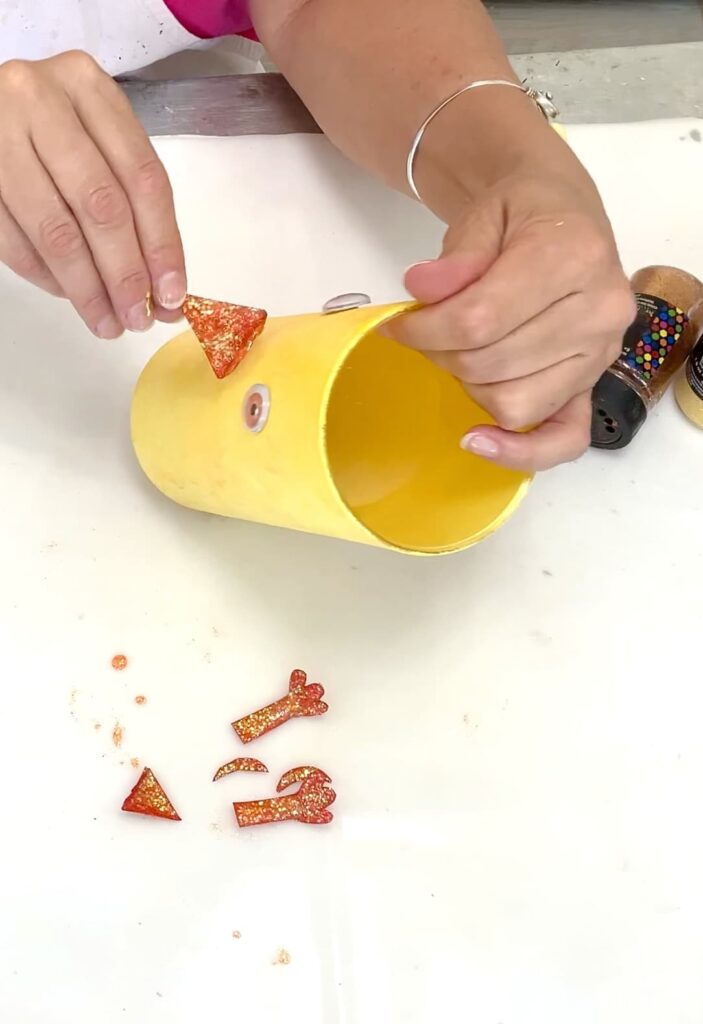
The eyebrows were added because they give the eyes and face more character.
Finally, I glued the legs just under the bottom of the vase.
Step 5: Add Wings with a Twist
If you watch the video, you will see that I originally added yellow feathers as wings. As it turns out, I didn’t like it, so I needed something else.
I ran out to Dollar Tree to look for alternatives, and I quickly found one!
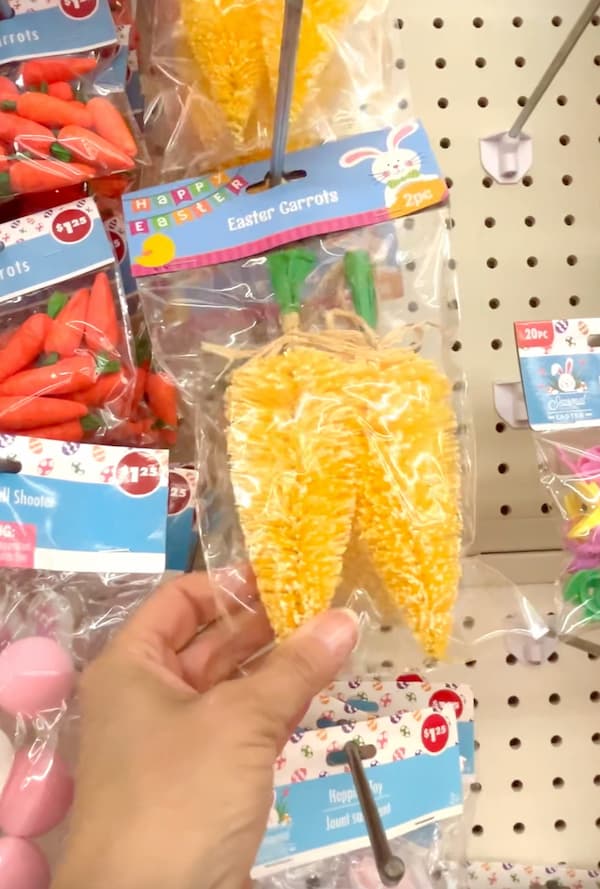
I found these bottle brush carrots.!
Quickly, I grabbed a two-pack and raced home.
I used wire cutters to snip off the tops, and then I hot glued them to the sides of the chick. I had to squish them on there while the glue dried, but they stuck quite well.
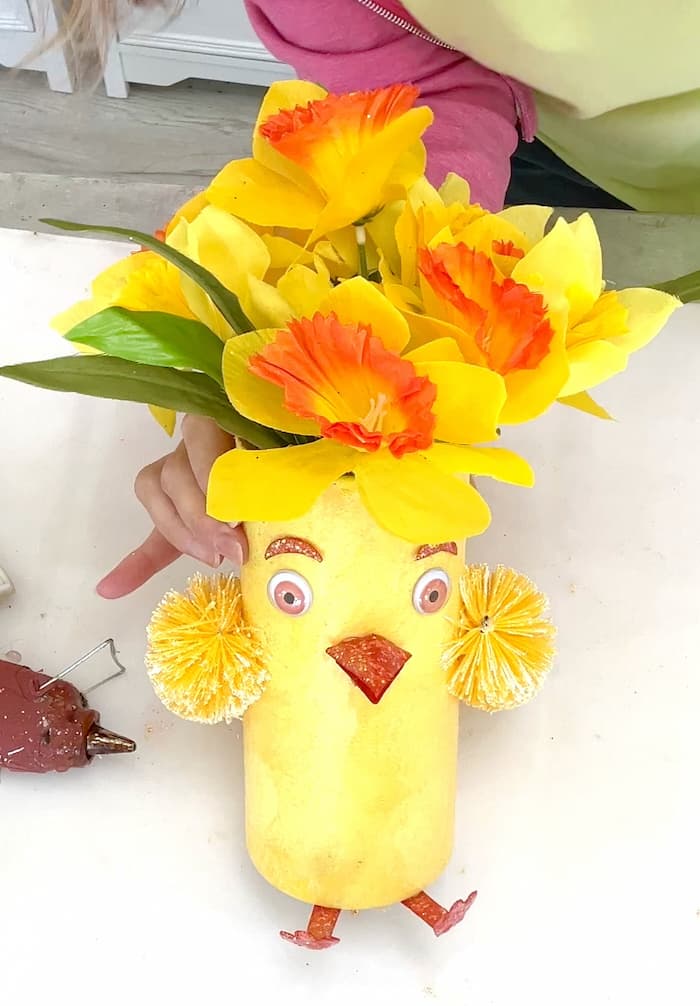
They definitely give the winds a fluffy texture that is way nicer than the feathers!
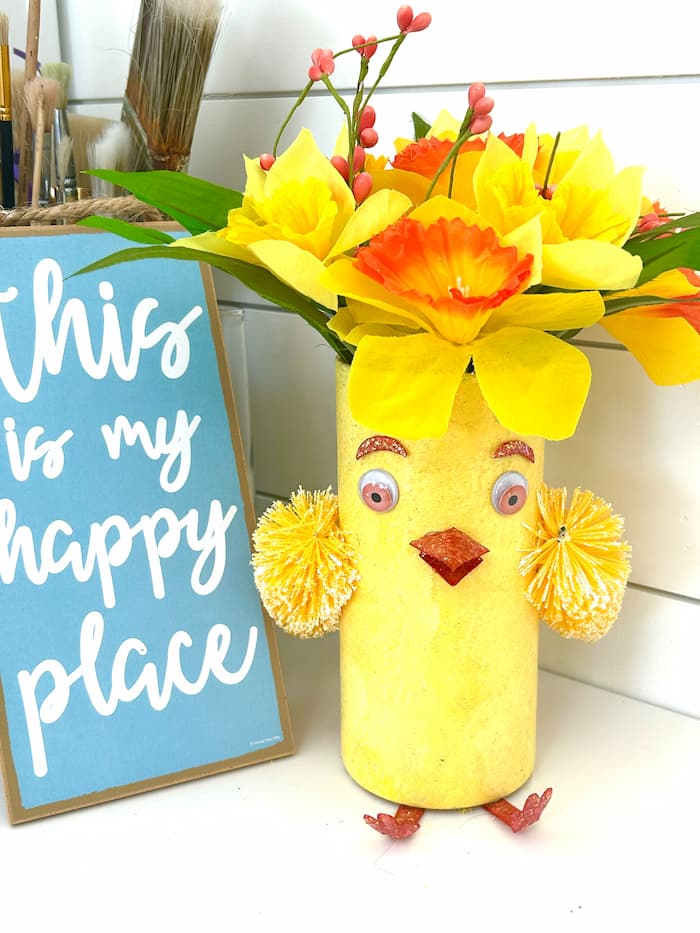
Final Look…A Festive Easter Chick!
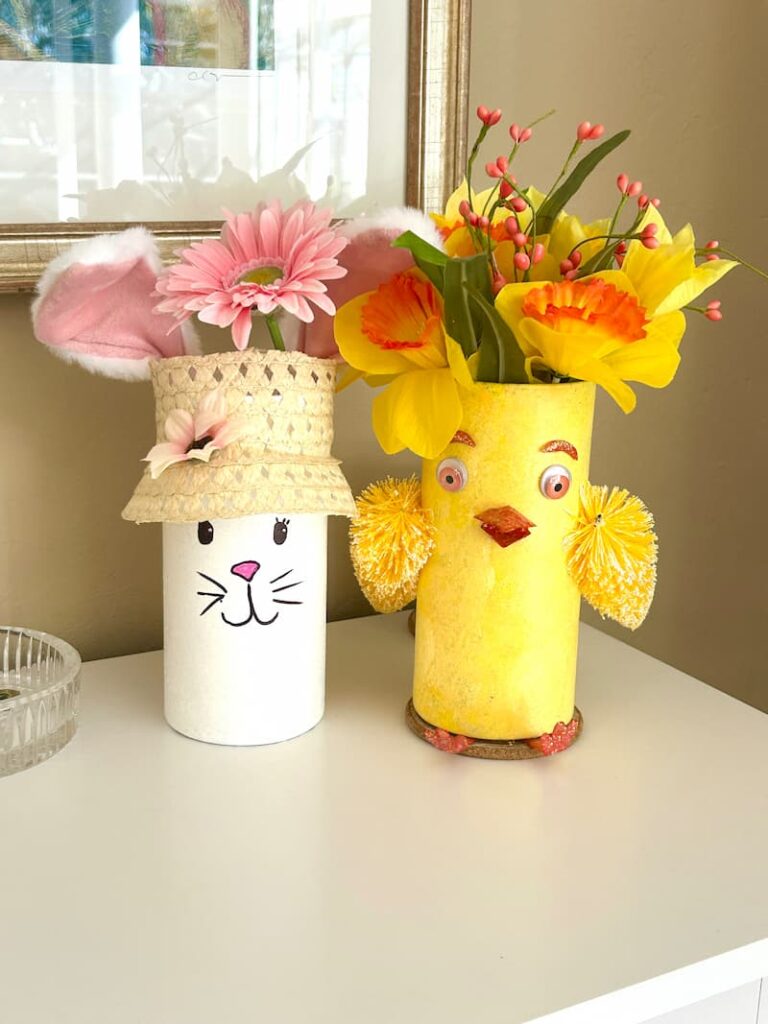
The DIY Easter chick is done, and it’s the perfect addition to my Easter decor!
He looks extra cute sitting next to the Easter Bunny.
I put fake flowers in mine because that’s what I had on hand…
…BUT…
I only painted on the outside, so you can put water and real flowers right in the vase.
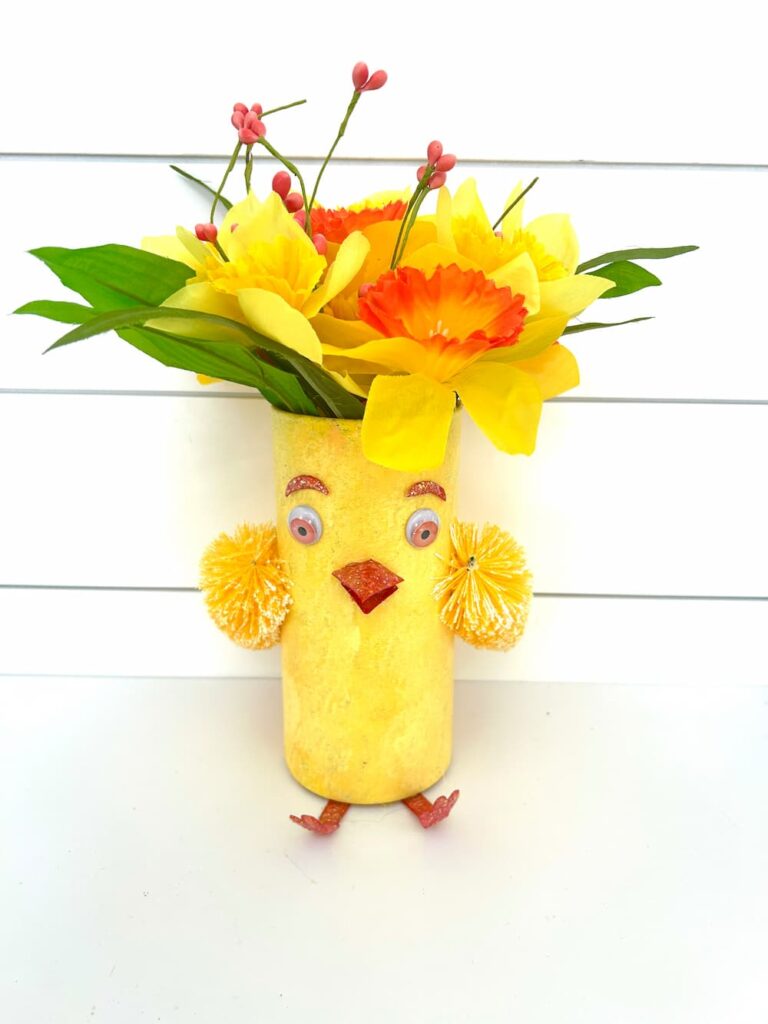
Daffodils or tulips would look nice!
Remember: Life’s too short not to shimmer, so grab your glue gun and your glitter!™
Mona
Don’t forget to PIN IT for later!
Find me on Instagram!