If you have ever wondered how to make a bowl from wood, I am going to show you how easy it is using the xTool laser cutting machine.
It is SO EASY!
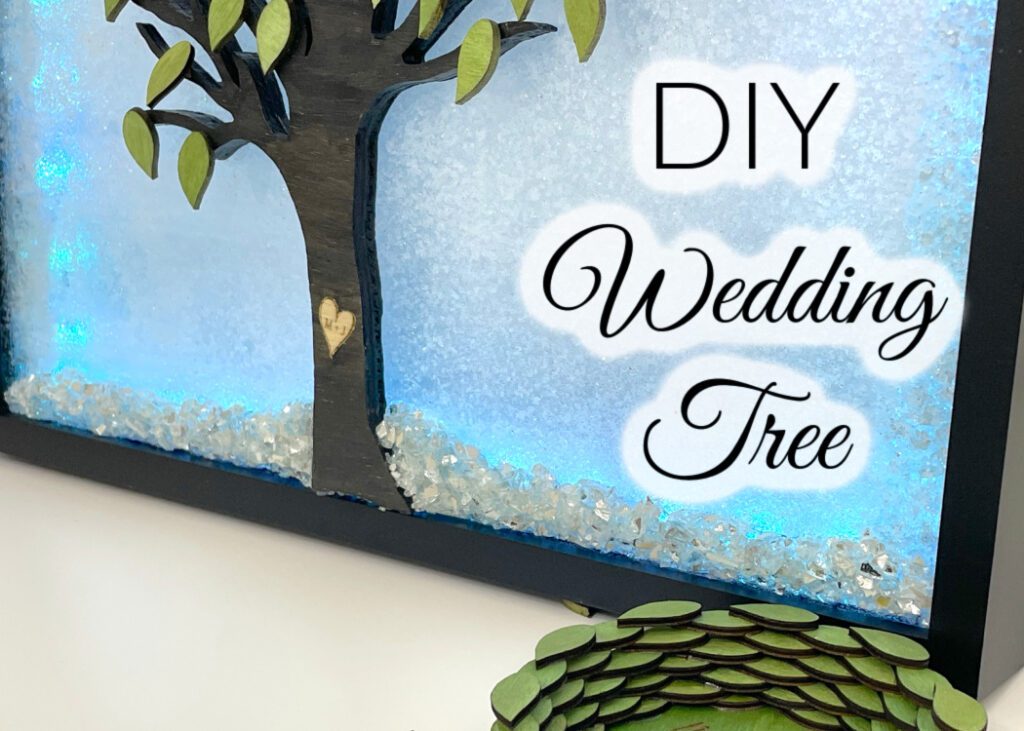
I just finished making a wedding guest book alternative project for my niece, which you can see in my Wedding Tree post.
Can I tell you that I’m STILL excited about how it turned out?
It involves guests adding leaves to the tree.
I cut a bunch of leaves and yes, I could put them in a pretty crystal bowl, but where would be the fun in that?
Instead, I made a bowl made of leaves!
It is so easy and maybe not what you would originally think of when you picture how to make a bowl out of wood but the details are so pretty! Almost like a weave.
I used a laser for cutting out the leaves and they came out so PERFECT!
Here is the video tutorial for How to Make a Bowl from Wood
In the video, I’ll show you how I used the xTool M1 laser cutting machine to make the leaves and to engrave the bottom of the bowl.
Materials
*Disclosure: This blog uses affiliate links from Amazon and other retailers. I earn a small amount from qualifying purchases at no additional cost to you.
- Wood rectangles
- Wood disc
- xTool M1 laser cutting machine
- Festive green metallic paint
- Glue or Epoxy adhesive
- Satin varnish
How to Make a Bowl from Wood Directions:
Step 1:
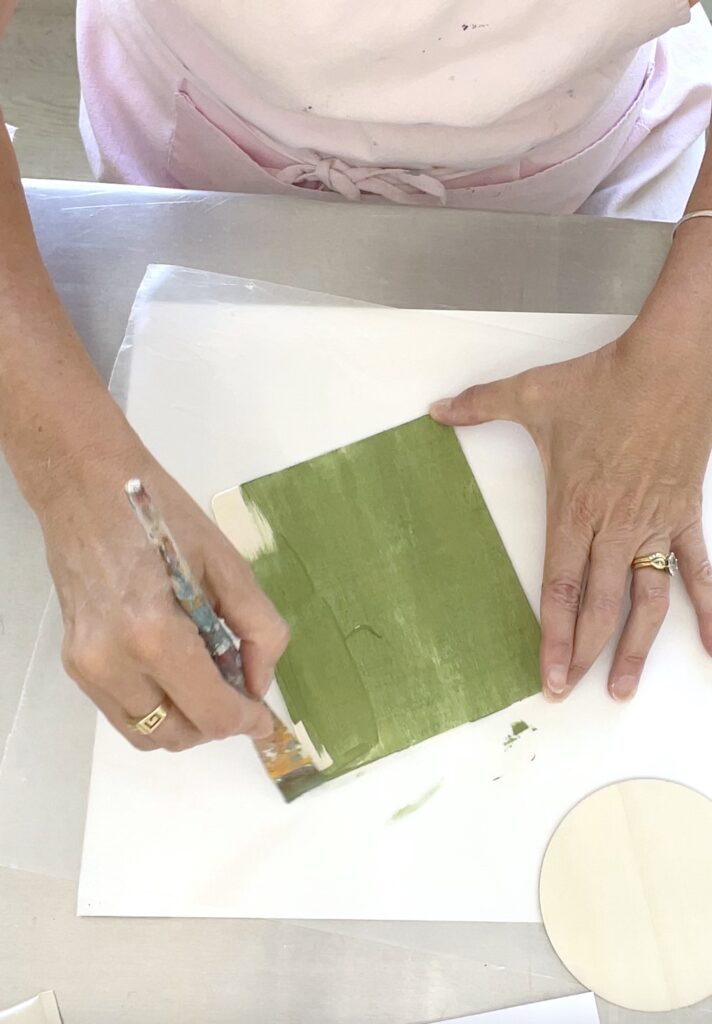
I painted the wood rectangles and the wood round with a festive metallic green.
It’s a lot easier to paint the rectangular piece of wood before cutting out the leaves than it is to paint 40+ individual leaves.
Step 2
Cut out the leaves. I used the xTool M1 and you can find full directions on how easy it is to add a drawn image into the xTool software in this VIDEO.
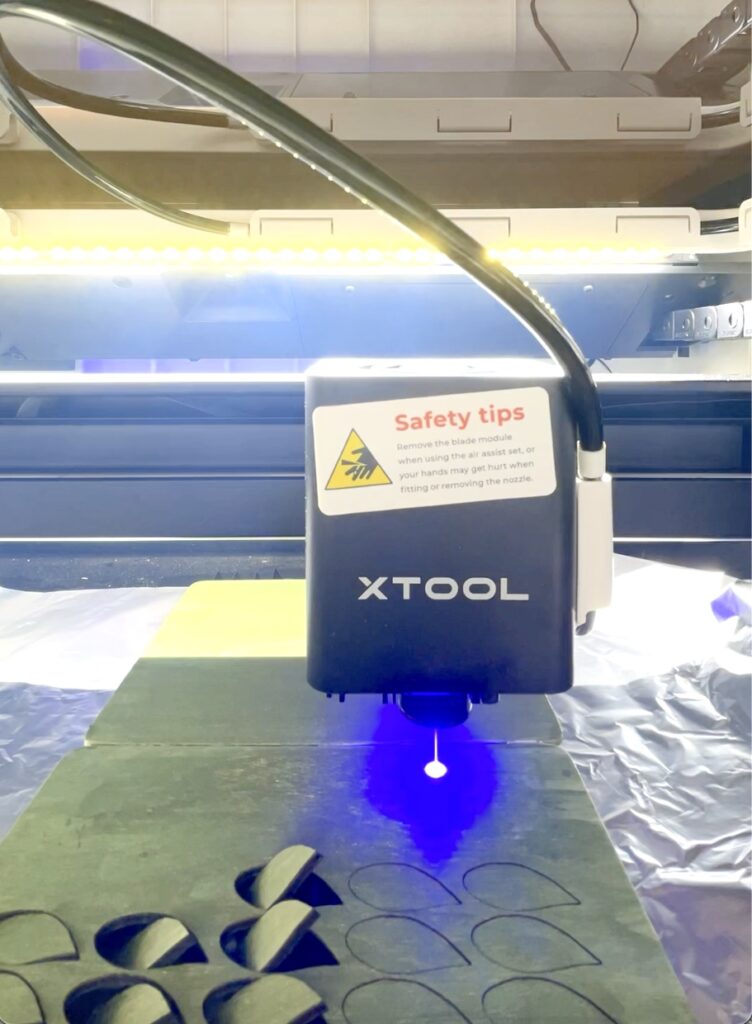
The x Tool is a great laser for wood cutting. The leaves came out nice and clean!
Step 3
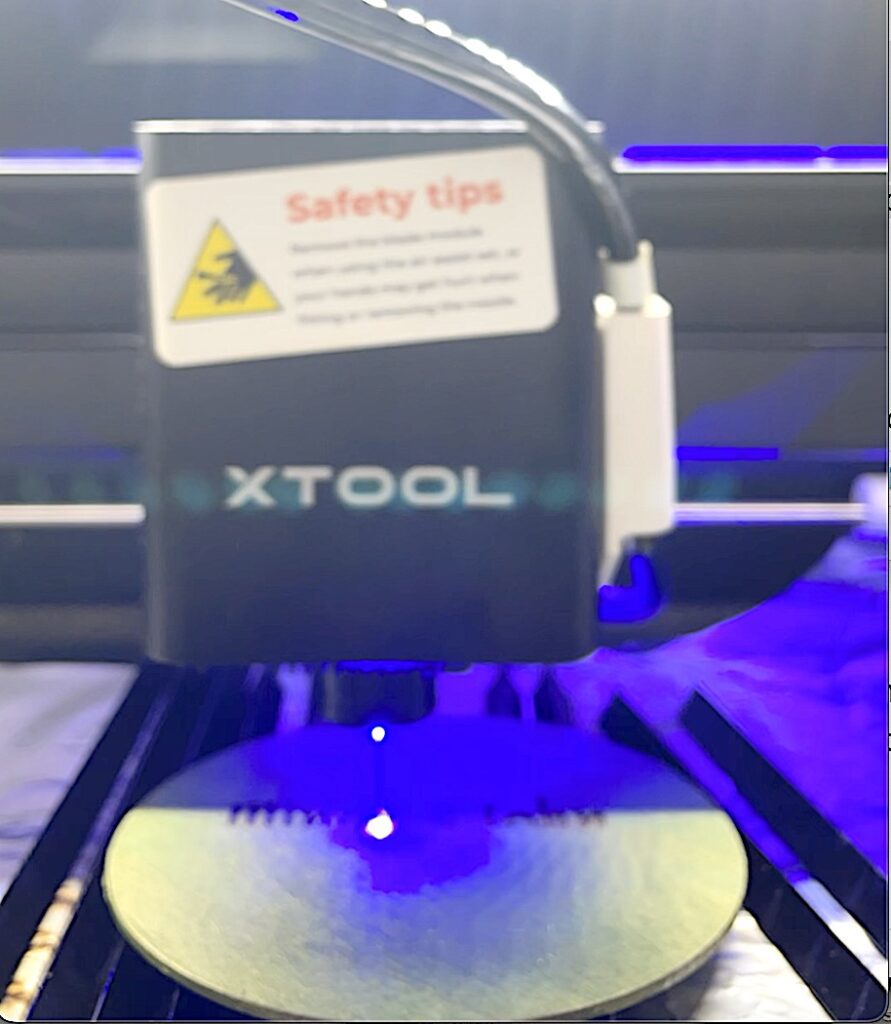
I engraved the bride and groom’s names into the wood disc, again using the x Tool. The nice thing is hen the area is engraved it is a different color than the painted, giving it a nice offset.
Step 4
I used a satin varnish to seal the wood disc.
Step 5
I used an epoxy adhesive to attach the leaves to the disc. I started at the outer edge and worked my way around.
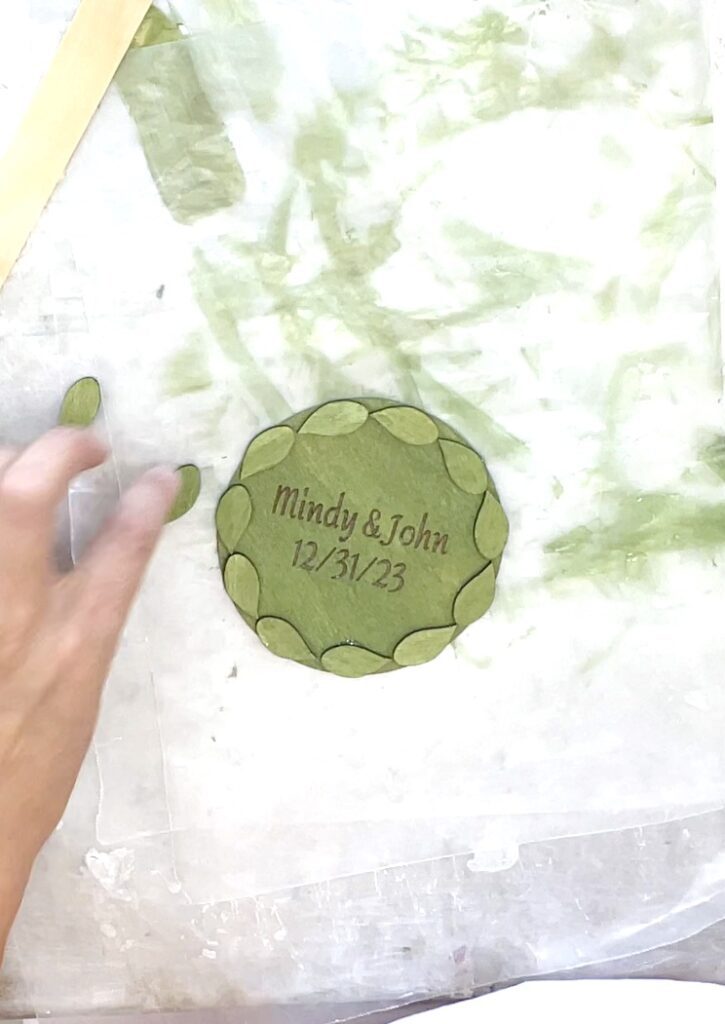
For the next row, I put the leaf over where the previous leaves met and edged it out a little
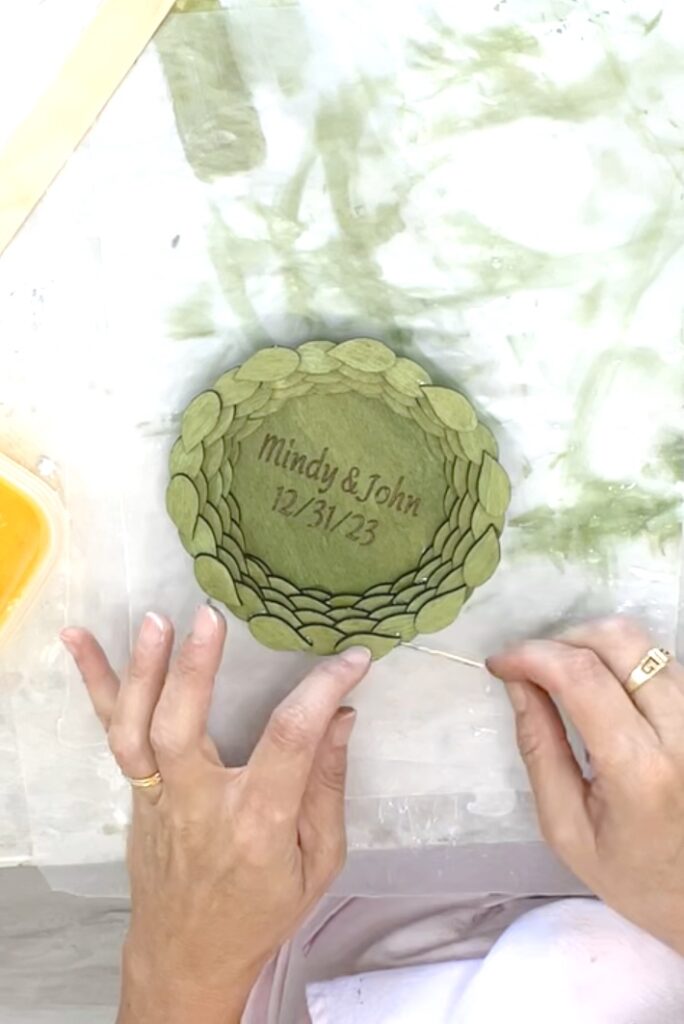
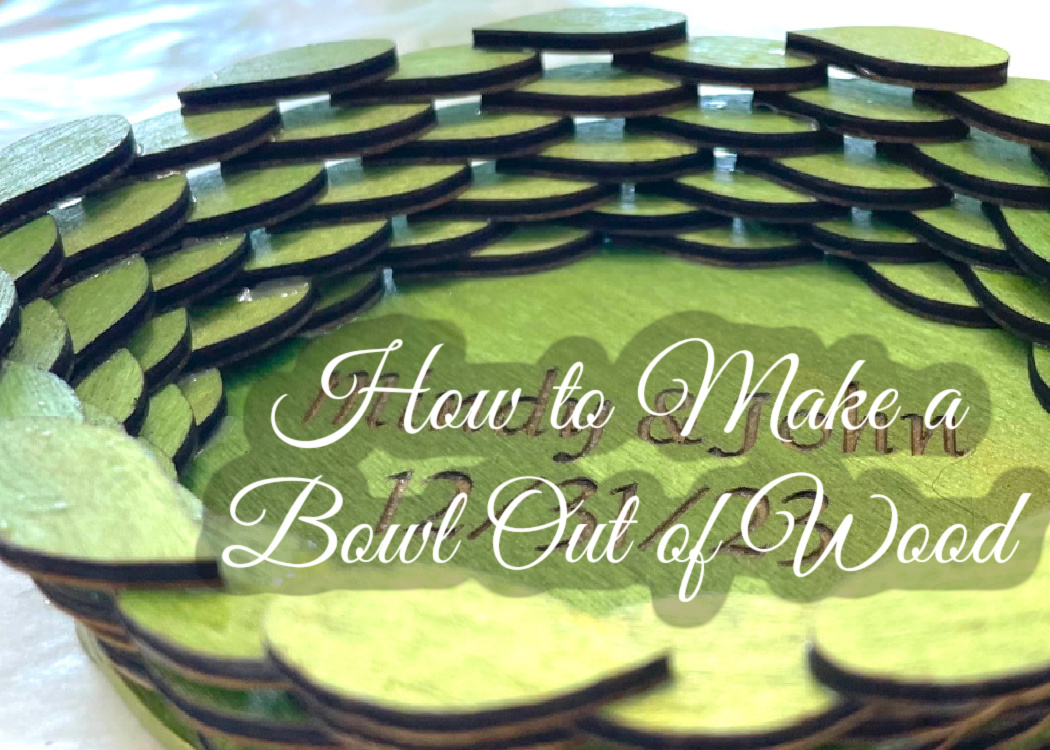
I repeated that process with each row, giving it a woven effect and the shape of a bowl flaring out.
Step 6
I finished it all off with a satin varnish over the whole thing.
And that’s how you make a bowl from wood using the xTook cutting machine.
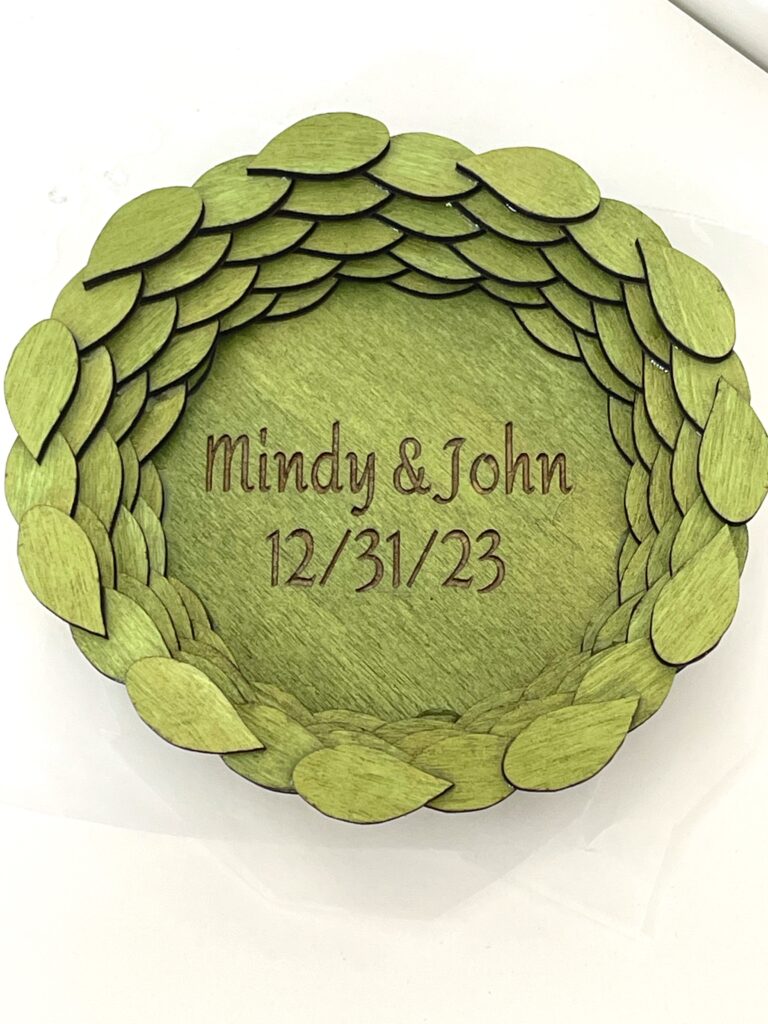
I obviously did leaves because it goes with the whole wedding theme but it could be any shape! Fish, diamonds, circles, shells, anything!
Other Projects
Here are some other fun projects I think you wil enjoy!
- Cat Tree That Looks Like a Tree
- Glam Resin Glitter Bowl
- Halloween Sign Cricut DIY
- Wine & Paint Corkscrew Table
Thanks for stopping by! Remember: Life’s too short not to shimmer, so grab your glue gun and your glitter!™ Stay safe!
Be sure to PIN IT for later!

This was such a great idea!! I love it!
Thank you so much, Audrey!