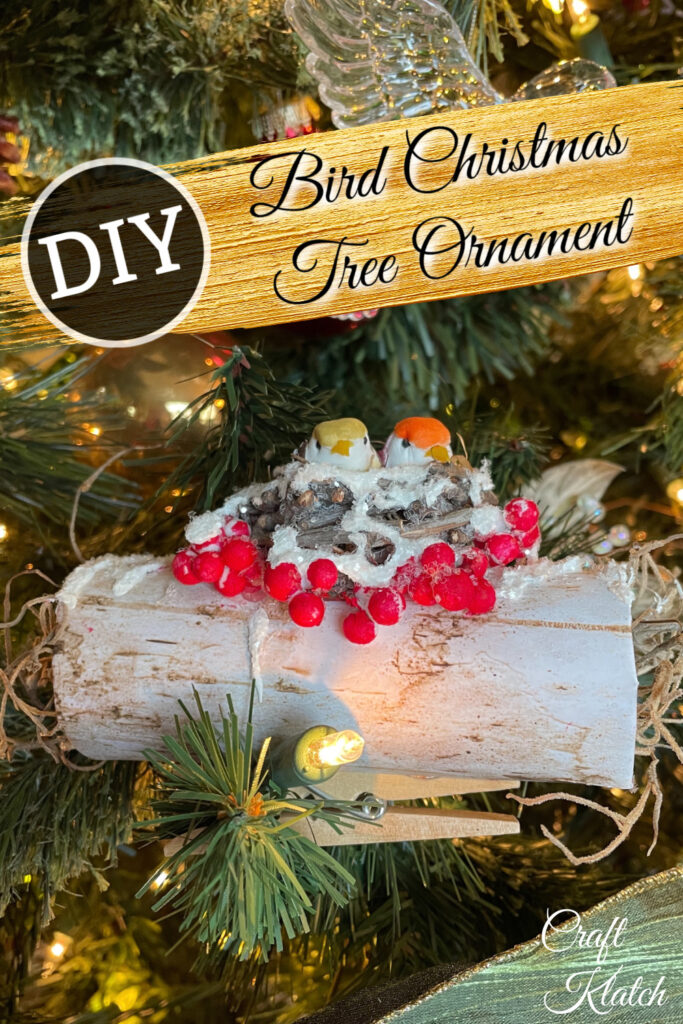
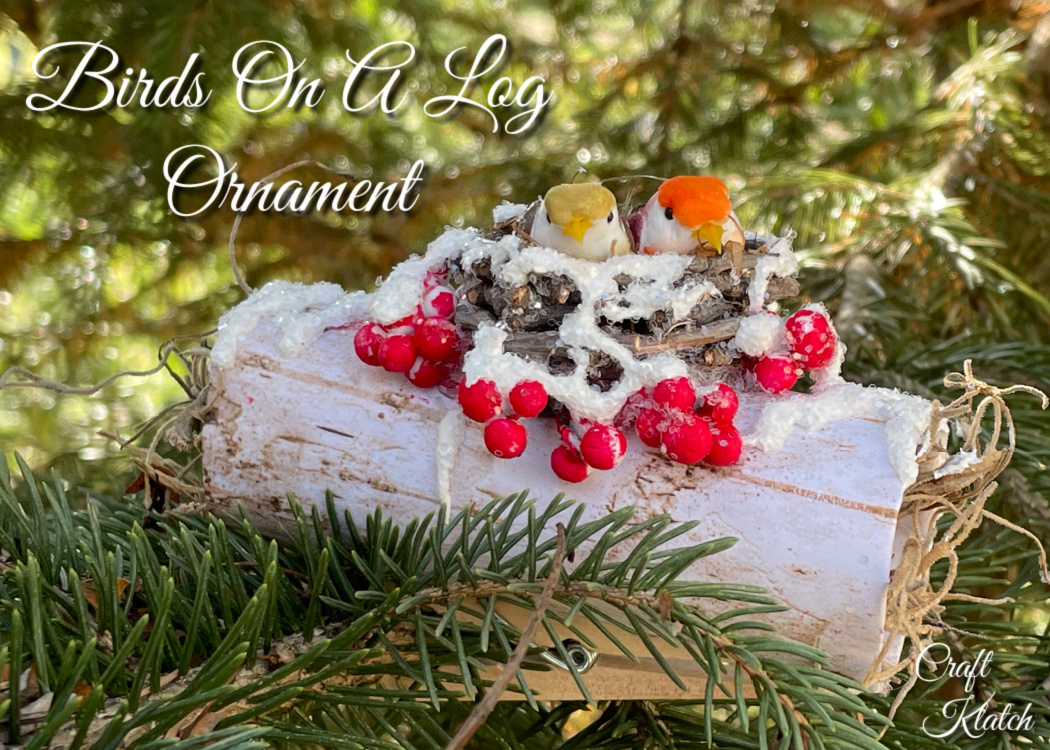
How to make a bird Christmas tree ornament. If you love clip on bird ornaments, here is an easy DIY you can make to decorate your Christmas tree!
When you look out the window and gaze upon snow-covered trees, do you ever think about the little bird couples snuggled together to stay warm?
This is such a cute and easy Christmas ornament and what takes the longest is waiting for the paint to dry! You could have a tree full of these ornaments in an afternoon!
So I say to you again, Keep saving those toilet paper rolls!
If you haven’t seen the other toilet paper roll Christmas ornament projects, here you go:
- Red Christmas Flower Ornament
- Christmas Tree Ornament
- Christmas Snowflake Ornament
- Enchanted Birdhouse Ornament
Quick Video Tutorial
Materials You Will Need To Make The Bird Christmas Tree Ornament
*This blog uses affiliate links. As an Amazon Associate I earn from qualifying purchases, at no additional cost to you.
- Toilet paper roll
- Scrapbook paper that looks like bark: Hobby Lobby
- Glue stick
- Twigs: Find them outside for free!
- Hot glue
- Birds: Check craft stores. They all have different birds.
- Dimensional white paint
- Clear glitter
- Moss
- Red berries
- Clothespin
Directions for Bird Christmas Tree Ornament
Step 1: The Base for the Bird Christmas Tree Ornament
The base consists of a toilet paper roll and wood bark scrapbook paper. The scrapbook paper is printed with birch bark, or any bark print you can find. They have pretty realistic prints.
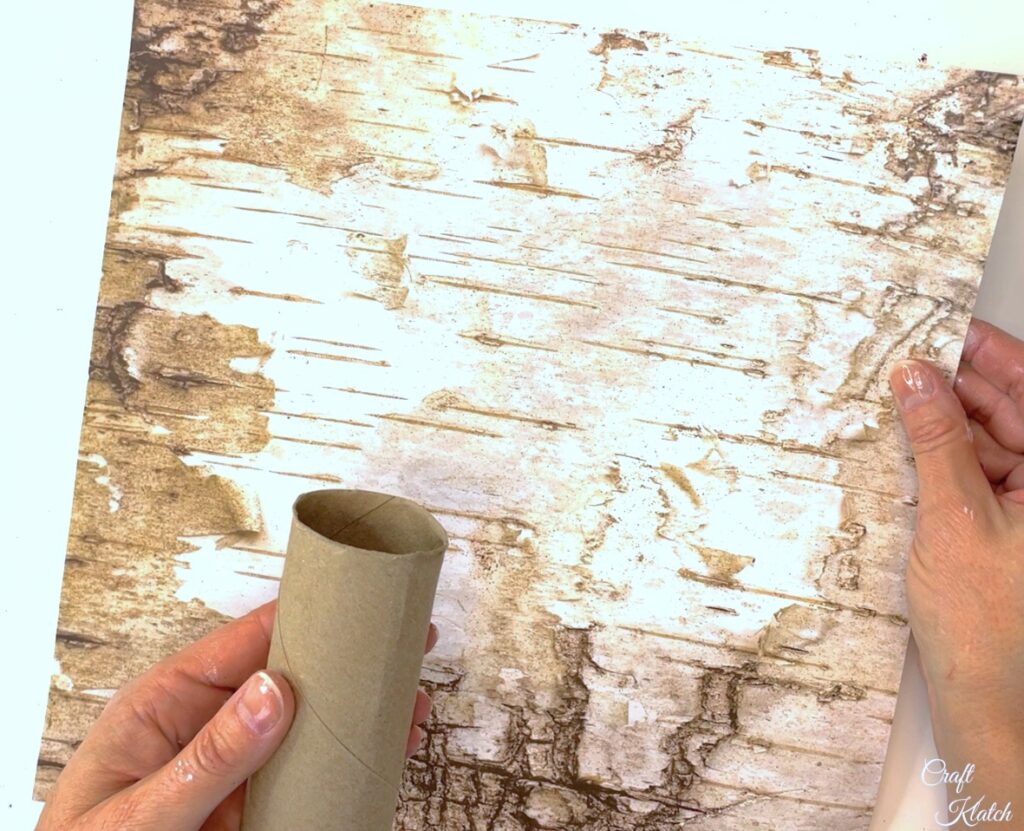
Take your toilet paper roll and wrap it in the bark scrapbook paper, to figure out what size you need.
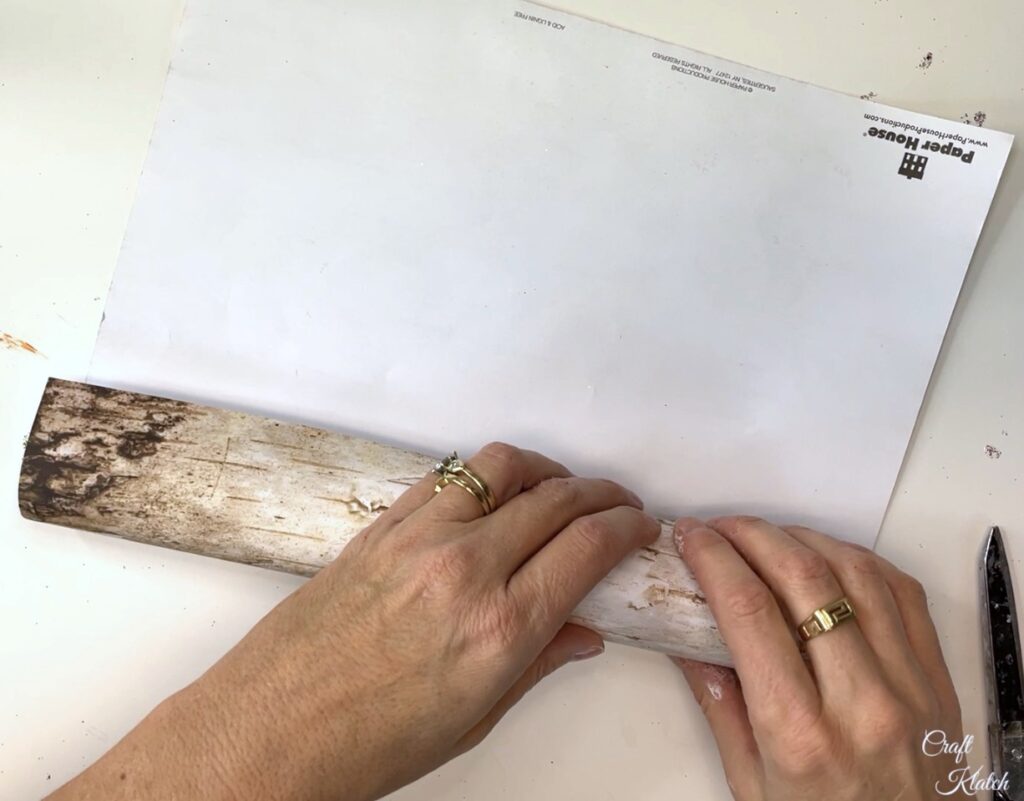
Step 2: Cut & Glue
Cut the paper to be larger than the toilet paper roll to ensure it will be covered.
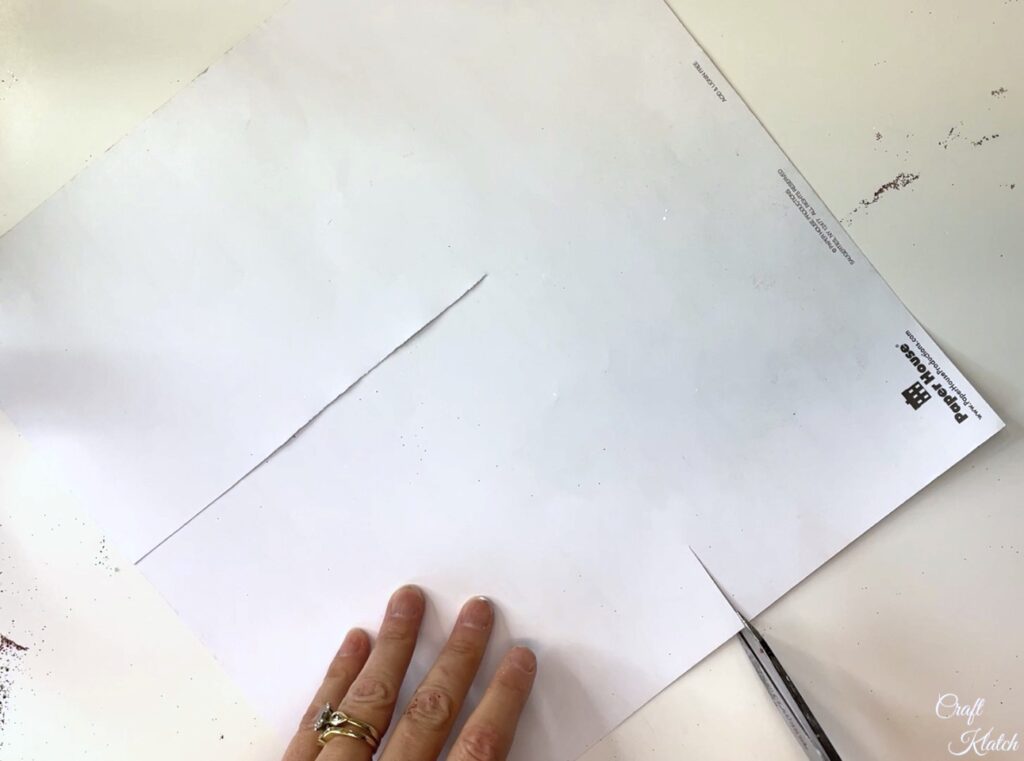
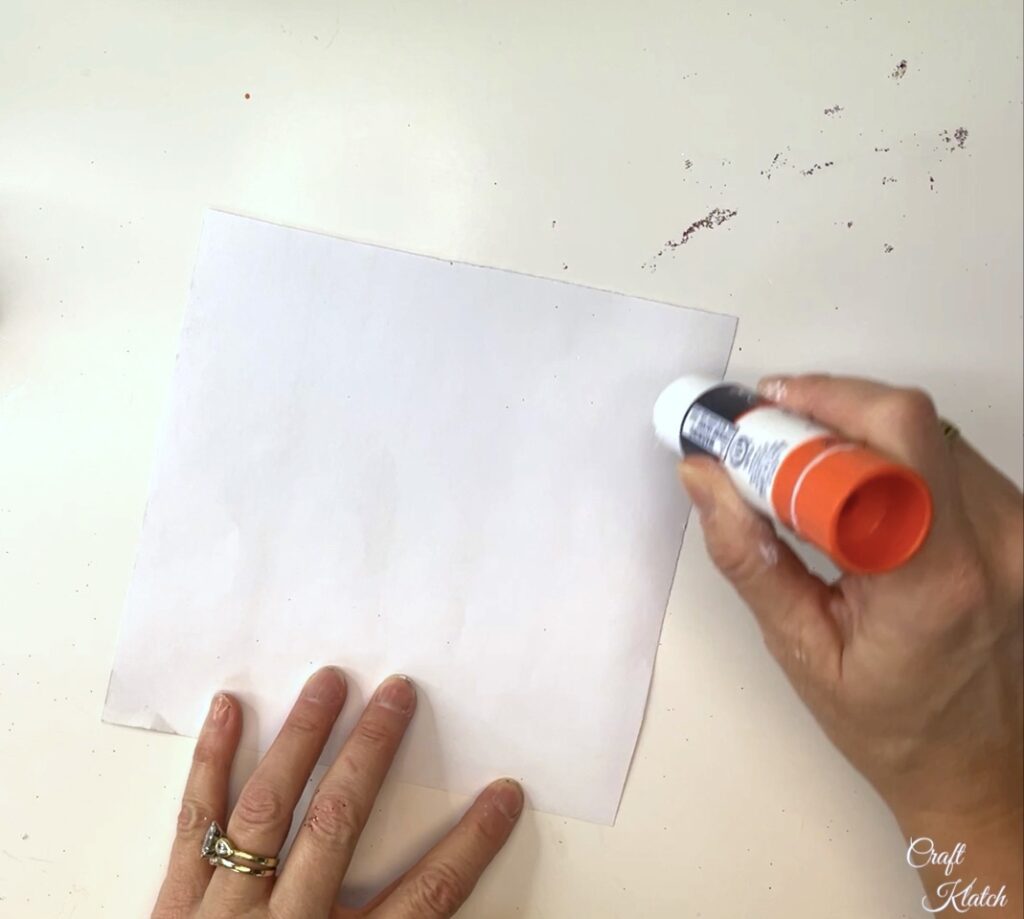
Apply stick glue all over the backside of the scrapbook paper.
Roll the toilet paper roll into the paper.
Step 3: Flaps
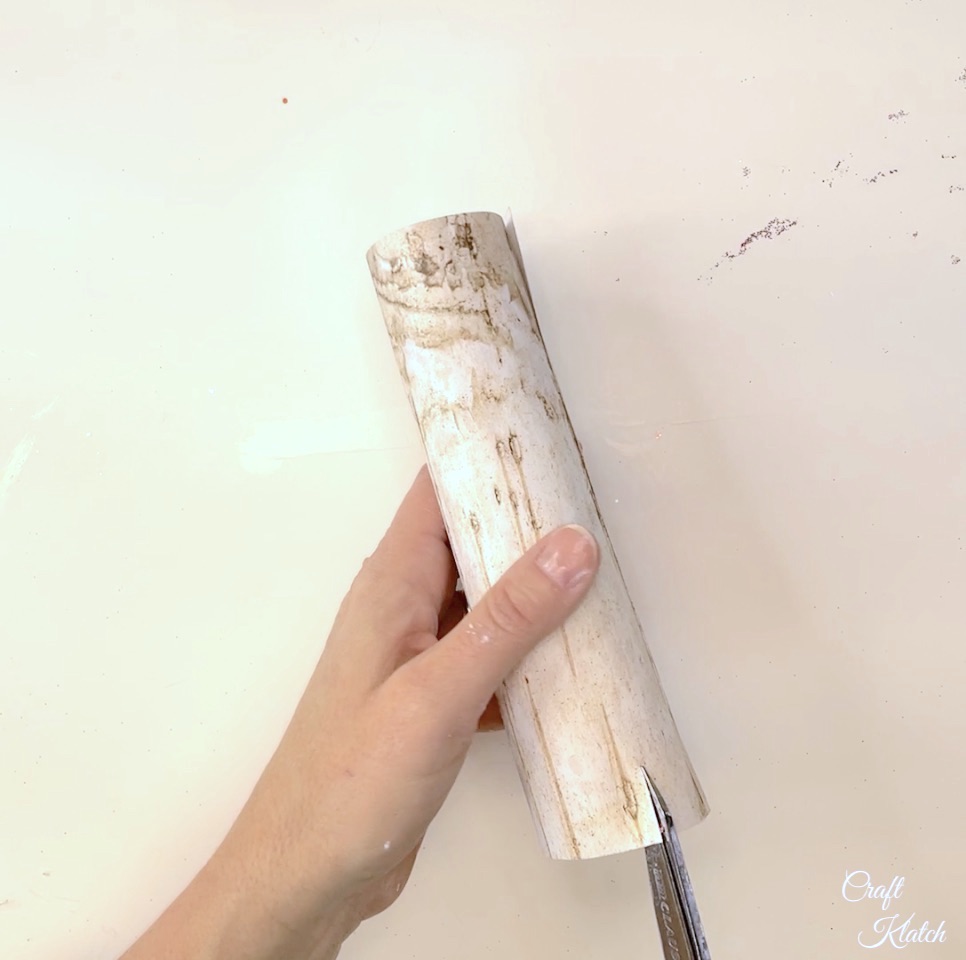
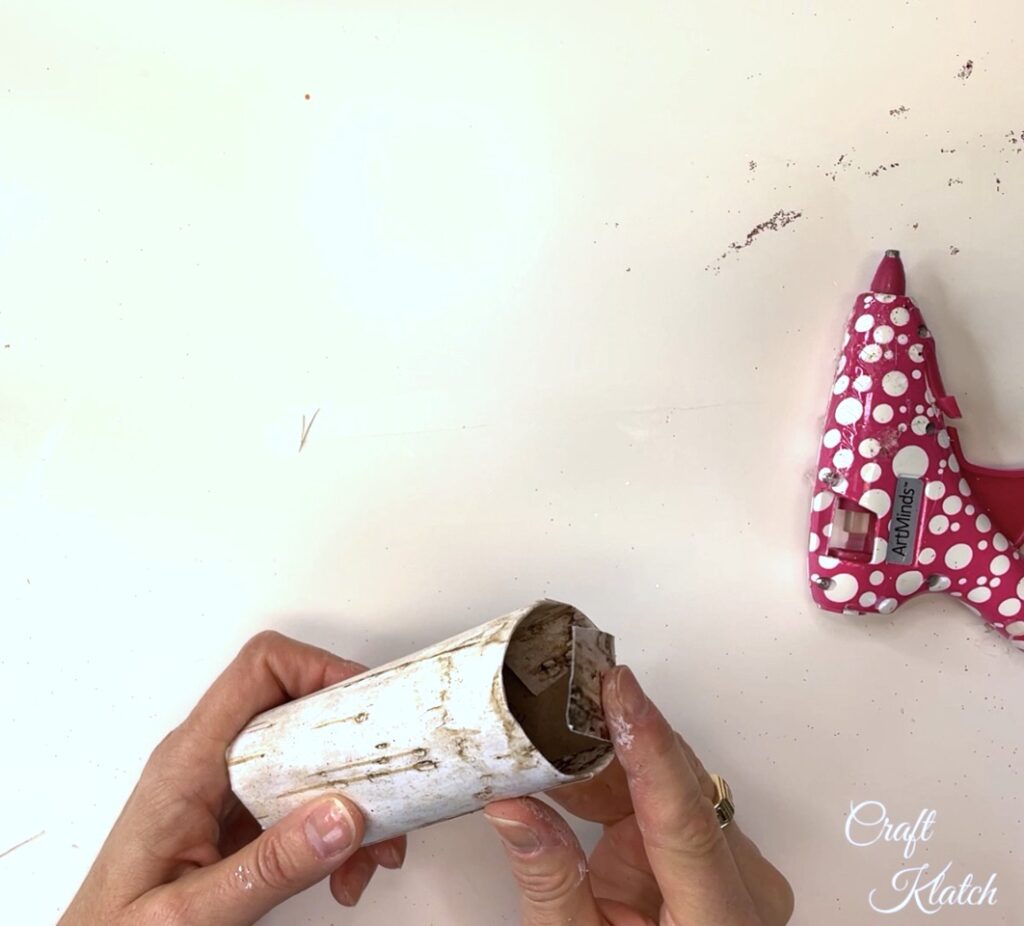
When you have it rolled up, make sure you have the seam well glued. Then, cut flaps into the ends that are longer than the roll.
Add a dab of hot glue.
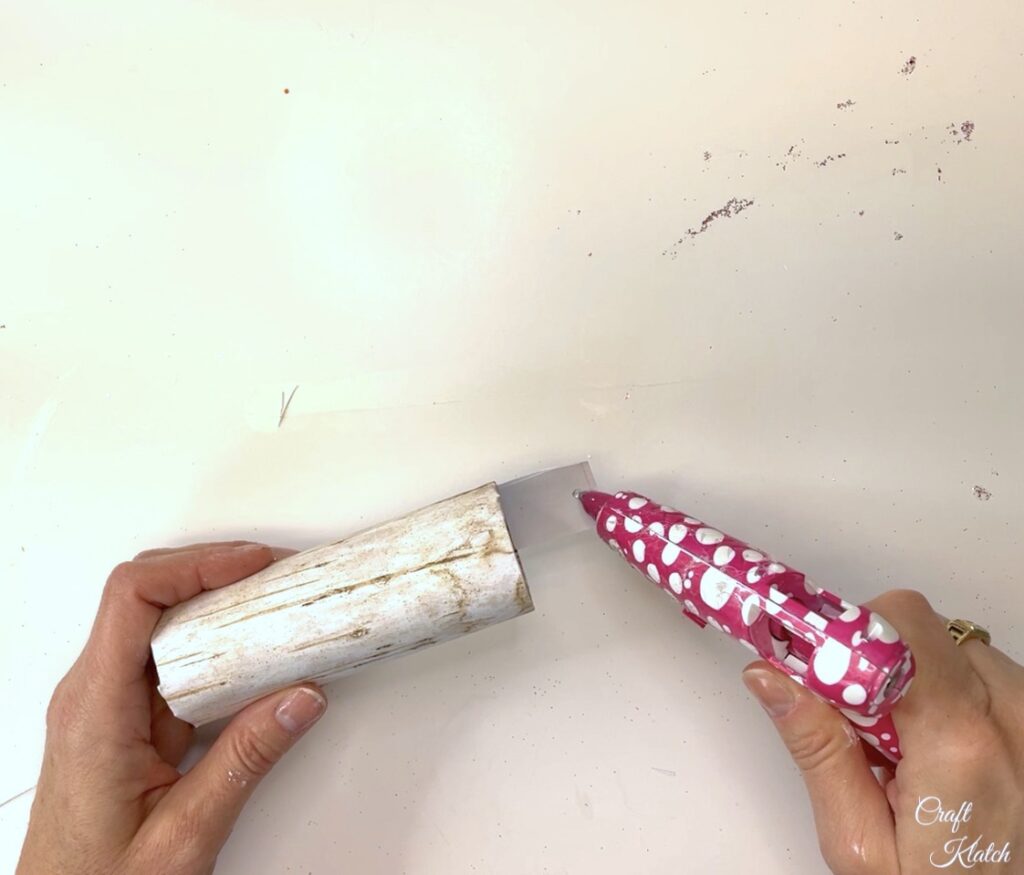
Fold the flaps into the toilet paper roll.
Step 4: The Nest
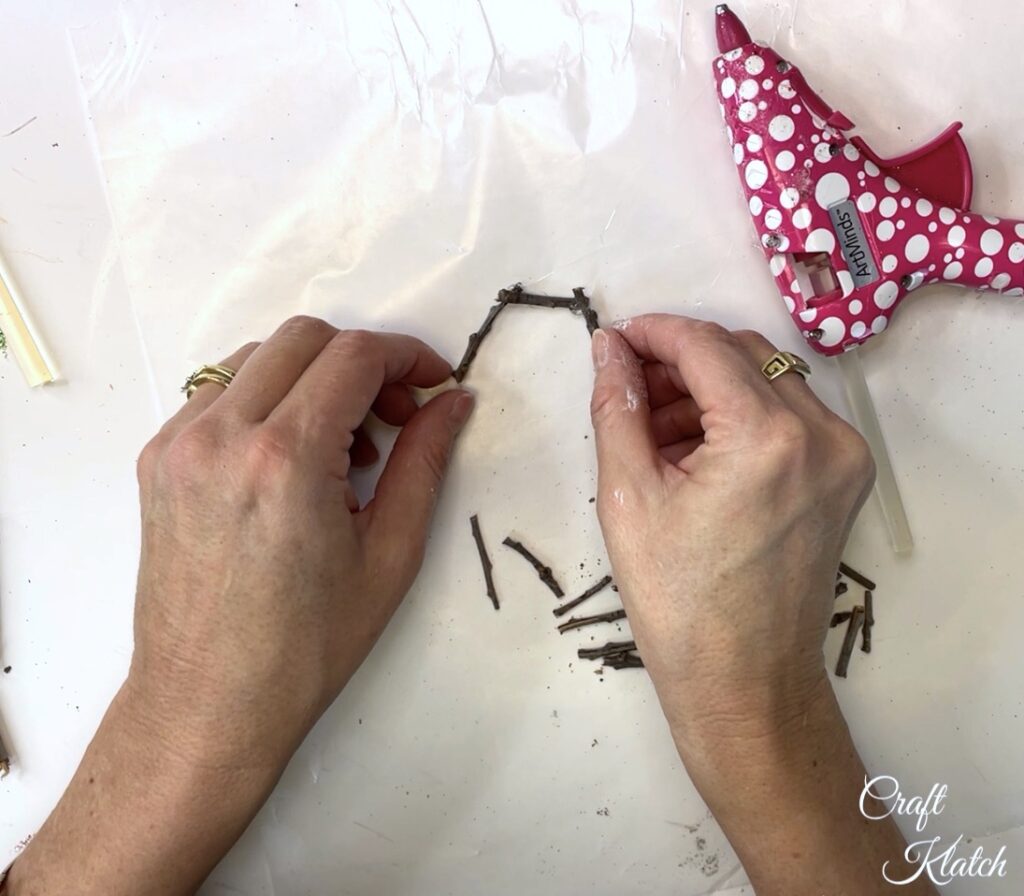
The nest and its contents are the focal point of the bird Christmas tree ornament, so it’s time to build them. Use hot glue and twigs broken down to about an inch or so. You can buy twigs, but just walk outside and grab some for free!
You are just gluing them into a circle.
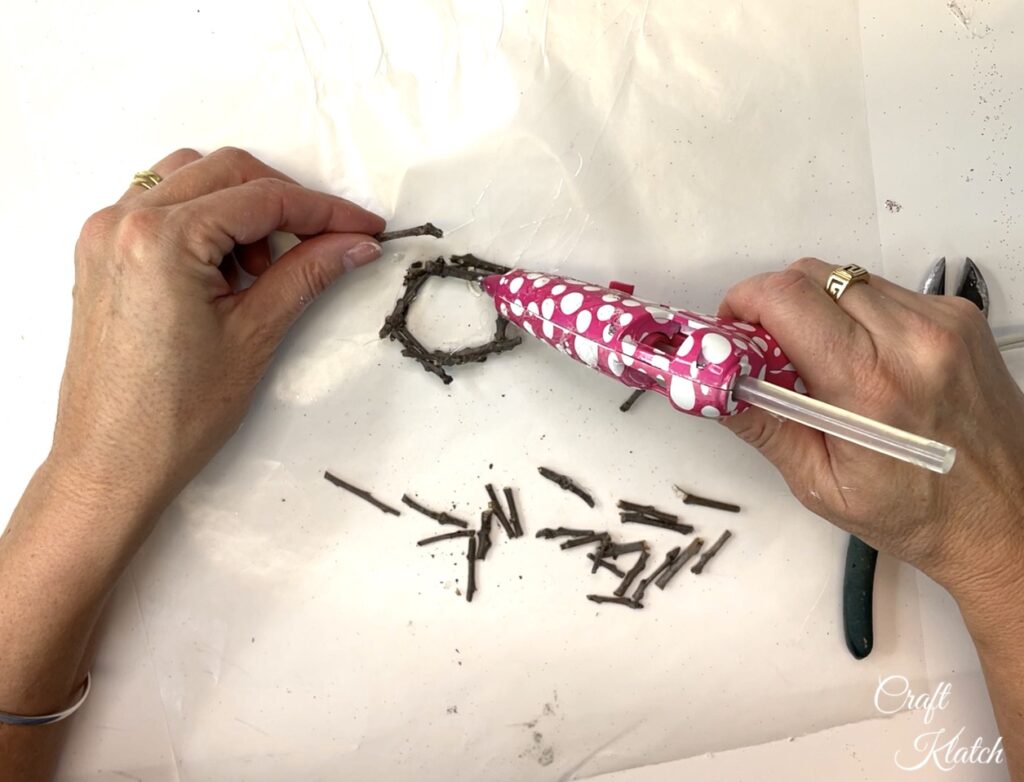
Then, glue it to the toilet paper roll log.
Step 5: Spanish Moss
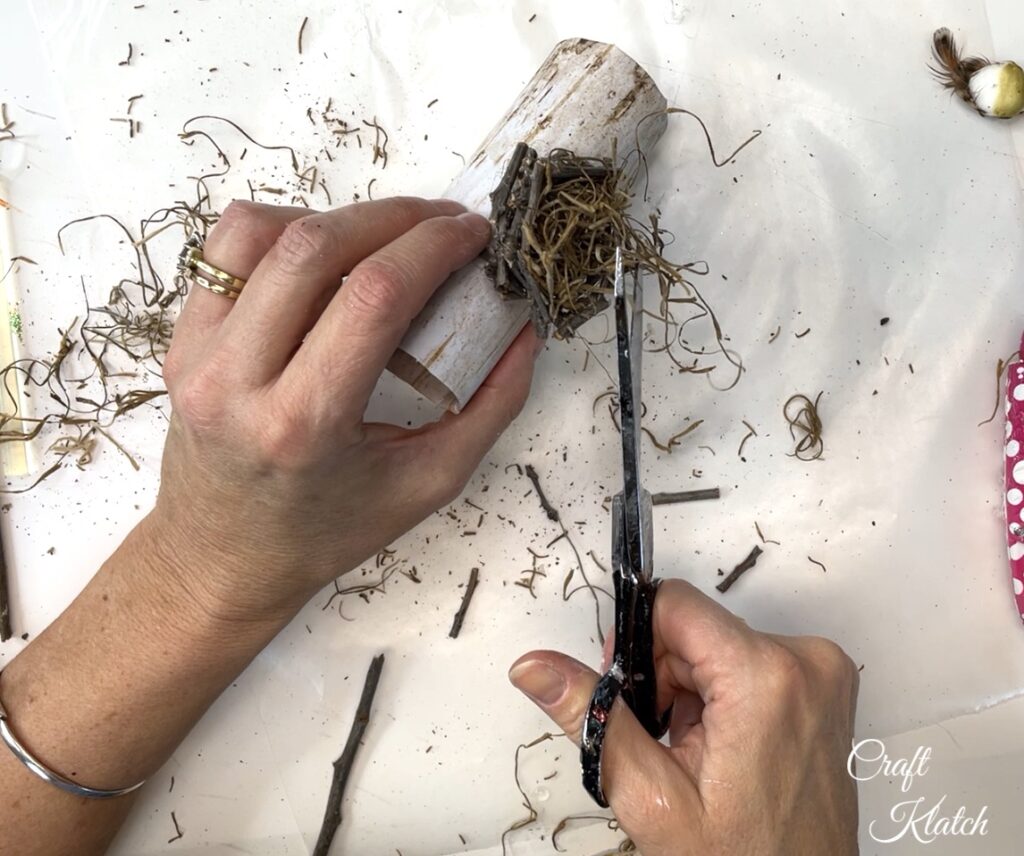
Hot glue some Spanish moss into the nest and give it a trim, so it’s not all crazy.
Step 6: Berries
Hot glue some fake berries to the base of the nest.
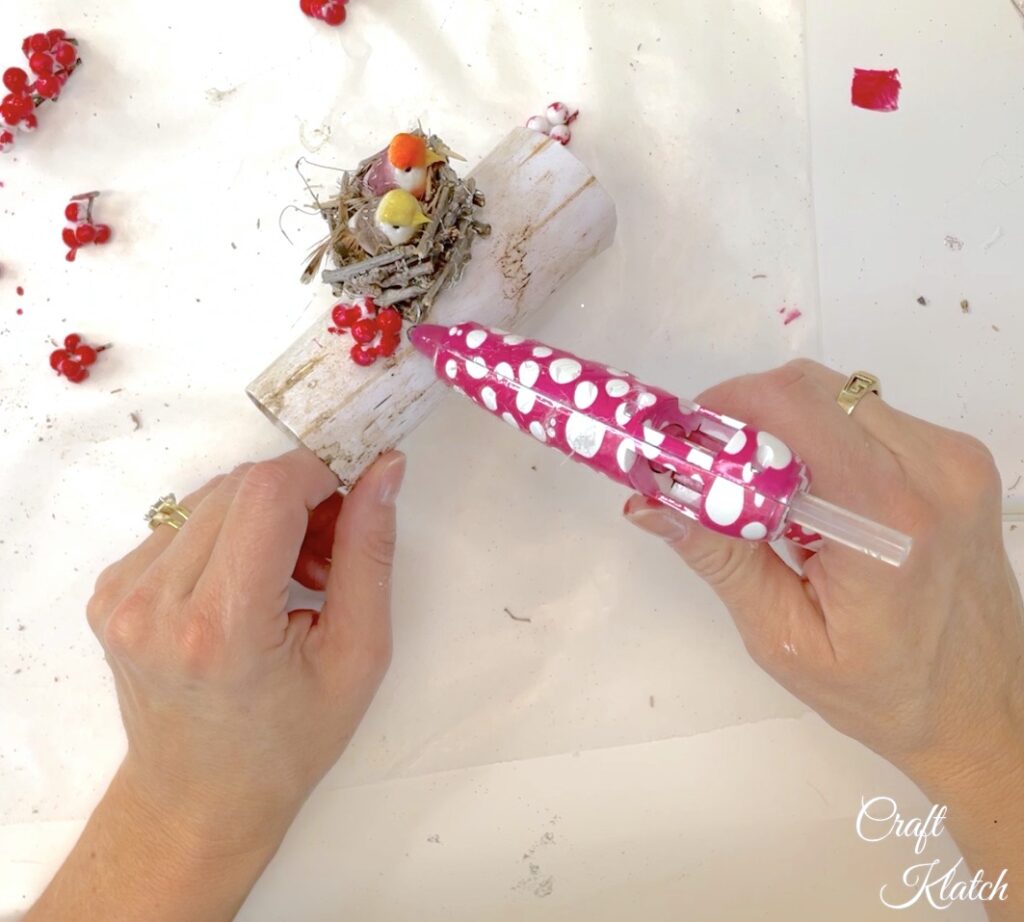
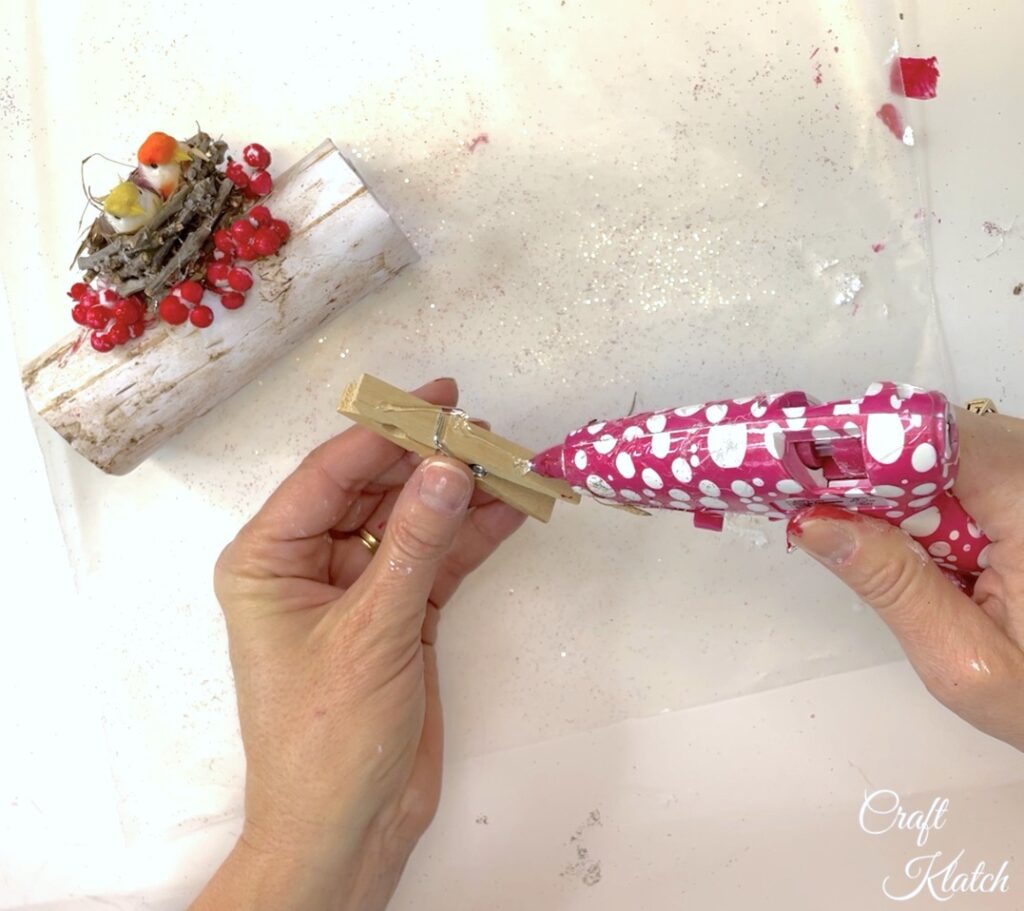
Step 7: The Clip To Secure the Bird Christmas Tree Ornament
If you like clip on bird ornaments, that is what we are making here. Use a clothespin to add to the bottom of the log. Easy peasy.
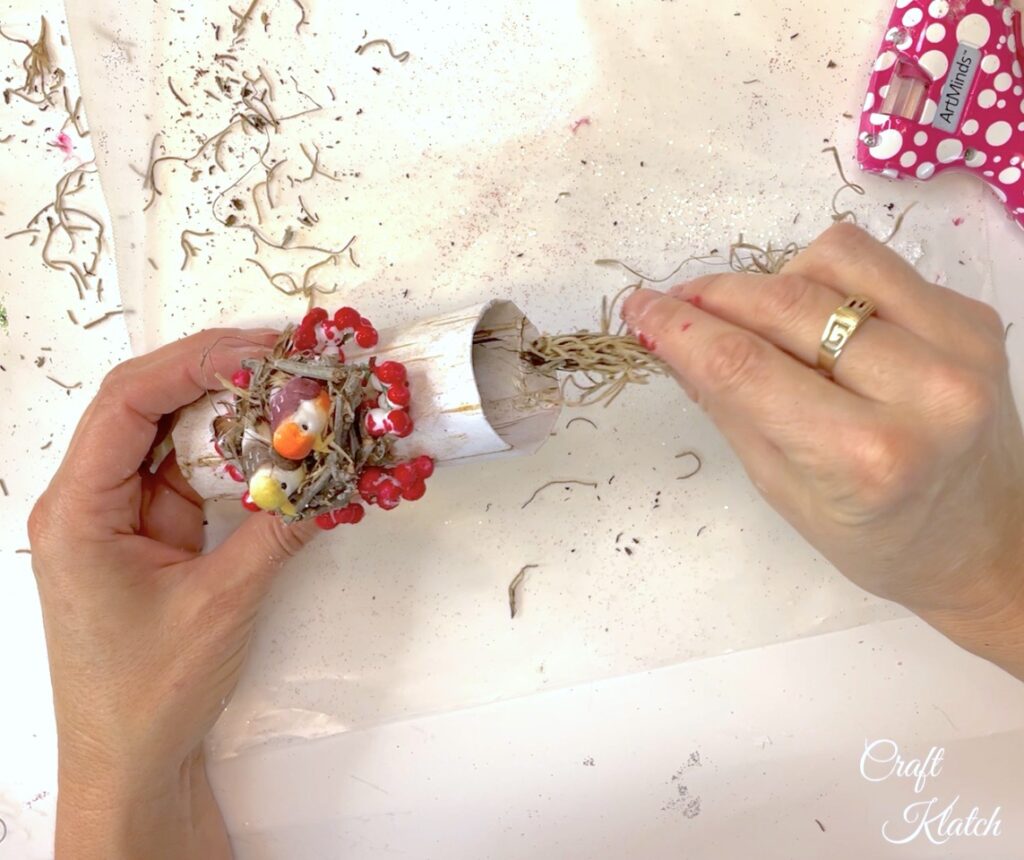
Step 8: More Moss
Add more moss to the inside of the log. Those little touches to the bird ornament make all the difference!
Step 9: A Little Snow
It is a Christmas ornament, so a little snow seems in order! Use dimensional fabric glue, in white, and add snowy accents.
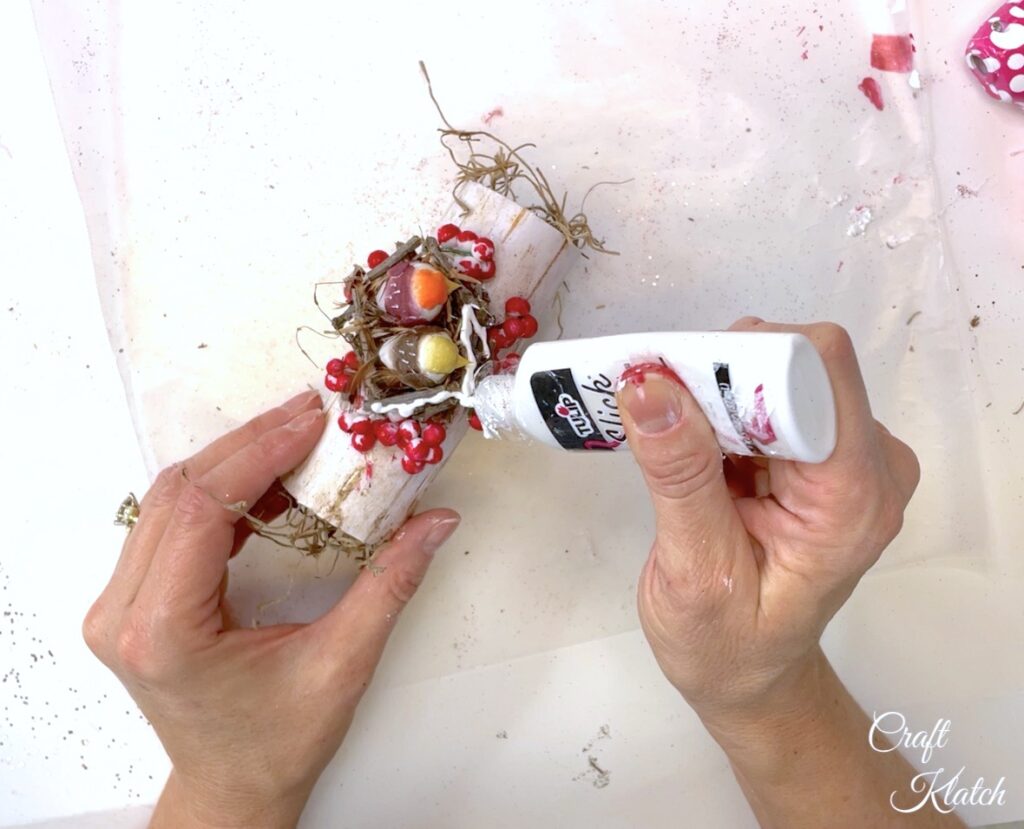
While the paint is still wet, sprinkle on clear or white glitter. It gives it an extra frosty appearance.
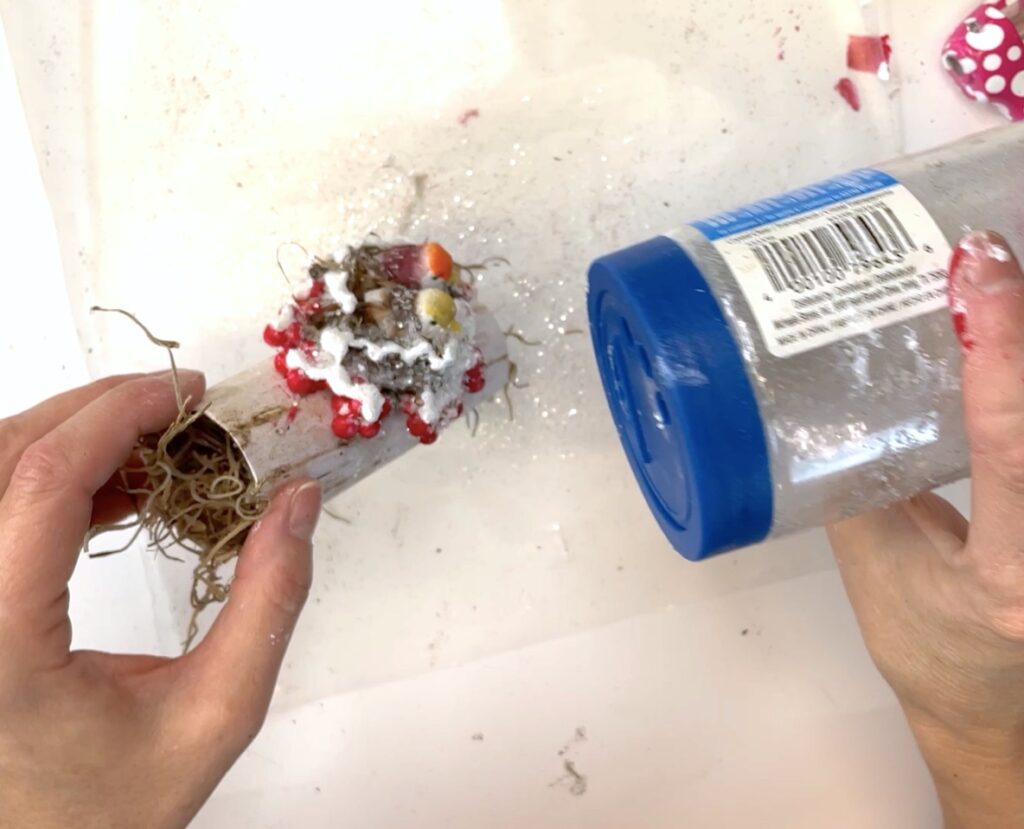
Step 10: Clip On Bird Ornament
Now just let it dry.
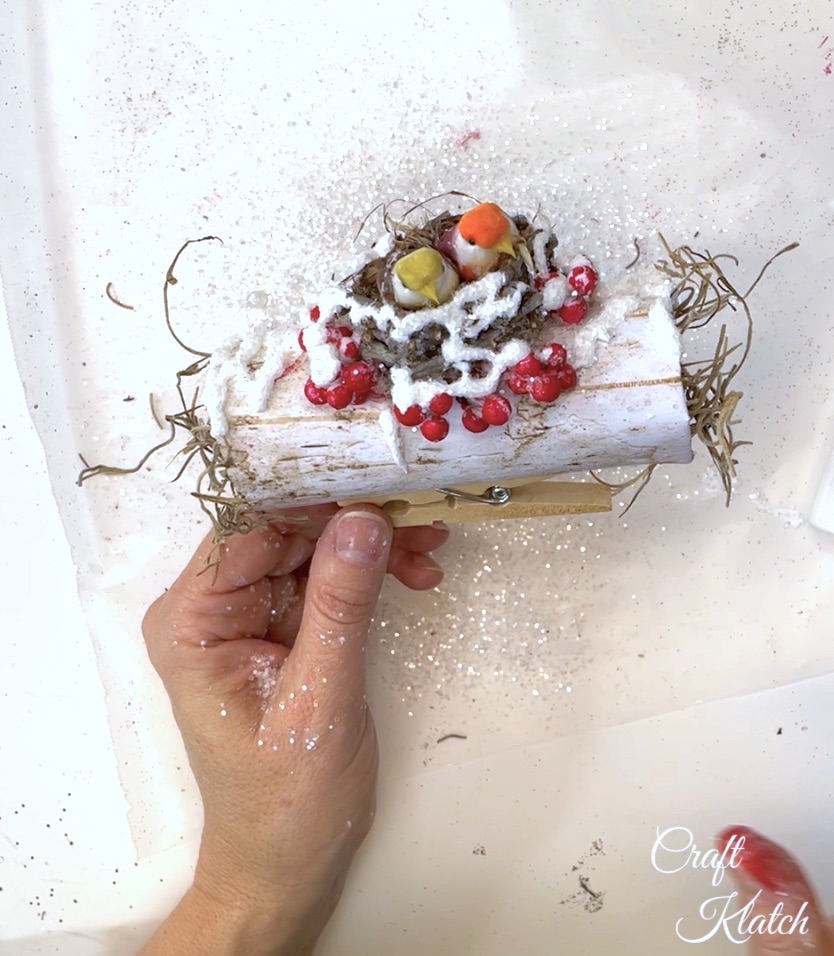
The Bird Christmas Tree Ornament Reveal!
Because it’s a clip on bird ornament, it’s easy to tuck them onto a branch and they look so cozy in the Christmas tree!
It’s an easy craft and aside from waiting for some paint to dry, it’s pretty darn quick!
Be sure to PIN IT for later!
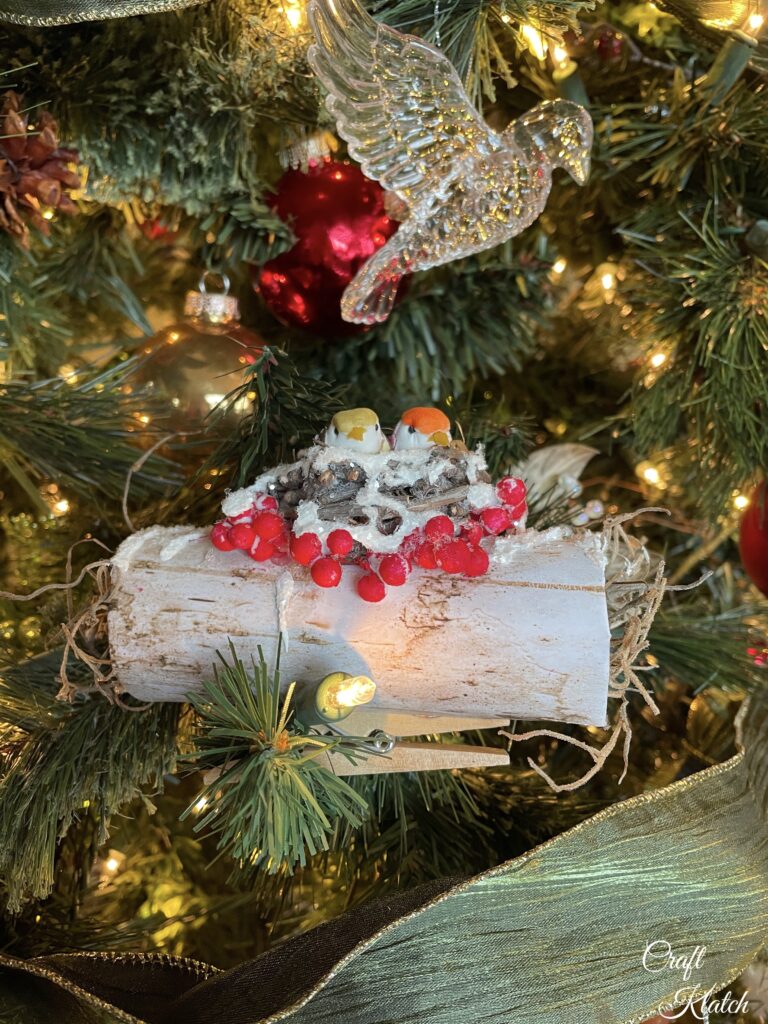
If you don’t have time to make the bird Christmas tree ornament, here are some alternatives:
Here is a cute Bird Nest Christmas Ornament DIY I did a long time ago.
If you want to see the video tutorial for all five ornaments, you can find it HERE!
Thanks for stopping by!
Remember: Life’s too short not to shimmer, so grab your glue gun and your glitter!™ Stay safe!
Merry Christmas!
Mona
