You can click right HERE! For easy reference, click on the Tutorials tab above.
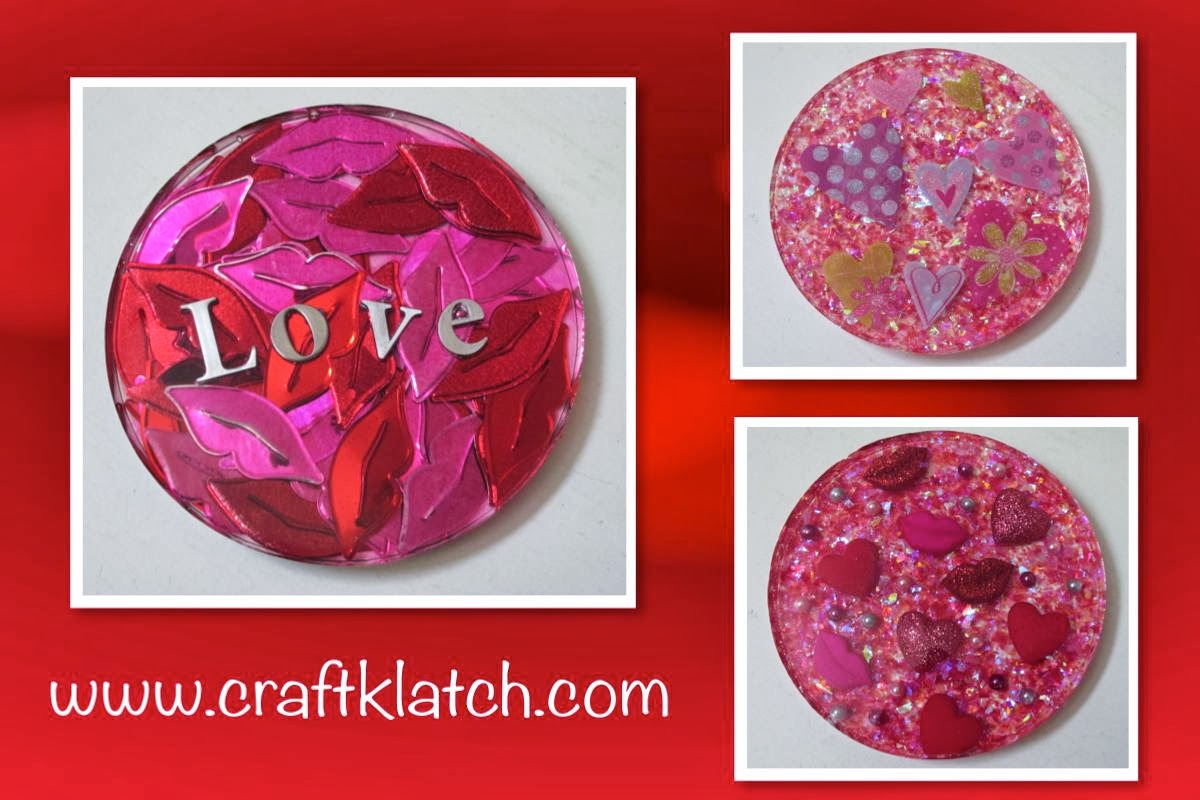
Here are a few more Valentine’s Day Coasters!

You will need:
– Valentine’s Day stickers, confetti, or anything you want to include.
– I found the silver letters at Hobby Lobby on clearance.
– The stickers and little hearts and lips were also Hobby Lobby.
– Iridescent confetti for the background – also Hobby Lobby.
– I added some self adhesive half pearls too.
– Resin – I used Easy Cast – available at Hobby Lobby, Michaels and Resin Obsession. To find where it is available internationally, go to www.eti-usa.com.
– Coaster mold – you can find the one I use if you click the Products I Use tab above.
Here is the video tutorial:
Directions:
1. Prepare your resin according to the package directions.
2. If you are doing three coasters like I did, you need to split them into three smaller cups.
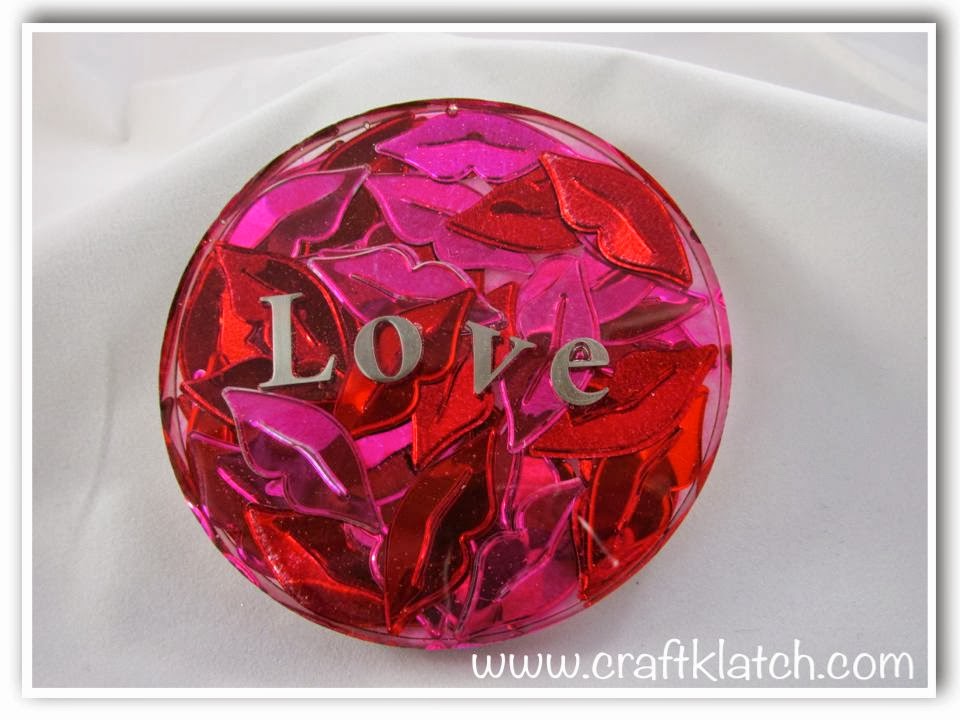
3. Add the lip confetti into one cup and mix well with the resin.
4. Pour the lip confetti mixture into a coaster mold and spread it out so it’s pretty even.
5. In another cup, mix the pink confetti and mix it well.
6. Pour it into a different coaster mold cavity.
7. In the last cup, mix the pink and white confetti and mix well with resin.
8. Pour into last coaster mold cavity.
9. Allow all to cure for at least 12 hours.
10. When hardened, you can add your embellishments. I added the self adhesive letters on to the lip confetti. Stickers onto the pink and white confetti. The hearts, lips and half pearls on to the pink confetti.
11. Prepare more resin and pour over all of the coasters, making sure all of your items are well covered.
12. Allow to cure at least 12 hours.
That’s it! Unmold your beautiful coasters!
Thanks for stopping by and Happy Crafting!
Mona

