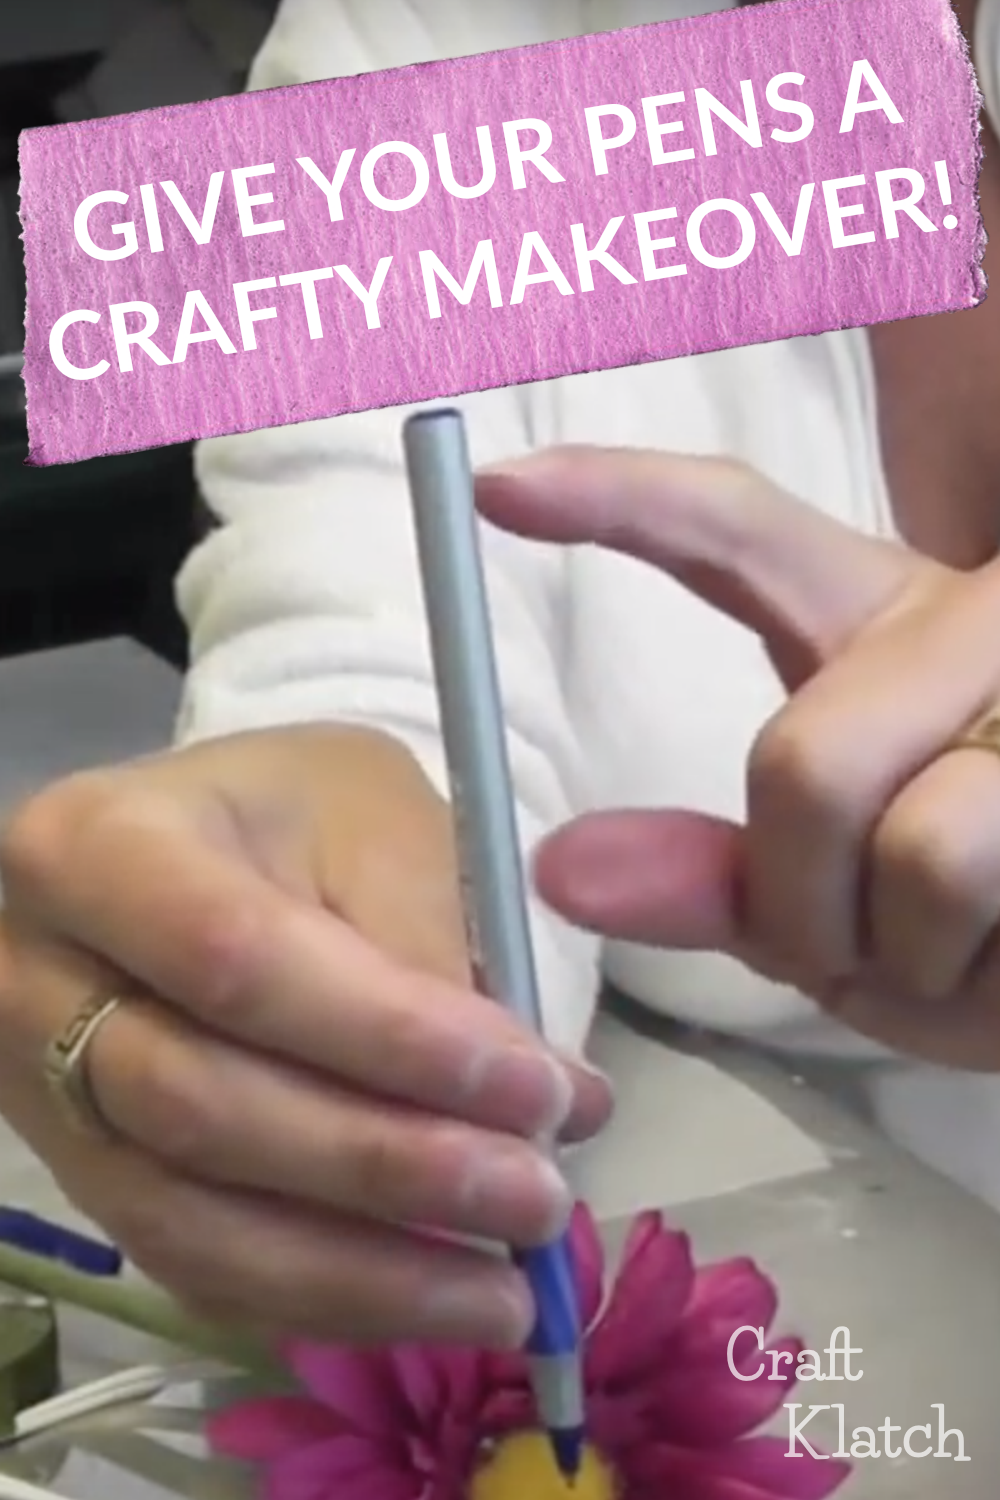
Are you always searching for a pen? I am! Here is a pretty and functional solution for the I-CAN’T-FIND-PEN sufferers of the world! It’s a Flower Pen Pot!
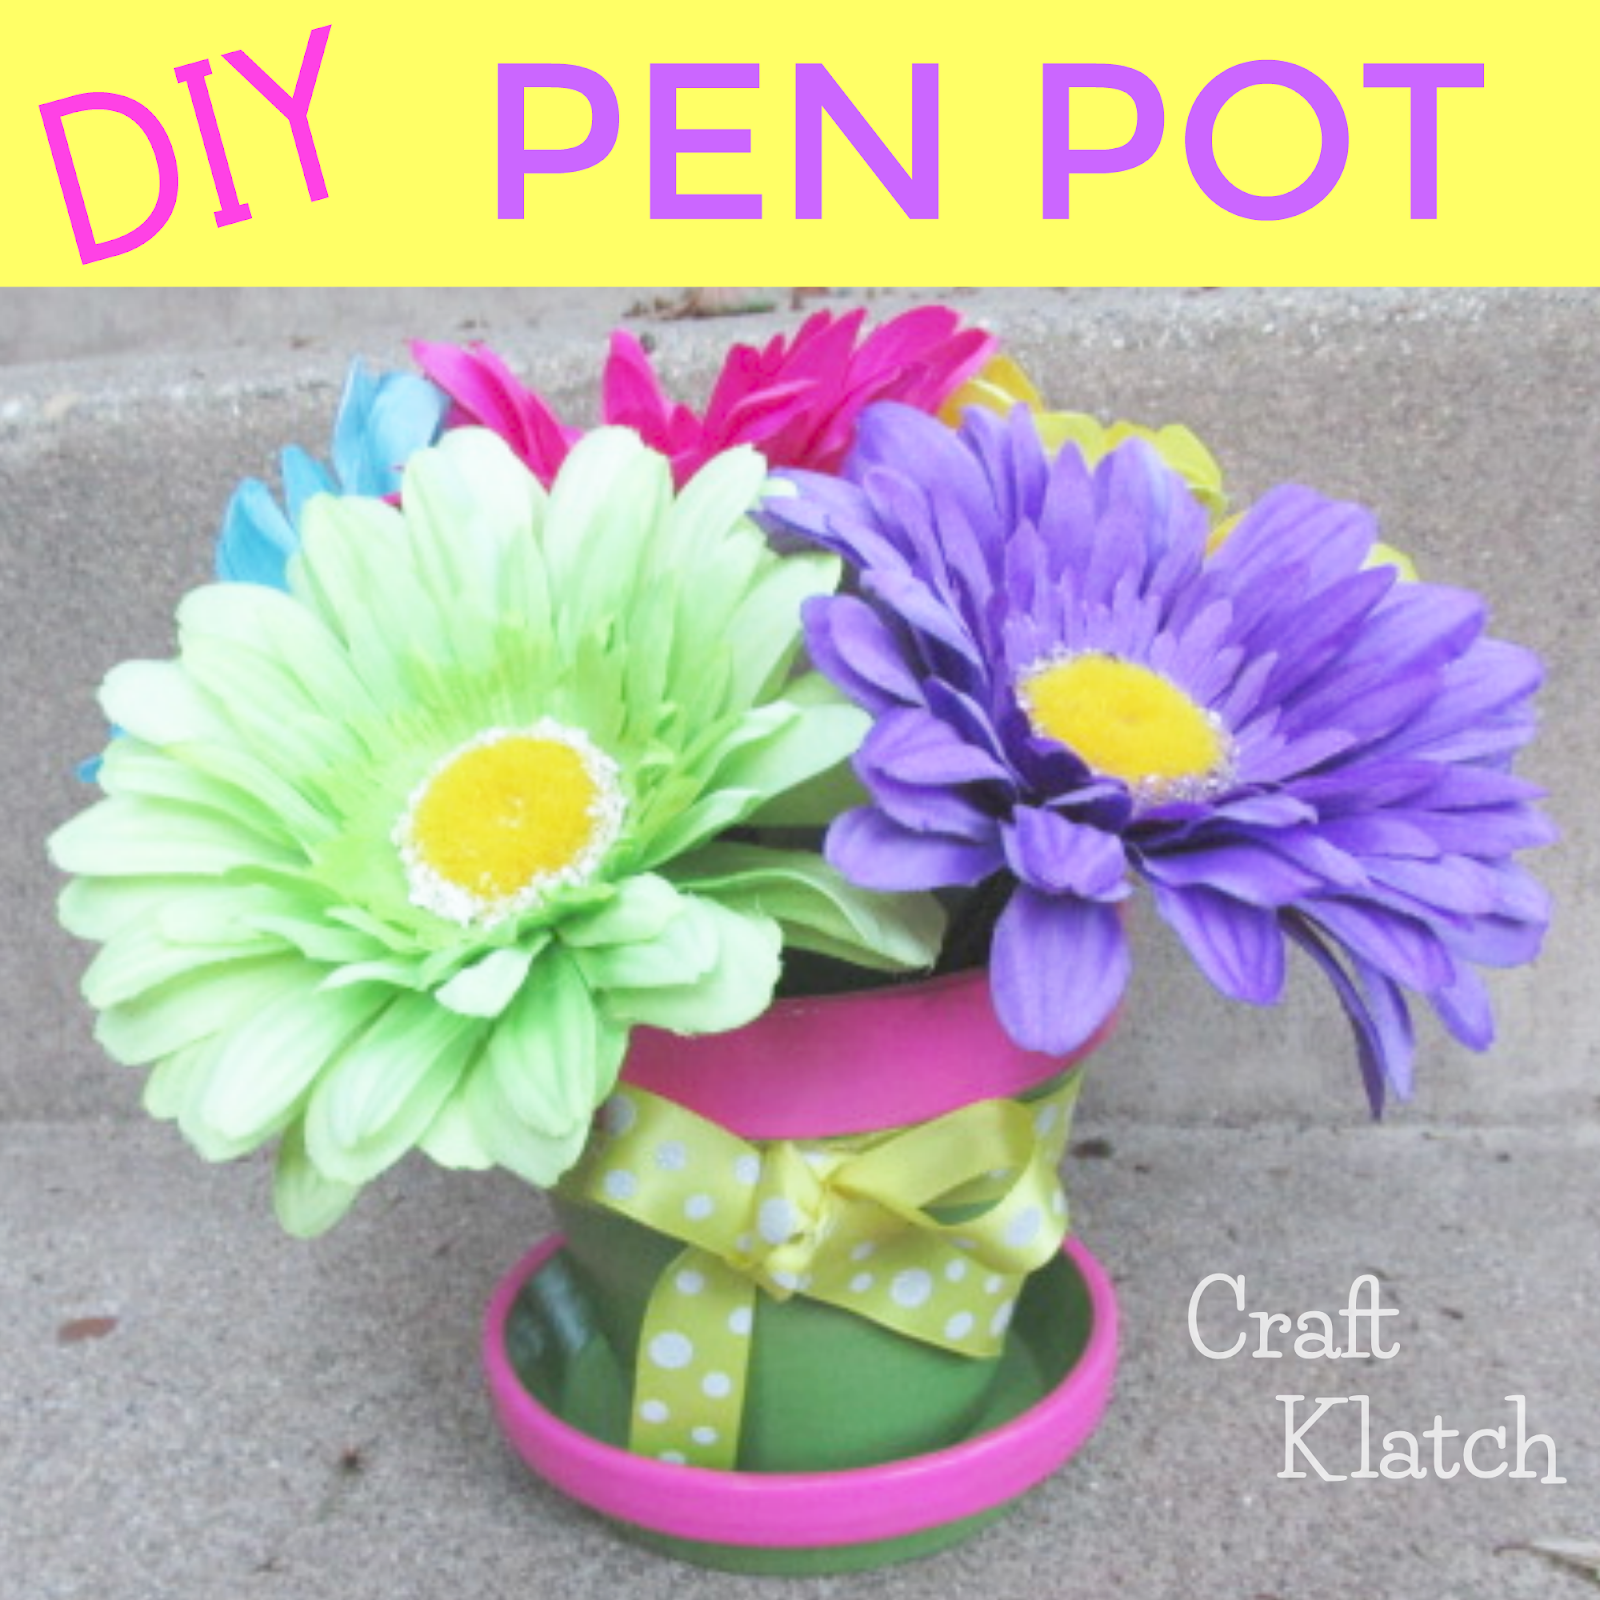
You will need:
The links below help support this channel, as I may earn a small commission at no extra cost to you.
– A terra cotta pot: https://amzn.to/2Ym7Gz0
– Acrylic paint: https://amzn.to/2E0w1Ts
– Hot glue: https://amzn.to/2LAvWfD
– Pens: https://amzn.to/2VsyvF4
– Wire cutters: https://amzn.to/2VtVxeo
– Varnish/polyurethane: https://amzn.to/2LAmHvU
– Pretty ribbon that goes with your color scheme: https://amzn.to/2Jv2KDP
– Green floral tape: https://amzn.to/2Jwp7cf
– Flowers: https://amzn.to/2E1wfcT
Directions:
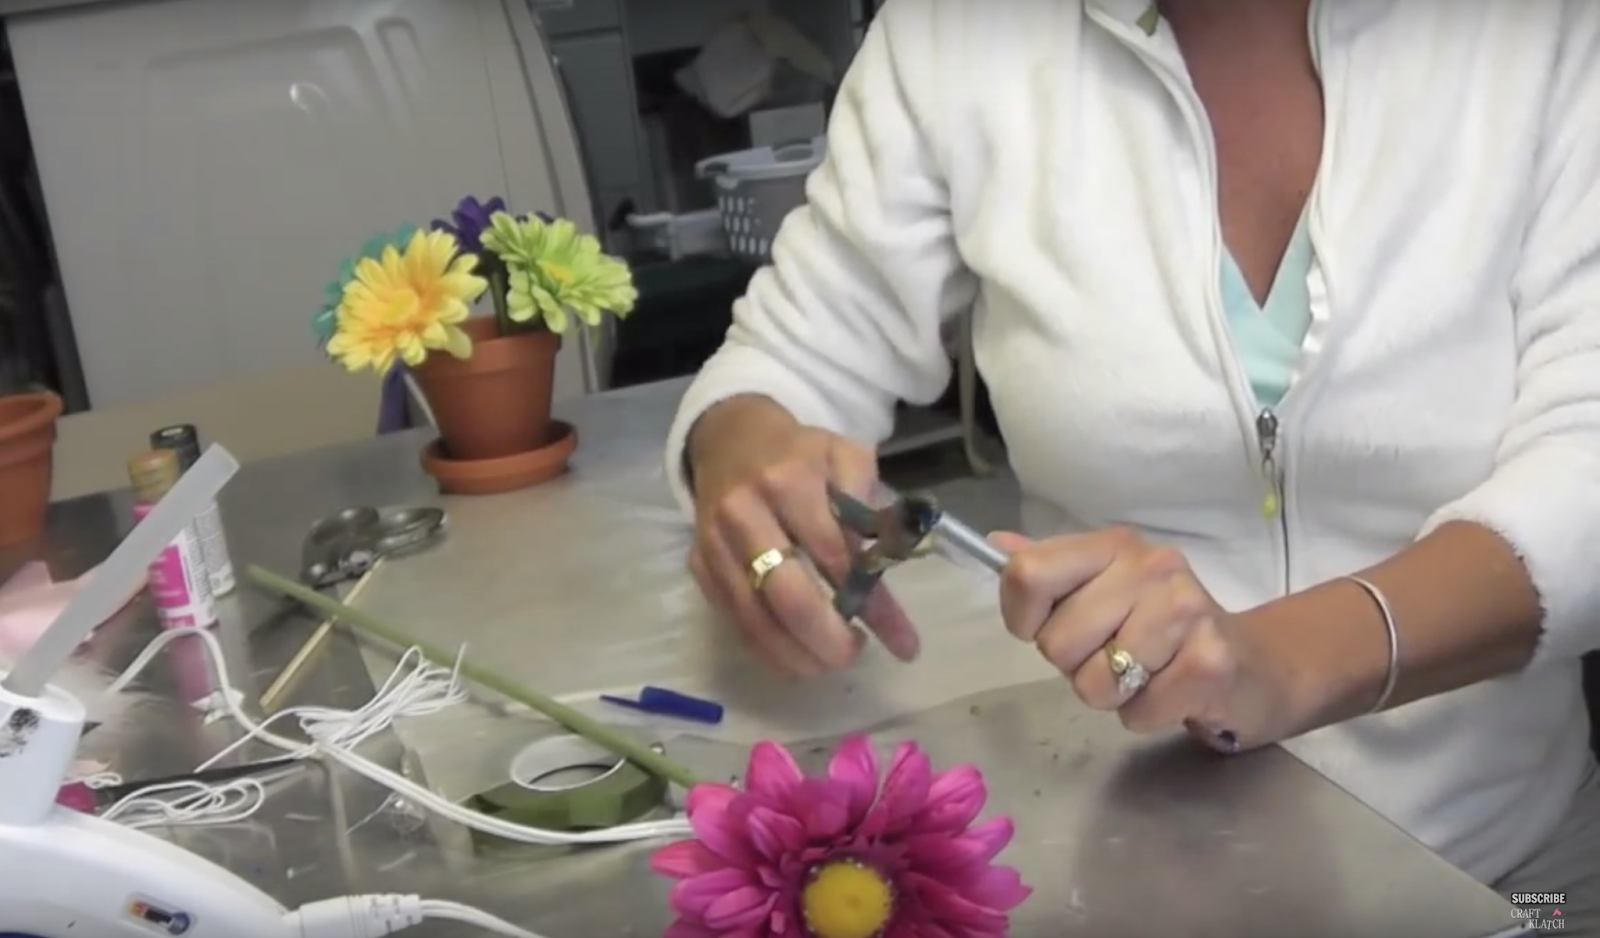
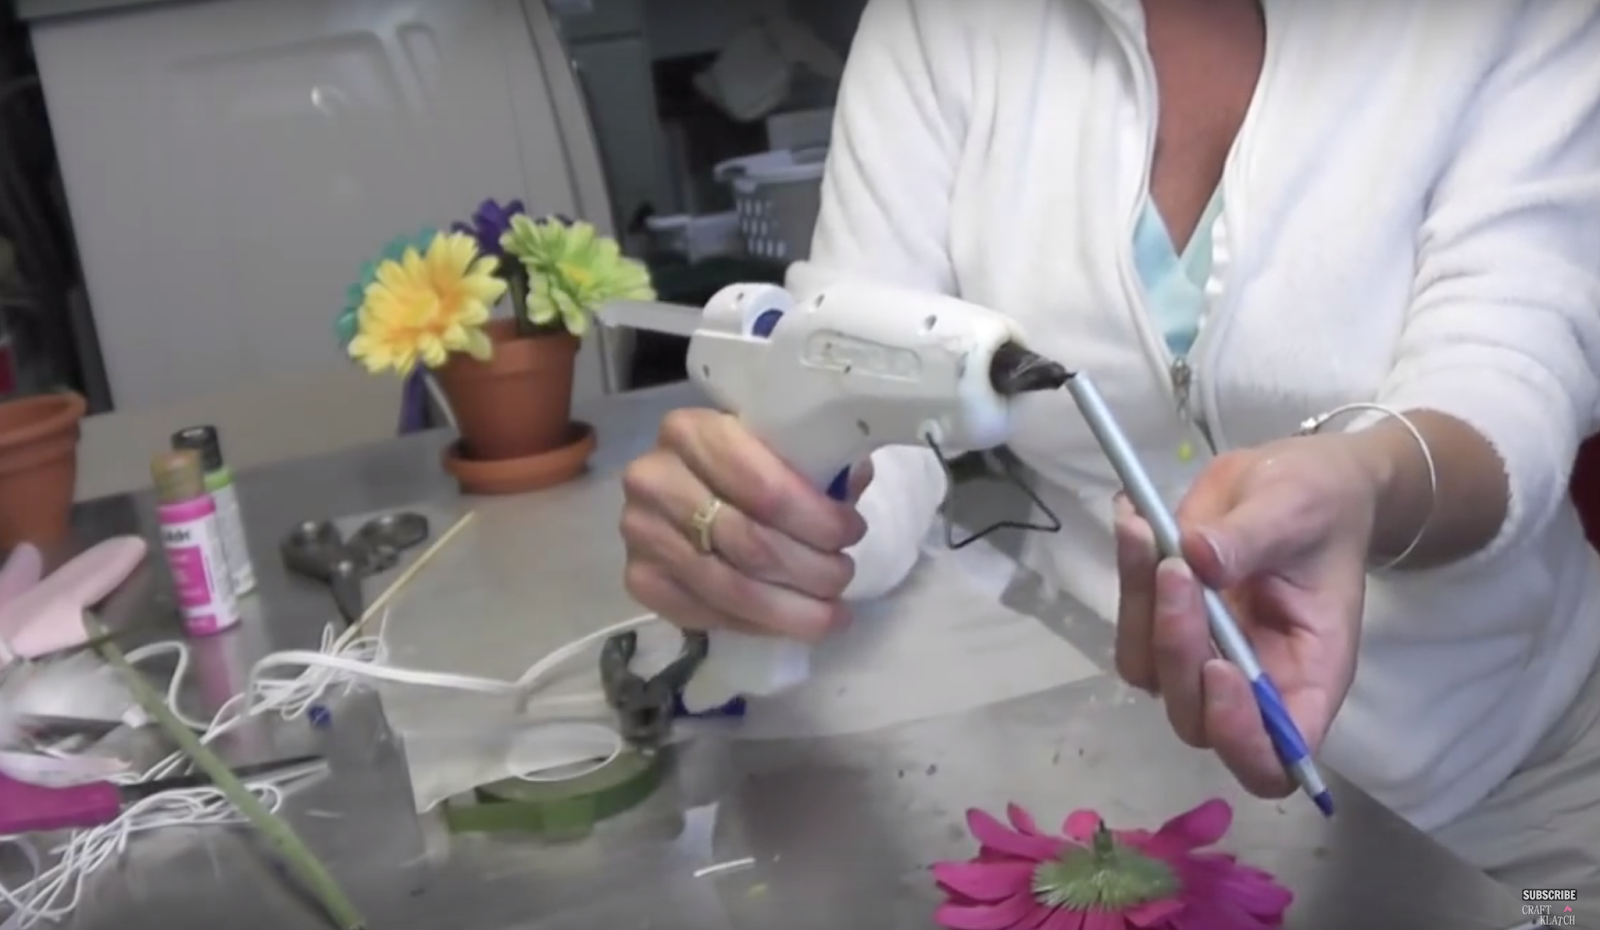
1. You need to remove the plug on the back end of the pen. This might be the most difficult part of the craft. I use wire cutters to kind of get under the edge to be able to remove them. Just be careful when you are doing it.
2. Paint your terra cotta pot in colors you like. Put a coat of varnish on the pot and let dry.
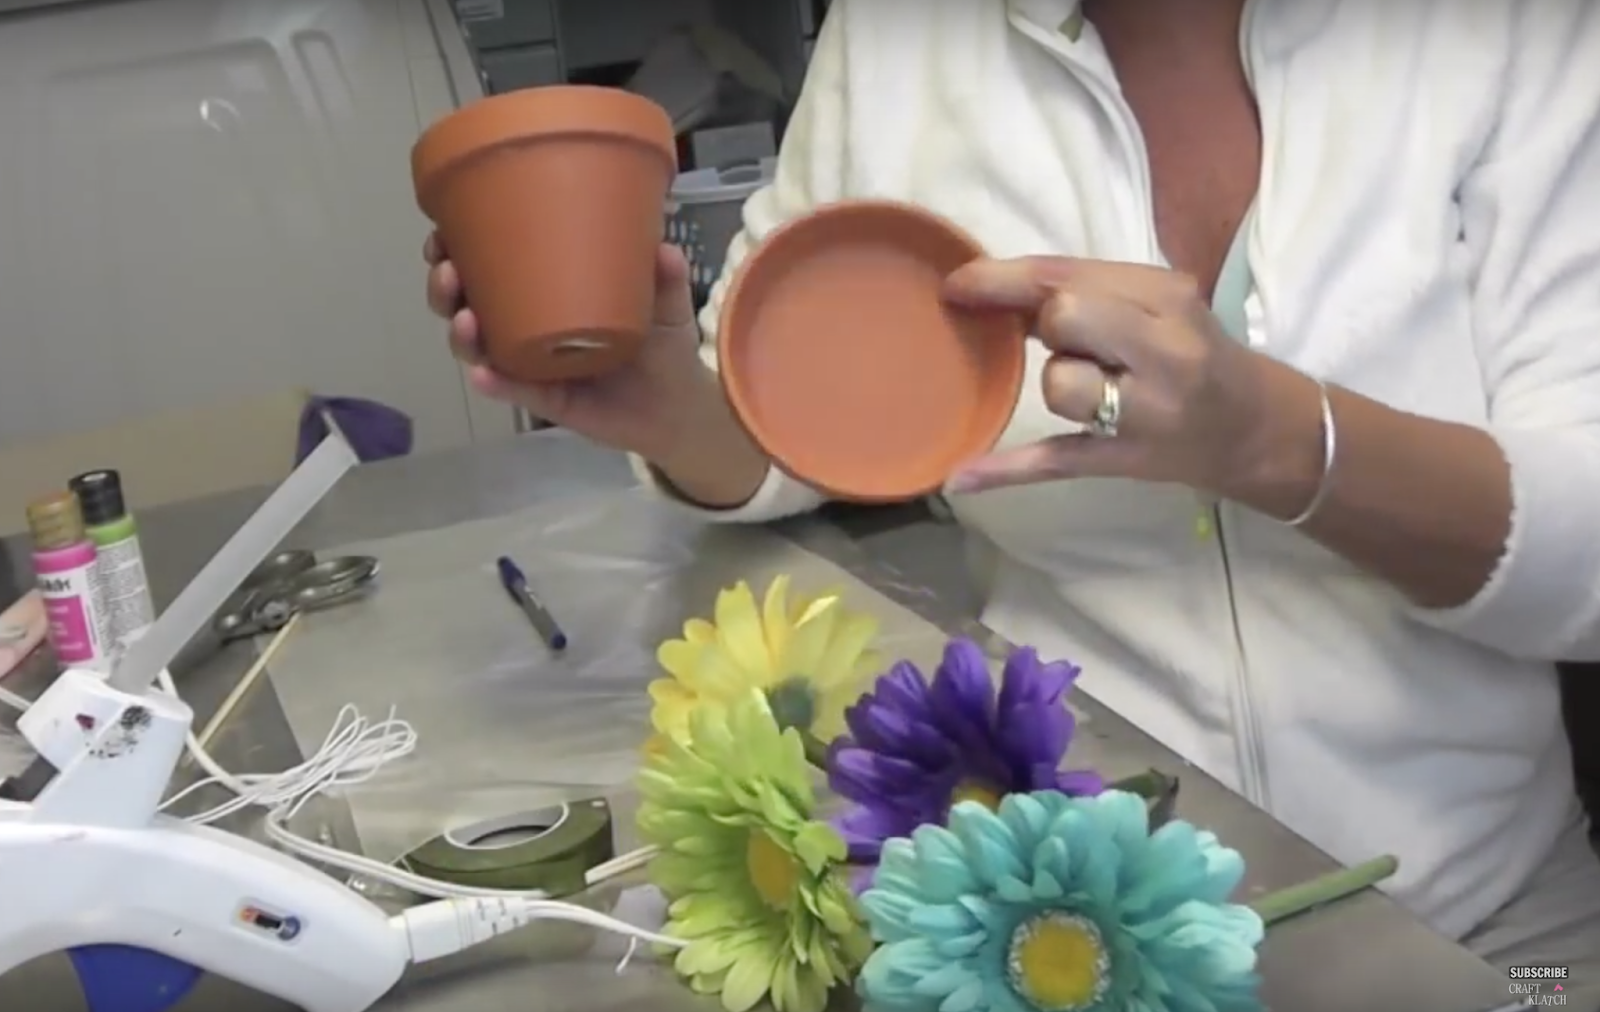
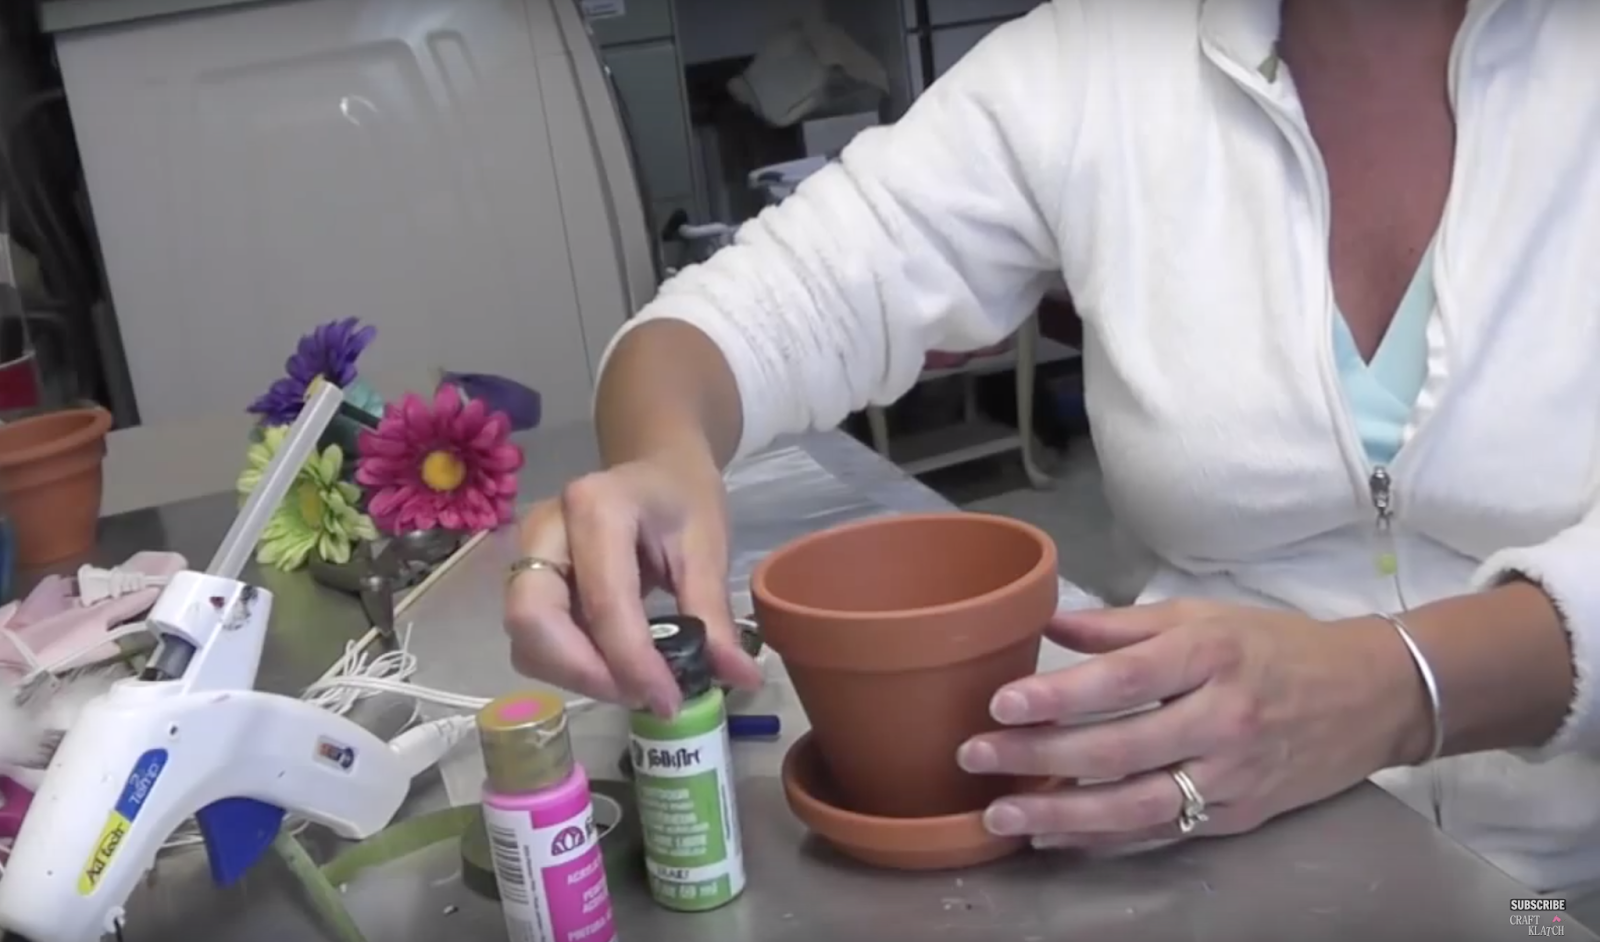
3. The flowers I used were on sale at Michaels and they were nice and full and thick. You can easily do the same craft with flowers from the dollar store, you might just need to make more to give your arrangement a nice, full feel. Snip the flower stems off, leaving a little bit that you can insert into the back of the pen.
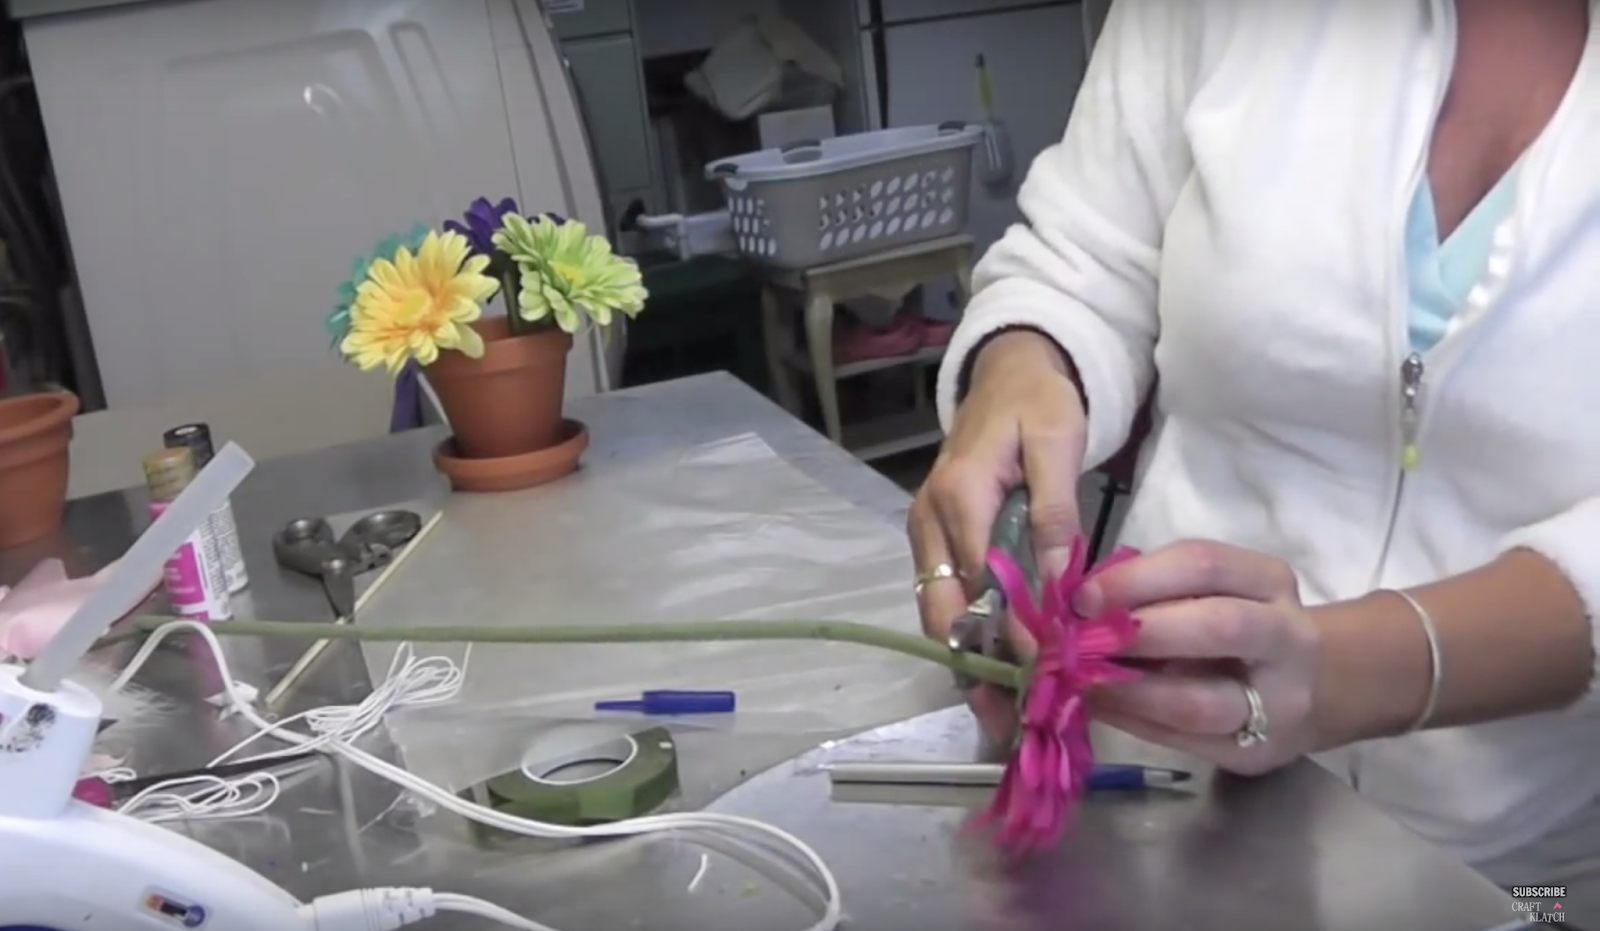
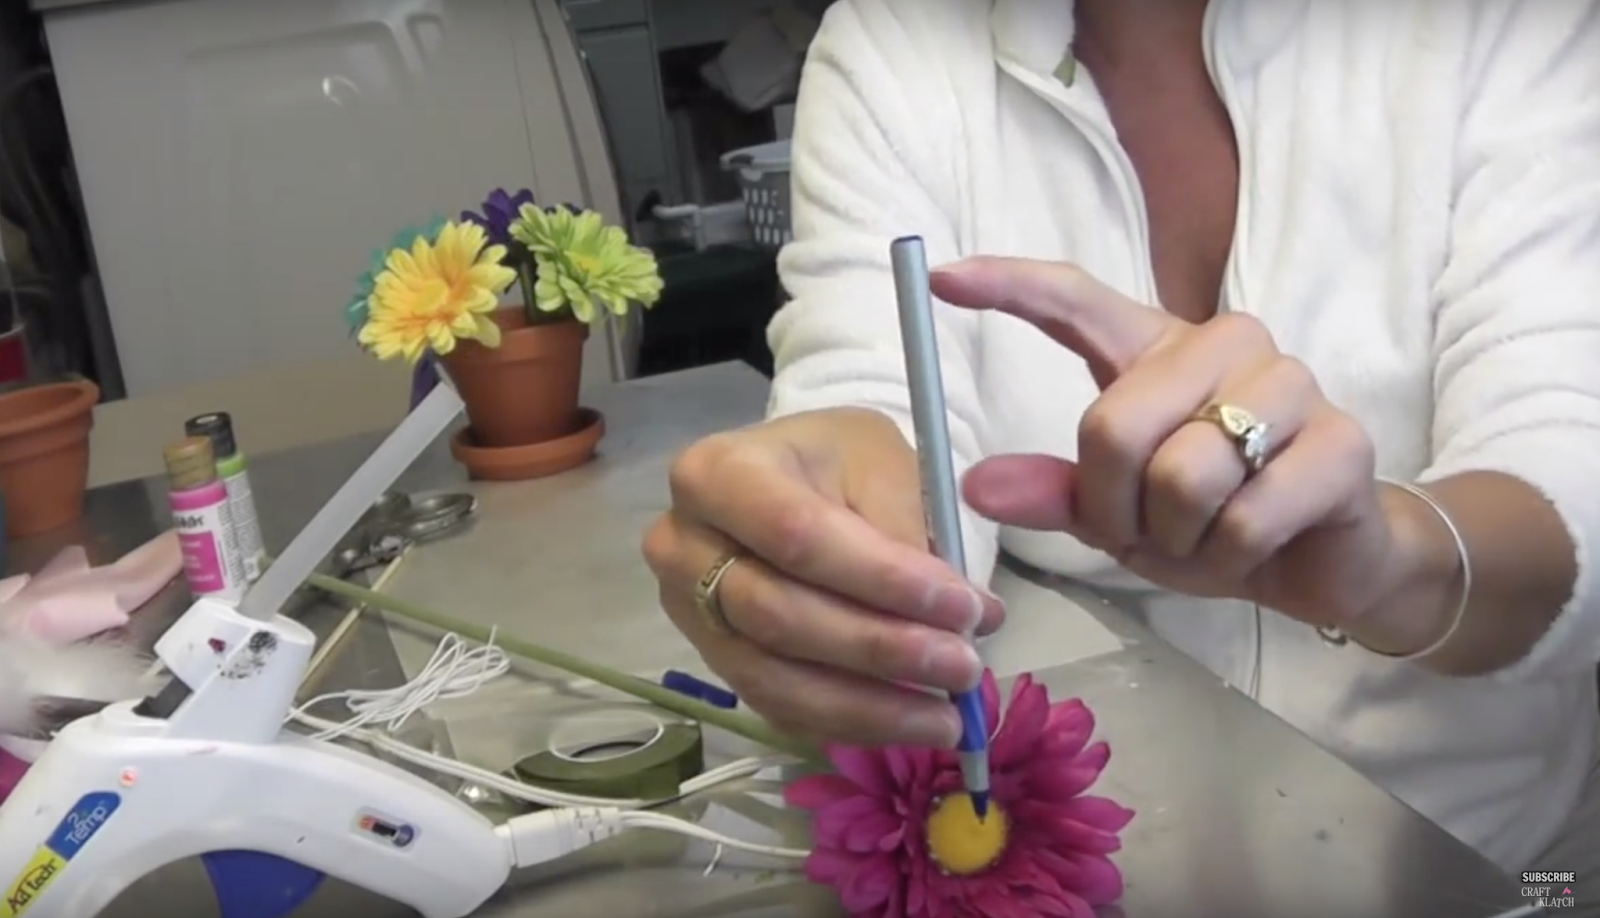
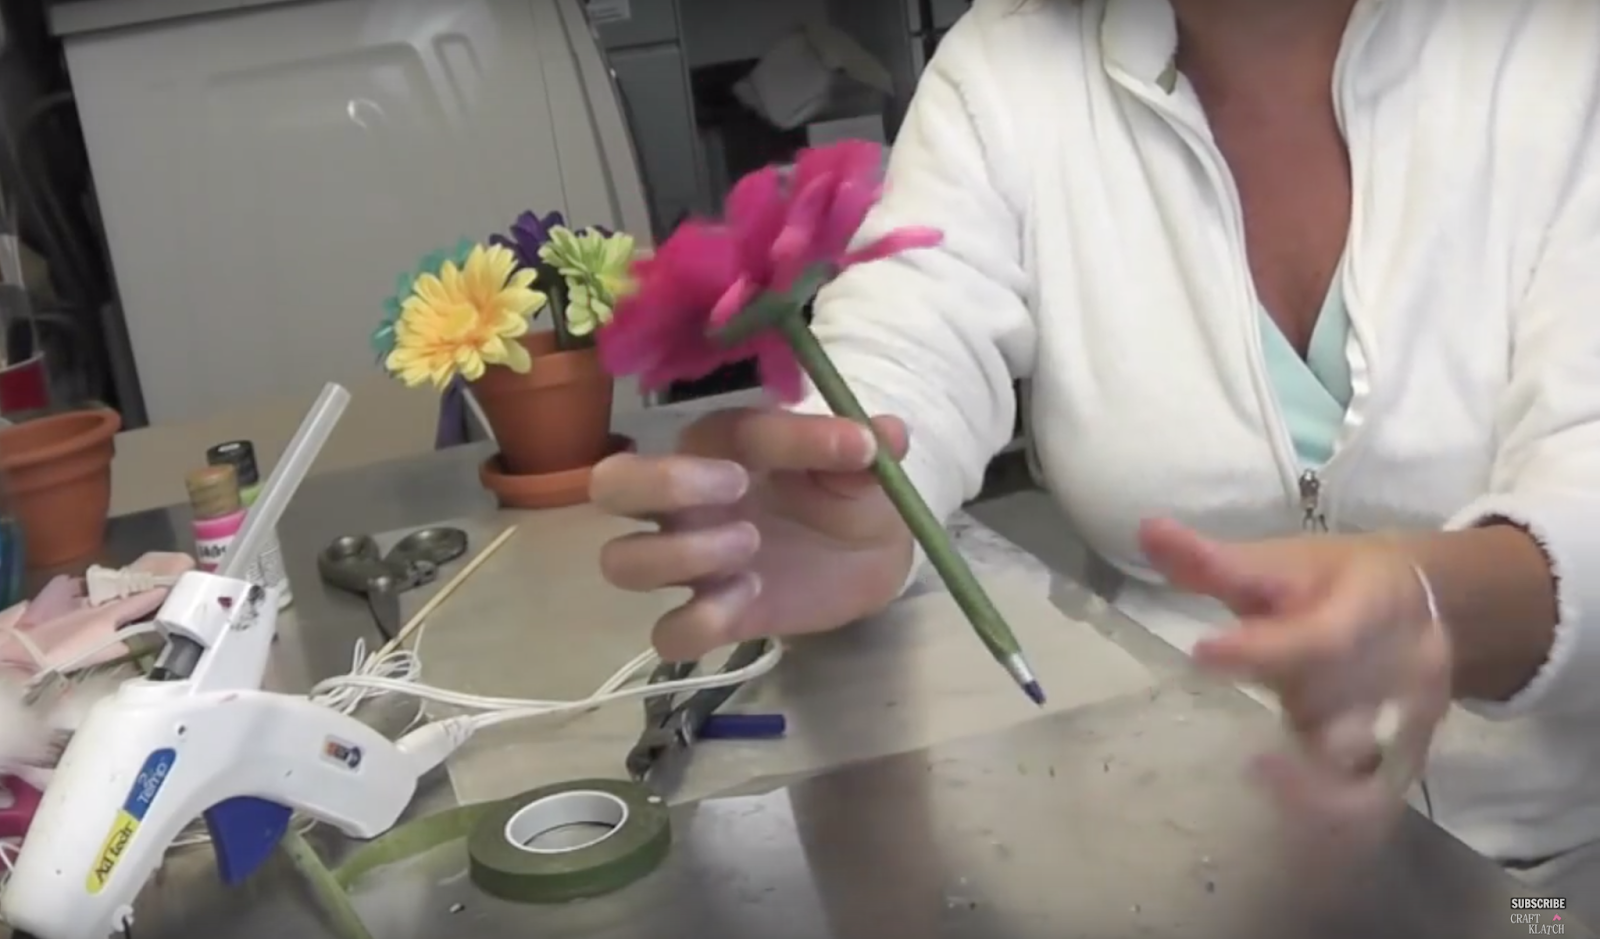
4. Put a dab of hot glue into the end of the pen and insert the flower. Hold it straight, while it dries.
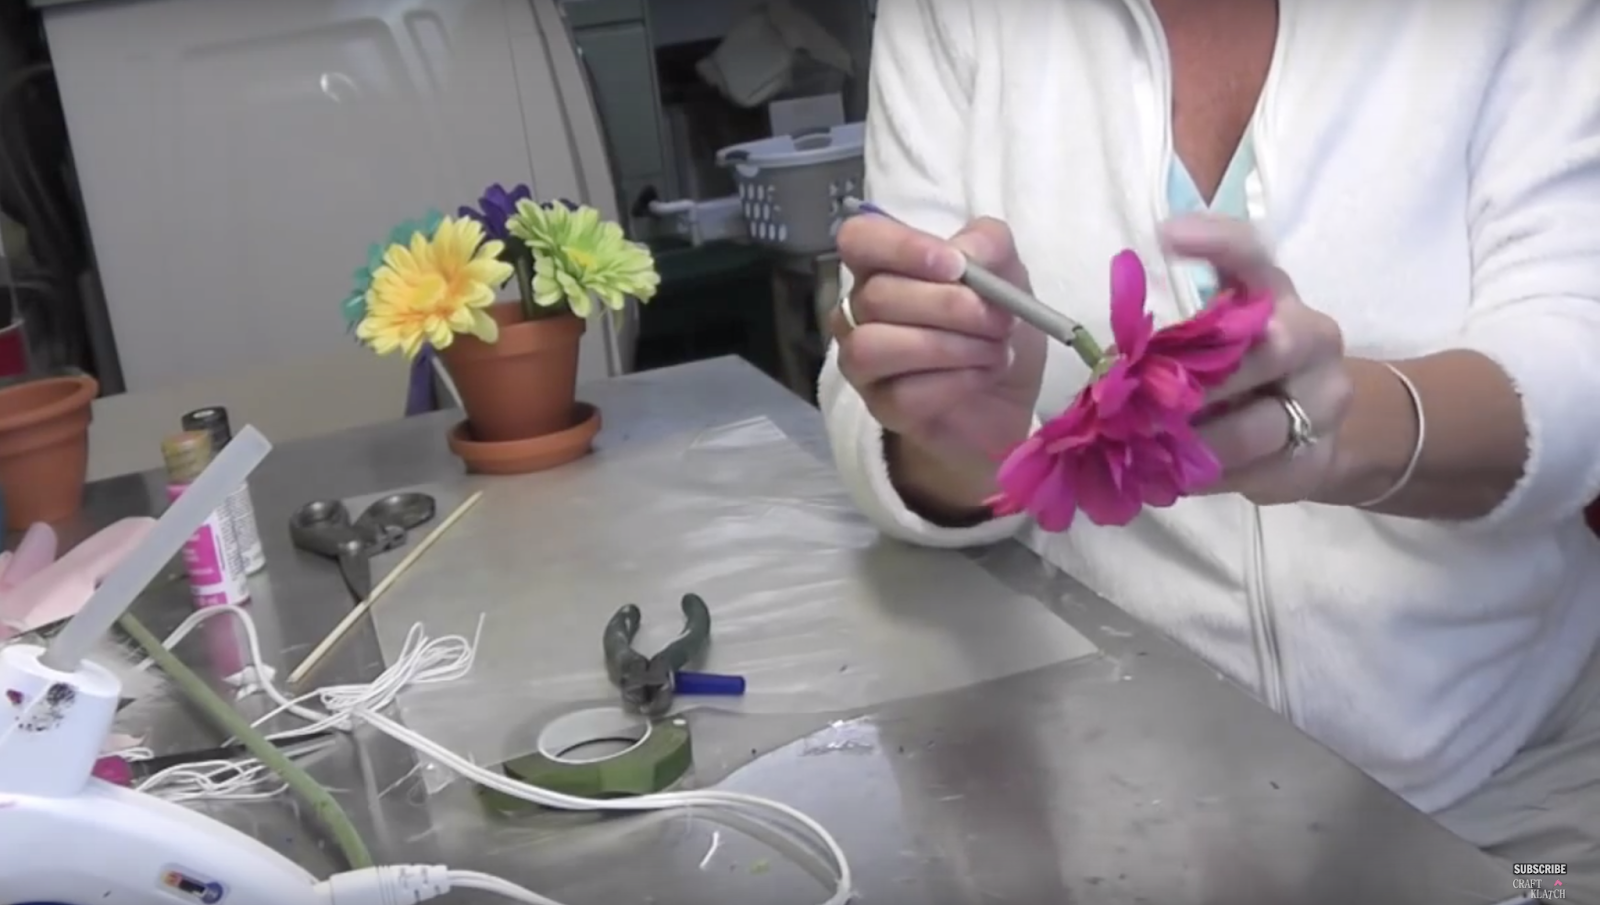
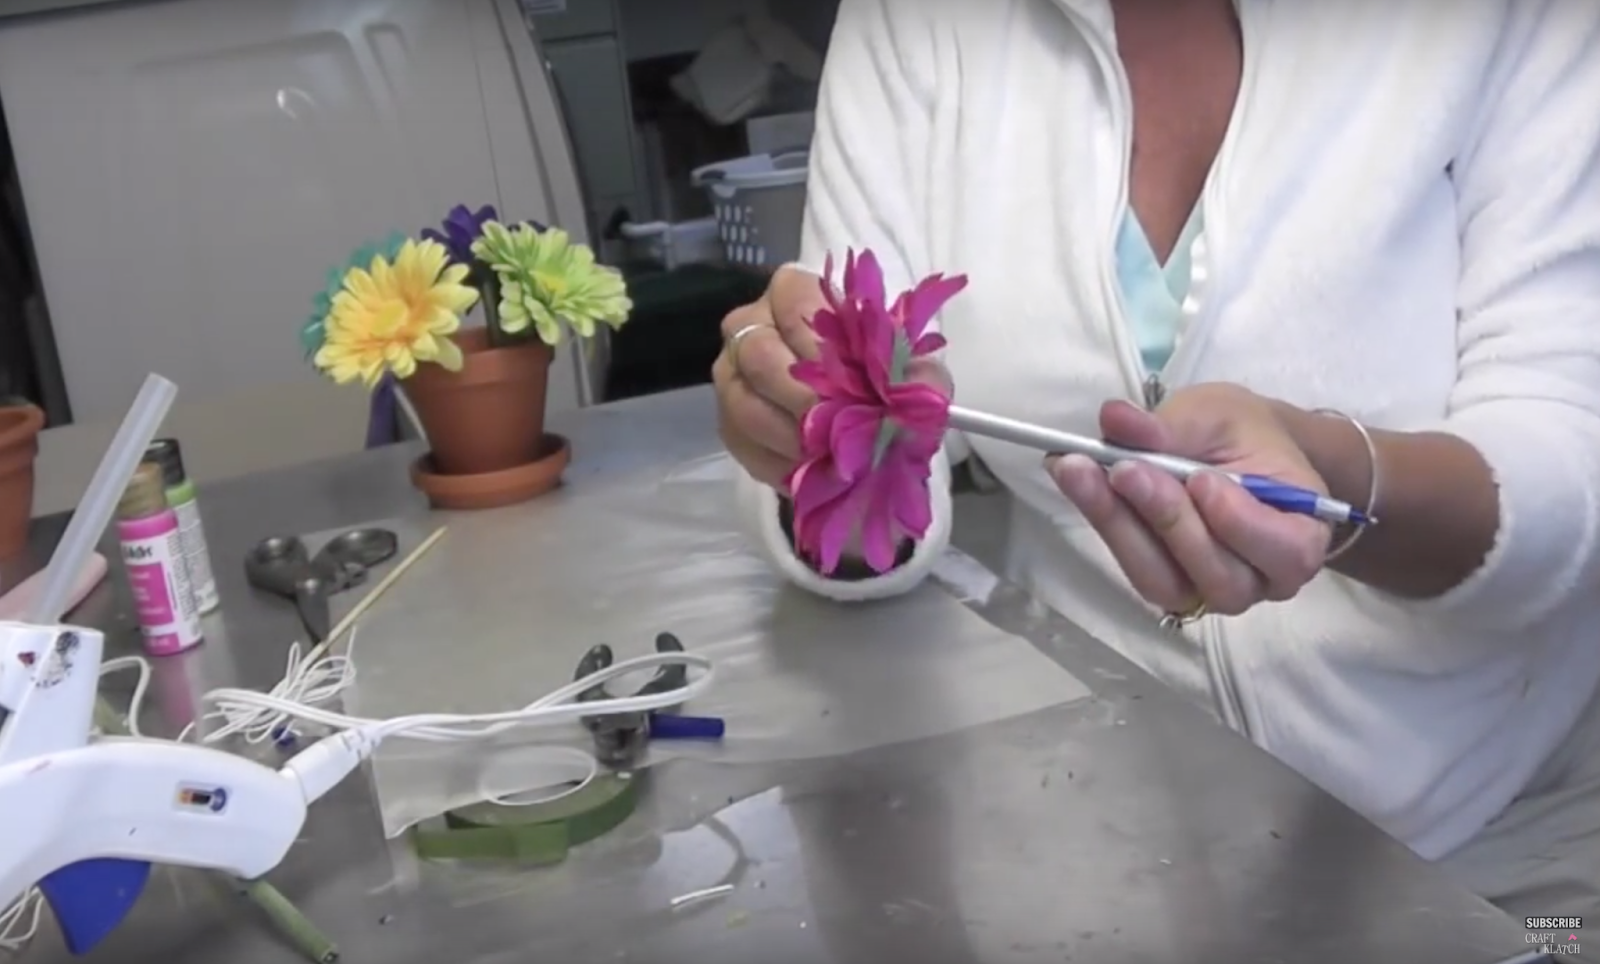
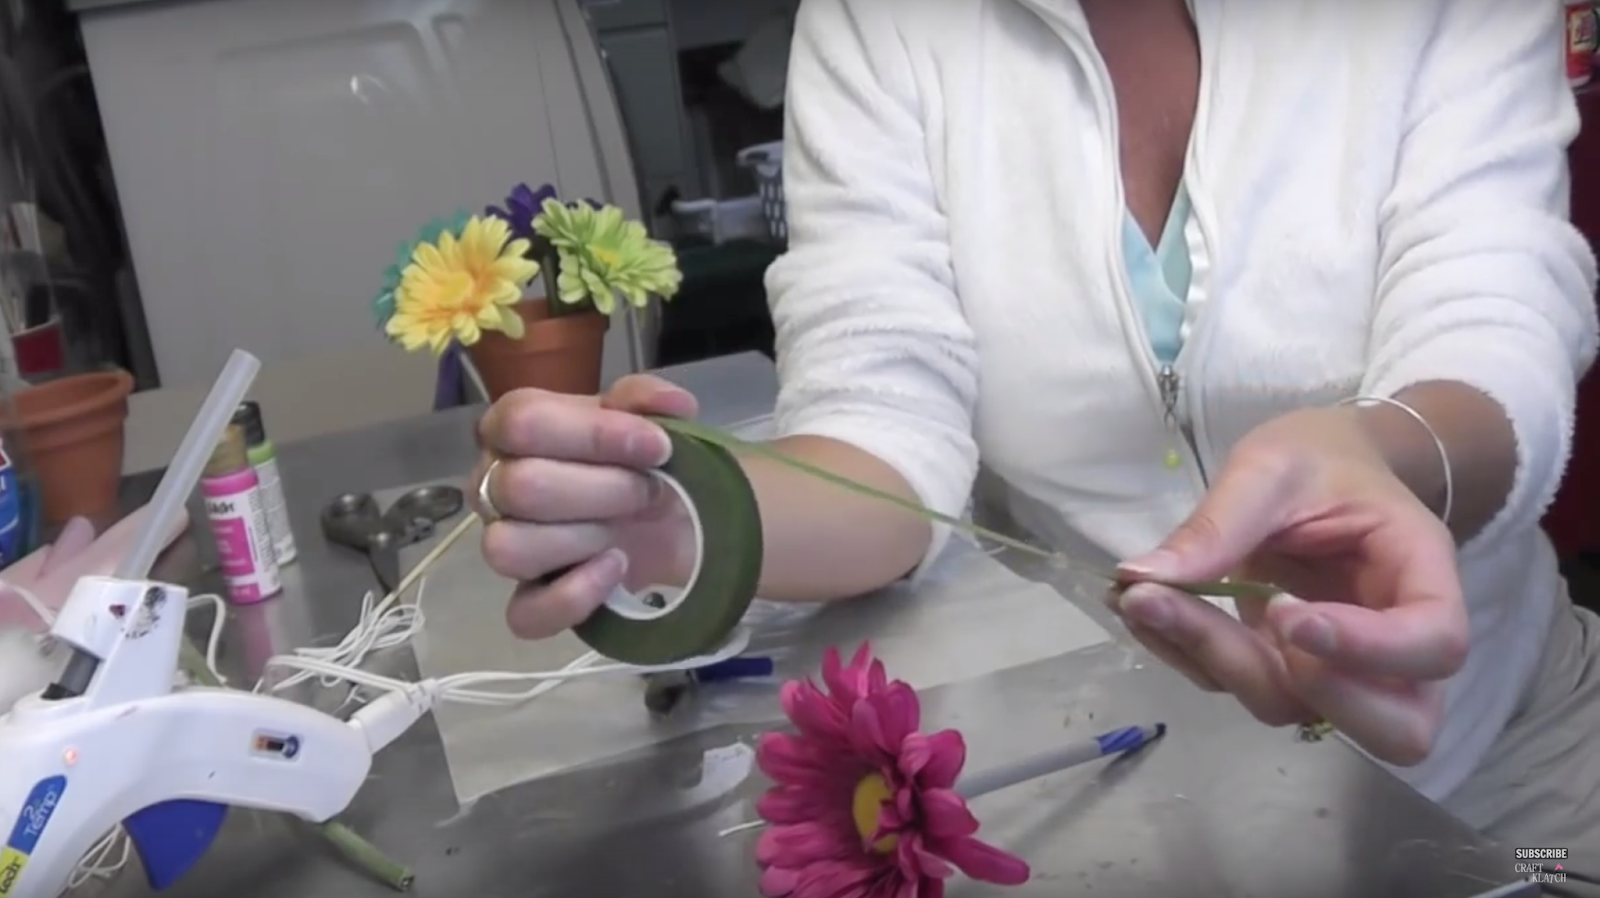
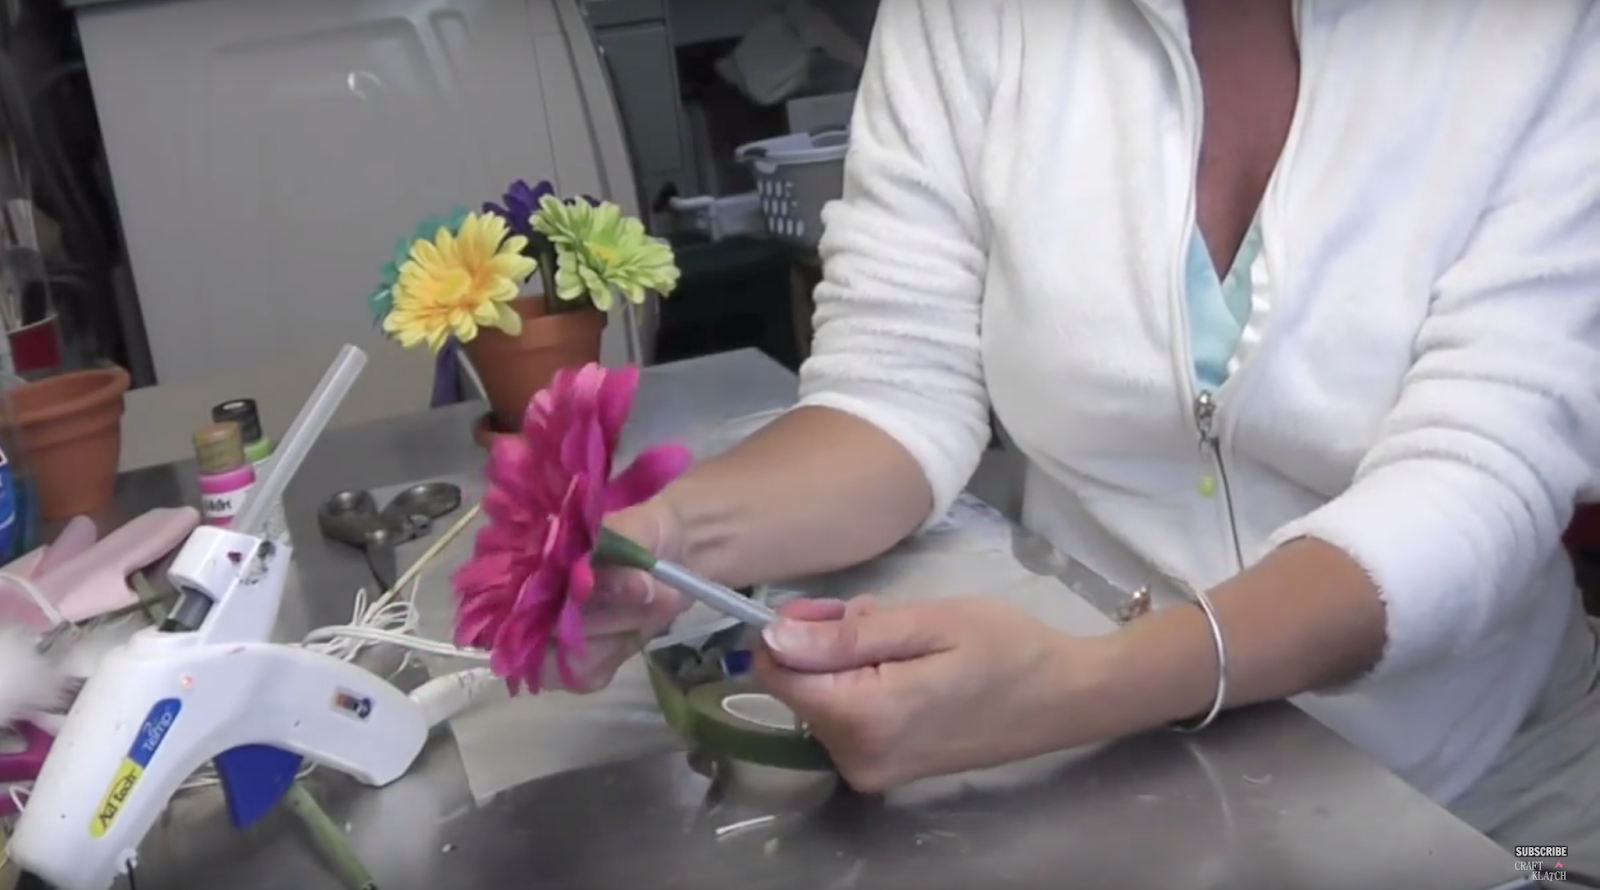
5. Put a dab of hot glue where the flower and the pen meet and put the end of the floral tape in the hot glue. That will give it something to hold onto. Begin wrapping the pen with the floral tape. When you get it as far down as you want it, just rip it off.
6. Add a ribbon or bow to the pot, if you want.
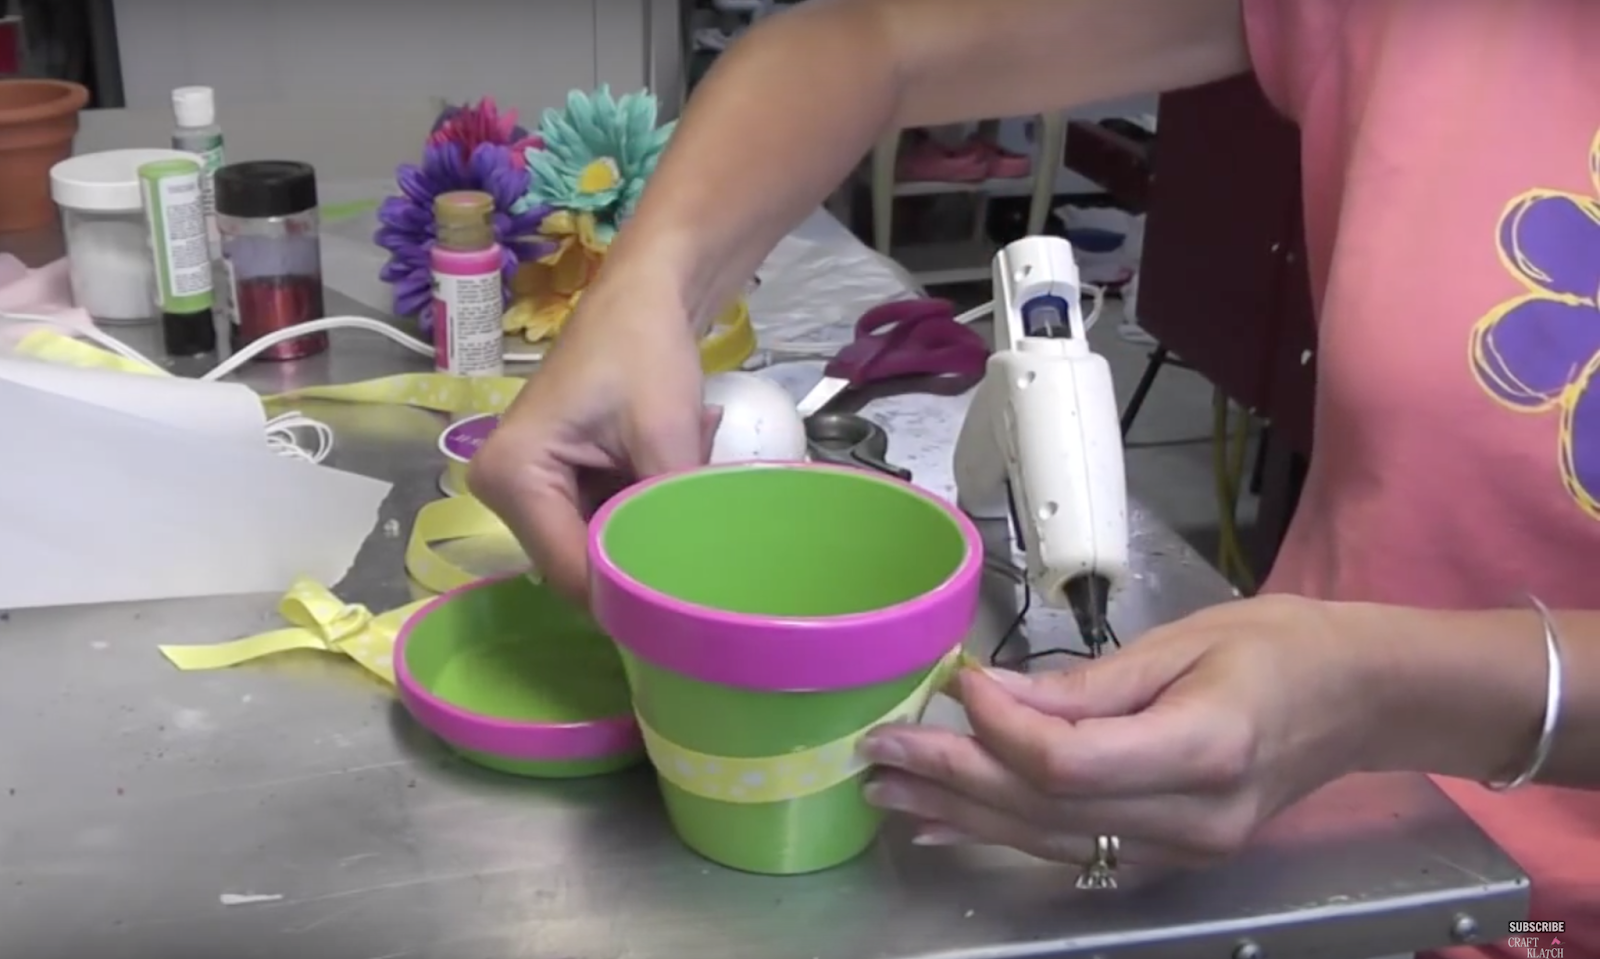
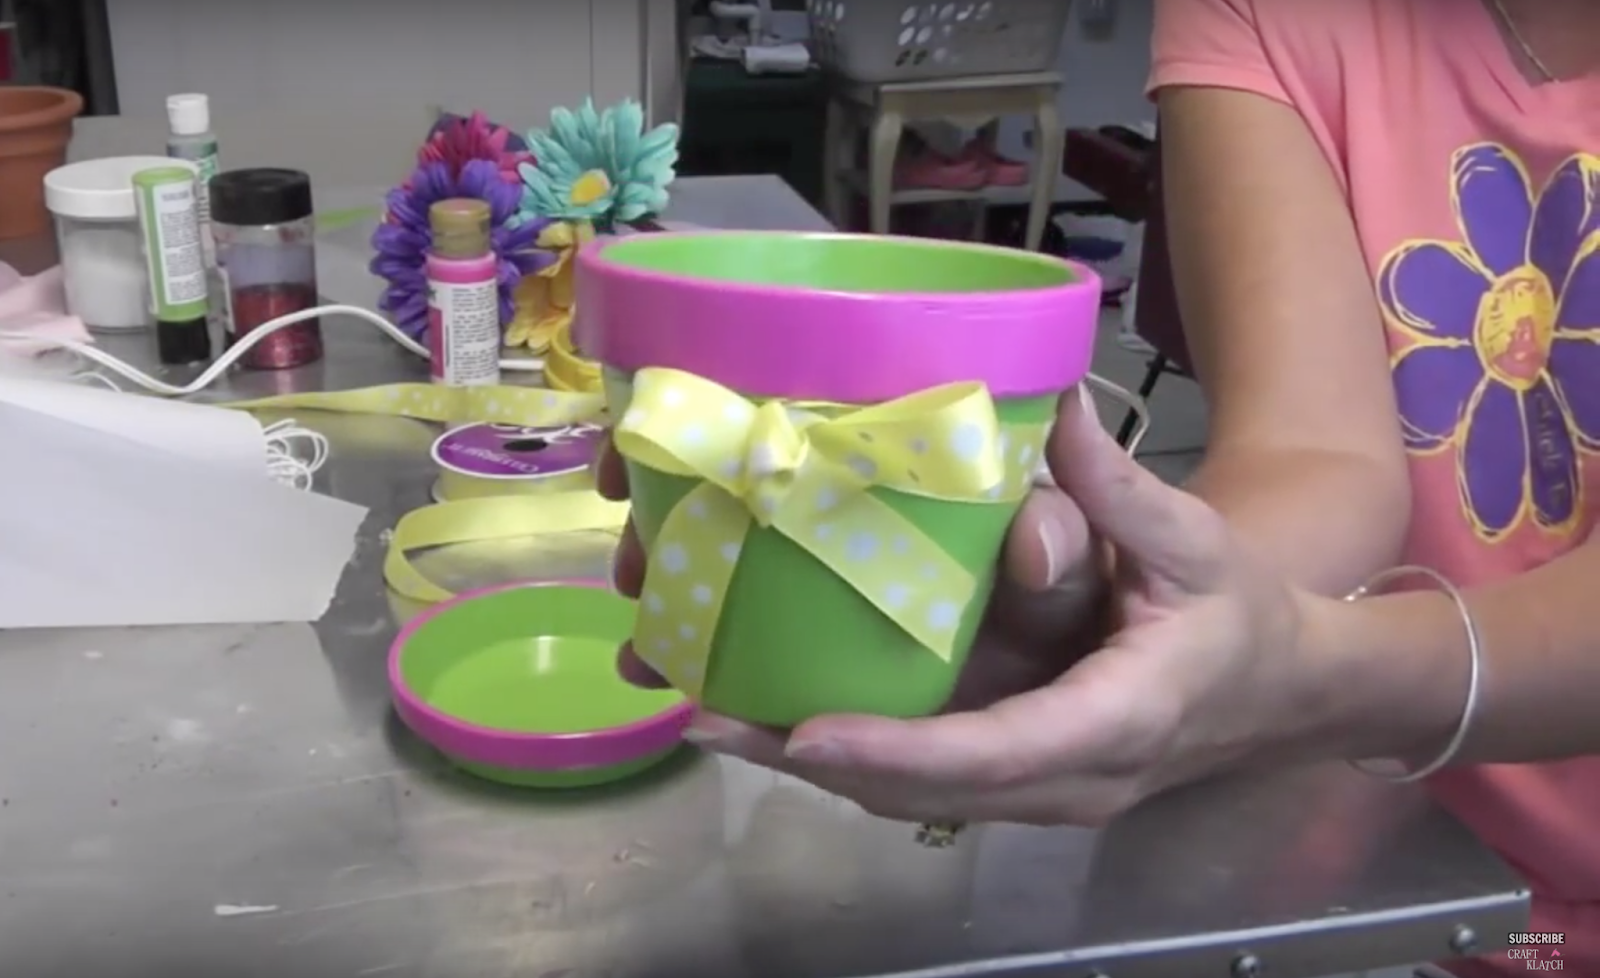
That’s it. You are done. If you want to have the ability to arrange your flowers, so they don’t all fall to the sides, I suggested in the video that you take a small styrofoam ball and poke holes into it, where you want your pens to be, and hot glue it into the bottom of the pot.
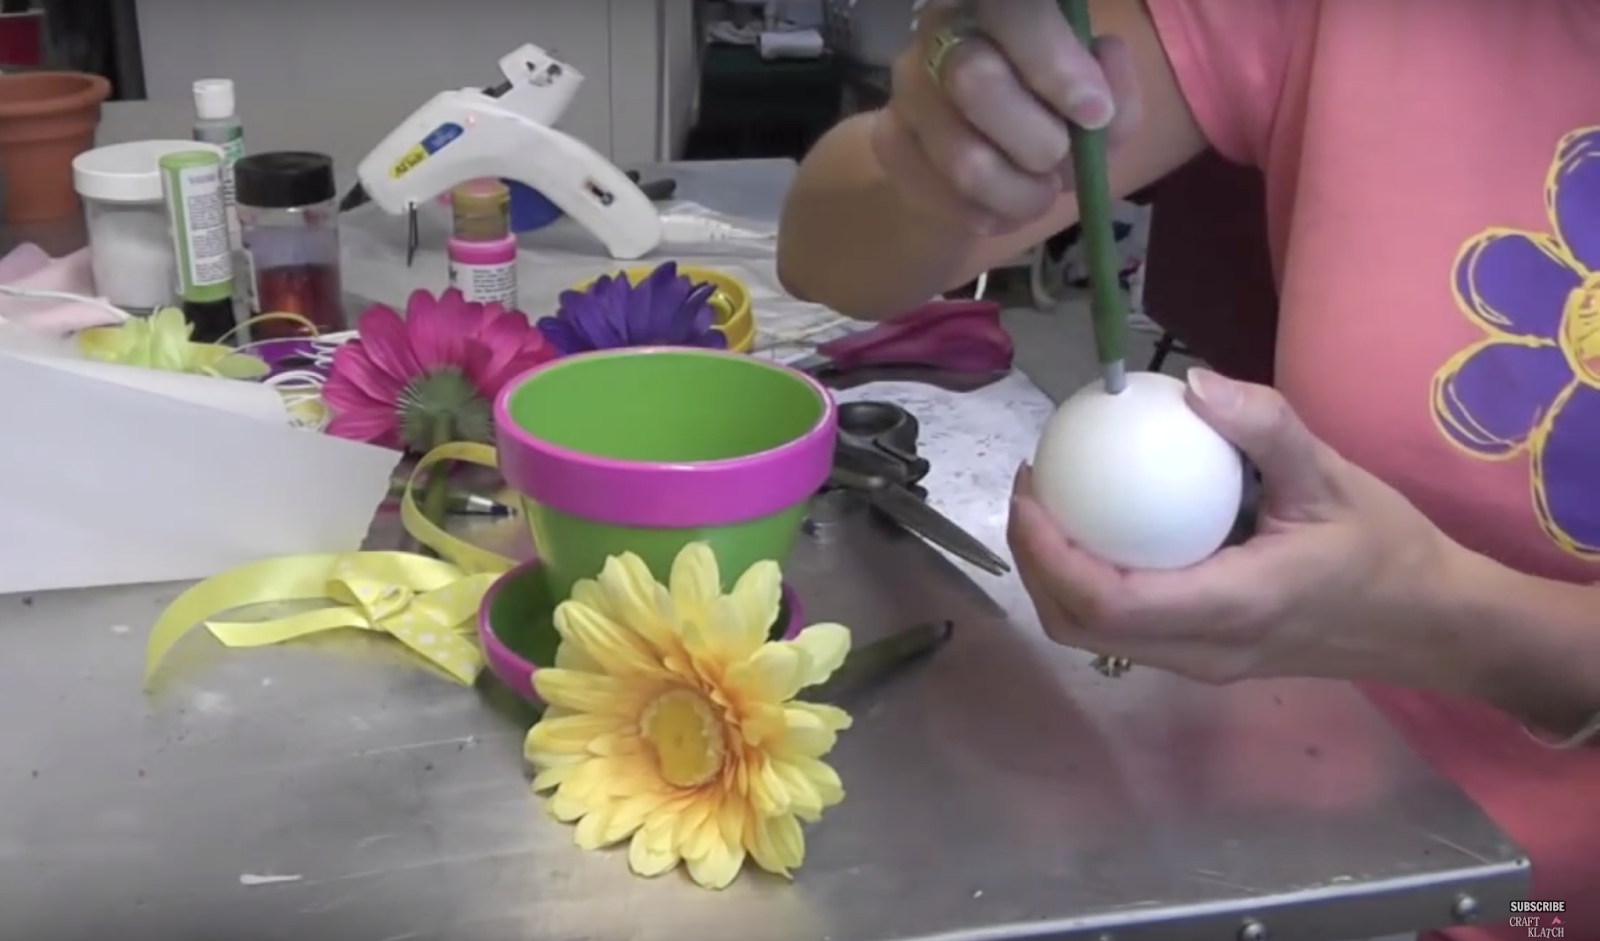
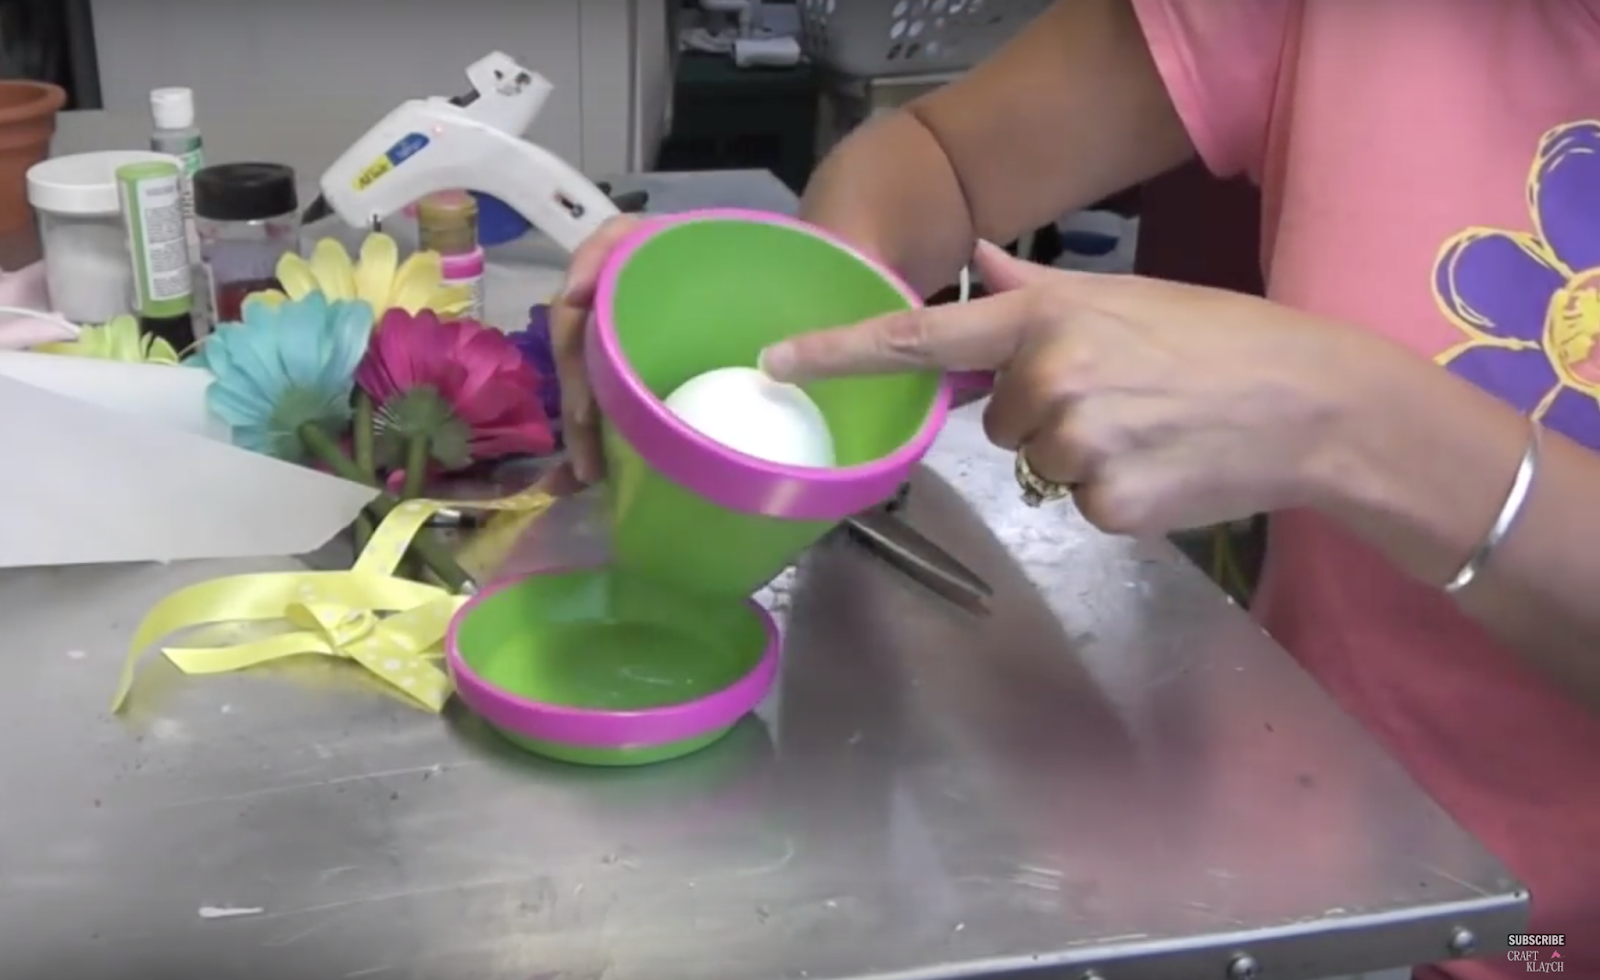
Then take some of that dry, curly moss and hot glue it to the styrofoam ball. That’s what I have always done, but someone gave a great suggestion, fill it up with dried beans, coffee beans, regular beans, lentils, whatever and then you can put them in anywhere and they will stay. That’s a GREAT idea and much easier…..unless you knock it over and spill it!
Thanks for stopping by! Happy Crafting!
Mona


I had seen the pens before but not arranged in a flower pot – can't wait to try this one. Thanks!