Transform a simple gnome into a festive Fall Gnome Scarecrow Decoration with this DIY guide. Embrace autumn vibes and craft magic in your home!
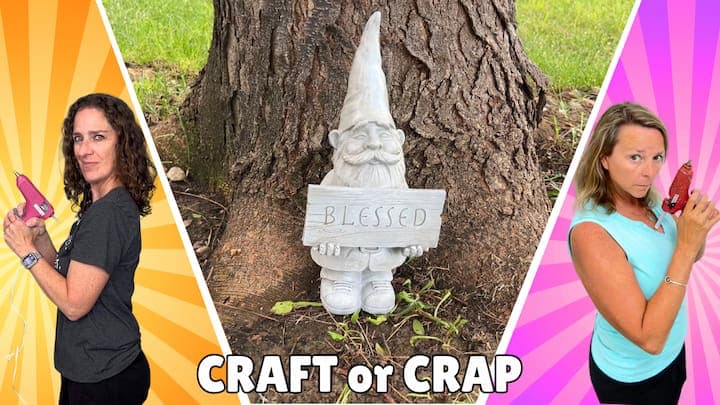
I’m ready to dive into another exciting Craft or Crap Challenge! This month’s challenge is transforming a gnome.
I’m going to take you through taking my gnome from plain and blah to a festive Fall Gnome Scarecrow Decoration that you are going to want to bring out year after year!
This month, Chas from Chas’ Crazy Creations and I both bought this gnome and we are each going to do our own versions of a fall gnome.
The Rules for the Fall Gnome Challenge
- Must use a gnome
- Fall theme
- Must include a pumpkin
Remember, at the end, you need to tell us if our projects are CRAFT or CRAP!
*If you want to craft along with us, you don’t have to use the same gnome. If you have a gnome on hand that needs a makeover, use that instead! Any gnome will do!
Also, stick around until the end to see the featured projects by fellow Craft or Crappers and see how you can be featured in the future!
Video Tutorial
Here is the full step by step video tutorial, so you can see EXACTLY how I made the fall gnome!
Materials You’ll Need to Make the Fall Gnome
If you want to replicate my gnome project, these are the items I used.
*Disclosure: This blog uses affiliate links from Amazon and other retailers. I earn a small amount from qualifying purchases at no additional cost to you.
- Gnome
- Primer Paint
- Plastic Wood Filler
- Acrylic Paints: Flesh tone, white, almond latte, crushed stone, orange, red, blue, purple, brown
- Felt Scraps
- Burlap
- Hot Glue Gun and Glue Sticks
- Rope or Twine
- Twine Balls (for pumpkins)
- Pipe Cleaners
- Miniature Birds or Crows
- Wood Plaques
- Hammer, Screwdriver, Ice Pick (for distressing)
- Cricut Machine (optional)
- Vinyl for Signage
- Raffia
- Fairy Lights
- Foil Confetti Leaves
Step-by-Step Guide for the Fall Gnome Scarecrow Decoration Transformation
1. Preparing the Gnome
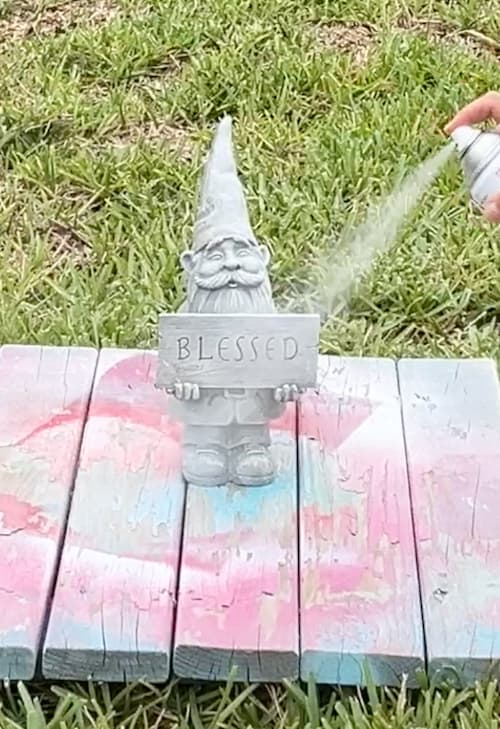
Priming the Surface
Begin by priming your gnome. Since it’s made of polyresin, applying a primer will ensure the paint will adhere better. Cover the entire surface evenly and let it dry.
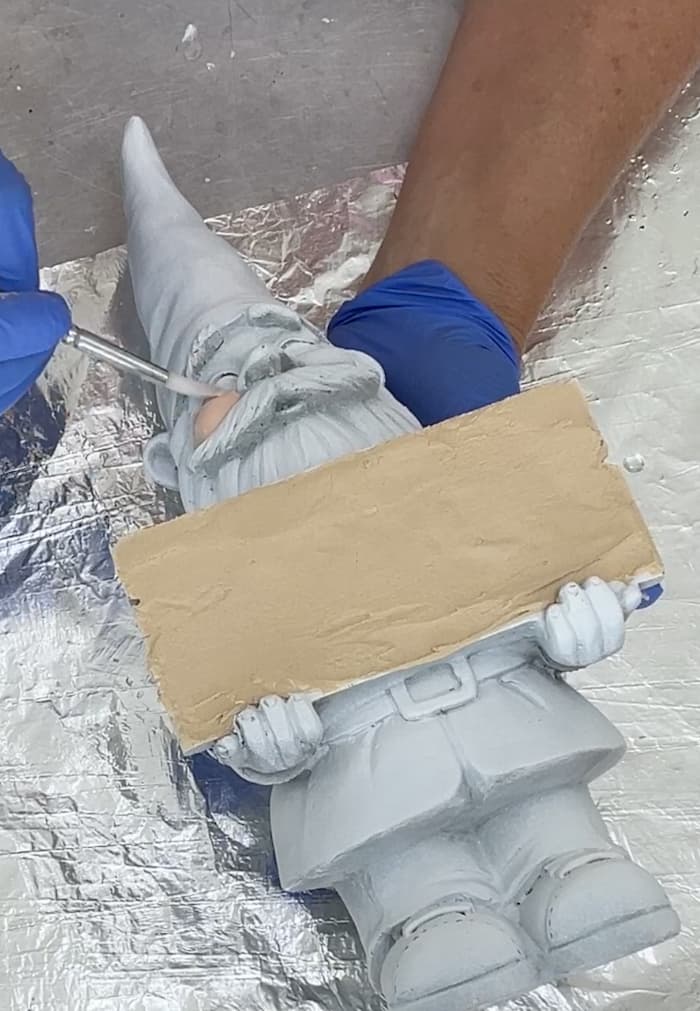
Altering the Sign
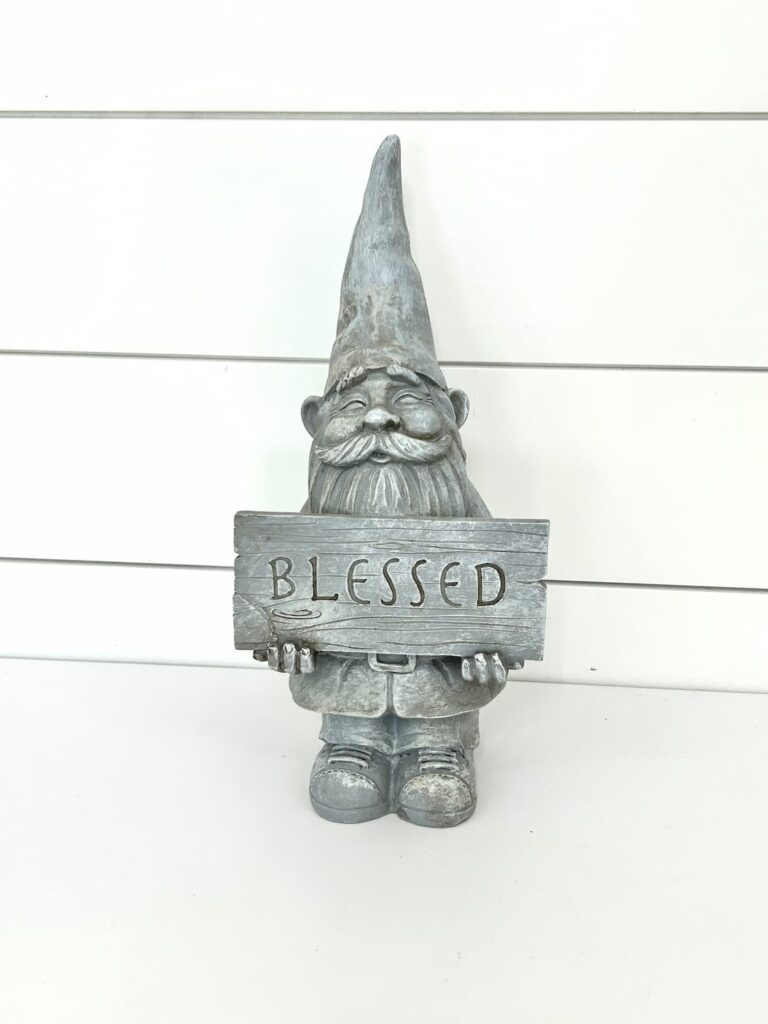
The gnome originally held a “bless” sign but I wanted to change that.
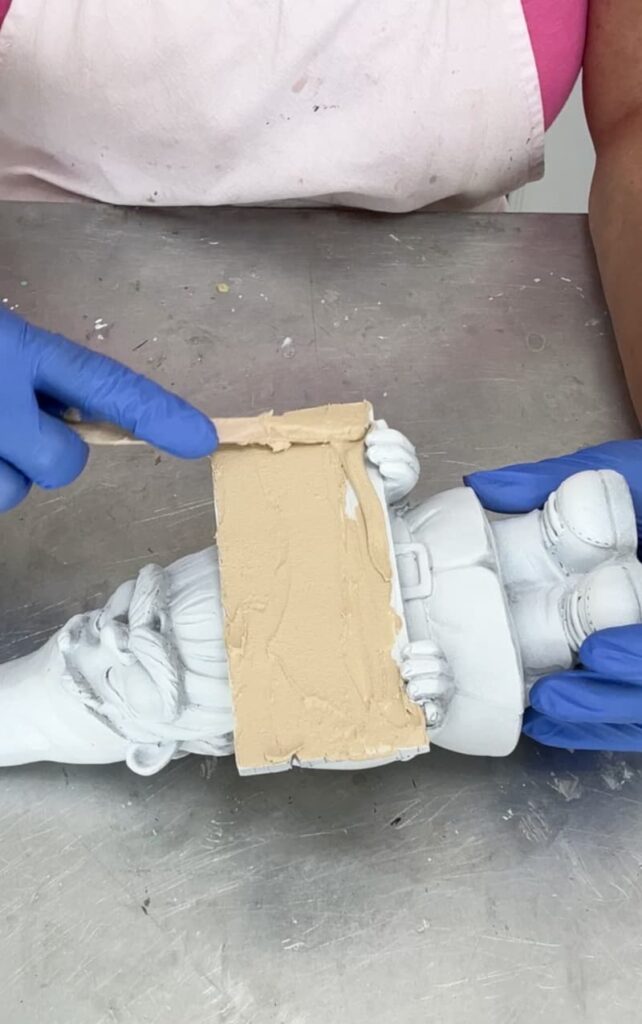
To customize it:
- Apply plastic wood filler over the individual letters.
- Add additional wood filler over the entire face of the sign.
- Use a popsicle stick to somewhat level the surface. You don’t want it completely smooth, a little rough and rustic makes it look like a more natural canvas for the new message.
- Allow it to dry completely.
*After my initial resurfacing of the gnome’s sign, I could still see “blessed” showing through ever so slightly. I did a final thin skim coat over it and that took care of it.
2. Painting the Gnome
Facial Features
- Paint the face, ears, and hands with flesh-colored acrylic paint. It took me two coats to get full coverage with the flesh-tone colored paint.
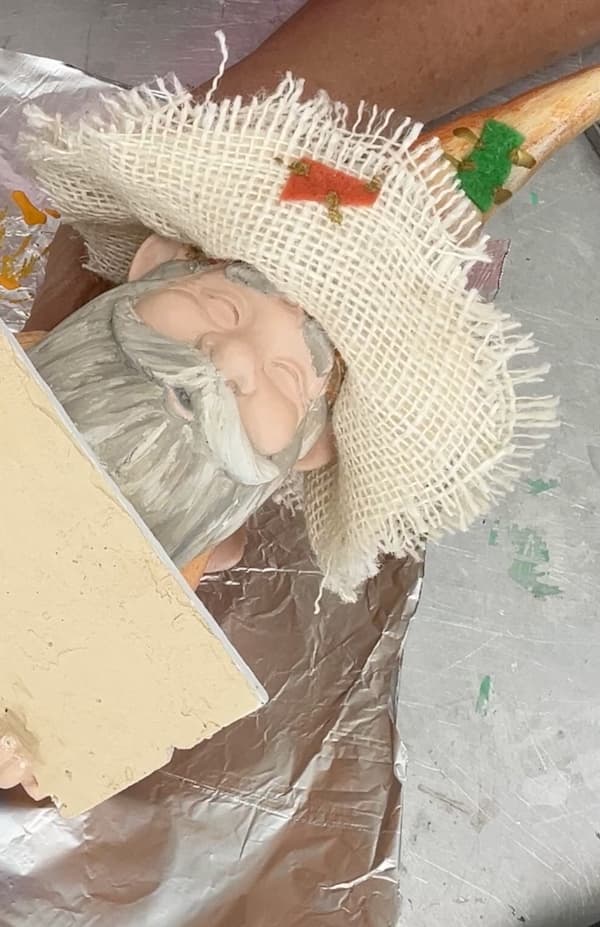
Beard and Hair
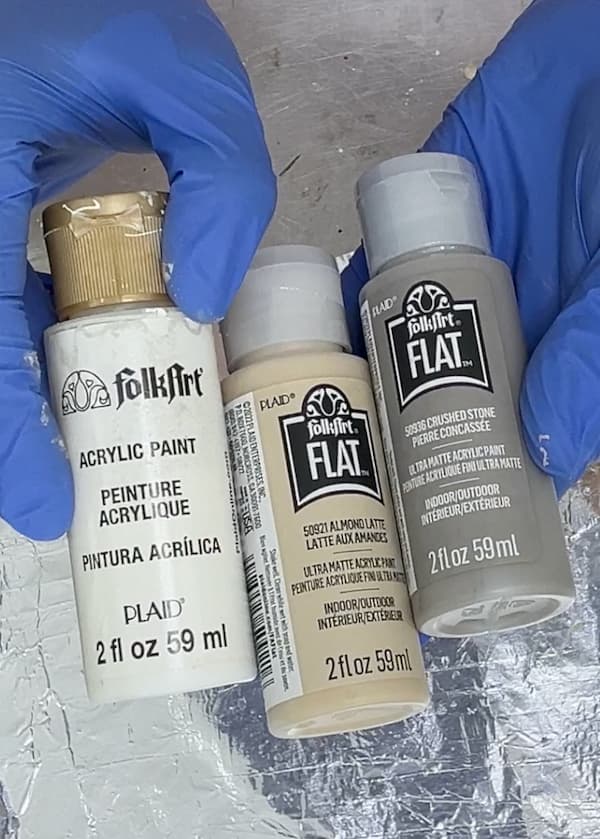
- Mix white, almond latte, and crushed stone-colored paints.
- Apply this blend to the beard, mustache, eyebrows, and hair, achieving a natural, blended look.
Attire
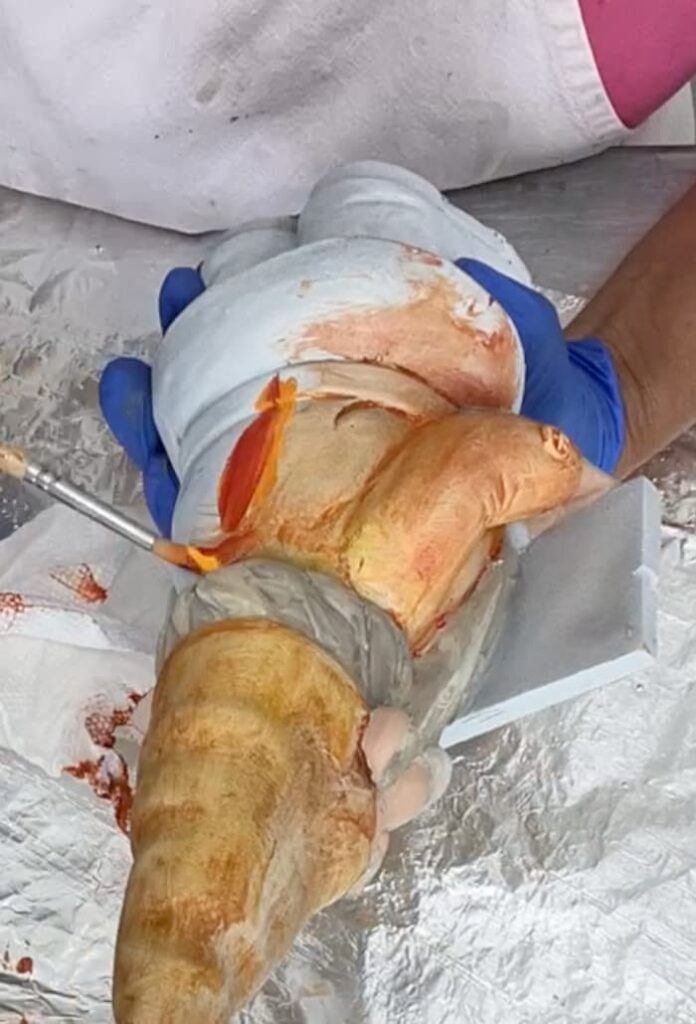
- Hat and Jacket: Combine orange and red paints. Apply and then wipe off with a paper towel to achieve a washed-out effect.
- Pants: Mix blue and purple paints. Use the same apply-and-wipe technique for a denim appearance.
- Shoes: Paint them brown.
- Belt: Use purple to contrast the orange jacket.
3. Crafting the Scarecrow Hat
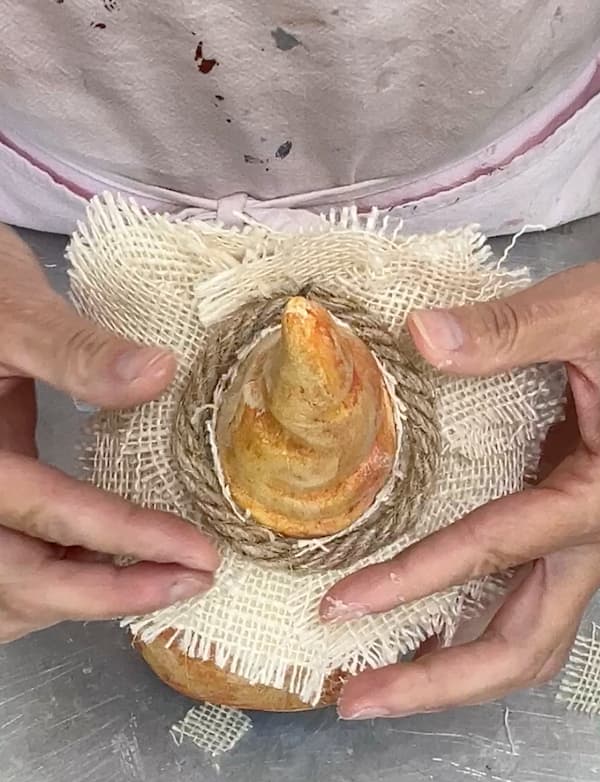
- Cut a piece of felt to form the hat’s brim.
- Use burlap to cover the felt, cutting slits in the middle to fit over the gnome’s head.
- Add a rope or twine hatband, gluing it around the base of the hat.
4. Adding Character with Patches
- Cut random shapes from felt scraps in various colors.
- Glue these patches onto the hat, jacket, and pants to mimic the classic scarecrow aesthetic.
5. Incorporating the Pumpkin Element
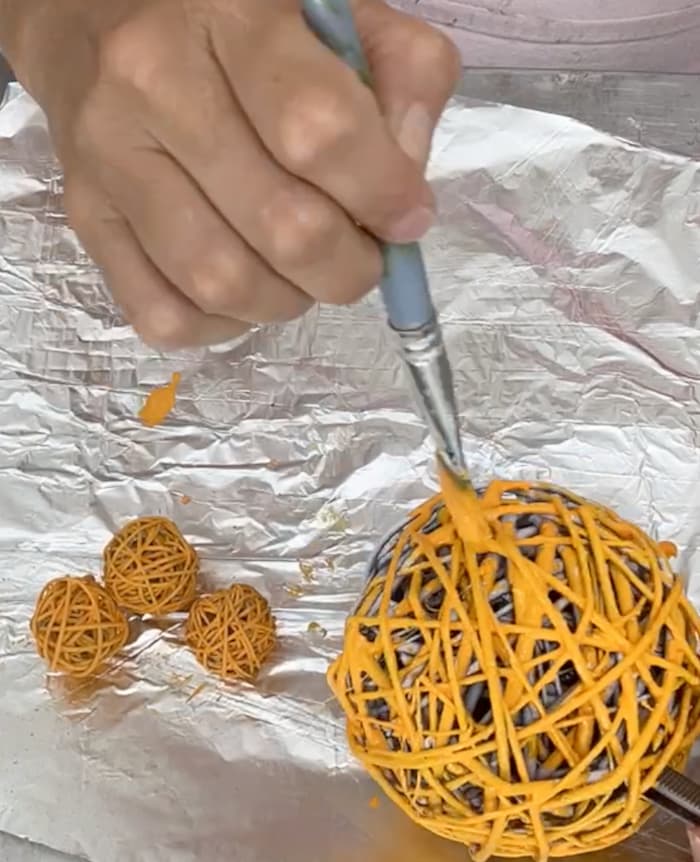
The first time I went to the store, I couldn’t find any pumpkins. The second time I went to the store, I couldn’t find any pumpkins I liked. So I made some with stuff I had in my craft stash!
- Use twine balls for your pumpkins.
- Paint them orange, though you could add some green pumpkins too.
- Cut brown or tan pipe cleaners to use as stems.
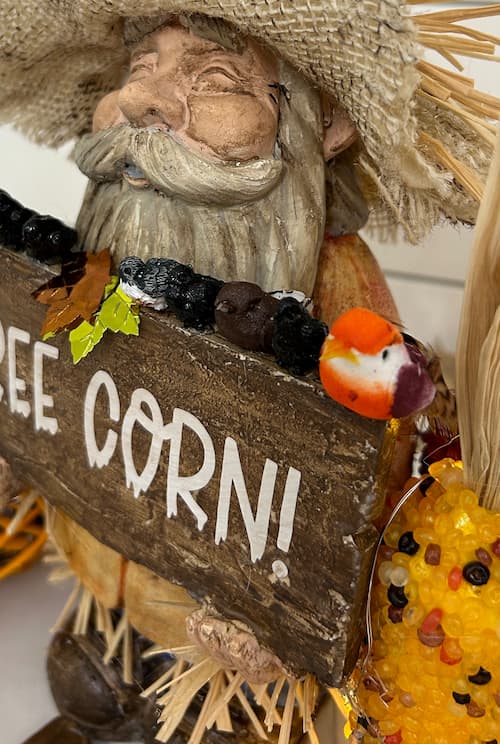
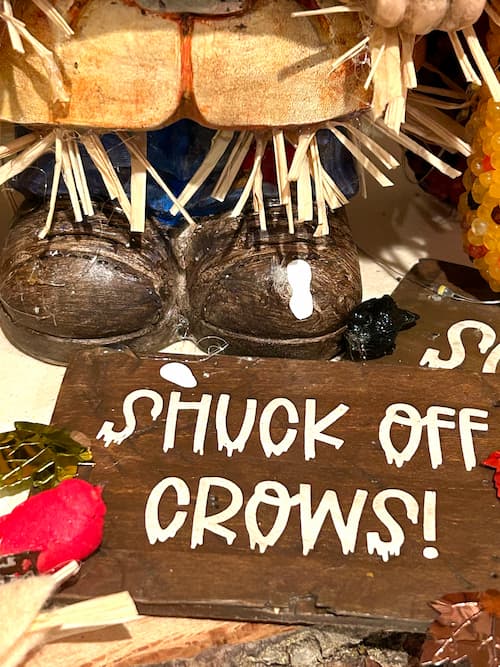
6. Crafting the Signage
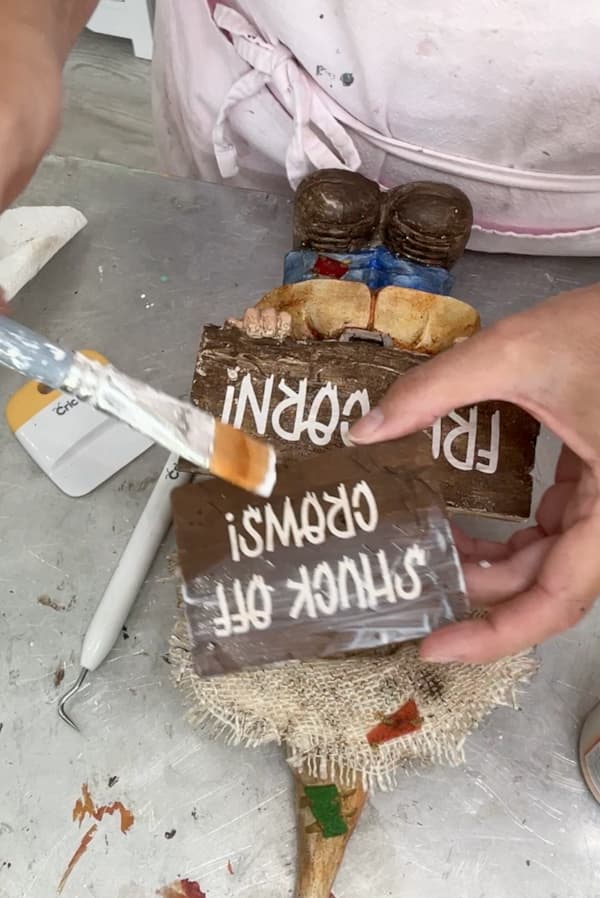
- Distress two small wood plaques using a hammer, screwdriver, and ice pick to create a weathered look.
- Paint them brown, wiping off excess to enhance the distressed effect.
- Use a Cricut machine to cut out vinyl lettering with messages like “Shuck Off Crows” and “Free Corn.”
- Apply the vinyl to the plaques, brush the brown paint over the words, and do a light wipe – it helps age them a bit. Finally, seal with matte Mod Podge.
7. Final Touches
Making the Details Pop
- When I finished the hat, I used a brush to give it a more natural, slightly dirty look. I used the same brown as the shoes,
- I also painted the same brown all over the gnome and used a paper towel to immediately wiped it off, so the details of the face, beard, clothes, etc. would pop.
Adding Straw Elements
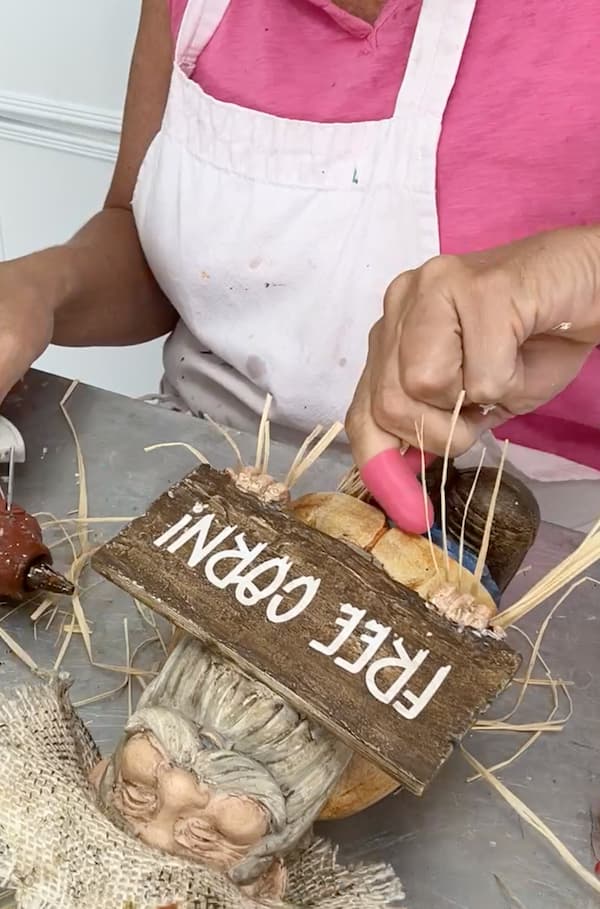
- Attach raffia to the hat, sleeves, and under the jacket to simulate straw poking out.
- Trim as necessary for a neat appearance.
Decorating the Base
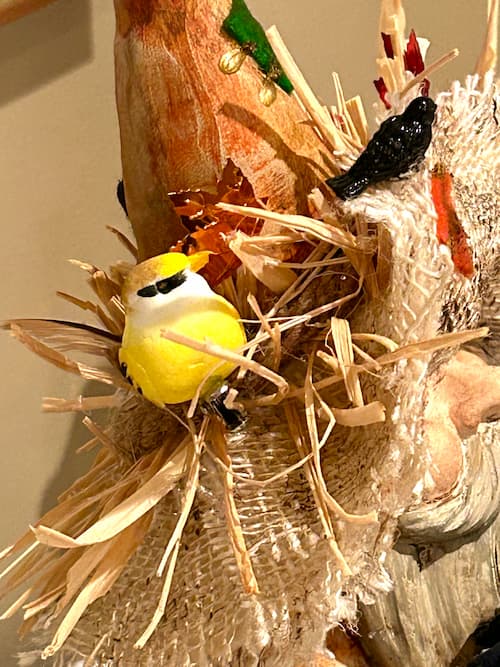
- Arrange the crafted pumpkins, signs, and any additional decorations like corn or miniature birds around the gnome.
- Scatter foil confetti leaves for an added autumn touch. They are perfect for hiding hot glue.
- Incorporate fairy lights among the decorations to illuminate your Gnome Scarecrow display.
*FYI: I could not find little black birds at the store. I went home and found a bunch of birds in my craft stash but they were not crows. I quickly painted them black with some spray paint and now they are! I did keep a few of their original colors.
8. Embracing the Scarecrow Theme
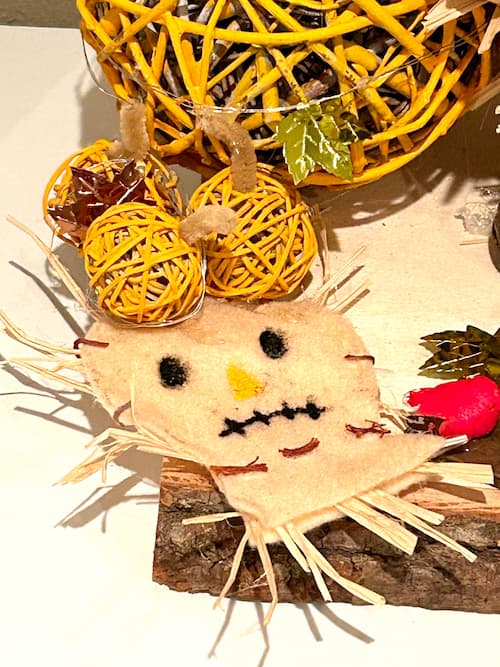
- Create a small scarecrow mask from felt, adding raffia and faux stitching.
- Place it beside the gnome to suggest he has embraced his new role amidst the birds.
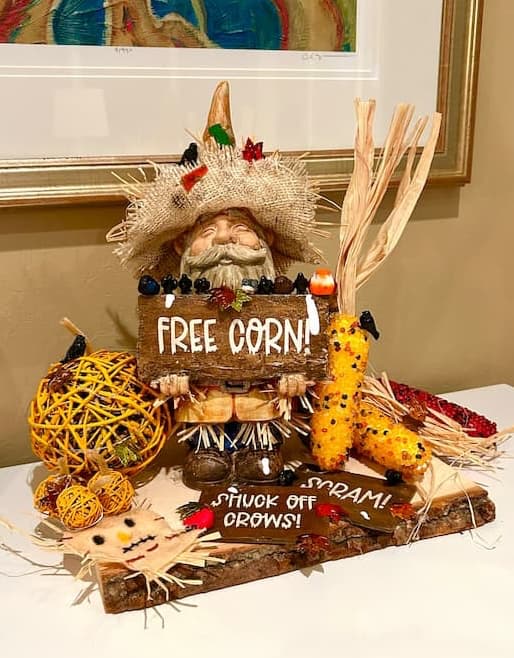
The Grand Reveal
Remember the initial look of our gnome? After this transformative journey, he now stands as a proud Gnome Scarecrow, complete with patches, and a straw hat, and is surrounded by the festive aura of fall. The crows have gathered, the pumpkins are set, the corn is ready, and the fairy lights cast a magical glow.
Here he is by day…
And here is the scarecrow gnome by night…
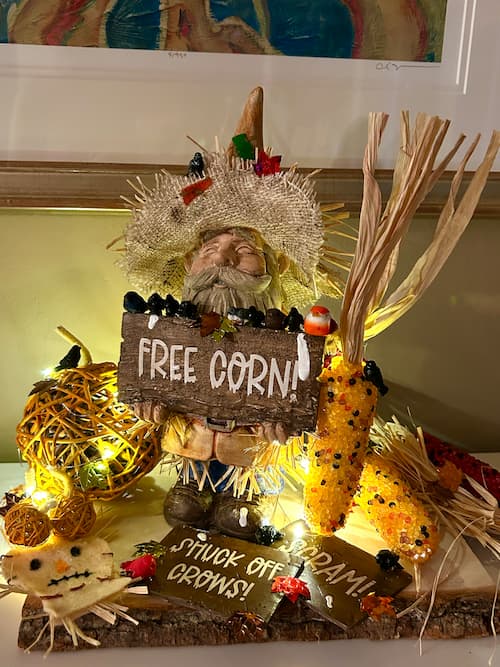
He’s kinda magical.
When you make a project like this, what makes it extra special is the details, from the birds nesting in his hat…
…to the bird poop on the signs and his shoe. Just an occupational hazard for a gnome scarecrow.
Share Your Thoughts and Check Out Chas!
What do you think of this Scarecrow Decoration? Is it a CRAFT or a CRAP? Share your thoughts in the comments below. And don’t forget to check out Chas’ gnome creation over at Chas’ Crazy Creations!
This Month’s Featured Projects
This month, Shannon and Carena shared their projects based on previous Craft or Crap challenges!

Share what you make based on our Craft or Crap Challenges!
Share what you make based on the rules of current or previous Craft or Crap challenges!
Here’s a quick video on how to get featured or follow the directions below:
- Join our Craft or Crap Facebook Group and share your pics! So you can craft along with us, have fun, and inspire others!
- On Instagram: Post a picture of your project on Instagram and tag: @CraftKlatch and @ChasCrazyCreations ***Be sure to use the hashtag #CraftorCrap
- If you aren’t on Instagram or Facebook…NO PROBLEM…email your pictures to us at [email protected] or Chas at [email protected]
Remember: Life’s too short not to shimmer, so grab your glue gun and glitter. Stay safe!
Mona
This is DEFINITELY CRAFT, it`s brilliant love it and you could turn a Gnome into any time of the year,,
Thank you, Marilyn! I think doing a gnome makeover for the different seasons would be so fun!
This is absolutely craft!! It’s the cutest Gnome ever.
Thank you, Cindy! I’m so glad you like him! He was fun to make!
Wow, looks so great! You really transformed him and I love all the added display items. The signs are great and so funny! Definitely a CRAFT
Thank you, Chas! It was so fun to make!
Definitely craft. I love gnomes and the fact you made it into scarecrow is even better.
Thank you, Charlene! ❤️
This is adorable! Definitely will do something with my gnome.
Thank you, Peggy! I think there are a lot of forgotten gnomes out there that would benefit from a makeover!
This is so cute! What a fun makeover idea. Visiting from the very first 🙂 Bookish Bliss linkup.
Thank you so much, Jennifer! I’m so glad you like it!
I love this idea ‘craft or crap’ Craft for sure. Mine often end up crap and I have to pass them off as ‘made by my grandchild’ lol. Thanks for joining in with #pocolo. Hope to see you back again soon
Oh my gosh! You are so funny! I’m sure yours do not turn out as crap! 🤣
This transformation is amazing!! It is sooooo cute. You showed your talents on this one.
Thank you for sharing with us on the #QuarterlyBookishParty #BloggersConnecting.
Thank you, Crystal! ❤️
Gnomes are my FAVORITE!!! Love this! CFAFT! Pinned📌
Thanks’ so much for sharing with Bookish Bliss, Musings & More Quarterly Link-Up.
Thank you so much, Paula! ❤️
This is definitely not crap! I’ve never seen either one of you do crap. It just astonishes me what beautiful imaginations you both have. I don’t see any crap here. Thank you.
Thank you, Ellen! You are so sweet and we are so happy you enjoy our projects! ❤️