
It’s a Dollar Tree DIY turning a vase into a Halloween Frankenstein with this spooky tutorial. Perfect to light up or to use for decor or candy!
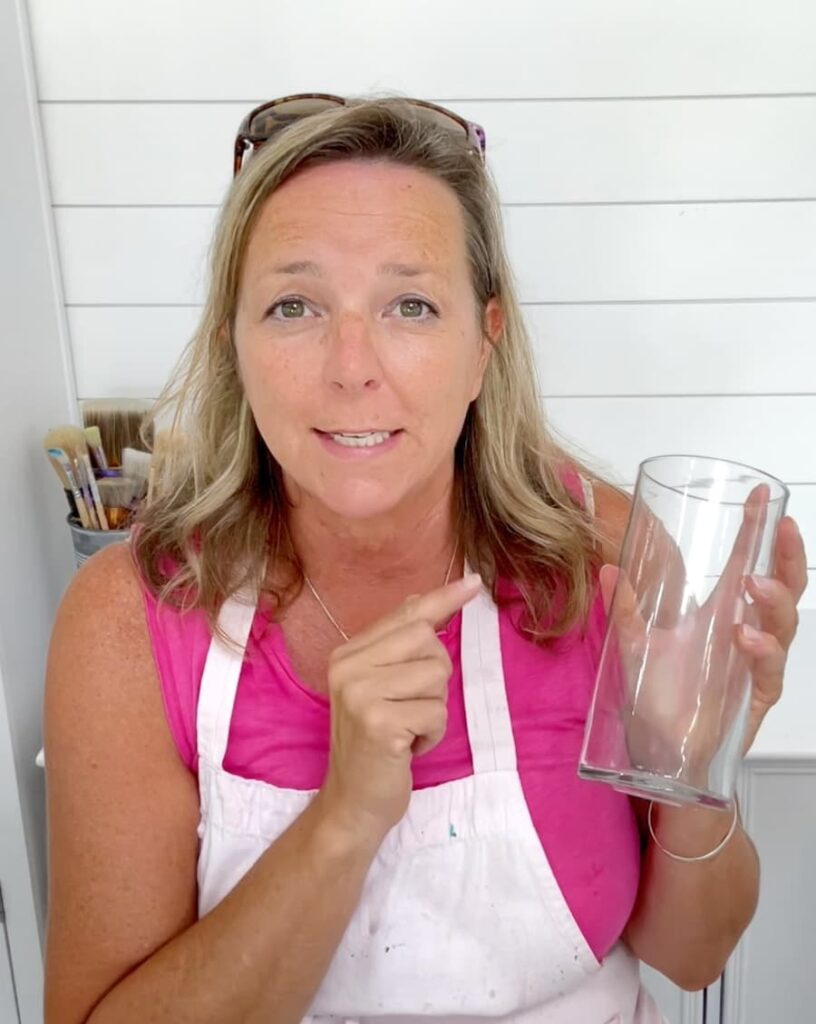
Welcome back to Craft Klatch! Today, we’re diving into another Craft or Crap challenge. This time, it’s all about Halloween, and I’ll be transforming a Dollar Tree DIY vase into a spooky Frankenstein creation. Let’s get started!
What Is Craft or Crap?
If you are unfamiliar with Craft or Crap, it is a fun challenge where Chas from Chas’ Crazy Creations and I craft within a set of rules. When we are finished, you get to decide whether our creations are “craft” or “crap.”
Are you ready for the rules?
RULES
- The craft must have a Halloween theme
- It must include cardboard
- It has to feature school supplies
Materials You’ll Need
Before we dive into the steps, here’s a quick list of materials I used for this Dollar Tree DIY project:
*Disclosure: This blog uses affiliate links from Amazon and other retailers. I earn a small amount from qualifying purchases at no additional cost to you.
- Dollar Tree vase
- Mod Podge
- Green food coloring
- Construction paper
- Hole punches
- Elmer’s glue
- Pencils
- Toilet paper rolls (I saved mine…but some people prefer not to)
- Cardboard box
- Scissors
- Hot glue gun
- Silver paint
- Sharpie markers
- Gallery Glass simulated lead paint
- Halloween flowers (optional for decoration) – I bought mine at Dollar Tree, so do that, but I linked some that I thought would be really fun as an alternative or for decorating somewhere else in the house!
- Fairy Lights
Halloween Frankenstein Dollar Tree DIY Video Tutorial
Here is the full video tutorial so you can see all the details!
Step-by-Step Instructions for the Frankenstein Vase Dollar Tree DIY
Step 1: Clean the Vase
First things first, I cleaned the inside of the vase with rubbing alcohol to ensure the Mod Podge would stick well.

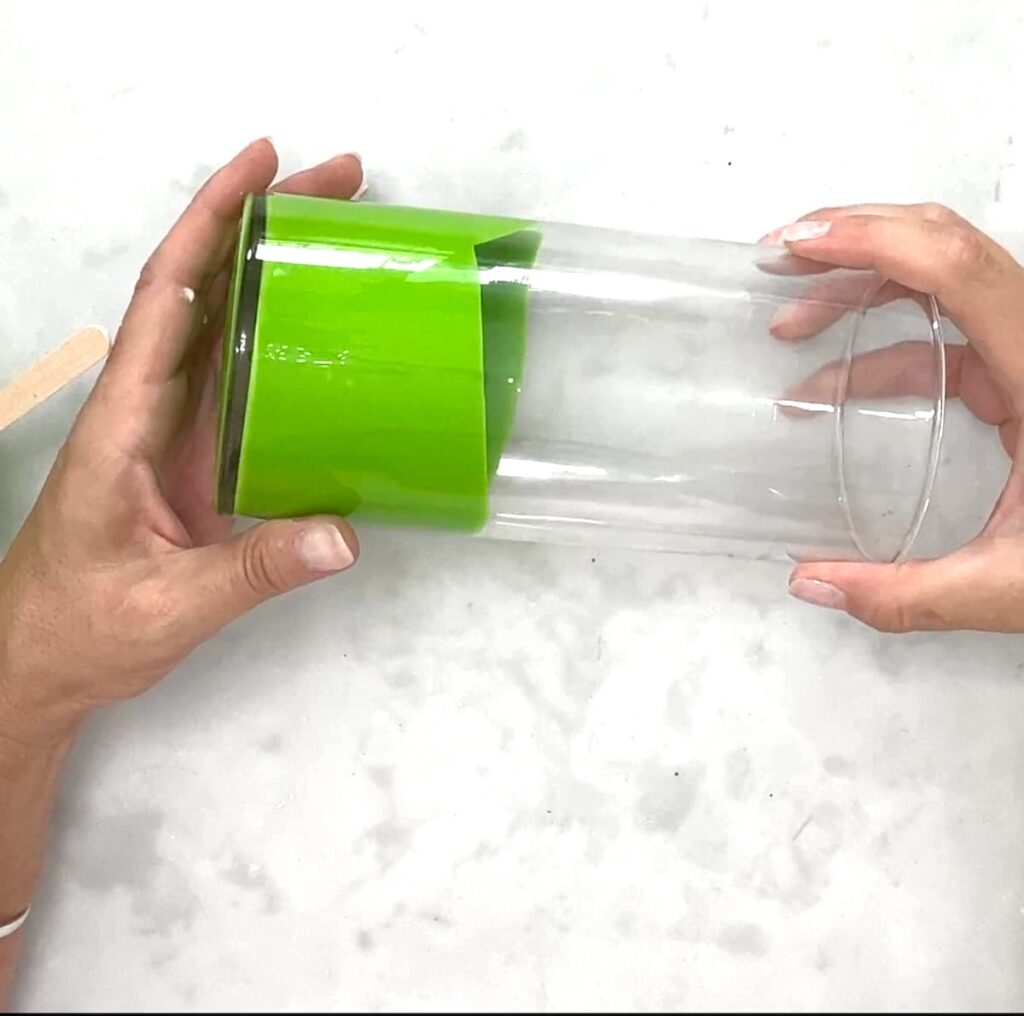
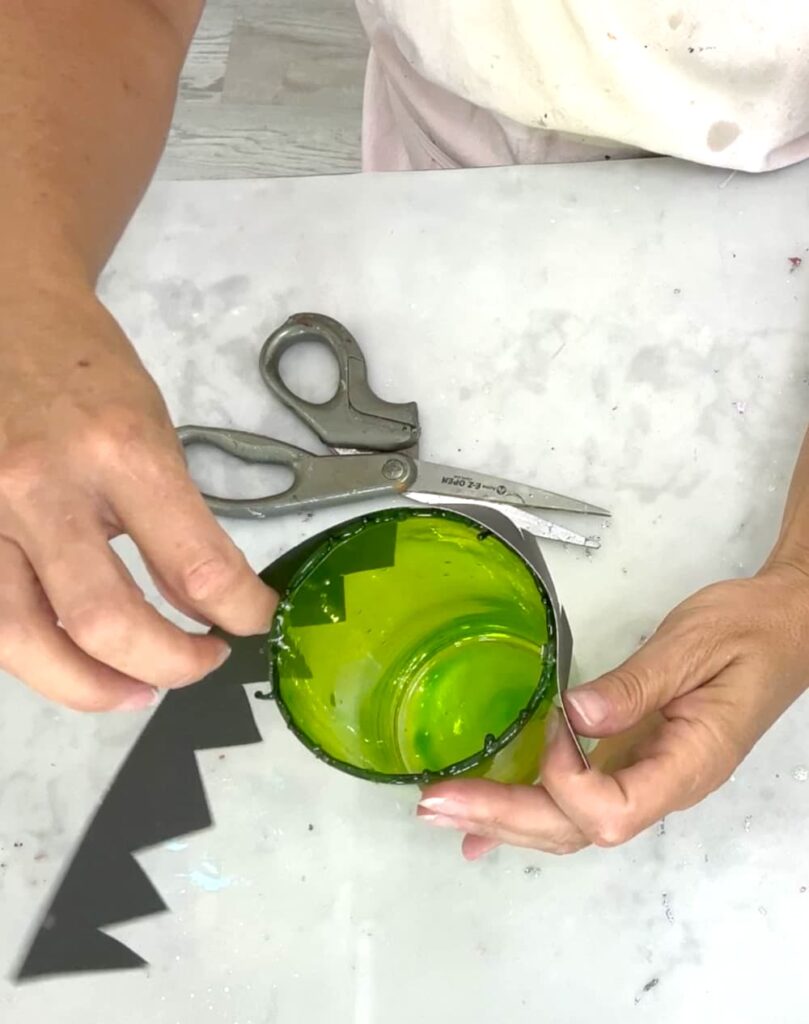
Step 2: Color the Vase
In a bowl, I mixed Mod Podge with green food coloring until the mixture was smooth and streak-free. I then poured the mixture into the vase, turning the vase around to evenly coat the sides. Once coated, I placed the vase upside down on silicone stands to allow any excess Mod Podge to drip off and air dry.
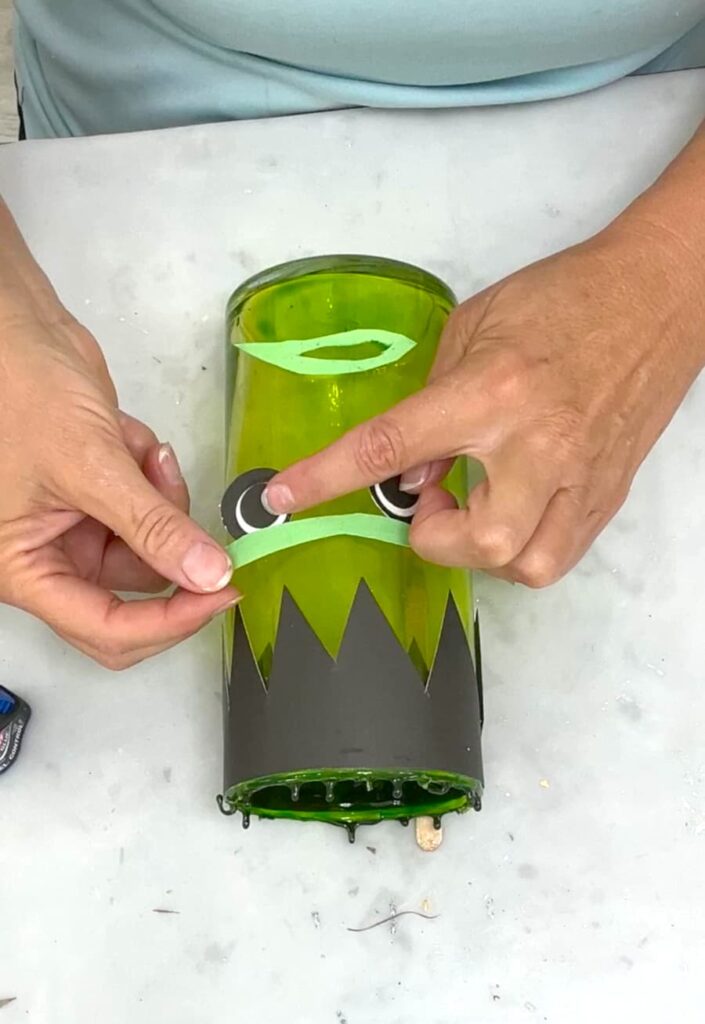
Step 3: Create Frankenstein’s Hair
Once the vase was dry, it was time to add Frankenstein’s signature hair! I wrapped black construction paper around the vase, to make sure it was large enough to fit. Then, I cut a strip and cut out a jagged hairline. After adjusting for height, I applied Elmer’s glue and secured the hair in place with clothespins until dry.
I took a Sharpie and just gave the hair some visual texture.
Step 4: Build the Bolts and Gnarly Teeth
Next, I took a pencil and cut it into small pieces, then halved each piece. I used a toilet paper roll to create the bolt structure by cutting it into smaller sections and gluing it into a cylinder. After securing the pieces with glue, I attached cardboard cutouts that I fit into toilet paper rings to create the ends of the bolts.

Step 5: Add Halloween Frankenstein’s Facial Features
For the face/head, I drew and cut out ears from cardboard and painted them green. Using hole punches, I created layered circles for the eyes. I glued the eyes, mouth, and teeth (made from pencils) onto the vase using hot glue.
Step 6: Final Touches
I painted Frankenstein’s bolts silver and added a brow (which I cut out of the toilet paper roll).
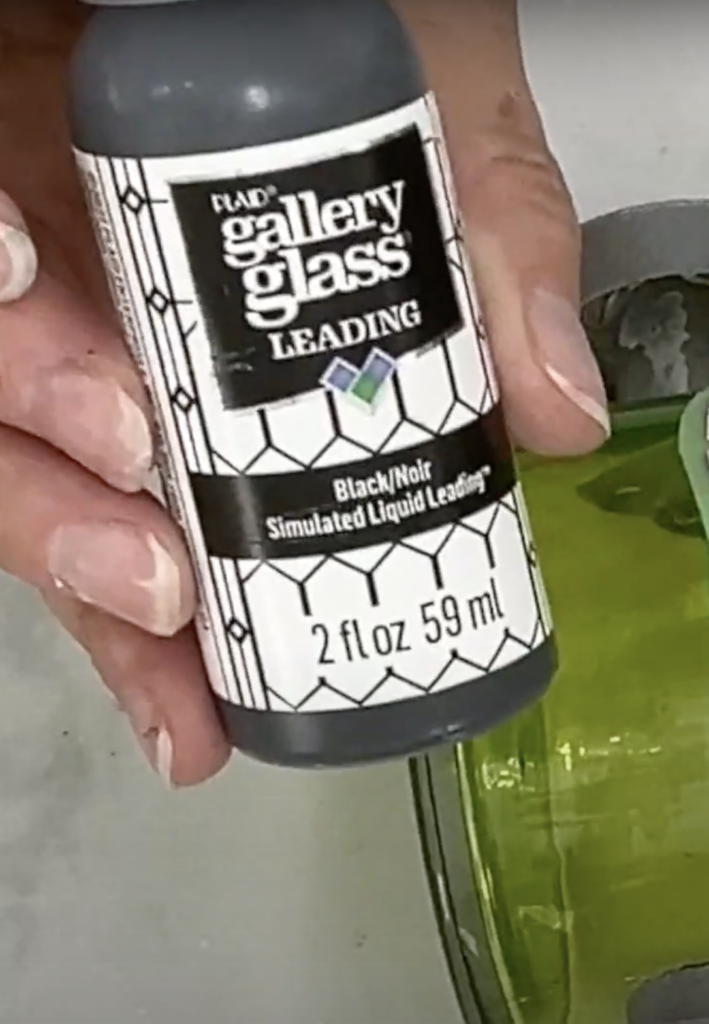
I did the nose, and scars using a Sharpie and then decided I liked the look with the Gallery Glass simulated lead better because it gave it a more textured look…so I removed the Sharpie marker and replaced it with the Gallery Glass.
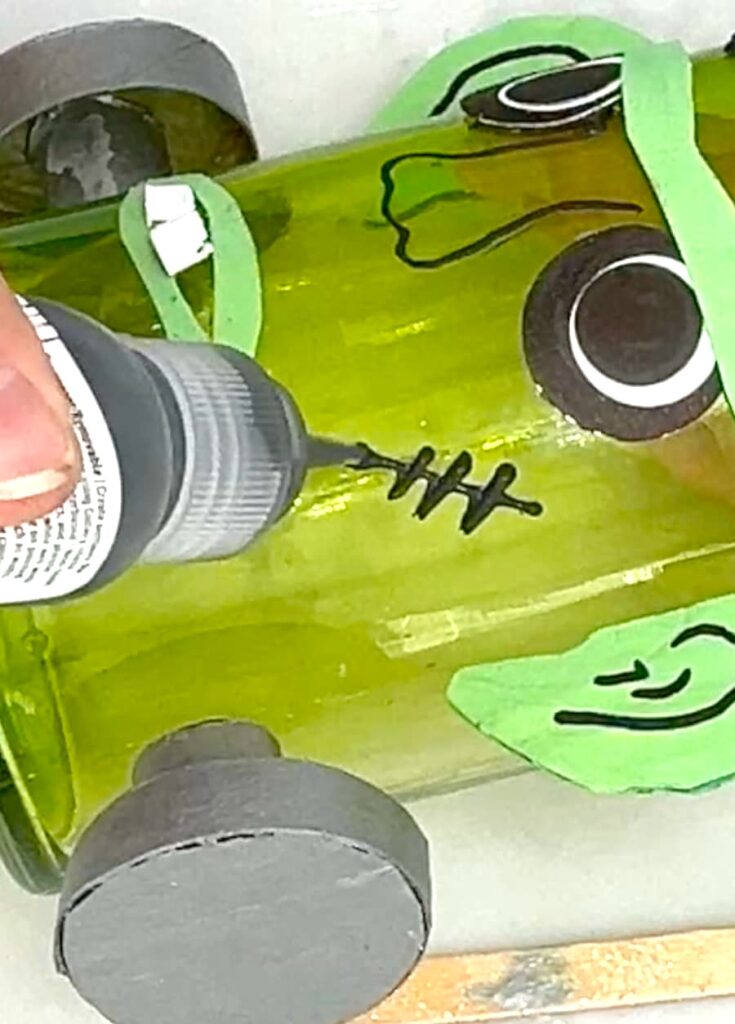
I wasn’t in love with the original color I painted the facial features. I just couldn’t get the color just right. To give the features a consistent color, I painted over them with tinted Mod Podge, matching the vase’s green hue. Much better!

Decorating Your Halloween Frankenstein Vase
Frankenstein wouldn’t be complete without a few extra decorations! You could place a smaller vase inside and fill it with flowers, use it as a candy jar, or even light it up as a Halloween decoration.

For my final touch, I did light it up with fairy lights and I added black flowers with glittery spiders that I found at Dollar Tree. It gave Frankenstein a fun, spooky look!

Did It Follow the Rules?
Let’s see how this project stacked up against the Craft or Crap challenge rules:
- Halloween Theme: Frankenstein is the ultimate Halloween monster!

- Cardboard: I used cardboard from a toilet paper roll and a cardboard box for his ears, bolts, and facial features.
- School Supplies: Pencils were used for his teeth, and I incorporated Sharpie markers and construction paper.
Craft or Crap? You Decide!
Now it’s your turn—what do you think? Is this Dollar Tree DIY Frankenstein vase a craft or a crap? Let me know in the comments below!
Check Out Chas!
Don’t forget to check out Chas’ Halloween creation over at Chas’ Crazy Creations!

If you enjoyed this tutorial, be sure to check out the previous Craft or Crap challenge, where we gave a gnome a fall makeover.
Other Great Craft of Crap Challenges
- Epic Yard Art Showdown Craft or Crap Challenge
- Sunflower Thrift Store Craft or Crap Challenge
- Glass Christmas Tree Craft for the Holidays
- Skeleton Halloween Dollar Store Craft

Get Featured!
Share what you make based on our Craft or Crap Challenges!
Share what you make based on the rules of current or previous Craft or Crap challenges!
Here’s a quick video on how to get featured or follow the directions below:
- Join our Craft or Crap Facebook Group and share your pics! So you can craft along with us, have fun, and inspire others!
- On Instagram: Post a picture of your project on Instagram and tag: @CraftKlatch and @ChasCrazyCreations ***Be sure to use the hashtag #CraftorCrap
- If you aren’t on Instagram or Facebook…NO PROBLEM…email your pictures to us at craftklatch@gmail.com or Chas at chas@chascrazycreations.com
Remember: Life’s too short not to shimmer, so grab your glue gun and glitter. Stay safe!
Mona
Craft he’s cute, I’d keep him, maybe darker green
Thanks, Mary! I think a second coat of the Mod Podge and food coloring might do it!
This was a very cute Frankenstein… you are very creative! And this is something that I could do with my grandchildren!
Definitely, Dolores! The grandkids will love it! I’m so glad you like it!
Cute idea for kids to do for Party table. Got plenty TP rolls, and D
Tree markers and mode podge fairy lights. Am good to go with g. grandson. TKU
Thanks, Annette! Yes, it is perfect for the kids!
Definitely Craft love the black flowers for the hair ..
Thank you, Marilyn! I was having second thoughts about the hair but when I lit it up, I really liked it!
Love the idea and creativity. The flowers with glittery spiders pulled it all together. Nicely done
Thank you, Nanna! I wasn’t sure about the flowers originally but then I really liked them!
CRAFT