
DIY spring flower necklaces – easy, fun and perfect gifts!
Spring is the perfect time to add a pop of color to your wardrobe and what better way than with a handmade spring flower necklace?
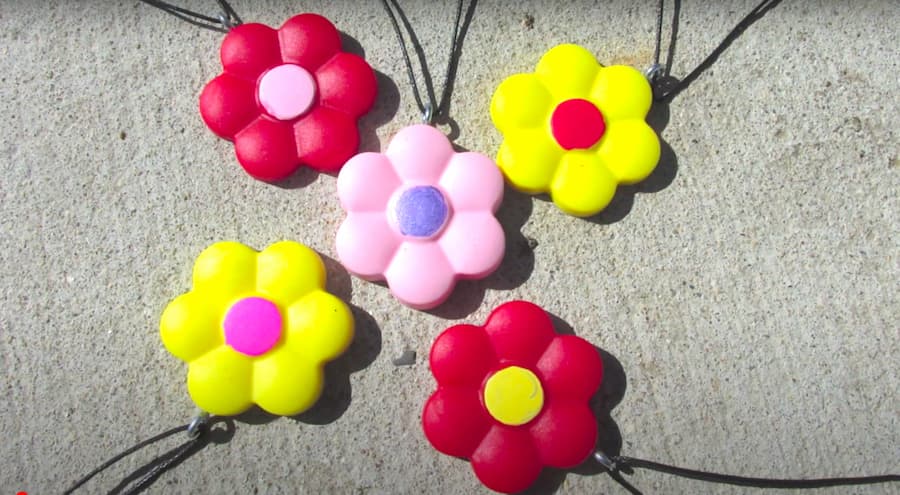
I saw this mold and thought, “I need to try this!”
These cute resin flower necklaces are easy to make, perfect for gifting and just add a fun floral touch to your accessories!
Think of them as party favors for a spring tea, or a little girl’s birthday party.
Follow this simple tutorial and you’ll be making spring flowers in no time!
Be sure to follow me on Instagram!
Here is the Video Tutorial
Here is the video tutorial, so you can see exactly how I made them!
Supplies You’ll Need for Spring Flower Necklaces
To create your spring flower necklaces, gather the following materials:
*Disclosure: This blog uses affiliate links from Amazon and other retailers. I earn a small amount from qualifying purchases at no additional cost to you.
- Silicone flower mold (these are cuter than the ones I have)
- Resin dye
- Acrylic paint
- Small eye screws or bails
- Glue
- Rotary tool
- Cording
- Resin:
- When deciding on which resin to use, there are a lot of qualities that might be appealing, UV resistant, price, heat resistance, etc. Just make sure to select a resin that fits your needs.
- Use whatever brand you like:
- Easy Cast
- Art Resin
- Let’s Resin
- Promise Epoxy
- These are heat resistant resins:
- FX Poxy
- Stone Coat
How to Make a Resin Spring Flower Necklaces:
Step 1: Paint the Flower Details
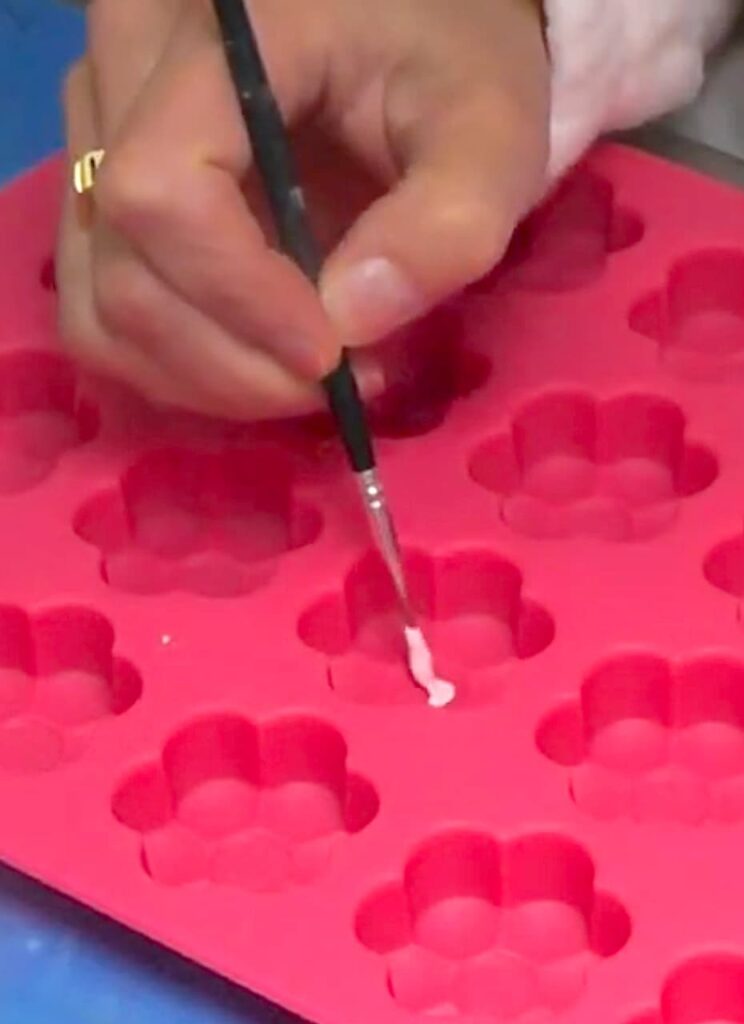
Using acrylic paint, add color to the center of each of the flowers in the mold. The paint will become one with the resin and won’t scratch off. You can paint the middles after, but it won’t be as durable.
This step makes the centers of the flowers pop! Let the paint dry completely before moving on.
Step 2: Mix and Pour the Resin

Prepare your resin, according to the package directions. Once mixed, add resin colorant or dye in the spring flower colors of your choice and stir well.
*I mixed enough resin to make multiple flowers. I separated the resin into multiple cups before adding the colorant. It all depends on how many you want to make.
Slowly pour the resin into the silicone mold. You don’t have to fill the cavities completely. Fill them based on how thick you want the spring flowers to be. Pop bubbles with a lighter and allow them to cure for a minimum of 12 hours before removing them from the mold.
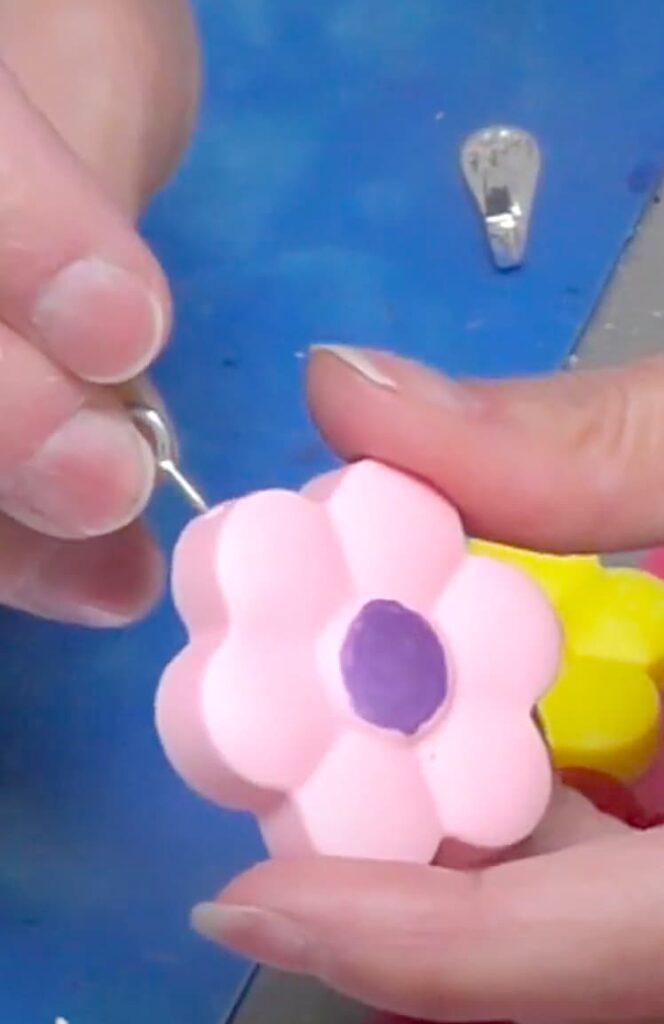
Step 3: Add the Spring Flower Necklace Hardware
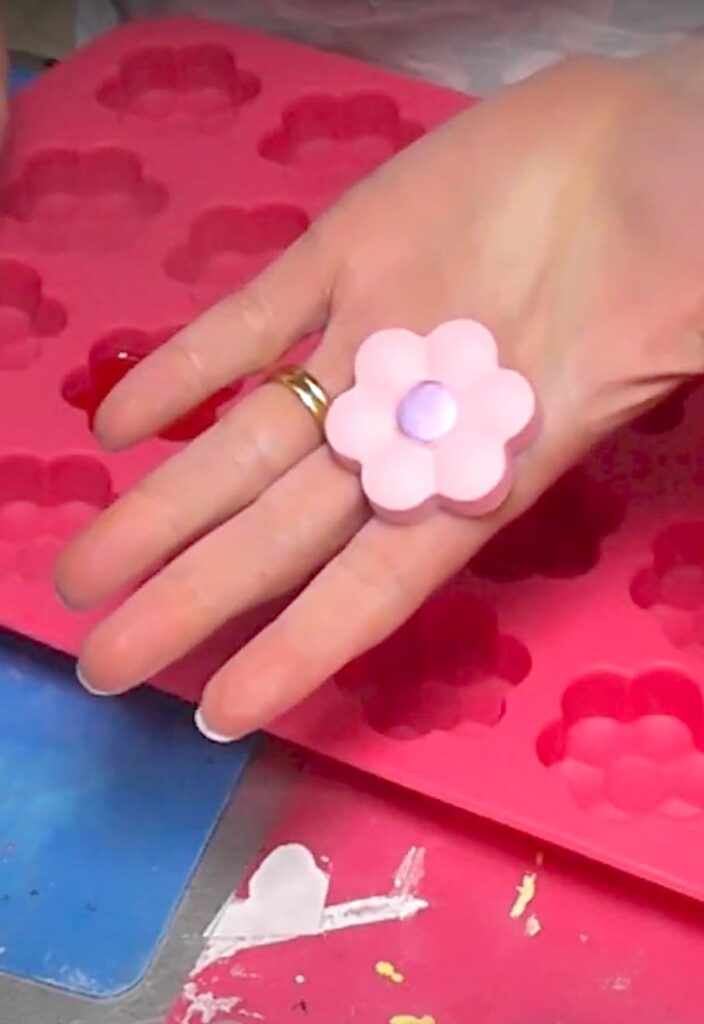
Once your spring flowers are fully cured and removed from the mold, you can turn them into necklaces in two ways:

- Option1: Glue a jewelry bail to the back of the flower using a strong glue.
- Option 2: Use a rotary tool to drill a small hole into the top or side of the flower. Insert a small eye screw and twist it in securely.
Then, you can thread a cord through the jewelry bail or eye screw and your spring flower necklace is ready to wear!
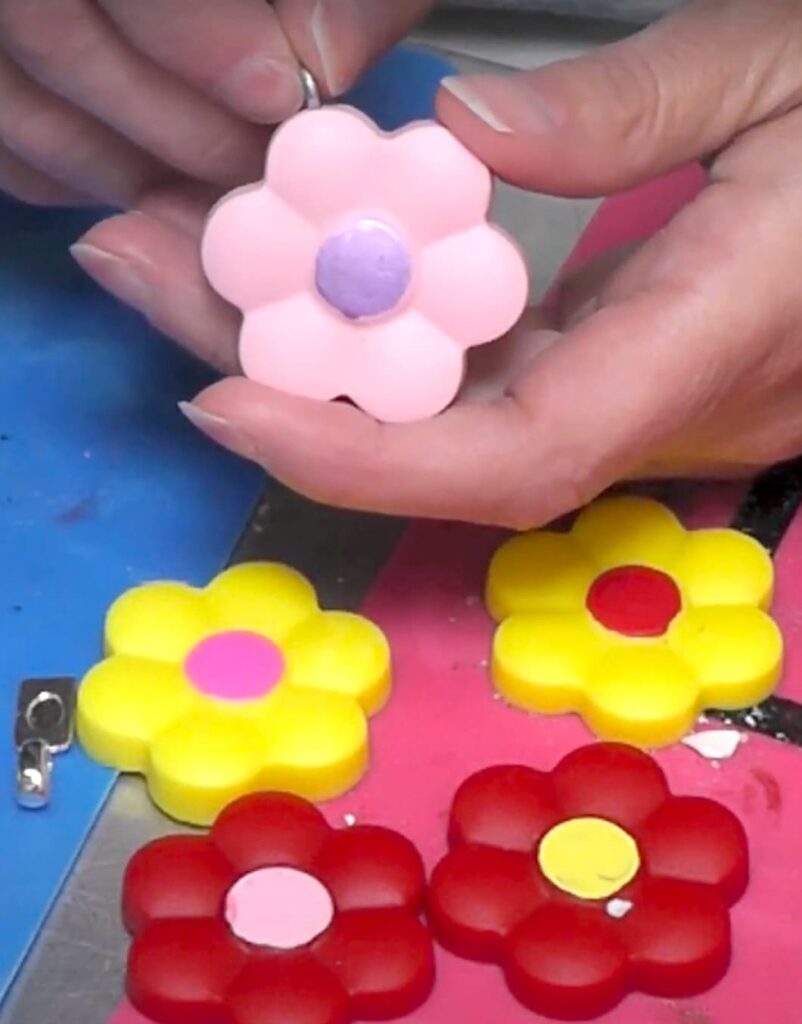
A Fun and Easy Spring Craft…But I Have More!
This DIY spring flower necklace is a simple but beautiful project and is perfect for the warmer weather. But I have some other fun necklace projects I think you will love!
- DIY Nail Polish Washer Necklaces
- Resin Button Pendant
- Donut Jewelry
- Glow in the Dark DIY | Easy Resin Jewelry
Thanks for stopping by!
Life’s too short not to shimmer, so grab your glue gun and your glitter!™
Mona
Well this technique of painting directly on the mold work on poly plastic flexible molds too?
I believe it does work on the mold made for resin.