Materials list:
Mold: https://amzn.to/2FcRd7J
Green pigment: https://amzn.to/2Wtxsk0
Mushroom multi-surface paint: https://amzn.to/2uz5Tdg
Black multi-surface paint: https://amzn.to/2CJ6ihL
Berry multi-surface paint: https://amzn.to/2Ui6XRk
Terra cotta pot: craft store
Pebbles: https://amzn.to/2Wtyr3N
Fake flowers: Best bet is at craft store, or dollar store
Resin (use whatever resin brand you like):
Easy Cast: https://amzn.to/2yjYmBC
Art Resin: https://amzn.to/2yk9X3z
Clear Cast: https://amzn.to/2z4rxGw
This is the resin I used for this project:
FX Poxy: https://amzn.to/2AF3Pkk ~ According to the manufacturer, this one is heat resistant to 500 degrees F.
Here is a quick video, so you can see exactly how I made them:
1. For this project, I am painting directly the coaster molds.

2. I started painting very simple flowers.

3. Then I added the cactus needles.

4. I painted the curbed stripes onto the mold.

5. I painted small flowers with the same red/berry paint.

4. I mixed four ounces of resin and mixed in a green pigment powder.


5. I poured the resin into the molds.

6. I used my lighter to pop the bubbles and let it cure a minimum of 12 hours.

7. I removed the coasters from the mold.

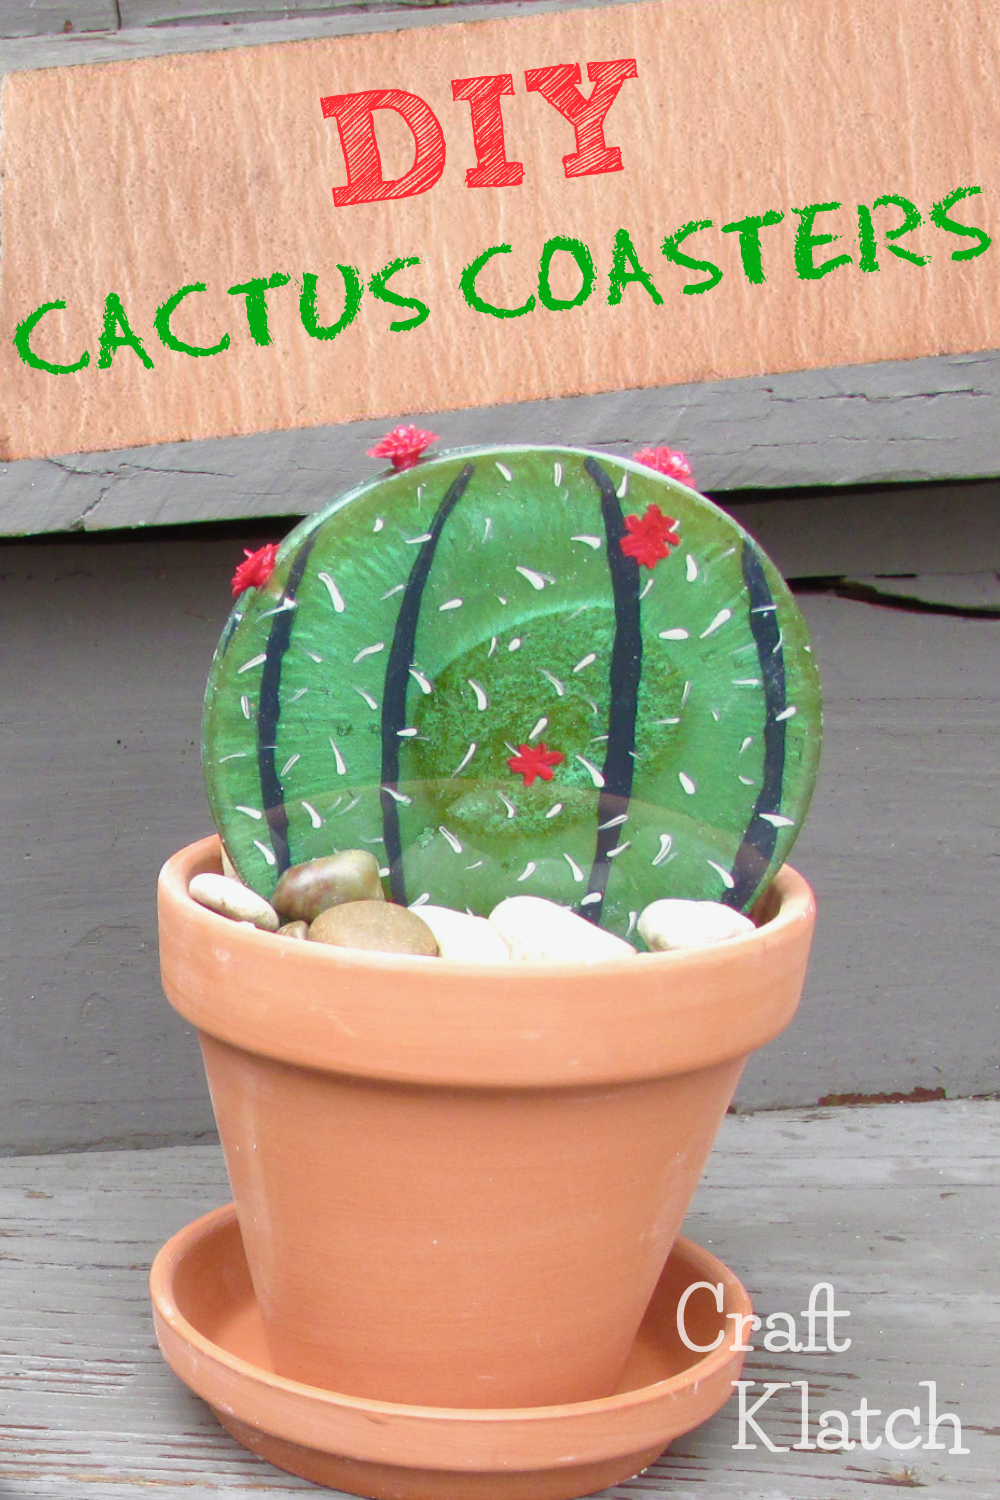
Here is the front. The paint is now part of the resin and will not scratch off.
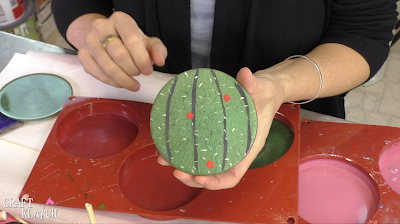
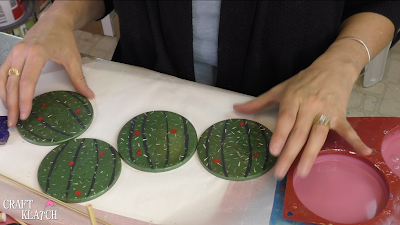
8. I painted the backs the same as the fronts. I first started painting the curved stripes.
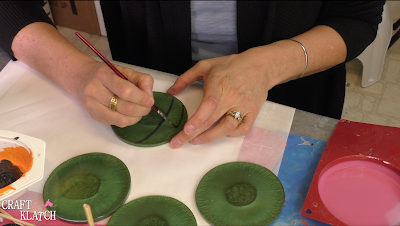
9. I painted the needles.

10. I painted the flowers.

11. Once it all dried, I mixed four more ounces of resin and carefully poured it onto the coasters.
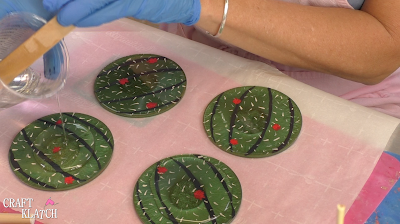
12. I popped the bubbles and let it cure a minimum of 12 hours.

13. I drilled a small hole into each of the coasters.

14. I added glue to the hole.

15. I inserted the flowers.

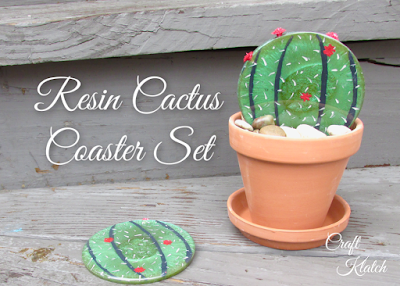
That’s how the look together.

16. I added rock to a terra pot.

17. I added my coasters.


That’s it! Thanks so much for stopping by! Remember: Life’s too short not to shimmer, so grab your glue gun and your glitter!™ Stay safe!
Mona
