To stay up on the latest, be sure to
SUBSCRIBE to my YouTube Channel!
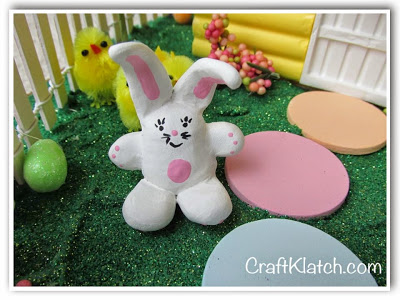
After making my Resin Easter Bunny House, I was asked to make the little bunnies I had sitting in the lawn. Bunnies aren’t just for Easter anymore, so I’ll show you how!!

You will need:
– White polymer clay
– White acrylic paint (optional)
– Pink acrylic paint
– Black acrylic paint
– Skewer stick
Here is the video tutorial:
Directions:
1. Take some white polymer clay and roll it into a ball. Roll it on your work surface, putting a little extra pressure on one end, which gives it more of a pear shape. If you want it more round, that’s okay too!
2. Take two smaller pieces of clay and roll them into balls. You want them to be pretty equal in size. Squish them a little to flatten them out and now you have the feet. Attach it to the bottom of the body and smooth as needed.
3. Take two smaller pieces and again roll them into balls and attach them onto both sides of the body for the hands. Smooth as needed.
4. Take two additional pieces, but flatten them into bunny ear shapes. Attach and smooth. Position ears.
5. Take one round ball and attach the tail.
6. Bake the clay in your oven, according to the package directions.
7. Once the bunny has cooled, I painted white acrylic paint over the whole thing. I have a hard time keeping my white clay clean, so this brightens it up. Allow to dry.
8. Using a skewer stick, I took pink acrylic paint and painted the inner ears, the nose and pads on the hands and feet and the belly. I took black for the face.
Allow to dry and now you have a super cute bunny wabbit!
That’s it! Thanks for stopping by! Happy Crafting and stay safe!
Mona
Mona
