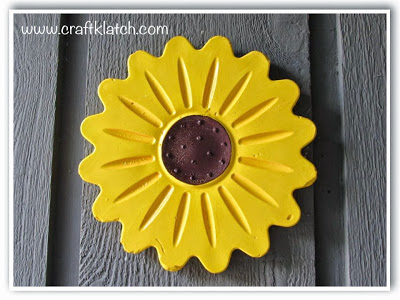
This is a great craft to get the kids involved! I originally planned on using this mold with resin, which I still can, but this time I decided on plaster of paris instead. If you pre-make a few of these (without the paint mixed in) and let the kids paint it any way their hearts desire, you can have a fun and colorful grouping!

I went with sunflower colors, but you can do ANY color(s) you want!
You will need:
– Silicone flower mold
– Acrylic paint or outdoor paint
– Plaster of paris
– Varnish/sealer
– Wire
Here are a few of the items available through Amazon:
Here is the video tutorial:
Directions:
1. Mix your plaster, according to the package directions.
2. Mix in some acrylic paint (optional).
3. Pour into mold.
4. Cut and loop wire and put it into the plaster. The ends should be covered, while the looped part should be out of the plaster. It will be used to hang the piece when it dries.
5. Let it dry.
6. Unmold.
7. Paint with whatever colors you wish. Allow to dry.
8. Finish with a varnish or sealer. If you plan on putting it outside, make sure you use a varnish made for outside.
That’s it! Thanks for stopping by and Happy Crafting!
Mona

What size is the garden sunflower