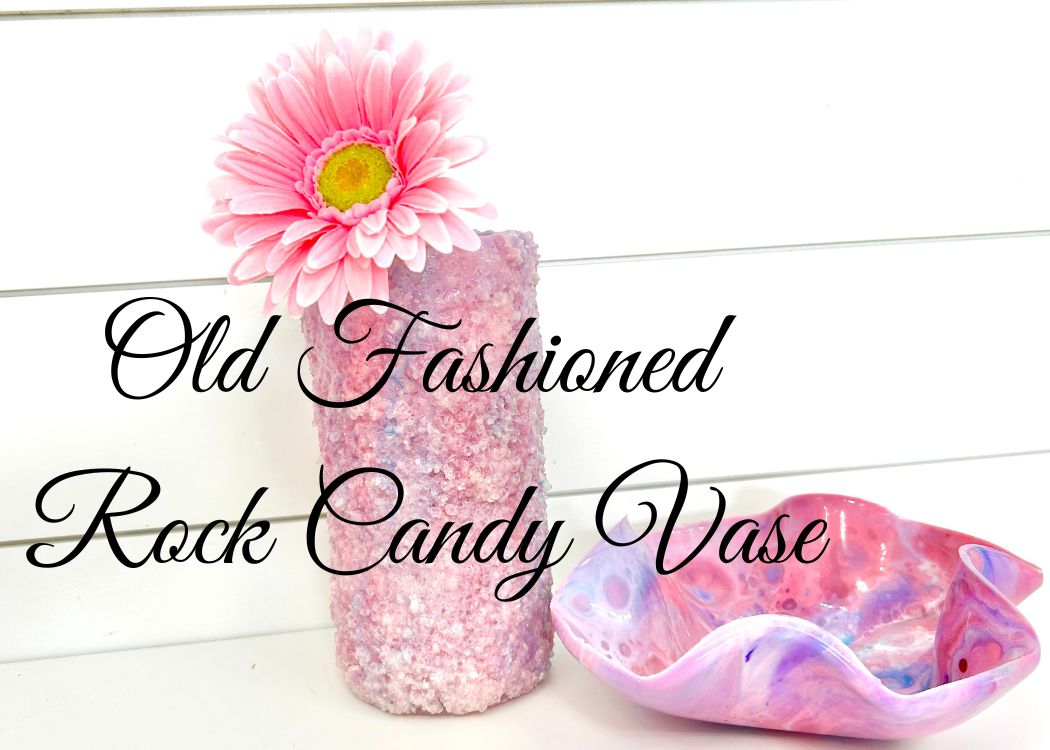
Create a stunning old fashioned rock candy salt resin vase with this easy DIY tutorial. Learn how to use affordable materials from Dollar Tree to make a unique, textured home decor piece.
One of my favorite childhood memories is when we would go to the Long Grove Confectionary. My brother, sister and I were each allowed to pick out a little bag of candy. I always included some fireballs and rock candy in the mix.
Was it because it looked like magical crystals, or because it was pure sugar…I’m not sure but probably a little of both.
And they didn’t sell it on sticks like they do today, they sold it on string, like this.
I still love it but you don’t find the old fashioned rock candy around much anymore.
When I was planning on making this vase, I hadn’t intended on it looking like rock candy, that was just the direction it ended up going…
…but I LOVE IT!
I have tried different salts mixed with resin for these coasters.
Materials Needed for the Old Fashioned Rock Candy Vase
*Disclosure: This blog uses affiliate links from Amazon and other retailers. I earn a small amount from qualifying purchases at no additional cost to you.
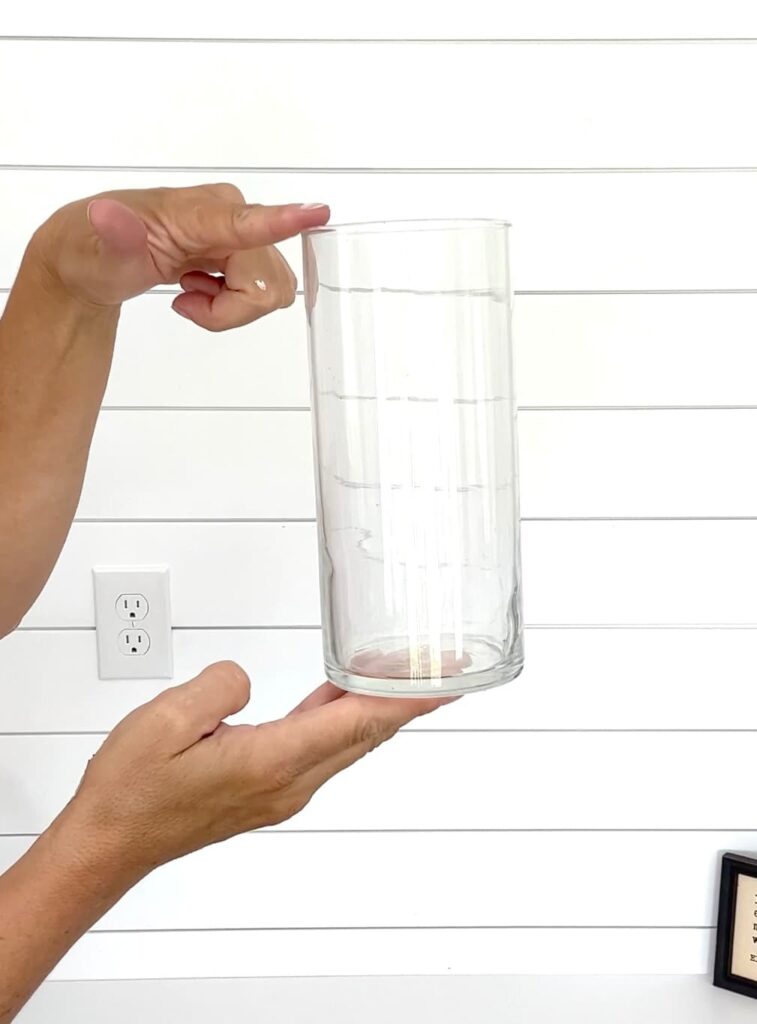
- Vase (can be any shape or size – I used Dollar Tree cylinder vase)
- Rubbing alcohol
- Coarse salt
- Clear vase filler beads
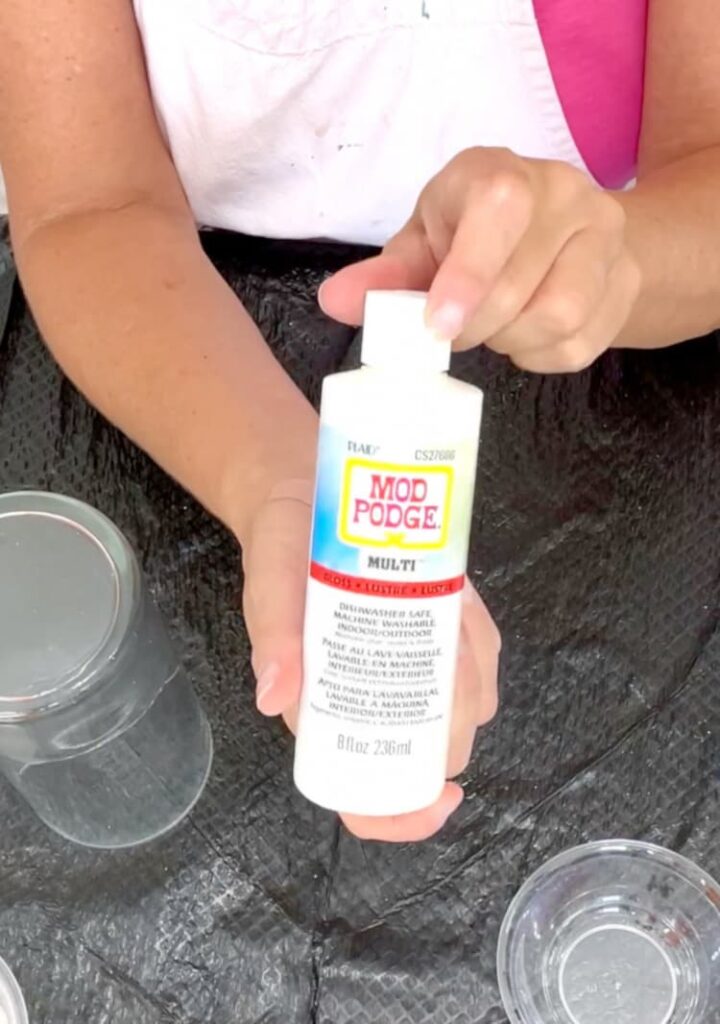
- Mod Podge Multi
- Pigment powders & alcohol ink (blue, purple, flamingo pink)
- Opaque white pigment
- Silicone ring/cake shaper
- Mold to catch excess resin (I just bought this one – it’s larger than the one I used)
- Gloves
- Stir sticks
- Resin:
- When deciding on which resin to use, there are a lot of qualities that might be appealing, UV resistant, price, heat resistance, etc. Just make sure to select a resin that fits your needs.
- Use whatever brand you like:
- Easy Cast
- Art Resin
- Let’s Resin
- Promise Epoxy
- These are heat resistant resins:
- FX Poxy
- Stone Coat
Old Fashion Rock Candy Salt Resin Vase Video
Directions on How to Make an Old Fashioned Rock Candy Salt Resin Vase
Here are the directions on how to make the salt resin vase. It’s pretty easy!
Step 1: Clean the Vase
First, thoroughly clean your Dollar Tree vase. My go to cleaner is rubbing alcohol. This step ensures that the surface is free of any oils or residues so the Mod Podge mixture can stick to the vase.
Step 2: Prepare & Apply the Salt, Filler, and Mod Podge Mixture
In a bowl, mix coarse salt and clear vase filler beads. Mix them well. Then, add them to some Mod Podge Multi. This mixture will create a textured effect on your vase. It will give the vase the appearance of old fashioned rock candy.
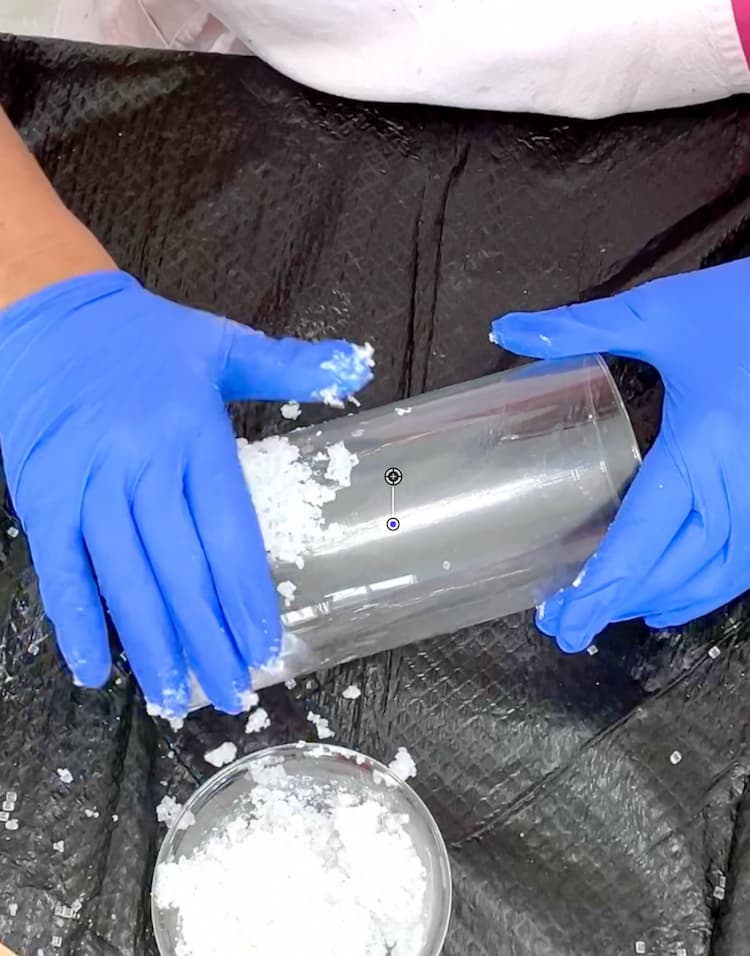
Note: This process can be a bit messy, and the mixture might fall off the vase initially. You may need to experiment with the ratio of salt, beads, and Mod Podge to find the right balance. Too little Mod Podge and the mixture won’t stick; too much and it will slide off.
Using a patting motion and a rolling motion, apply the salt resin mixture to the sides of the vase. Cover the entire surface evenly. Allow the vase to dry overnight.
Tip: Be patient during this step. If the mixture falls off, reapply until it sticks.
Step 3: Set Up and Pour
Once the salt and Mod Podge mixture is completely dry, build a tower of cups to elevate the vase without letting the edges touch the cups. I used multiple-sized cups and a silicone ring for stability.
Mix 8 ounces of resin and divide it into multiple cups. Add pigment powders to each cup: blue, purple, opaque white, flamingo pink, and plain pink.
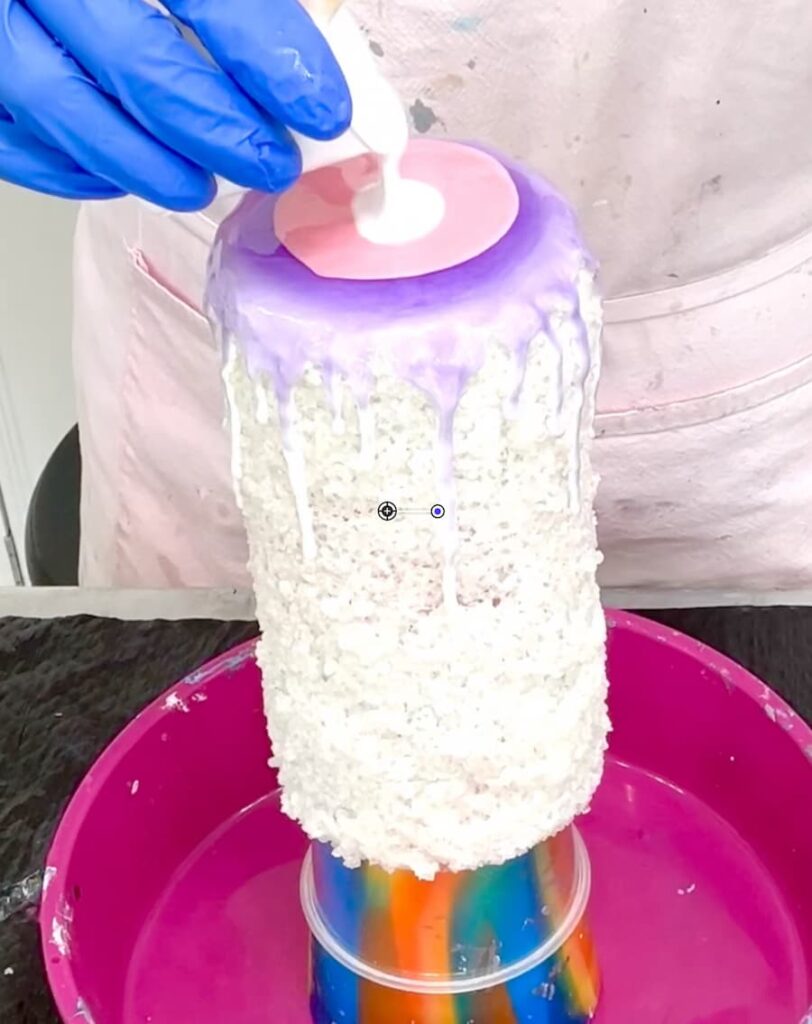
Place a mold underneath the vase to catch any excess resin drips. Start pouring the resin, alternating colors but beginning with white. Ensure you add plenty of white between layers to create contrast.
If the resin doesn’t cover certain spots on the vase, use a gloved hand or a stir stick to spread it. Don’t worry, you can’t make a mistake covering the spots. The resin will blend on its own, just make sure to cover the entire vase thoroughly.
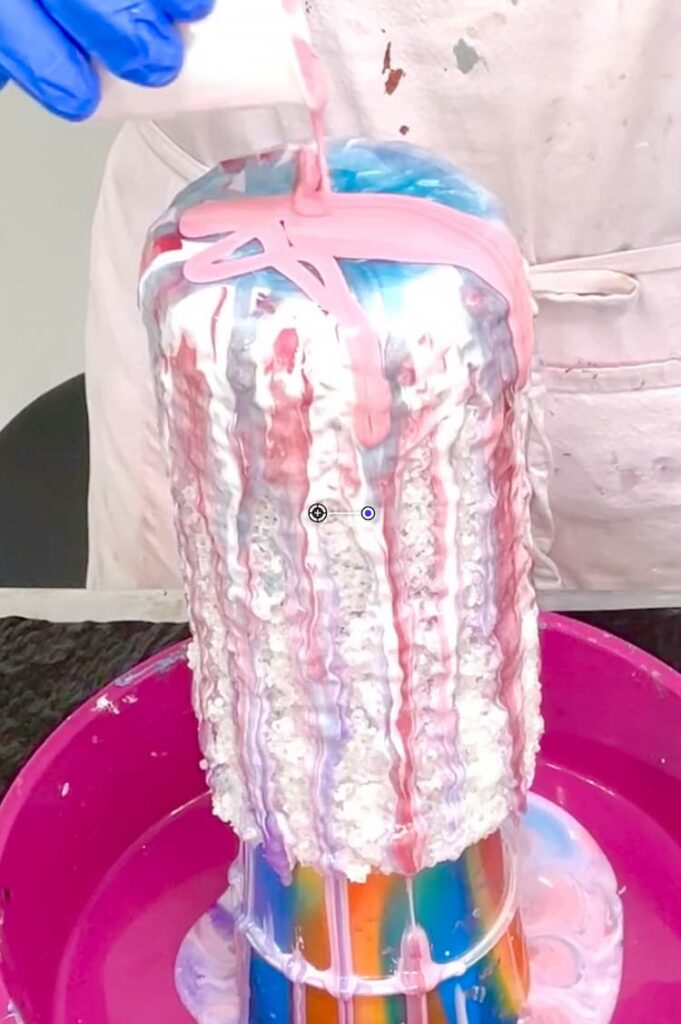
After pouring my initial 8 ounces, once everything ran together and blended, I had lost all the blue. I decided to mix another eight ounces to try to work some of the blue back in.
Step 4: The Salt Resin Vase is Starting to Look Like Old Fashioned Rock Candy
Once the pouring is complete, swipe under the lip of the vase to ensure the edge is fully covered. Carefully remove the vase from the silicone mold by handling the tower of cups – not touching the vase. Set the vase aside to continue dripping, periodically removing drips from the edge.
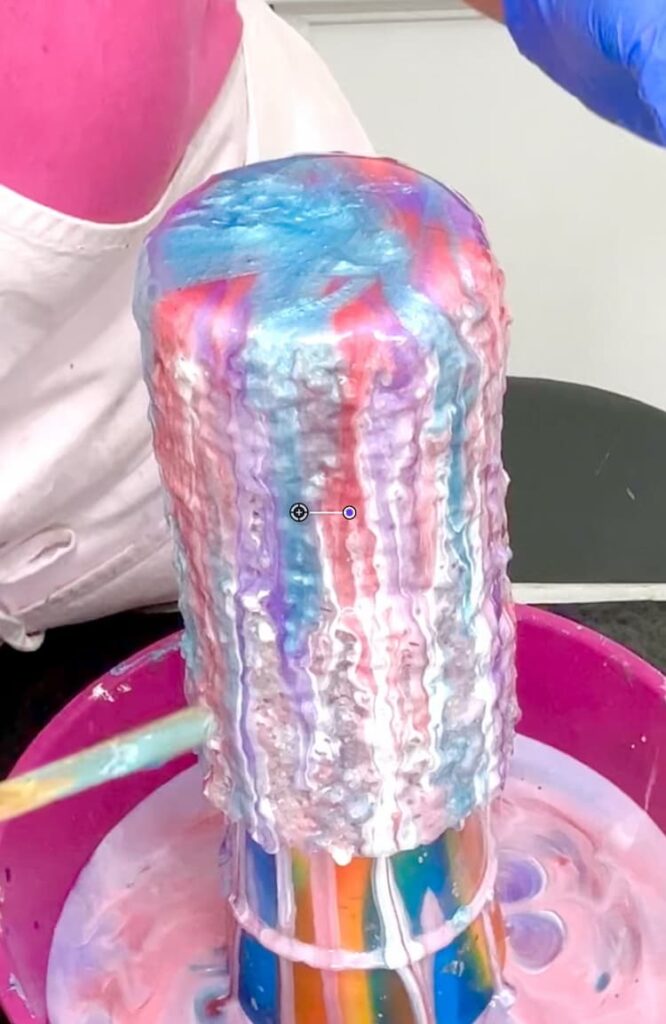
I like to put the excess dripping resin into a different mold. In this case, I put it into a jar mold with some resin already from a previous project.
Once the vase is removed from the mold, the hole in the middle will come together and absorb into itself.

Step 5: Create a Matching Resin Bowl
Allow the resin in the mold to cure for approximately six hours. It should be no longer tacky but still pliable. Remove the resin from the mold and place it into a plastic bowl. Bend the resin to shape it, ensuring the middle stays down. Let it cure for a minimum of six more hours.

Final Result: Old Fashioned Rock Candy Salt Resin Vase
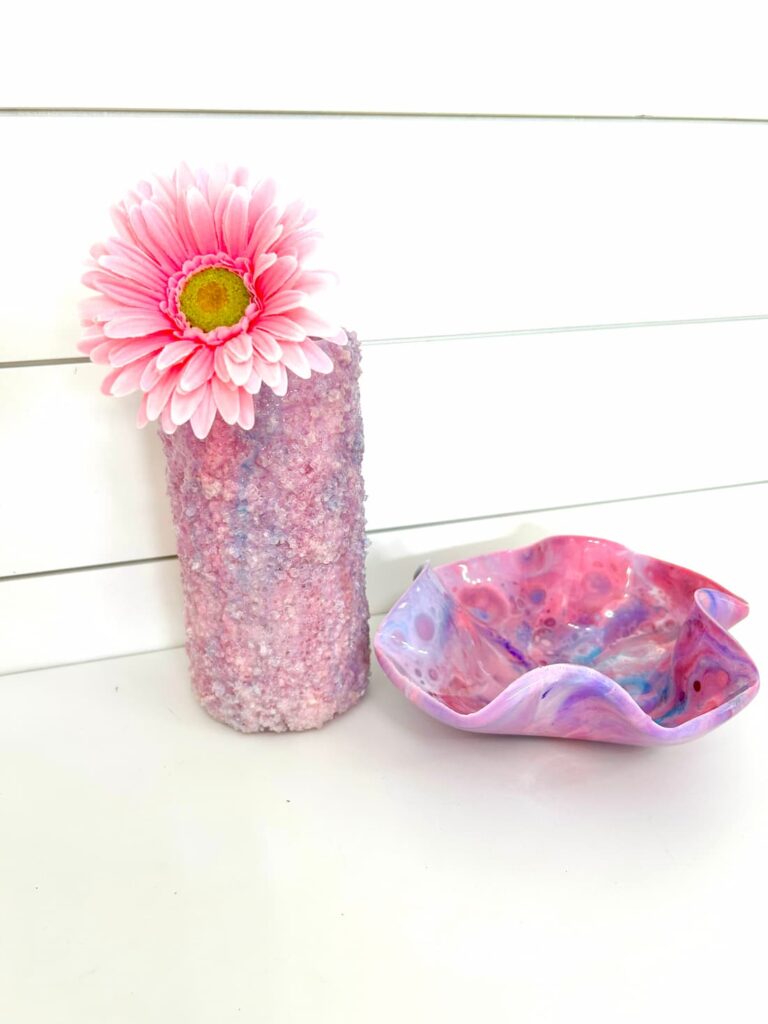
Now you have a beautiful, textured vase and a matching resin bowl! The salt resin technique gives the vase a unique finish that looks like old fashioned rock candy. This project is not only fun to make but also adds a chic, handcrafted touch to your home decor.
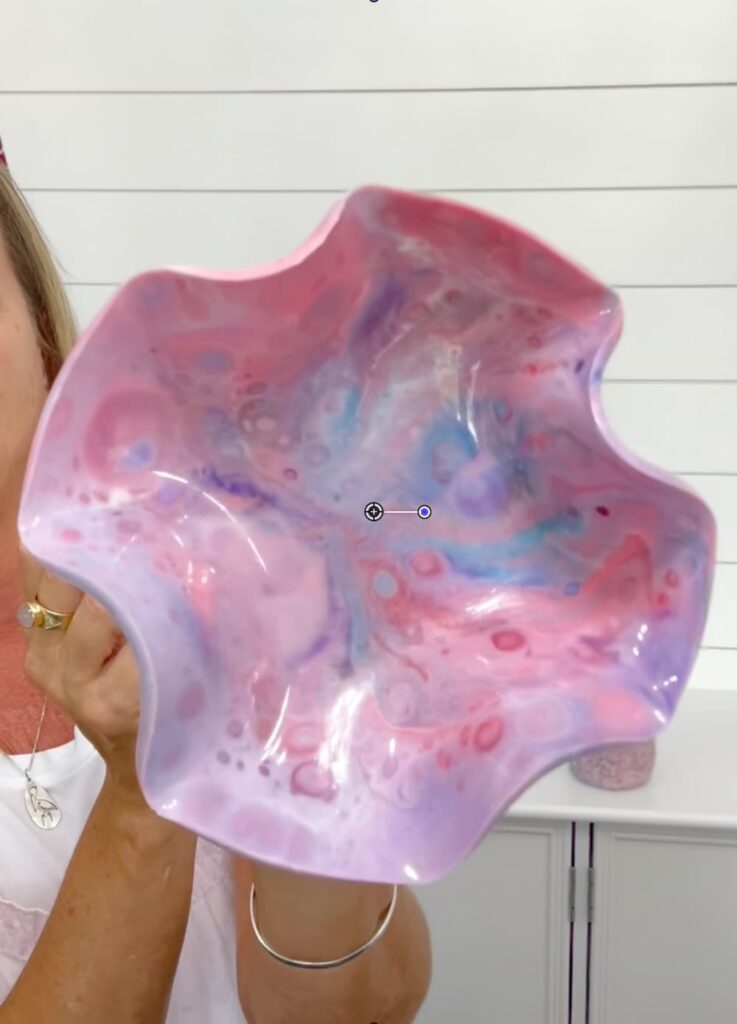
The bowl is great for a small side table. The mold I used was a little smaller than I would have liked but it worked. I listed a larger mold in the materials list above. Here is one that is similar to the one I used: Silicone Cake Pan.
Next time, I going with the larger mold.
This is how they turned out and I’d love to know what you think!
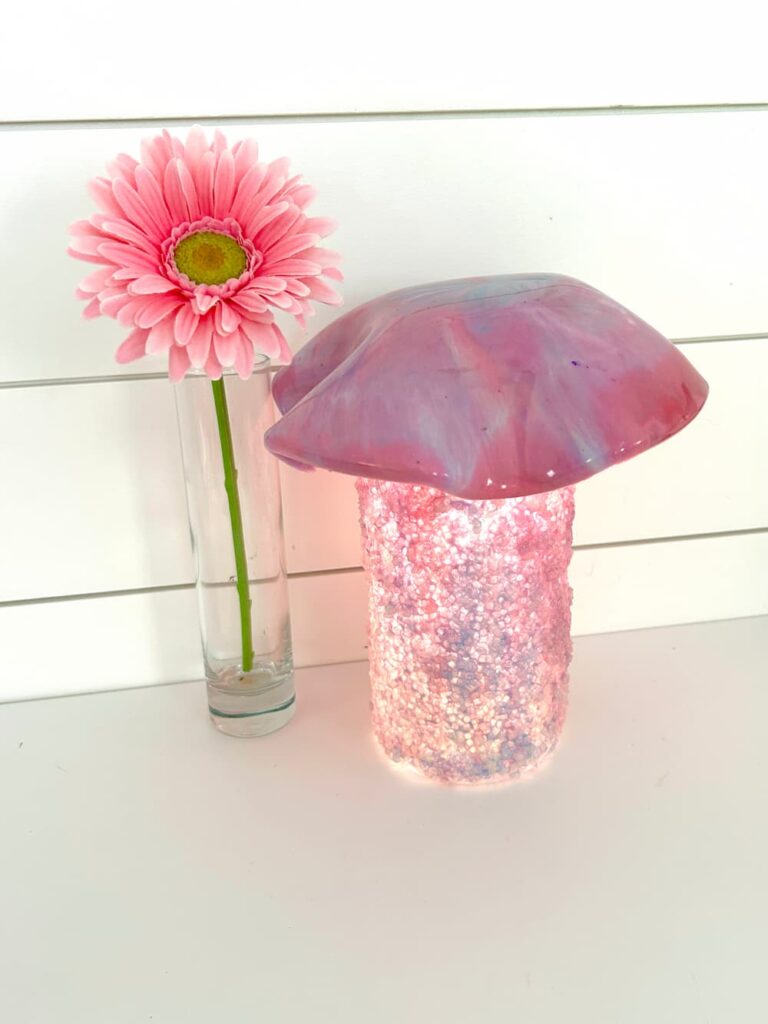
I turned them into a simple mushroom and added a light for additonal fun.
Other Projects You Will Love!
These don’t happen to look like candy, but I know you are going to love them!
- Resin Flower Vase and Art in 5 Easy Steps [Video Tutorial]
- How to Reuse an Old Shirt and Turn It into a Stunning Resin Vase in 5 Easy Steps
- Magical Tooth Fairy Idea DIY [Video & Free Printables]
- Acrylic Paint Pouring on Vases DIY: Transform your glassware in 5 easy steps
Thanks for stopping by and remember: Life’s too short not to shimmer, so grab your glue gun and your glitter!™ Stay safe!
Mona

Hi Mona, I love the vase and the bowl. I have noticed when over you or someone else does a pour like this you always use white which is opaque. Why do you use the white and can you leave it out? Is there a reason you use white? Thank you.
Hi Susan –
It depends on what colors you are using. If you are using opaque pigments, you could leave out the white but the white makes the colors show up better. You lose translucent colors completely without the white.
Oh wow, this is gorgeous, never seen something like this. You should sell them.
Found your post on Saturday Sparks Link Party. My entries this week are numbered #33+34.
Hope you will join/share M-Sat at https://esmesalon.com/tag/seniorsalonpitstop/
These crafts are so beautiful! I like how it seems easy to make with your fantastic guide.
Thank you for sharing this with us #QuarterlyBookishParty #BloggersConnecting.
Thank you for checking me out!
Mona, these resin pieces are beautiful! I appreciated watching your step by step video. That is really helpful. Pinned
Thanks’ so much for sharing with Bookish Bliss, Musings & More Quarterly Link-Up. I’m so happy you’re here.
You are so kind, Paula! I’m glad you enjoyed them!
What fun and fabulous projects and so pretty for Spring. Happy to give you a first time feature at my weekly link party when it opens tonight! Thanks for sharing your talents.
Thank you so much, Carol!