SUBSCRIBE to my YouTube Channel!
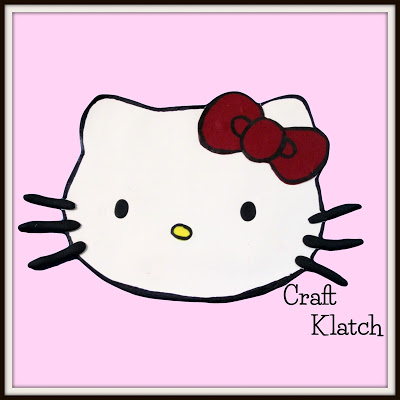
This week we are doing a Hello Kitty coaster!! I made a Hello Kitty coaster with resin, a few years ago. This time, I decided to work with polymer clay.

You will need:
– White polymer clay: https://amzn.to/1SF7OPs
– Yellow polymer clay: https://amzn.to/1MwZR2R
– Black polymer clay: https://amzn.to/1Ywzrif
– Black permanent marker: https://amzn.to/1WuSo6u
– Red polymer clay:
– Pasta machine (optional): https://amzn.to/1SF8d4D
Here is the video tutorial:
Directions:
1. Soften the white clay by kneading it in your hands, or by running it through the pasta machine several times. I ran it through the #5 setting.
2. I printed out two images of Hello Kitty and I sized it to be at least four inches tall.
3. I cut out the first image for the outline of Hello Kitty’s head. Out of the second image, I specifically cut out the bow, eyes and nose.
4. I laid the Hello Kitty head on the white clay and with a craft knife, I cut out the clay to the shape of Hello Kitty’s head and removed the excess clay.
5. I repeated the process with the red clay for the bow, the black clay for the eyes and the yellow clay for the nose. However, I rolled these thinner, on a #4 setting with the pasta machine. FYI: You can use a rolling pin or brayer to roll out the clay as well.
6. I carefully placed the red clay bow on the white clay, where the bow would be.
7. I did the same with the eyes and nose.
8. I rolled whiskers out of black clay, added them and trimmed them as necessary.
9. I carefully lifted the whole piece up and carefully placed it on a parchment paper lined baking sheet.
10. I baked it according to the directions on the clay package.
11. Once cooled, I use a Sharpie market and outlined the piece as it looked on the original artwork. You can bake it again to make the marker more permanent.
That’s it! Thank you for stopping by! Happy Crafting and stay safe!
Mona
