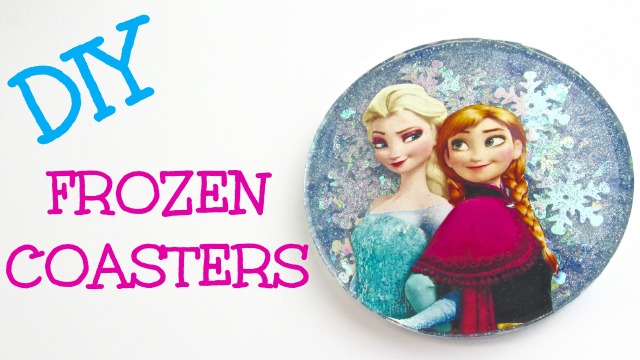
Do you love the movie Frozen? Disney hit it out of the park with that one! If so, this tutorial is for you! I collaborated with Budget Hobby to create Olaf, Elsa, and Anna coasters! I made mine out of resin, but Budget Hobby made hers out of felt! Felt! She is so talented! If you have not been to Budget Hobby’s channel, then it is time you did!

Here are all of Budget Hobby’s links, so be sure to check her out and let her know Mona sent you:
Tutorial : https://www.youtube.com/watch?v=74wQEwnFW9o&feature=youtu.be
Youtube : https://www.youtube.com/user/BudgetHobby
Google + : https://google.com/+BudgetHobby
Instagram : https://instagram.com/budgethobby
Facebook : https://tinyurl.com/lgtlw69
To make the resin coasters, you will need:
– Coaster mold
– Resin (I used Easy Cast, but Envirotex Lite would work too)
– Glitter and confetti in light blues and whites
– Pictures of Frozen characters – I printed them out on card stock, using a laser printer
Directions for resin coaster:
2. Mix in a combination of glitters, confetti and snowflake sequins.
3. Pour into molds.
4. With a lighter or straw, pop bubbles as needed.
5. Allow to cure a minimum of 12 hours.
6. Print and cut out images you want to use. I printed mine using a color laser printer.
7. Using Super Gloss Mod Podge, I applied them to the coasters. I let the first coat dry and followed it with a second coat and let it dry overnight. Be sure to completely cover the paper, otherwise you will get dark spots.
8. Prepare more resin and pour over the coasters. Allow to cure a minimum of 12 hours before unmolding!
That’s it! I hope you enjoyed it! Thanks for stopping by! Happy Crafting and stay safe!
Mona


My girls love anything Frozen……your coasters will be a fun project. Thank you for sharing with the Clever Chicks Blog Hop! I hope you’ll join us again next week!
Cheers,
Kathy Shea Mormino
The Chicken Chick
The-Chicken-Chick.com
When printing the pictures do you have to print on lazer paper? or could you just use regular printing? on maybe a thicker paper?
You do not have to use a laser printer. I know people have used inkjet with the Mod Podge. Usually the inkjet will smear. I have not used it, so I don't think I'm the right person to be giving advice on this. However, I had one viewer mention that she lets it dry for a week and then it won't smear. She also dried one in the oven on a very low heat and she said that worked too. I can't verify if either method works, but that is what I was told. I use card stock paper, which is a heavier weight paper, because it does not wrinkle when I use it with Mod Podge. If I use regular paper, which is thinner, I have to take more time to smooth out wrinkles. Now for different projects I do use thinner paper, but since the paper is embedded in the resin for the coasters, I like to use the card stock. Hope that helps! Mona