Learn how to make a ring with epoxy clay, Swarovski crystals, and pigment powder. This easy DIY ring tutorial helps you create stunning one-of-a-kind jewelry!
If you’ve ever wanted to learn how to make a ring, this DIY project is perfect! You can create a unique and stylish accessory that sparkles. Whether you’re making it for yourself or as a gift, this technique is simple and fun

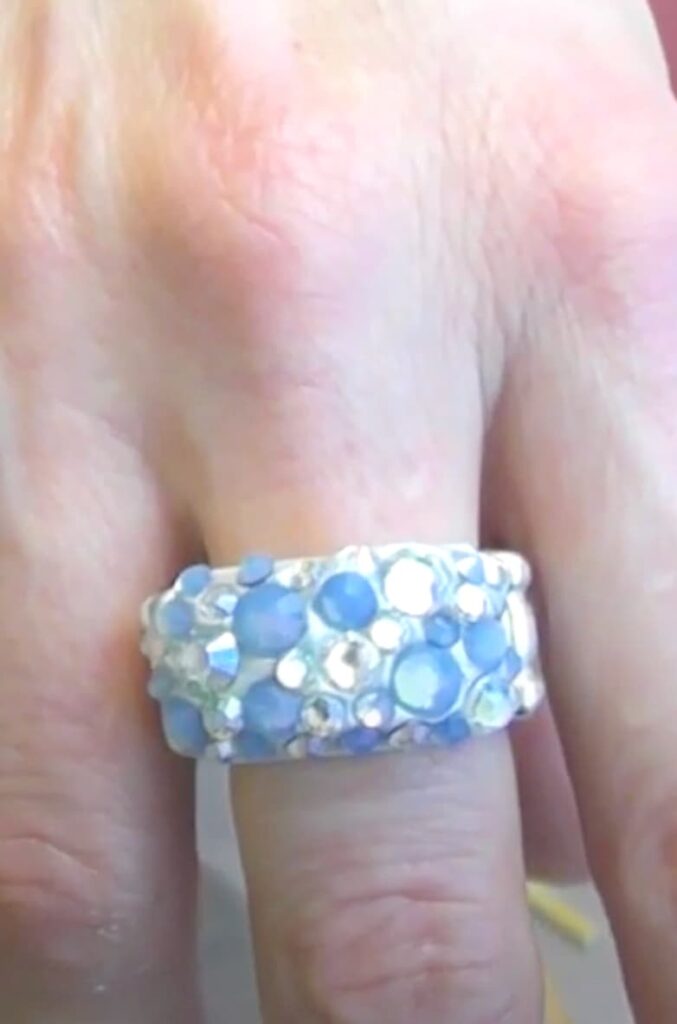
I do love the colors!
Be sure to follow me on Instagram!
Supplies You Will Need
*Disclosure: This blog uses affiliate links from Amazon and other retailers. I earn a small amount from qualifying purchases at no additional cost to you.
How to Make a Ring Video Tutorial:
You can watch as I show you how to make a ring.
Step-by-Step Instructions on How to Make a Ring:
I’ve broken down the project into three easy steps!
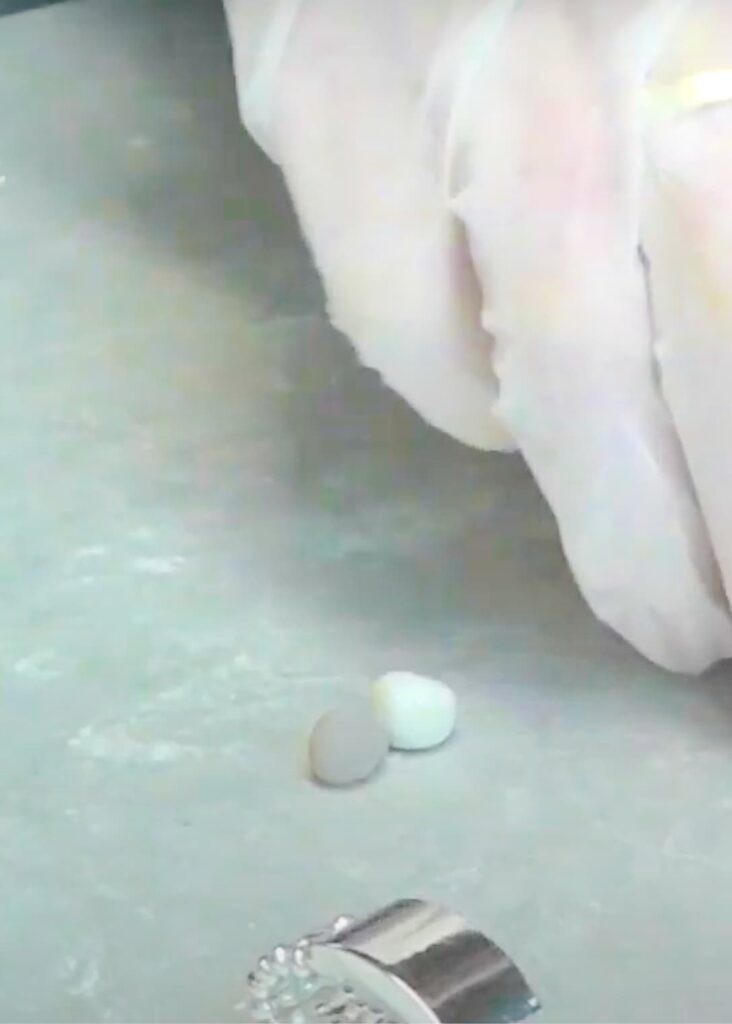
Step 1: Mix the Epoxy Clay
To begin, mix the epoxy clay according to the package directions. This is the most important step when learning how to make a ring with this material. Once mixed, roll it into a small ball and press it onto the ring blank, shaping it to fit the shape of your ring blank.
Read your instructions and see how much time you have to work with your epoxy clay before it starts setting up.
*You will only need a small amount of the epoxy clay, so you’ll have lots left over for other projects!
Then, use needle-nosed tweezers to carefully press your beautiful Swarovski crystals into the surface. The placement of the crystals allows you to personalize the design to your liking.
This is a great way to experiment with different looks when figuring out how to make a ring that fits your style.
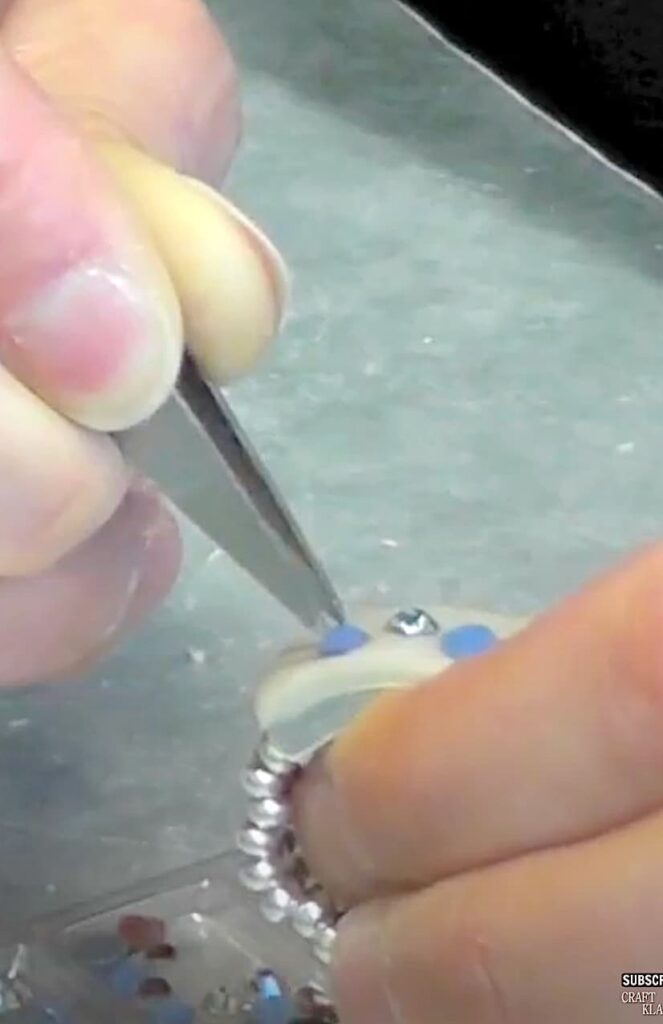
Apply the crystals to the ring.
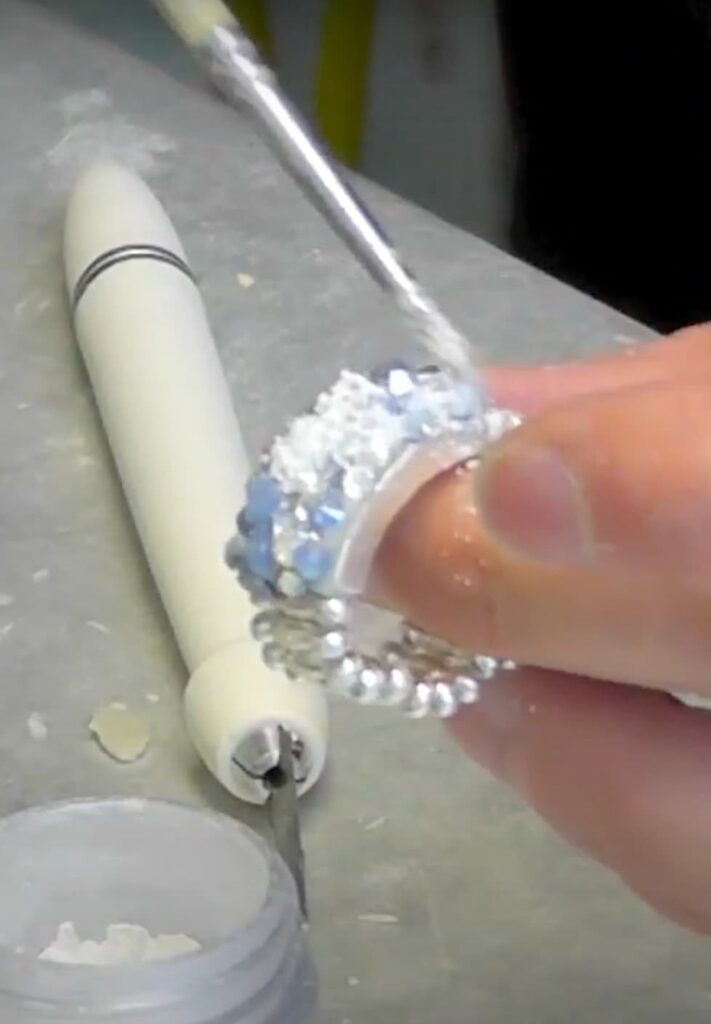
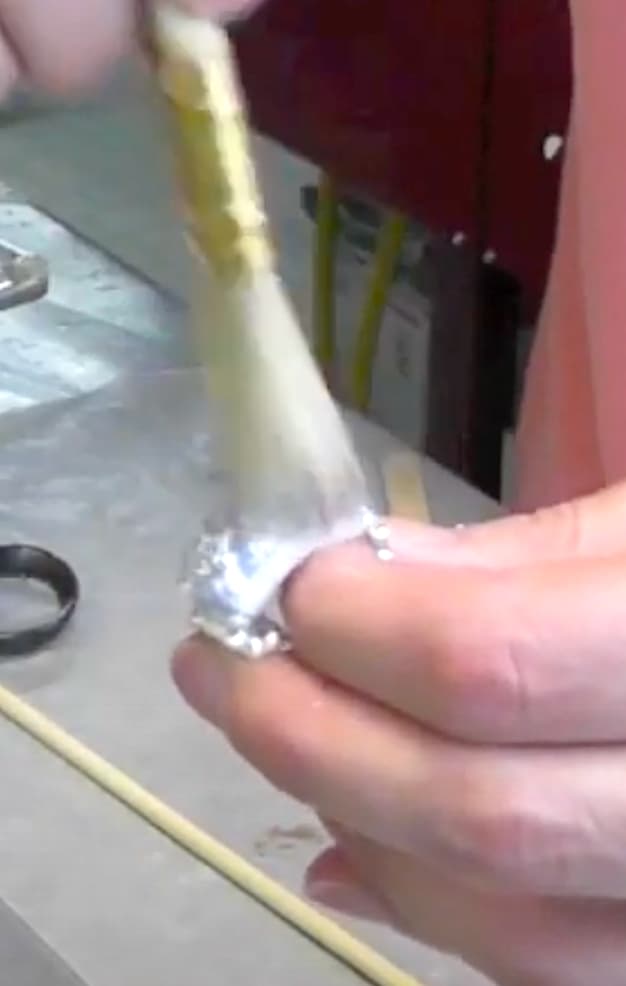
Step 2: Apply Pigment Powder
The epoxy clay will cure/dry to a matte finish. However, you can enhance the beauty of your DIY ring by dusting the clay with pigment powder. The pigment powder adds a gorgeous shimmer and compliments the sparkles of the crystals.
After applying the pigment, allow the clay to cure for 12 to 24 hours.
A key part of learning how to make a ring with epoxy clay is patience. Letting it cure properly ensures durability.
Step 3: Final Touch
Once your ring is fully cured, use a soft brush to remove any excess pigment powder. Now, you’ve successfully learned how to make a ring with jewelry clay!
Brush off excess pigment powder with a soft brush.
Enjoy Your Handmade Ring!
Now that you know how to make a ring, you can experiment with different colors, crystals, and designs to create a collection of unique fashion jewelry.
Whether you are crafting for yourself or making gifts, this DIY ring is a stylish and creative accessory.
More Fun Jewelry Projects
If you enjoyed this project, you are going to love these:
- Spring Flower Necklaces in 3 Easy Steps
- Crystal and Jewelry Clay Pendant Craft Tutorial
- What to Make with Leftover Resin…. A Crab Ring DIY
- DIY Jewelry: Easy Sunburst Earrings & Pendant
- Buttons for Jewelry Making DIY Resin Charms
Check Out These!
In case you don’t have time to make a beautiful Swarovski ring, you can pick one up here:.
They are so pretty!
Thanks for stopping by! Remember: Life’s too short not ot shimmer, so grab your glue gun and your glitter!™
Mona
Nice information dear. Some more interesting stuff about Crystal Jewelery Trend to share
Perfect
vipmoderato.com/
Like this one, I now want to buy a crystal jewelry, Swarovski liked, but I do not know that a good pick money, you help to the point. swarovskionline.us
Such a nice craft. My kids will love making these.