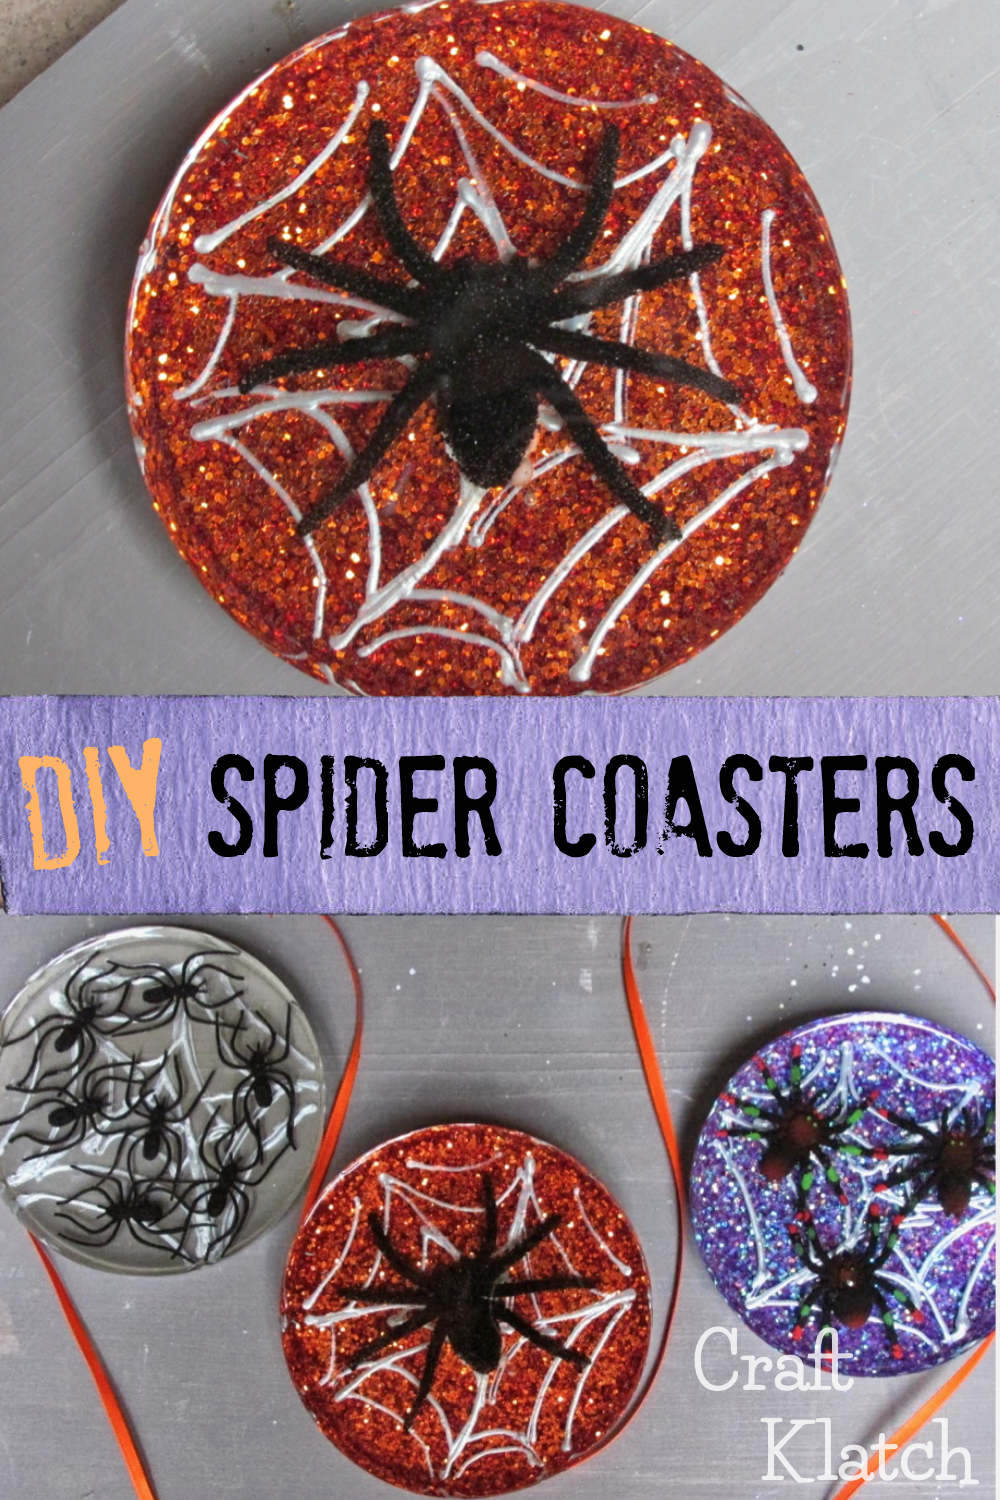
Halloween is fast approaching and I thought now would be a good time to add some creepy spiders to my coasters!


I used three different types of spiders for different looks.
You will need:
The links below help support this channel, as I may earn a small commission at no extra cost to you.
– Fake spiders: https://amzn.to/2YVHR9B
– Orange glitter: https://amzn.to/2Me1ecl
– Purple glitter: https://amzn.to/2Mdg2Im
– Coaster mold: https://amzn.to/2WmUT2c
– Silver dimensional fabric paint: https://amzn.to/2VT2pgV
– White dimensional fabric paint: https://amzn.to/2Qrrxud
– Resin (use whatever resin brand you like):
Easy Cast: https://amzn.to/2yjYmBC
Art Resin: https://amzn.to/2yk9X3z
Clear Cast: https://amzn.to/2z4rxGw
This is the resin I used for this project:
FX Poxy: https://amzn.to/2AF3Pkk ~ According to the manufacturer, this one is heat resistant to 500 degrees F.
Here is the video tutorial:
Directions:
1. Prepare your resin according to the package directions.
2. If you are making a glitter coaster, in a separate cup, add some resin and pour in the glitter. Mix it well and pour it into the mold. At this time, you are just making the base/background, so you only need a thin layer at the bottom.
3. Allow to cure for 12 hours.
4. Once cured, take your fabric paint and draw spider webs on the coasters. Allow to fully dry.
5. Glue spiders into place and allow to dry. You want to glue them to make sure they don’t float.
6. Add final layer of resin and allow to cure for at least 12 hours.
That’s it! Pop them out and you have some creepy coasters for Halloween! Thanks for stopping by and Happy Crafting!
Mona

Hi. I have a mold similar to that one but it’s smaller cavities. The issue I had with mine is, the cured resin oozed warped, it wasn’t round like it should be. Why would this happen? Yours turned out perfect! I poured a thin layer, then added what I wanted on top & then another layer like you did. This was about 2 months ago, I just saw your video a few mins ago. Do I need to put a type of support around the cavities so it doesn’t warp again? Please give me any advice you know of. Thanks!
Becky
Hi Becky-
It’s hard to say why that happened. All molds are made differently. Even if you get it from the same source, sometimes one seems to be better than another.
You definitely should NOT have to put supports around the cavities.
Is your mold very thin? Sometimes you will find some are thin, which is not good. I have a big heart mold that was misshapen when it arrived and very thin. I used it anyway but I really should have returned it. Over time, the molds will start to deteriorate, but that certainly should not happen right away.
The only other thing is if you overheated it while you were popping the bubbles. I use a lighter, not a torch, when I am using the molds. I find the torch tends to overheat the silicone too much. But usually what happens is the mold would stick to the resin. It would not normally warp the mold.
Wish I could be of more help.
Thanks for your reply. Yes the silicone mold is thin & flimsy. Really regret buying it now, came as a 2 pk from Amazon. I redid a resin pour in that silicone round mold. This time the bottom was weird. The middle of it was raised like a hill, to give you an idea of how it looked. The hill side I used as the top & attached my spider & web to it. Then I poured clear resin on top. Came out just ok. I don’t think I will use this mold again. Really too small for coasters anyway, but was going to use to make paperweights. I appreciate all you help. Oh & I don’t use a torch to pop bubbles, I use a light spritz of 91% rubbing alcohol. It pops the bubbles immediately as they rise. I’m afraid of using a lighter to be honest.
I have molds where the middles have become raised over time. Usually, it’s after having used them for some time. I’m never sure about the bargain molds, but I’ve had some more expensive ones that didn’t turn out to be very good either. You just never know.
Hello I purchased a set of Halloween molds from Amazon with different imprinted pictures in the mold one is a spider and web another one says trick or treat my problem is how do you paint the small detail parts? And what paint do you use? I’ve tried acrylic paint I tried mixing it with resin didn’t work good also tried painting it separately and it ran tried using mica powder it still ran lol what do I do
Hi Kathy-
Okay. I assume they are silicone molds. Paint doesn’t really want to stick to silicone molds. It will bead up. If you do multiple coats, it might cover. However, using the mica powder, it should stick right to the mold. You don’t need to mix the mica with water or anything. Just dry brush/dust it right onto the mold and it should stick. Let me know if that helps. The other option would be to paint it after you remove it from the mold.