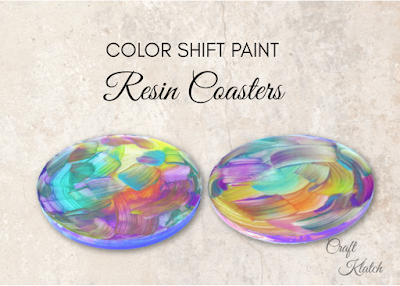
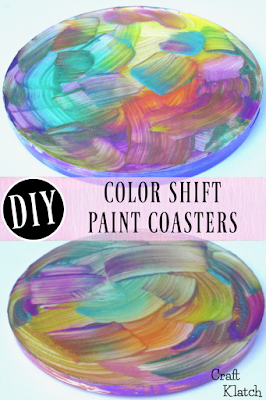
If you are looking for resin craft ideas, here are easy coasters, where I experimented with color shift paint! The color shift paint is supposed to look on color if you look at it from one angle and another color if you look at it from another angle.
Materials:
Coaster mold: https://amzn.to/2KQ9wUY
Color shift paint: https://amzn.to/2MMEfU8 or
https://amzn.to/2PeZ8sG
Mixing cups: https://amzn.to/31RZ7xU
Stir sticks: https://amzn.to/323Av59
Pigment powders: https://amzn.to/2RL523A
Lighter: https://amzn.to/2NQusts
Wet Ones: https://amzn.to/2pXbqrQ
Resin (use whatever resin brand you like):
Easy Cast: https://amzn.to/2yjYmBC
Art Resin: https://amzn.to/2yk9X3z
Clear Cast: https://amzn.to/2z4rxGw
This is the resin I used for this project:
FX Poxy: https://amzn.to/2AF3Pkk ~ According to the manufacturer, this one is heat resistant to 500 degrees F.
Fast Cast (optional for white background): https://amzn.to/2wTZ6wc
White pigment (optional to tint clear resin for background): https://amzn.to/2QbPRiU
Here is a quick video tutorial, so you can see exactly how I made it:
1. I bought a bunch of beautiful color shift paints.
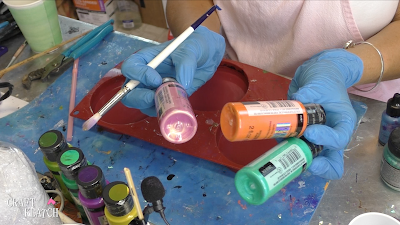
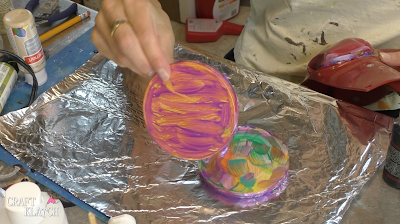
2. I brushed the paint onto the mold. The mold is silicone and the paint doesn’t want to stick to it, so you will likely get holes in the paint.
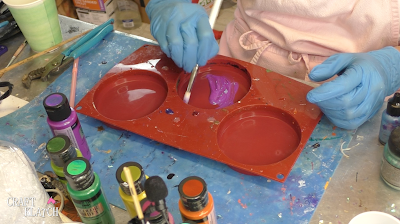
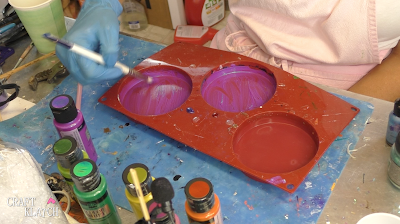
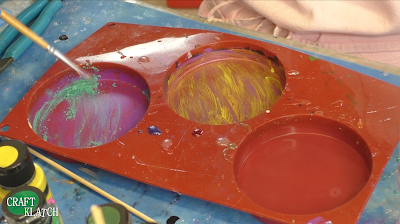
3. Once the purple dried, I used yellow paint in one mold, to paint over the holes.
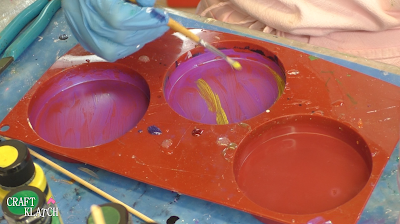

4. On the other one, I used a pigment powder.
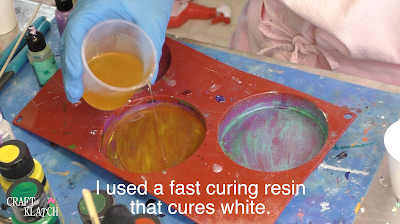
5. I used a fast curing resin, which cures white. It saves time and gives me a white background that I can paint on. It takes about 15 minutes to cure.
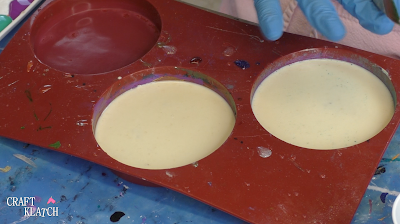
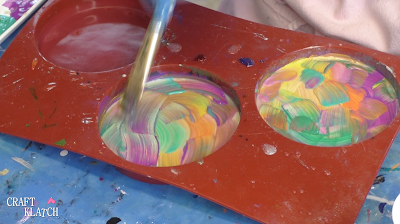
6. I used the color shift paint to paint directly on the cured resin. It’s a pretty thick paint, so it definitely leaves brush strokes.
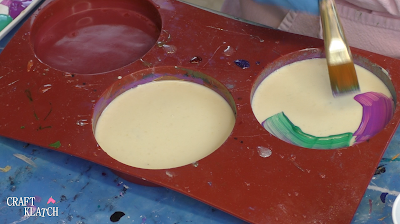
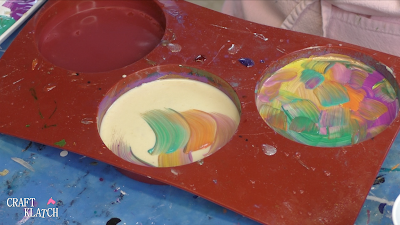

7. Once I finished painting, I let it dry.
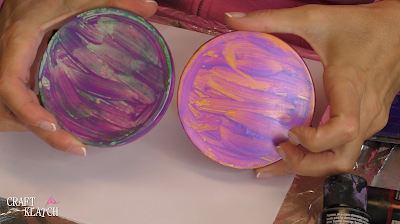
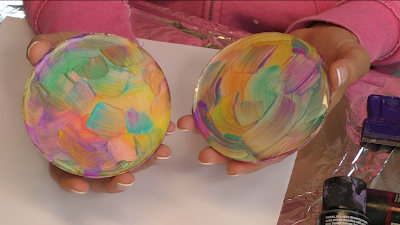
8. Once the paint dried, I pulled it out of the mold. Here are the backs. When you paint on the mold, the resin becomes one with the paint and it cannot be scraped off.
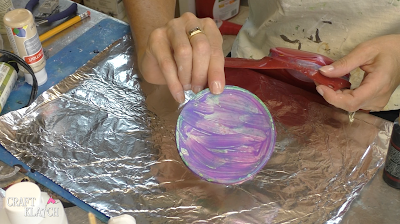

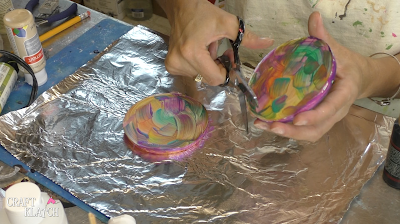
9. The paint is pretty thick, so it left a lot of paint on the edges, which I simply trimmed off with my scissors.
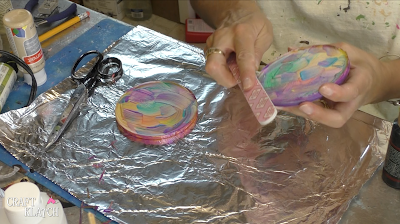
10. Then I used an emery board and give it a quick sand, only on the trimmed edges.
11. I mixed two ounces of clear resin.
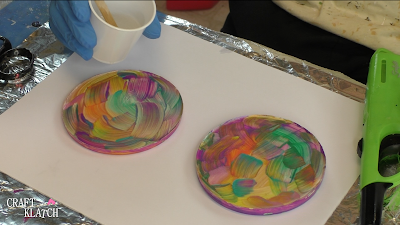
12. I poured it onto the coasters.
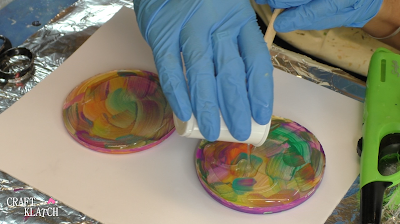
13. I helped move it to the edges, with my stir stick.
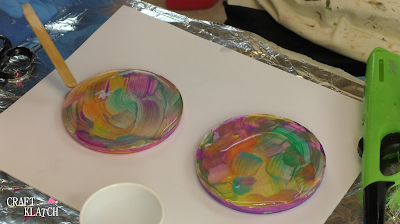
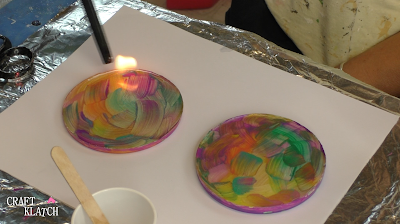
14. I used my lighter to pop the bubbles and let it cure a minimum of 12 hours.
That’s it! Here are the backs.
Here are the fronts. You can see it looks green here…
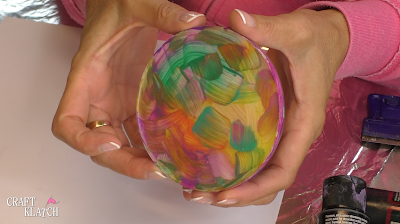
…and from this angle it looks blue.
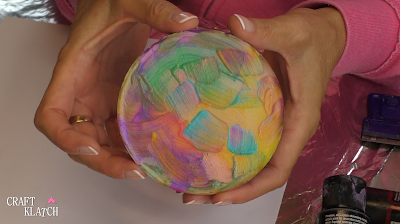
It was a fun experiment! I’ll be using those paint in the future.
Thanks for stopping by! Remember: Life’s too short not to shimmer, so grab your glue gun and your glitter!™ Stay safe!
Mona

Very cute. I'd like to try the idea someday. Thanks for sharing with us. Blessings!
Thank you for stopping by!