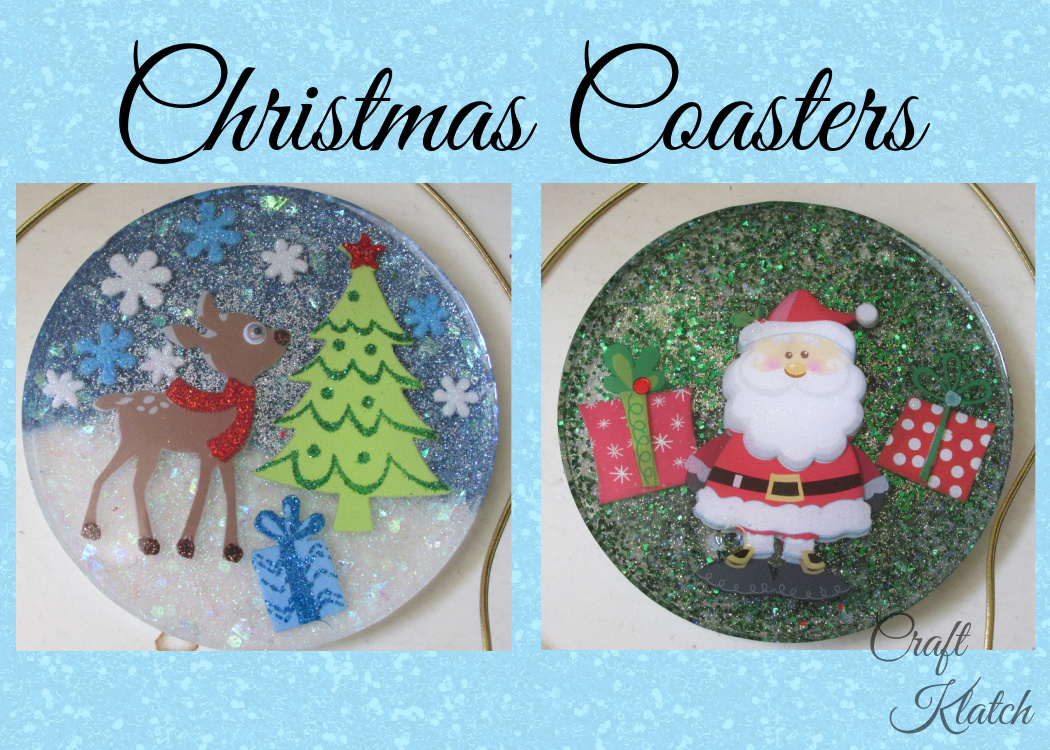
It’s easy to use a couple of Christmas stickers, glitter, and resin to create these cute Christmas coasters!
Yes! Even you can do it!
When it comes to resin projects, it doesn’t get much easier than this! This is a great beginner project for anybody that wants to get into resin crafting.
Have you gone sticker shopping lately? I think maybe you should! I had no idea how many amazing stickers are available!
This happens to be a Christmas coaster project, but you can apply the same technique to any holiday!
*This blog uses affiliate links. As an Amazon Associate I earn from qualifying purchases, at no additional cost to you.
You will need:
- Coaster mold: https://amzn.to/2JubXM1
- Glitter – I used green, white, blue, silver, and an iridescent chunky white. I also used iridescent confetti: https://amzn.to/2ovr00M
- Christmas stickers: https://amzn.to/2BRjZdO
- Resin
- When deciding on which resin to use for your coasters, you need to keep in mind whether you want it just for cold cups or for hot ones as well.
- If only for cold drinks, you can be flexible and use whatever brand you like:
- If you want it to work for both hot and cold drinks, you need to look for a heat-resistant resin, like these:
- FX Poxy ~ According to the manufacturer, this one is heat resistant to 500° F.
- Stone Coat
Here is the video tutorial:
Directions on how to make Christmas Coasters:
Step 1: Prepare your resin
I prepared my resin according to the package directions. These were two-pour coasters. When I say that, I mean first I pour the base and then come back to pour a second and final layer of resin.
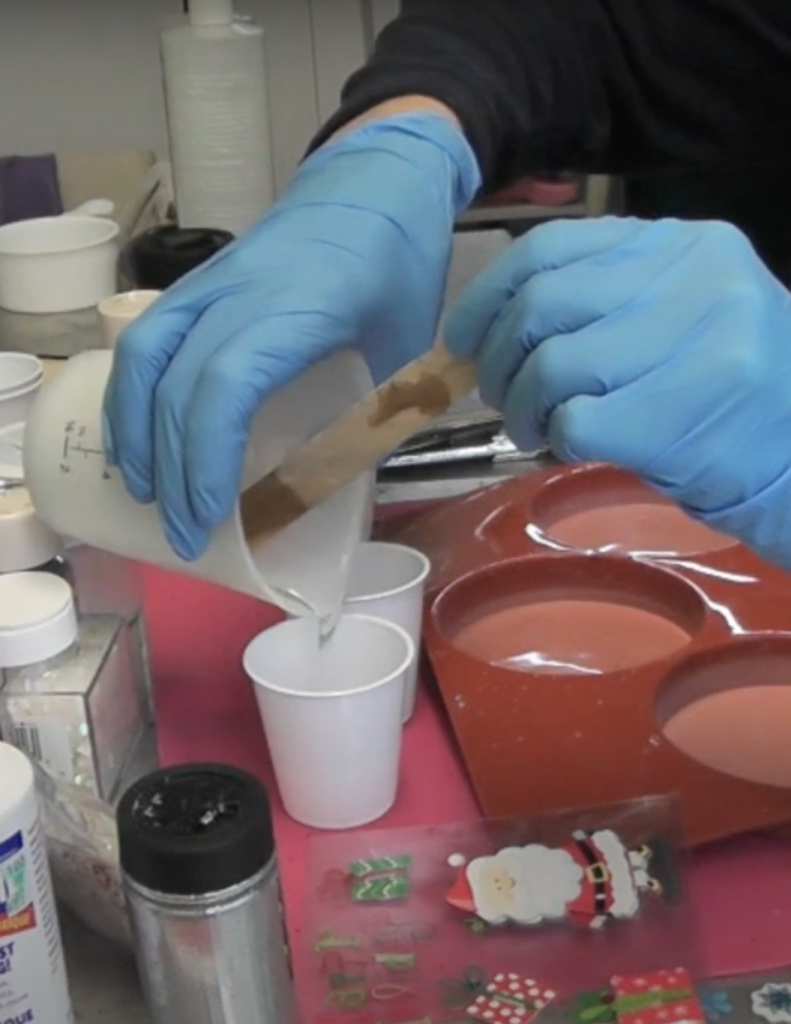
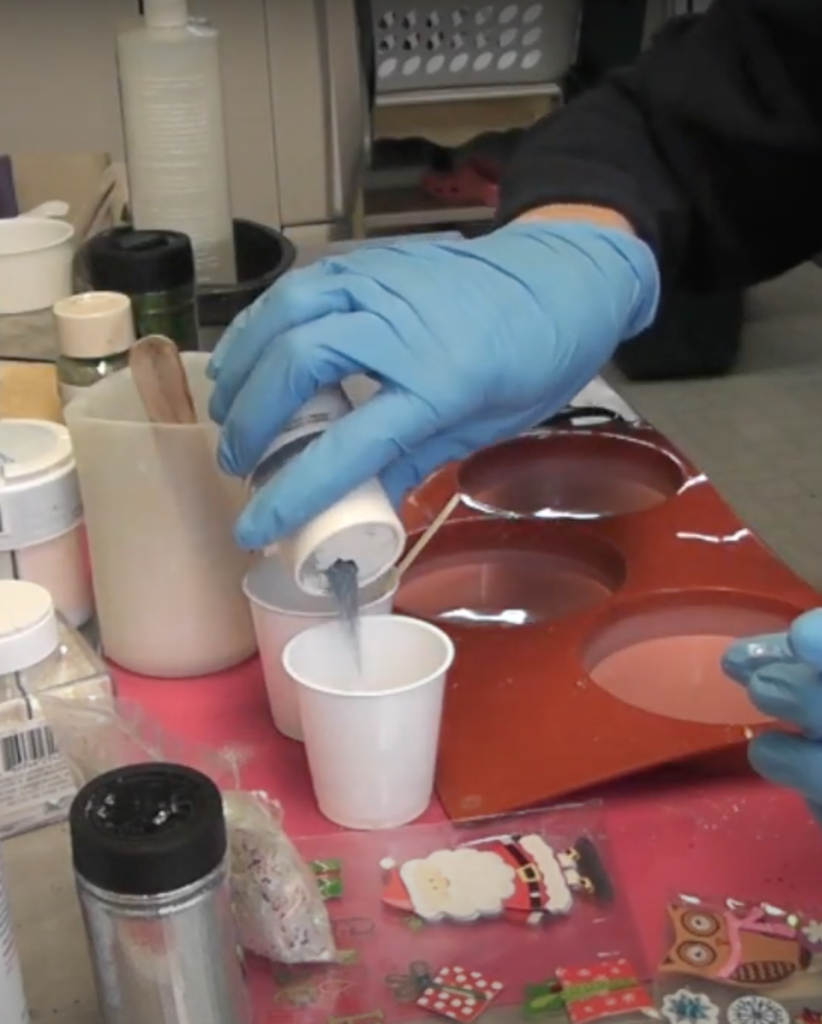
Step 2: Add your glitter and confetti to make the Christmas Coasters sparkle!
For the reindeer coaster, I split the resin into two small cups.
For the Santa coaster, I left the resin in one cup.
TIP: When I do a base layer, I use enough to cover the bottom of each coaster mold. That gives me a solid base. A good rule of thumb is one ounce of resin for the first layer of a coaster.
For the reindeer coaster:
- First cup: I added some white glitter and some chunky iridescent glitter.
- Second cup: I added blue and silver glitter and a little iridescent confetti.
Mix all the glitter and resin well.
For the Santa coaster, I mixed in green glitter.
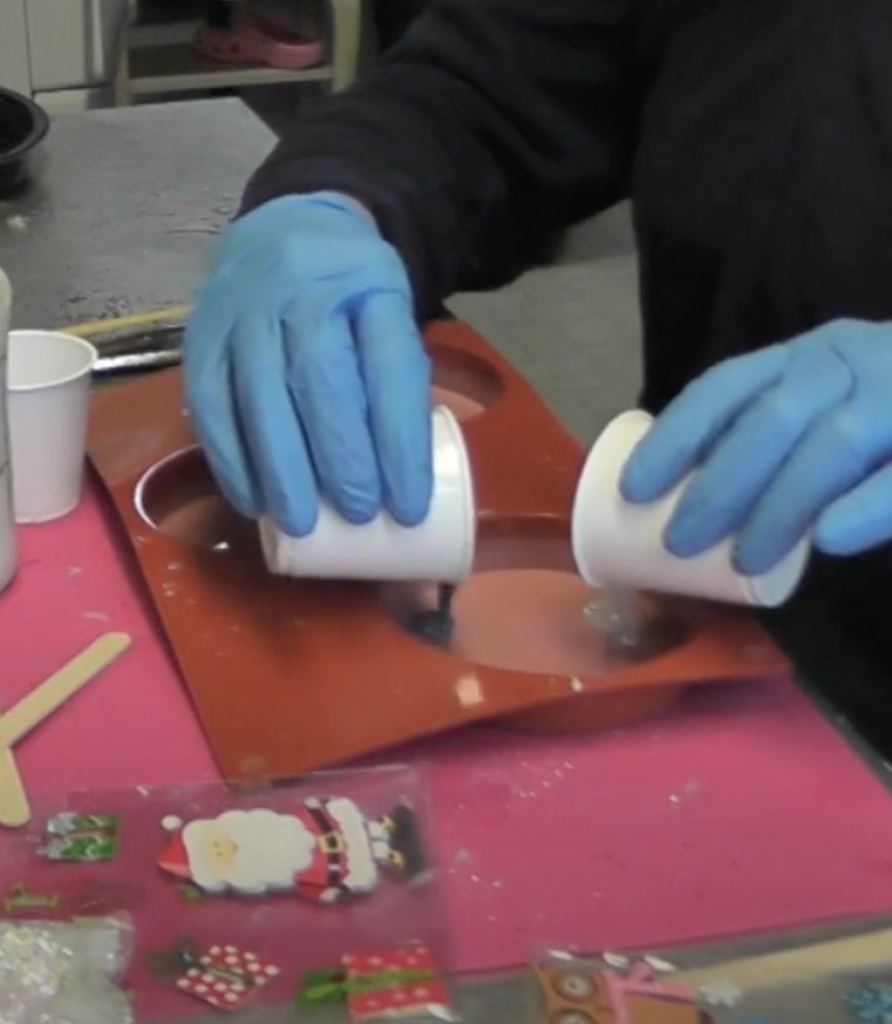
Step 3: Pour all that glittery goodness!
For the Santa coaster, I just poured it into the mold and let it spread across the bottom of the mold.
For the reindeer coaster, I took both cups and poured them into the mold at the same time, creating a blue half and a white half. The blue being the sky and the white being the snowy ground.
After I poured the resins, I used a lighter to pop the bubbles and let it cure for 6 or more hours.
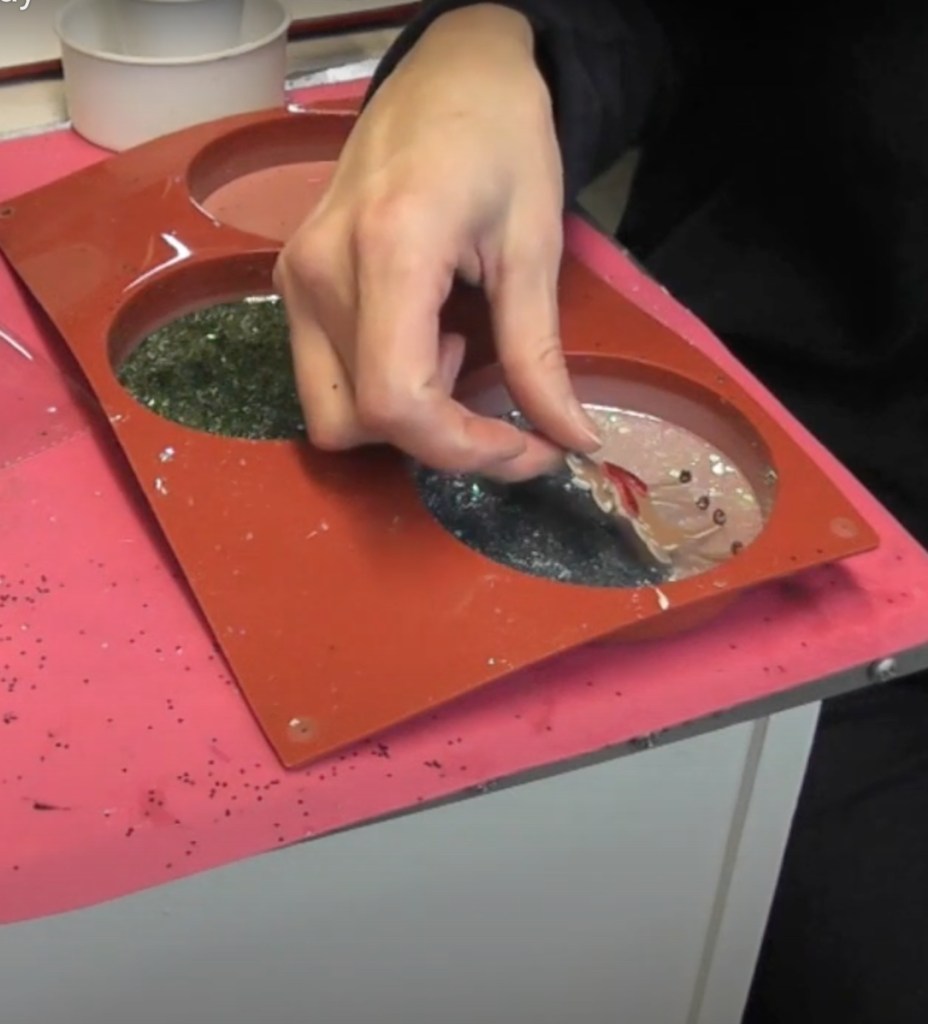
Step 4: Add the stickers
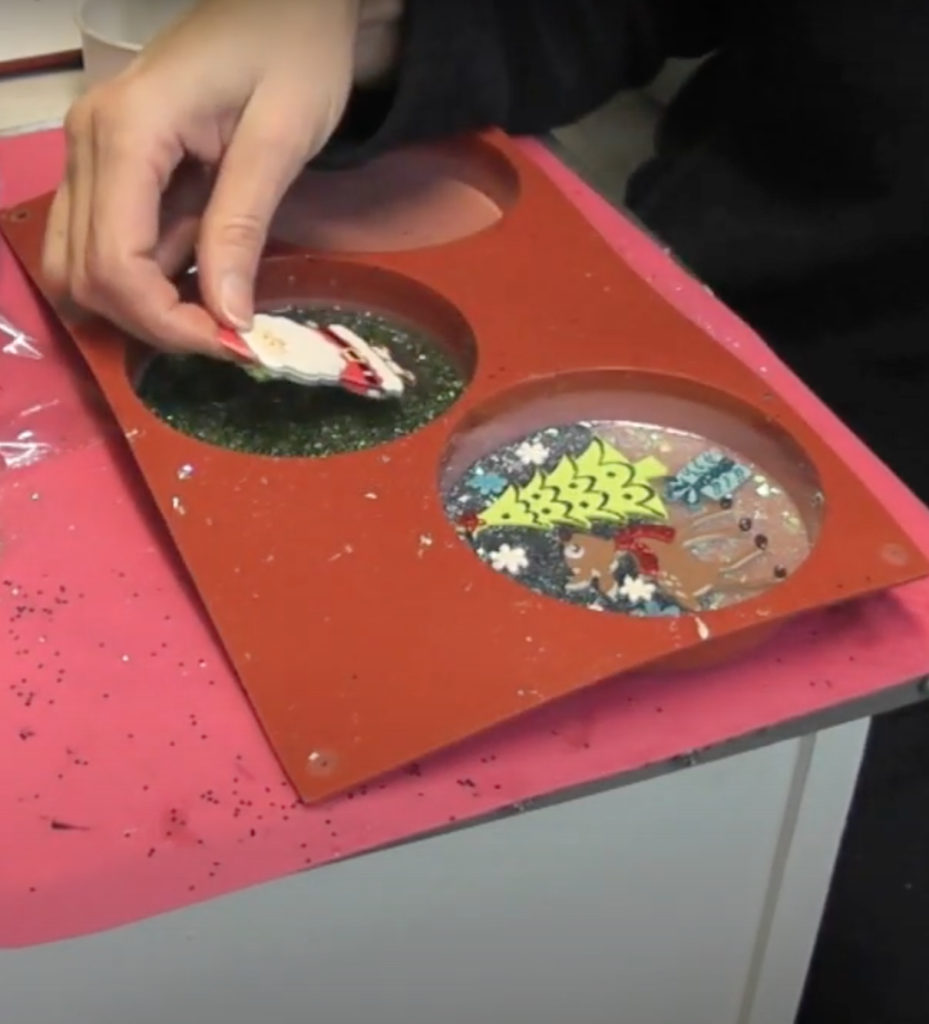
I applied the stickers to the resin. I just stuck them right on there.
Step 5: Pour some more resin
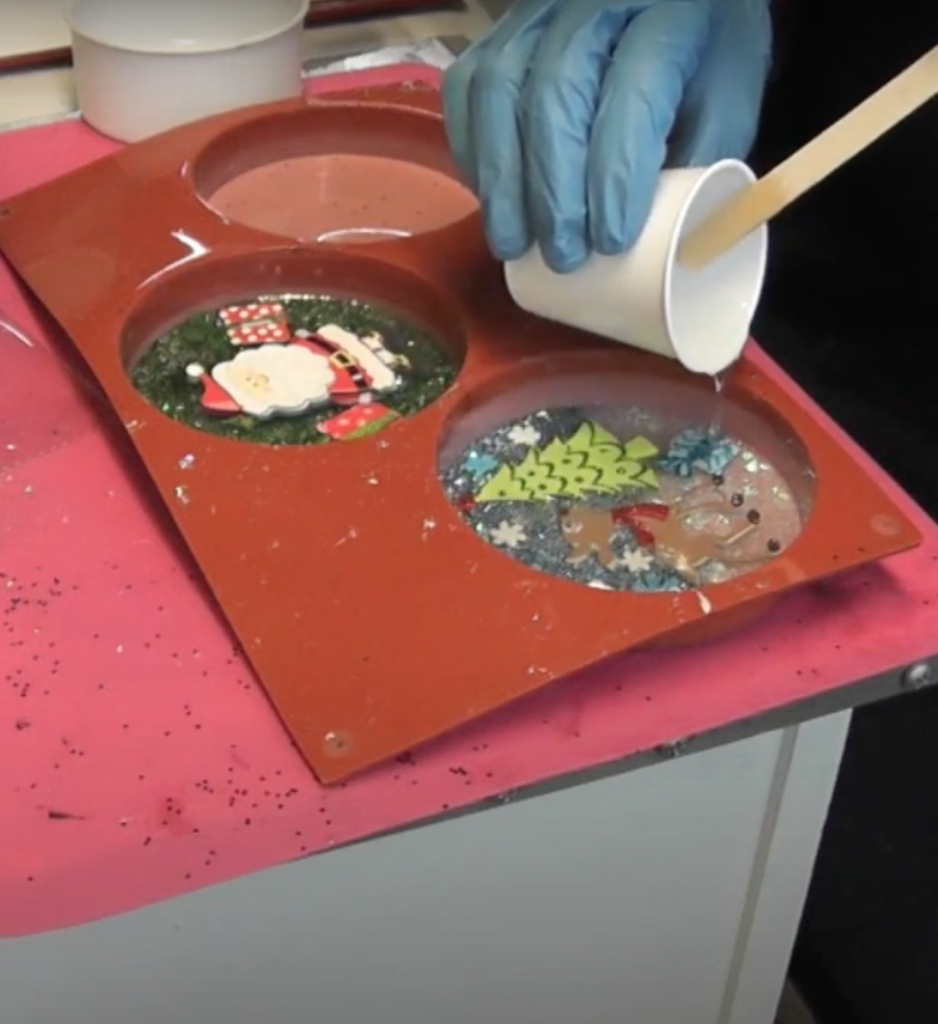
I prepared some more resin, just clear, and poured it over the stickers. I made sure the stickers were completely under the resin and the surface was flat.
Using a lighter, I popped the bubbles and allowed it to cure for at least 12 hours before removing from the mold.
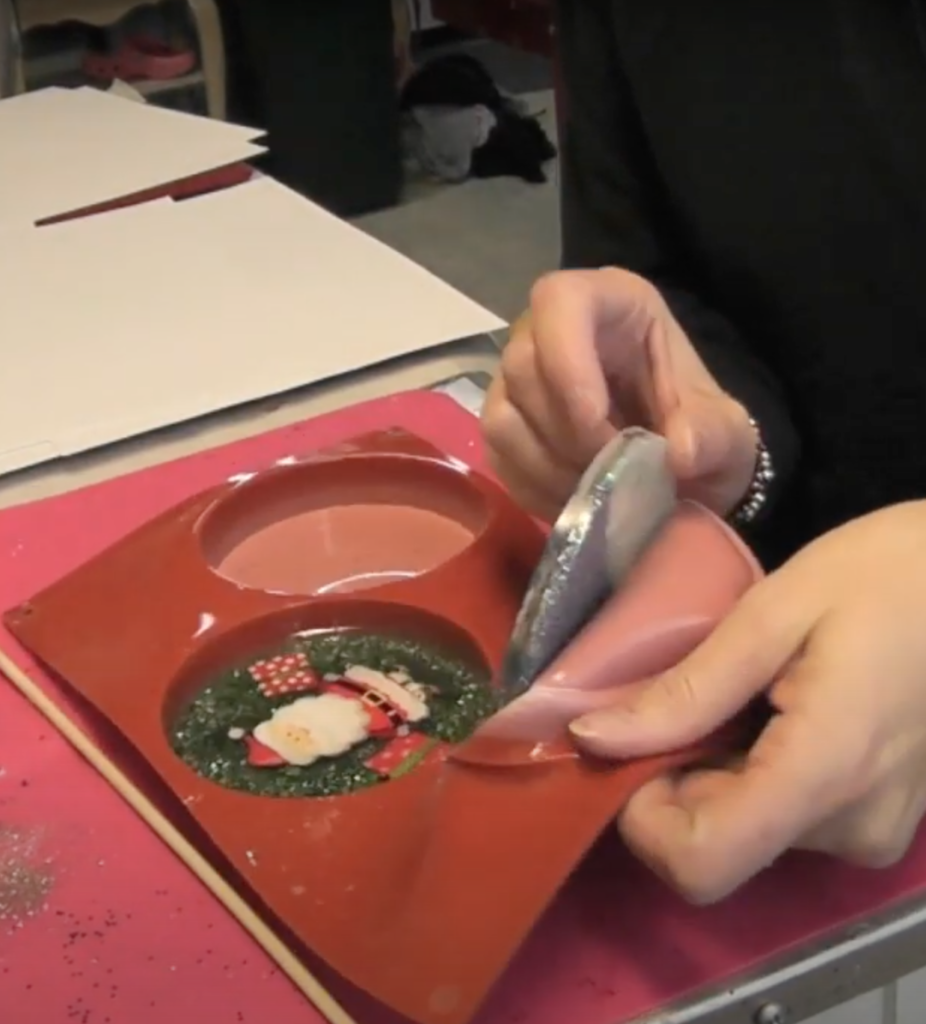
That’s it!! Once cured, they can be removed from the mold!
If you want to try another easy resin Christmas coaster, try my Wood, Resin, and Glitter Christmas Ornaments that totally function as stunning coasters!
For a totally different project try the Glam Resin Glitter Bowl!
**Always be sure to check the directions that came with your resin to check what the full cure time is – it will vary with different resins.
Remember: Life’s too short not to shimmer, so grab your glue gun and your glitter!™ Stay safe!
Mona
If you don’t have time to make Christmas coasters this year, here are a few super cute alternatives:


That is very clever.
Thank you!
I love these!!! Can't wait to try!!!
Awesome
Thank you Eve!
You can spritz alcohol to remove the bubbles.
That is true!