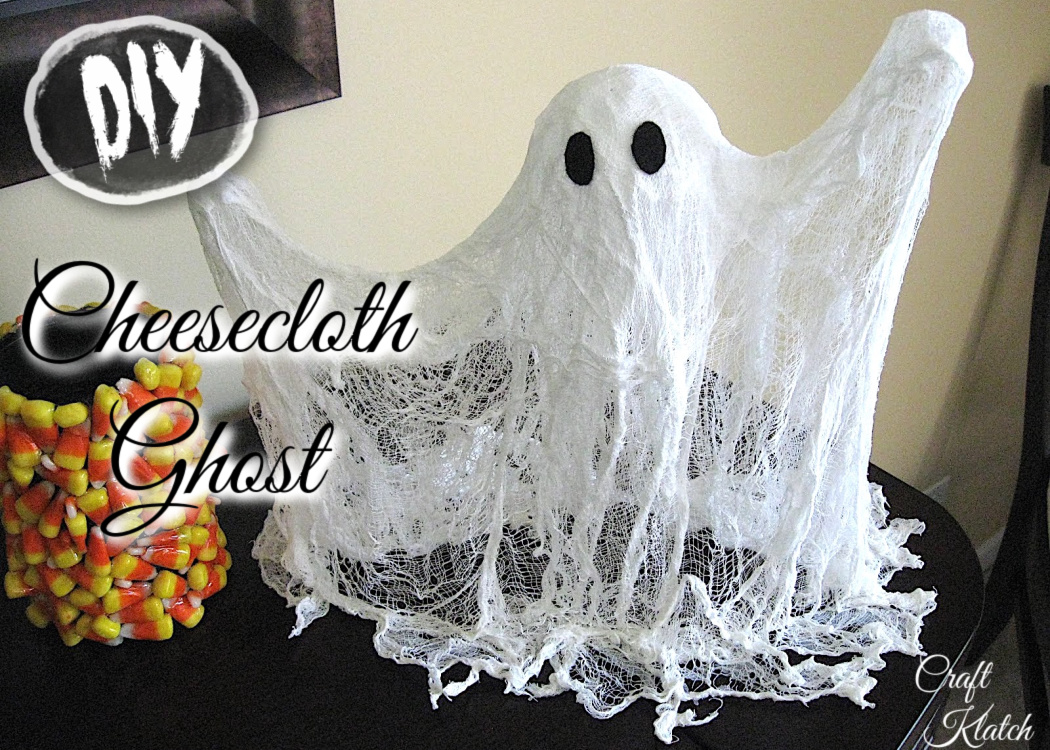
Here is a fun craft, though somewhat messy, that can dress up your Halloween decor! It’s a spooky cheese cloth ghost!
I have made so many Halloween crafts and incorporated ghosts into some of them! Starting with the Small Cheesecloth Ghost, which is a great beginner version of this project. Then, I have ghosts in the Haunted House Coaster and the Halloween Confetti Coaster. A great ghost craft for kids to decorate is the Easy Ghost Coasters project!
Supplies You Will Need for Cheese Cloth Ghost
*This blog uses affiliate links. As an Amazon Associate I earn from qualifying purchases, at no additional cost to you.
- Cheesecloth
- Black felt
- Empty water bottle
- Aluminum foil
- Wooden skewer
- Styrofoam ball
- Liquid starch
- Wire hanger
- Wire cutters
- Paintbrush
TIP: I also used a pan and wax paper – a freezer paper, aluminum foil, or cling wrap might even work better than the wax paper – even a silicone pad would probably work really well.
Cheese Cloth Ghost Video Tutorial
Cheese Cloth Ghost Directions
Before getting started on the cheesecloth ghost, know that it will get MESSY!
But if we are being honest, some of the best things in life are messy!
Be sure to prep your workspace for the cheese cloth ghost. Line baking sheet with wax paper or aluminum foil. Put your liquid starch in a bowl and get started!
Step 1
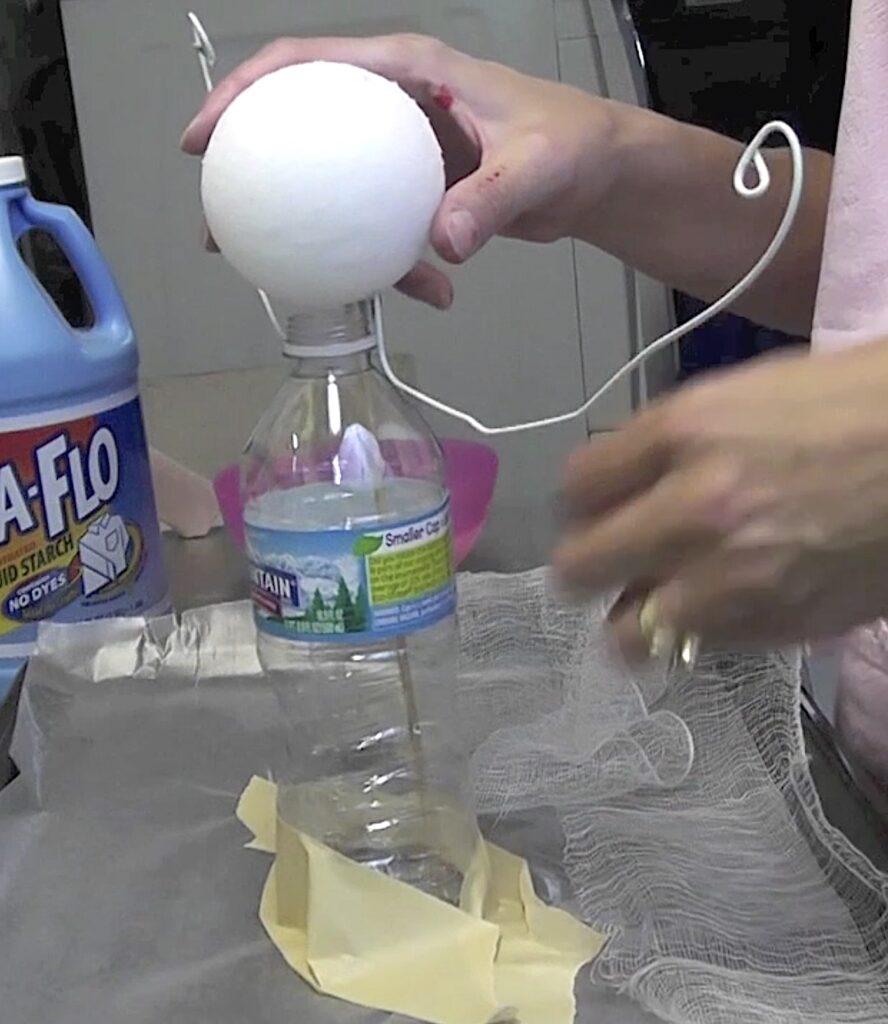
Create an armature using an empty water bottle, a styrofoam ball, a skewer, a wire hanger and aluminum foil. It will serve as the mold to drape your cheesecloth for the ghost.
Step 2
Cut the cheesecloth into six or seven strips. Make them long enough to cover the armature. You should still have an extra sheet left over and you want to save then until the end.
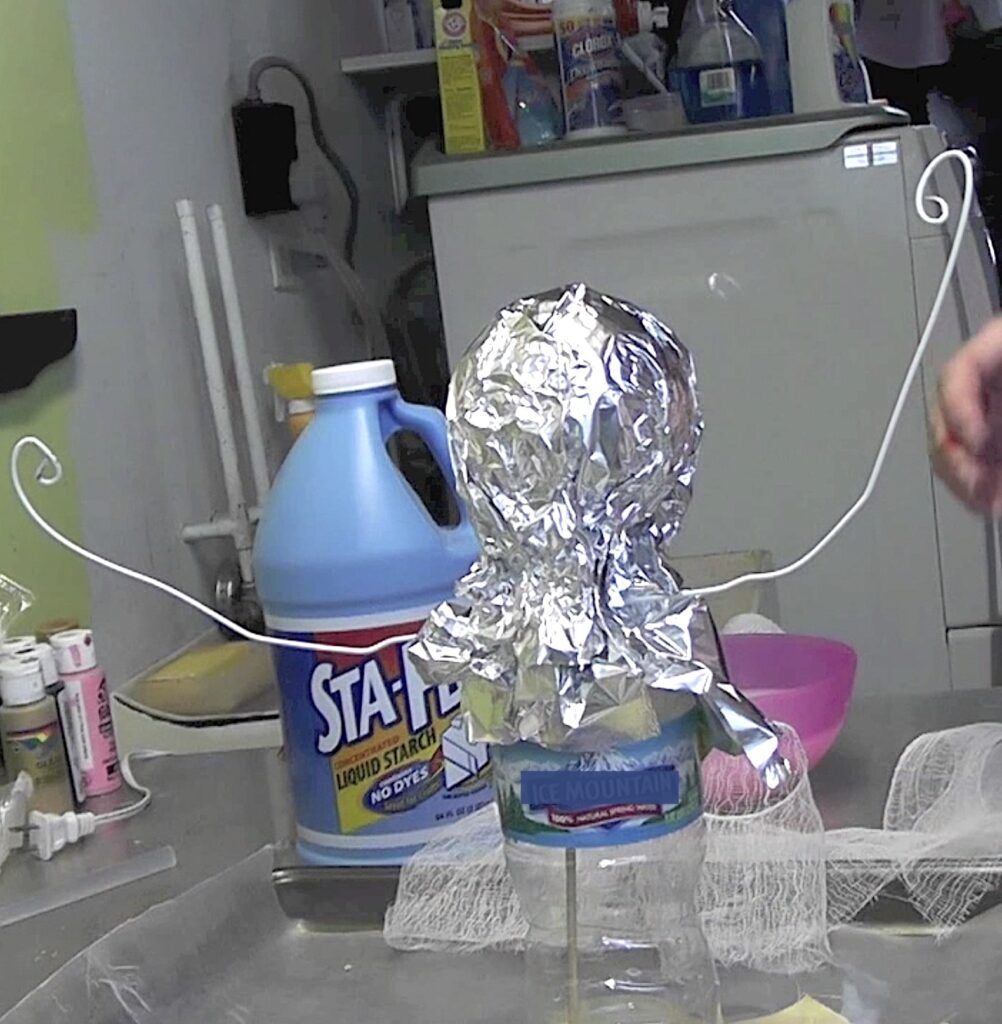
Cover styrofoam head and the ends of the wire (hands) with aluminum foil, to insure the head will be released and the hands won’t poke through the finished cheese cloth ghost.
Step 3
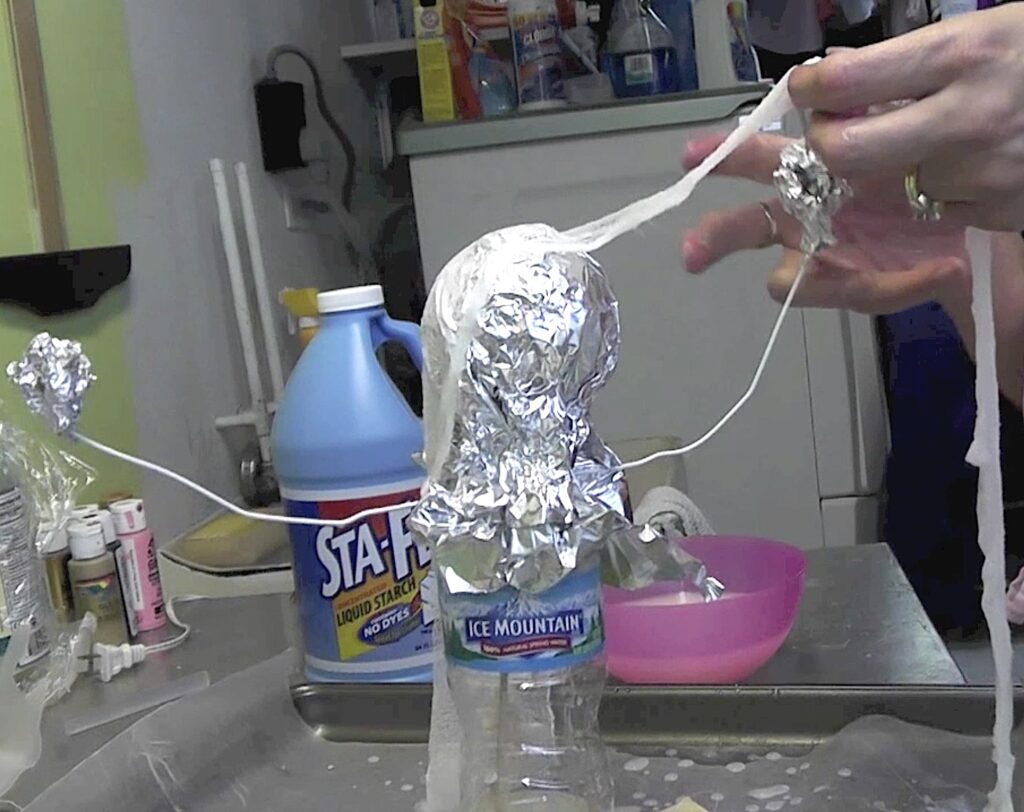
Lay strips (one at a time) over the armature and with a paintbrush, brush starch over the cheesecloth to make sure it is saturated.
Warning: The cheesecloth will shrink up and cure together. Do your best to keep the cheesecloth separated, but don’t sweat it too much. The strips are kind of a base and give it additional strength.
Step 4
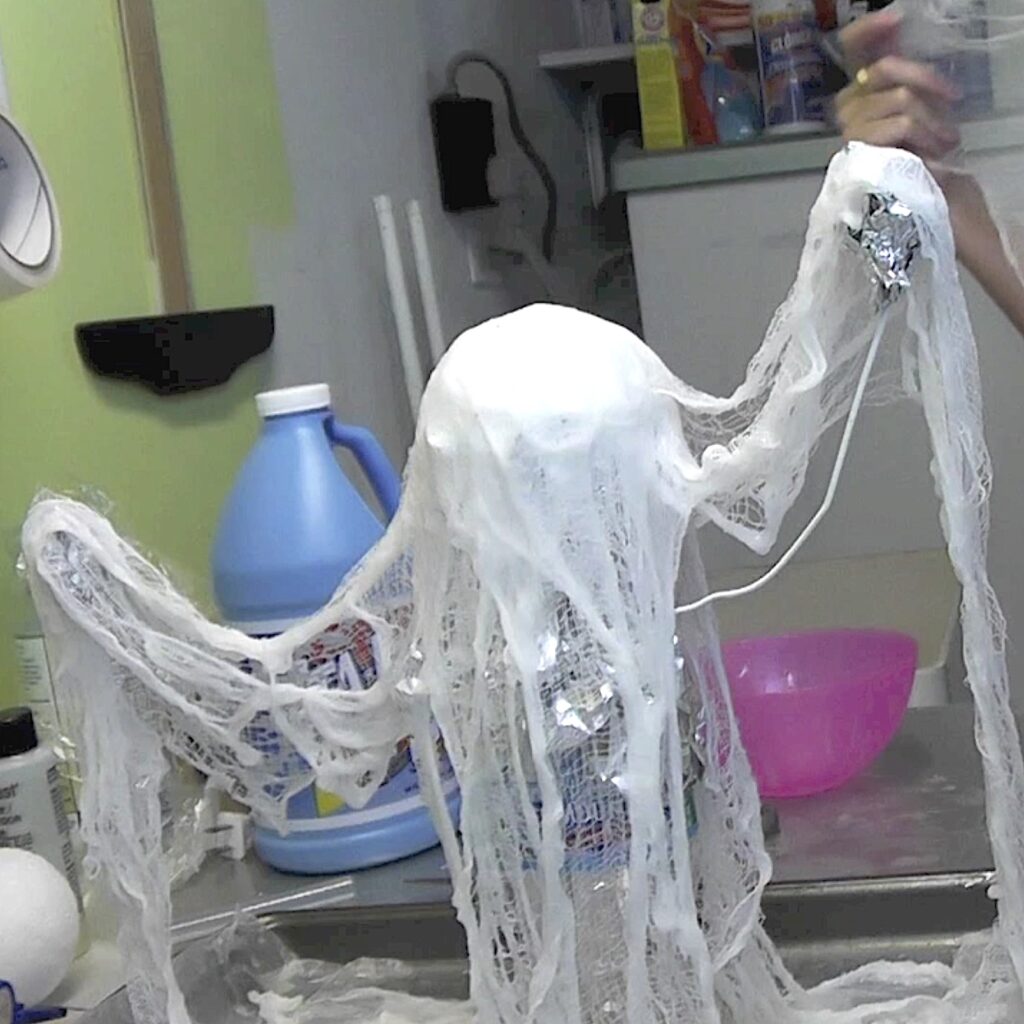
Add all the strips to the cheesecloth ghost. When you have all the strips on, it will still look pretty skimpy.
Not to worry!
Step 5
Place the remaining large piece of cheesecloth over your skimpy cheesecloth ghost.
Then, brush another layer of starch over the whole thing. Again, the cheesecloth will shrink up but it will conform to some of the strips you already starched.
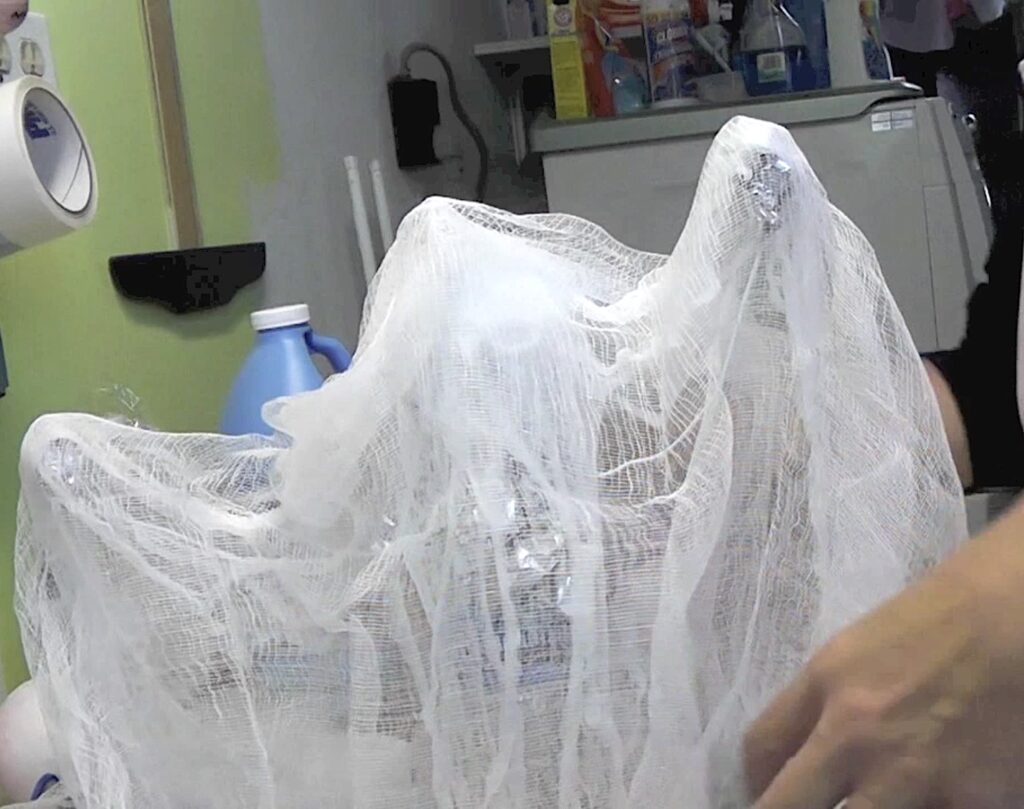
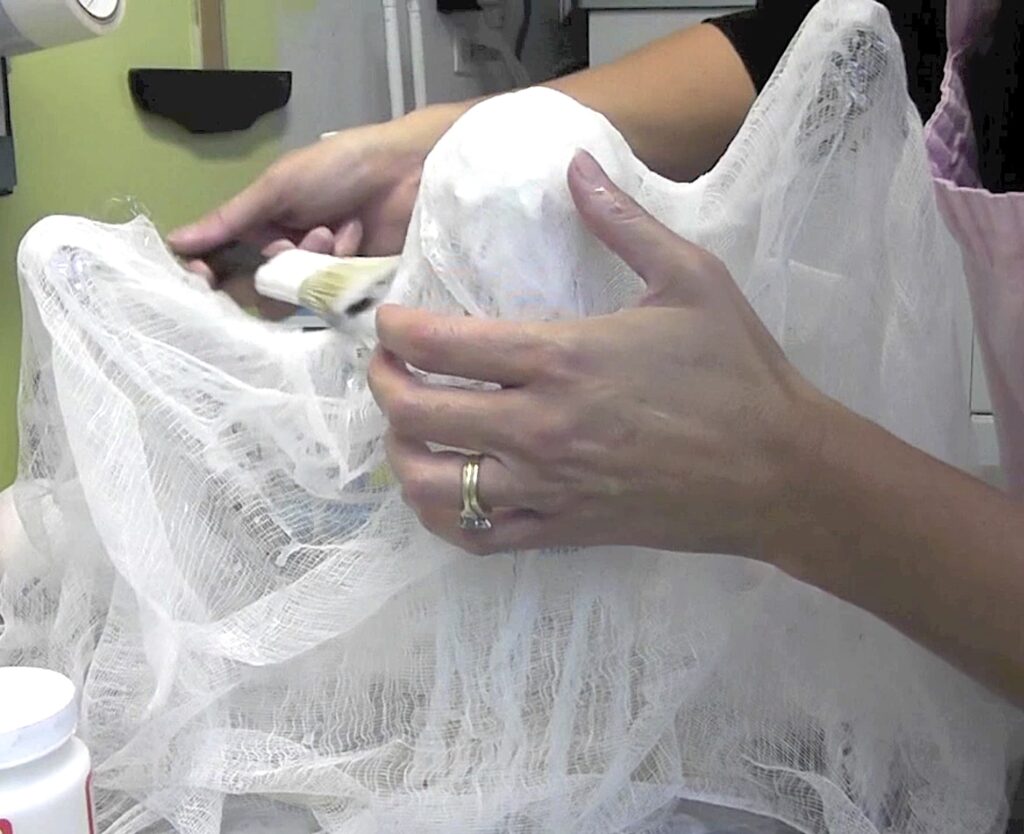
TIP: There will be quite a bit of starch pooling on your pan. I suggest you take paper towels or rags to soak up a bunch of the excess (in the pan) because otherwise, it will take FOREVER to dry. Figure a day… day and a half (depending on the amount of starch).
Step 6
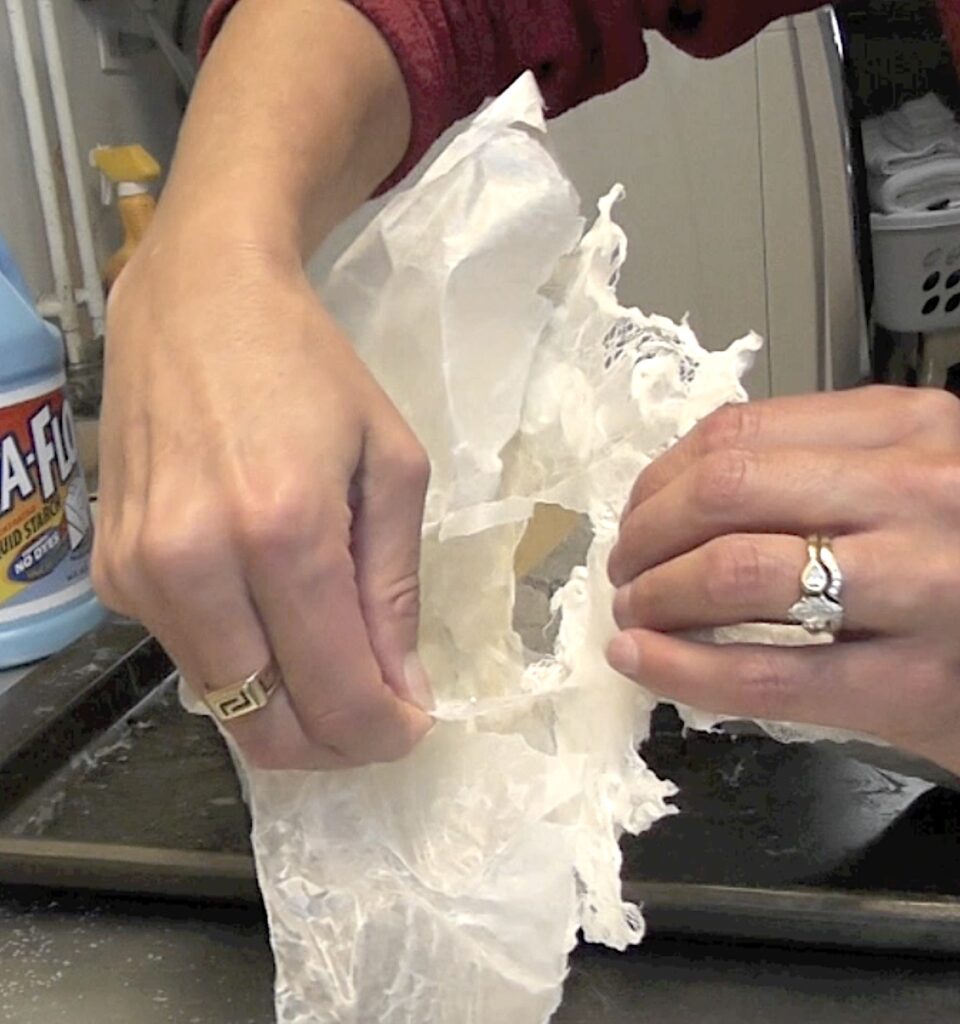
Once dry, carefully peel your cheese cloth ghost off of the pan and carefully remove the armature. I found that when I pulled the one arm out, it was better to cut the hanger with the wire cutters for the other one because it started bending the other side. The ghost is surprisingly durable, so be careful, but give it a tug here and there if you need to.
Step 7
Cut out felt ovals and glue on for eyes.
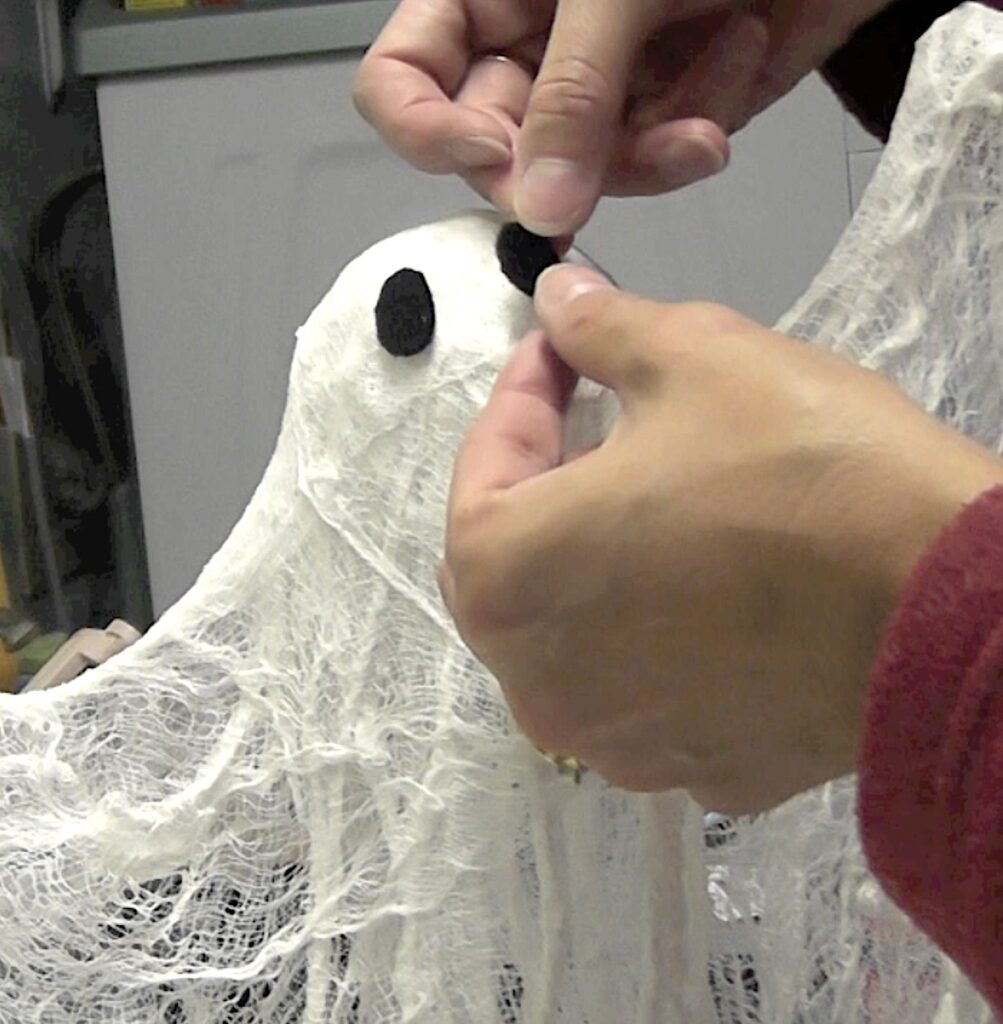
It should stand by itself. It is definitely an indoor Halloween decoration unless you seal it with something. You can put a battery-operated tea light under it, so it glows at night!
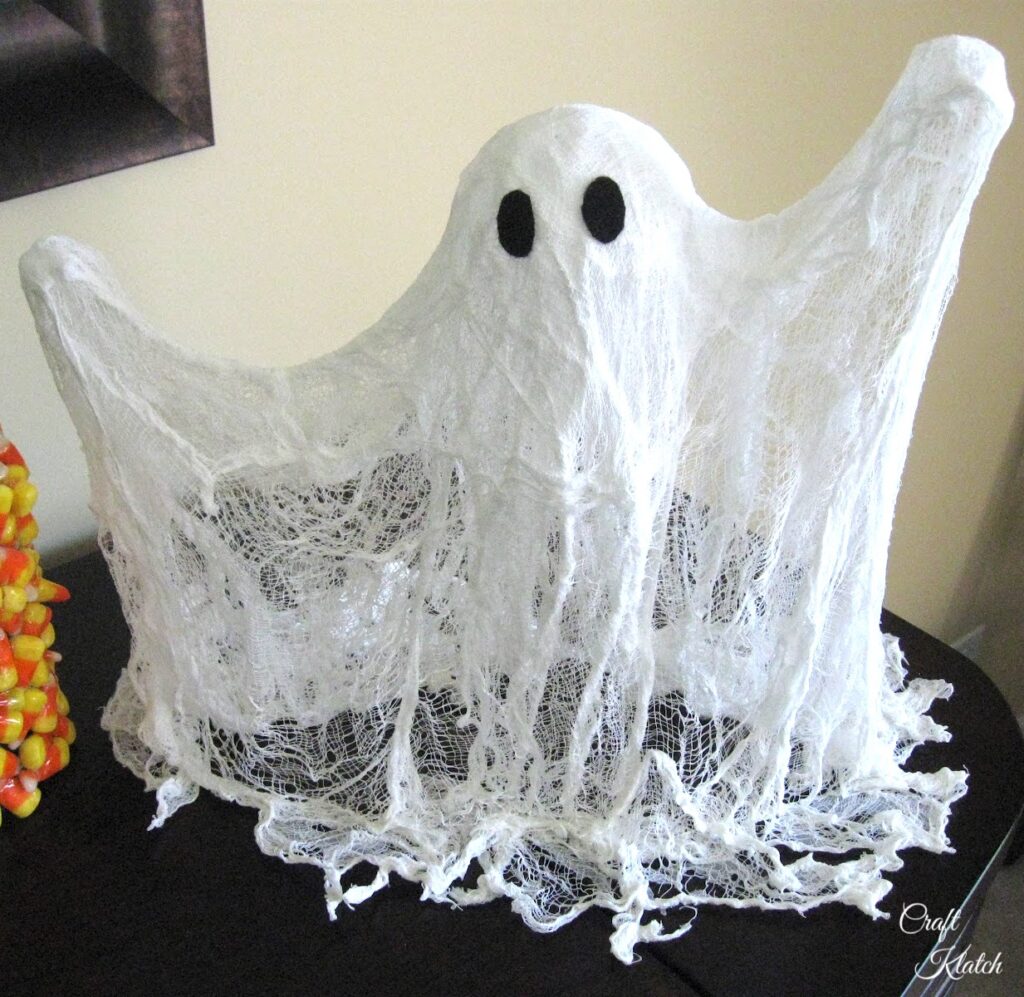
It will stand by itself. It is an indoor decoration. You can put a battery operated tea light underneath to make it glow at night!
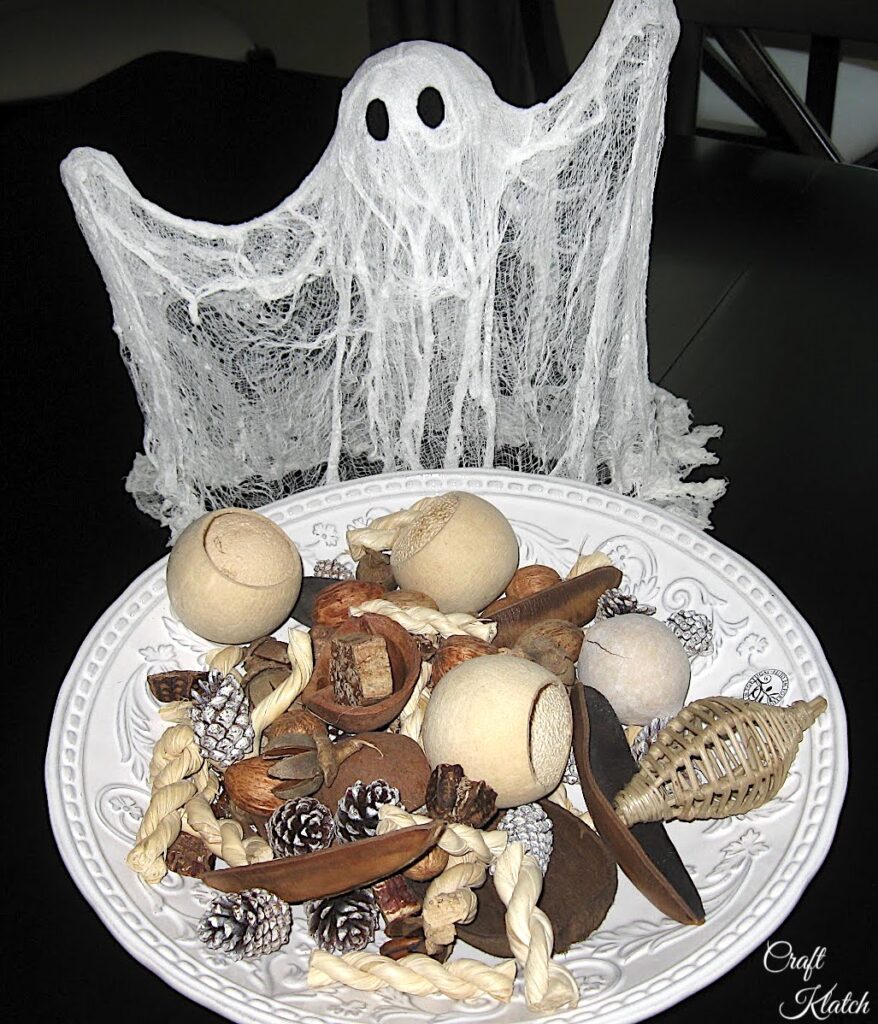
What I love about this ghost is it goes with any decor! It went with my darker decor up north, but also goes great with my lighter decor down south!
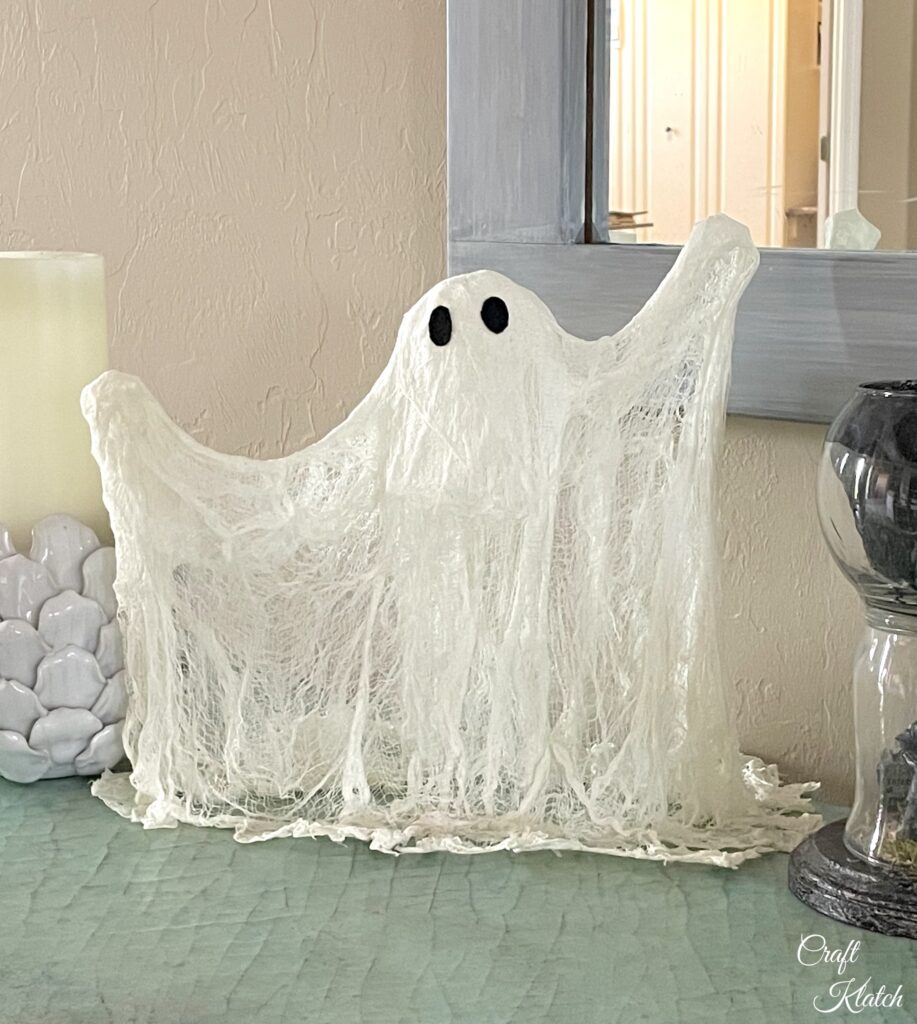
Have fun with it! I’d LOVE to see what you make! Be sure to share it over on my Craft Klatch Facebook Group! It’s Free! ❤️
Cheesecloth Ghosts
If you like cheese cloth ghosts but don’t want to take on the mess, here are some you can buy!
Thanks for stopping by!
Remember: Life’s too short not to shimmer, so grab your glue gun and your glitter!™ Stay safe!
Mona


This is a fantastic project! Such a great idea to use cheese cloth.
Would you consider linking this up at my Pinworthy Projects Party? I hope to see you there!
Thank you Shannah. I would be happy to. When is your next party and send me a link, I'll be there! Thanks for stopping by!