When we decided to move to Florida, I knew a cat tree DIY was in my future. And I wanted a cat tree that looks like a tree.
Not too much to ask…right?
Before We Get To The Cat Tree DIY…A Little Background
We have two boy cats, Pouffy and Grayson. They were both strays that showed up at different times, under different and dire circumstances, and decided to stay for the good life.
Being strays, they were always indoor/outdoor cats. They would come in at night (99% of the time) to either our house or my parent’s house (next door) and they would roam during the day.
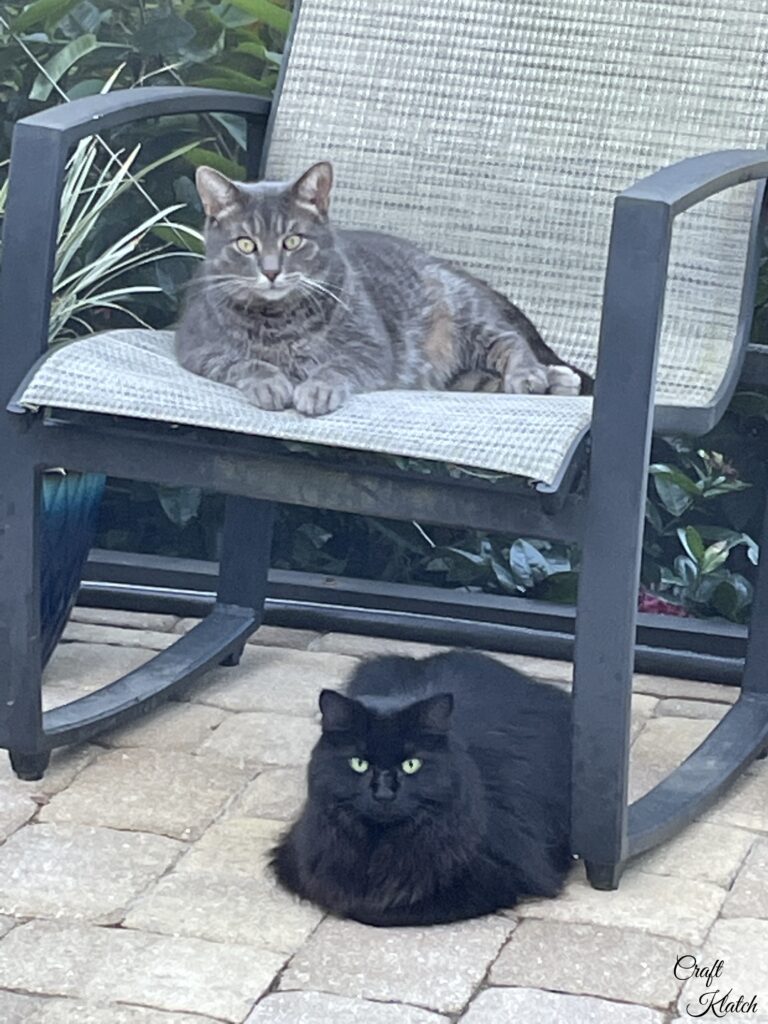

The boys would run around.
Take naps.
Climb trees…or roofs.
Terrorize chipmunks.
They were living every cat’s dream.
Then, we planned the move to Florida.
I lost sleep worrying about how they would transition. How they would handle their shrinking freedom.
We had a screened lanai, but would that be enough?
I had nightmares of them shredding the screens to bust their way out.
No trees to climb…no chipmunks to chase…no grass to roll in or eat…
Trying to Convince Greg That A Cat Tree DIY That Looks Like A Real Tree Is A Good Idea
So, I talked to Greg about doing a cat tree DIY.
His response was, We have a cat tree...
Ummm…I had something a little different in mind.
I wanted a cat tree that looks like a real tree…or is a real tree.
His response was a sigh and the she’s-gone-crazy eye roll.
I searched and searched the internet to try and find a good cat tree. There were some cool ones, but none that really fit what I was going for…though they did inspire me.
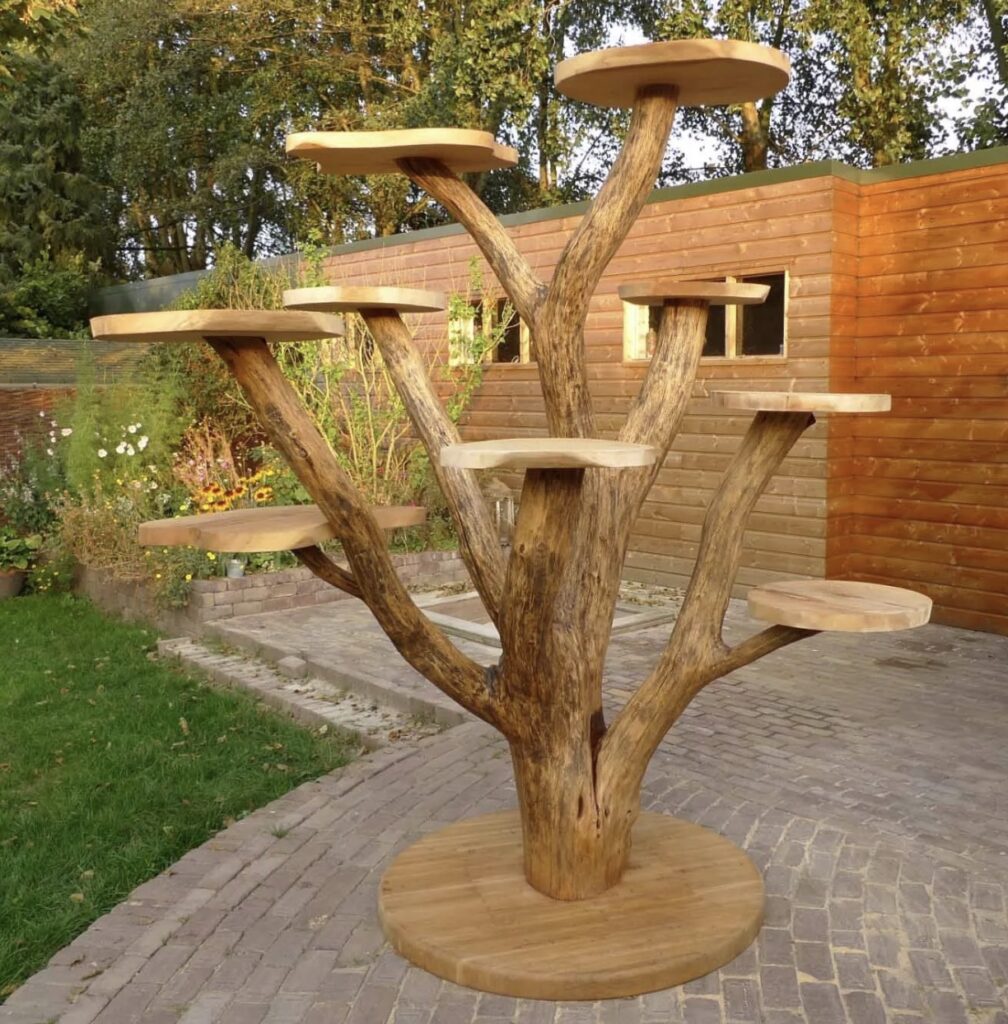
Credit ArmandaJones.com
Greg was presented with pictures, ideas, and…that I wanted a real tree.
I braced myself for the no and readied myself for the hard sell.
It didn’t come and I was shocked when he said he was on board.
He was ALL in!
What?
The Cat Tree DIY Tree Search
So, that led us to conduct a search for the perfect tree.
We searched up north and down south. I mean, we looked everywhere!
We were going to trailer a tree down if we had to.
One day, we were down in Florida and Greg came to me…all excited…I FOUND THE TREE!
I was cautiously optimistic, not knowing where he could have found it. After all, he hadn’t gone anywhere.
He took me by the hand, to the neighbor’s yard, and pointed.
My eyes lit up!
It was as if the clouds parted, everything else fell away, and the sun shone down on this magnificent, solitary tree…
…the neighbor’s dead orange tree
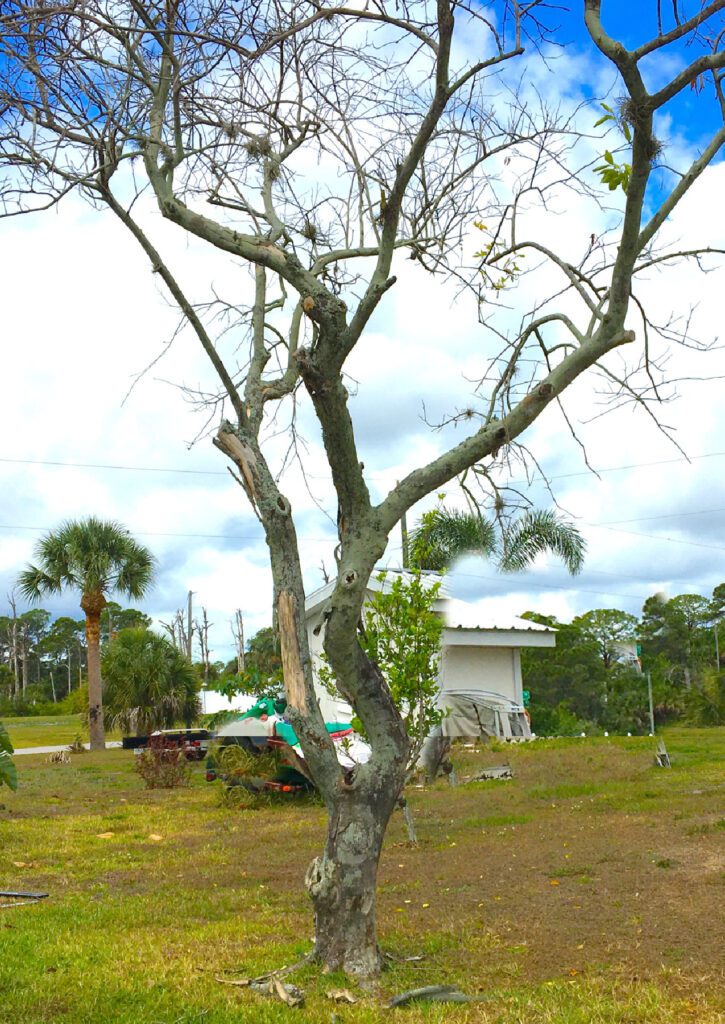
IT. WAS. PERFECT.
Harvesting The Tree
Greg talked to the neighbors, who are also our friends. They were going to have it cut down, so we offered to take it down and have the stump removed. They agreed.
Greg rented a chainsaw.
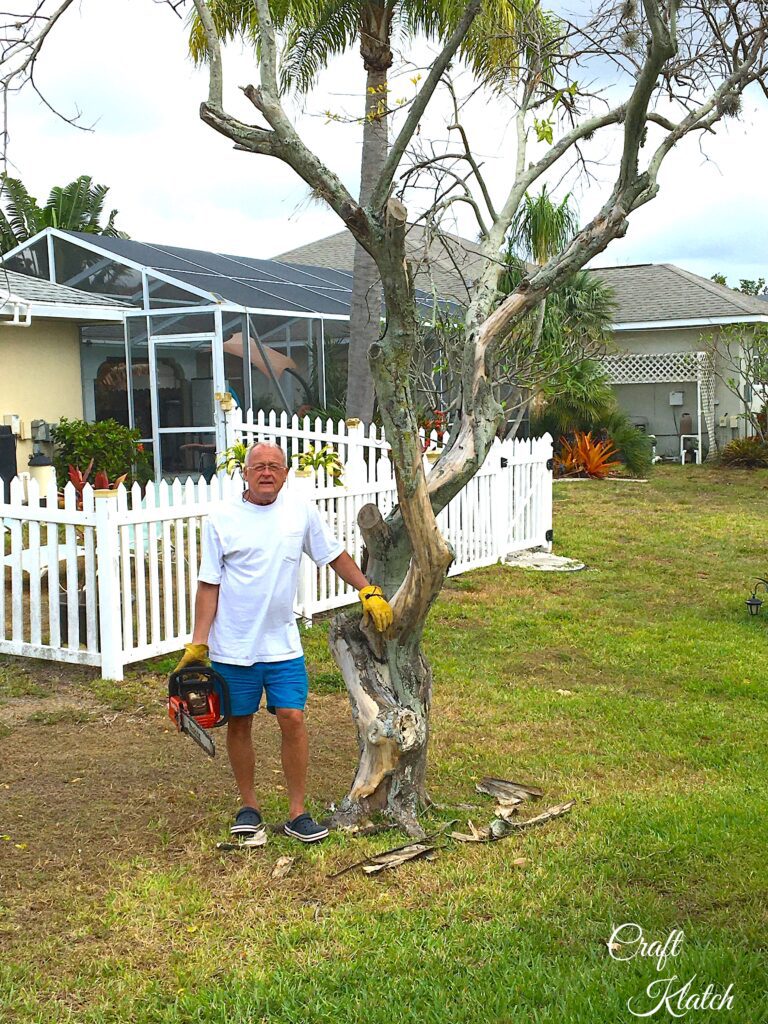
We cut it down. It was big and it was heavy.
We had to cut it into pieces because…as our neighbor pointed out…as one piece, it wouldn’t fit through the doors to get it into the lanai.
Hrrmph…I hate the voice of reason.
Therefore, we ended up cutting it into large pieces. We numbered the limbs and brought them to our house to finish drying out.
Then, we had to go back up north and we realized this would be a long process.
Prepping the Tree for the Cat Tree DIY
A few months later, my sister, my dad, and I had to rush down to Florida because my aunt had to undergo emergency surgery.
Don’t worry. She’s fine…good as new!
During that trip, I checked on the tree and found the bark was peeling off and it was COVERED with ants. COVERED!
A couple of hours before we were driving back up north, we drug the limbs to the driveway, my dad, my sister, and I peeled off the bark and sprayed them with ant killer and bleach.
Sidenote: I’m not sure why anyone puts up with me. I know they were thinking this cat tree DIY was crazy.
Once the limbs were dry and cleaned up, we put them in the garage.
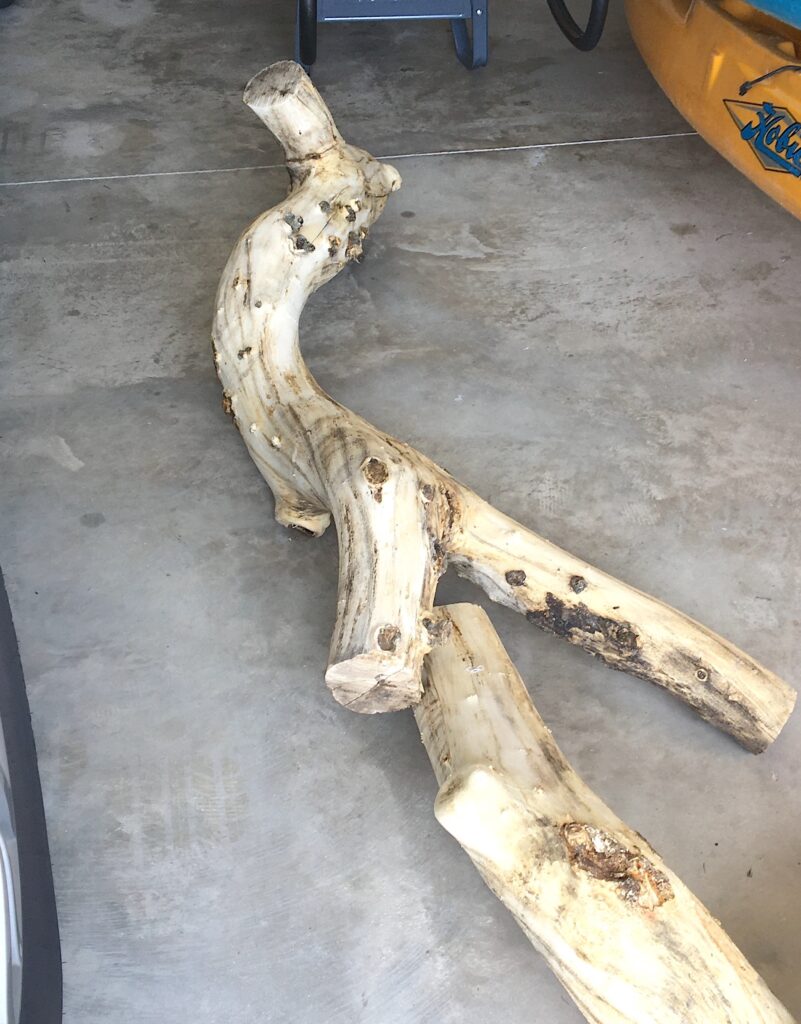
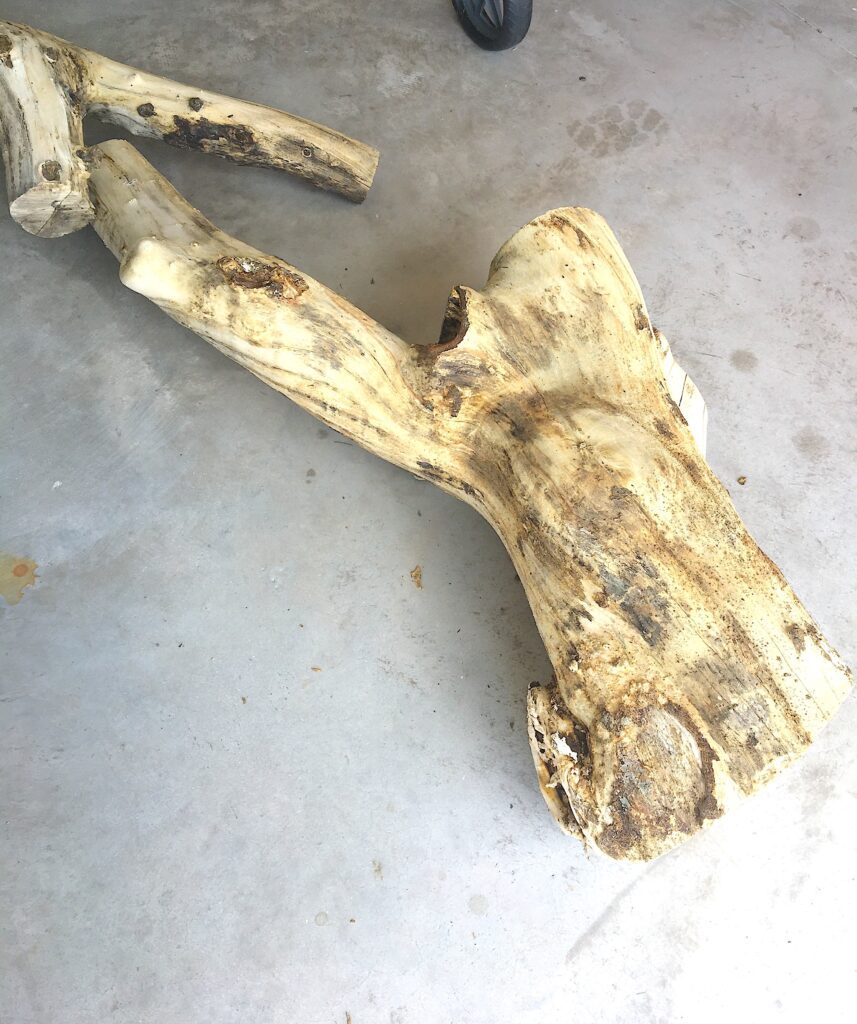
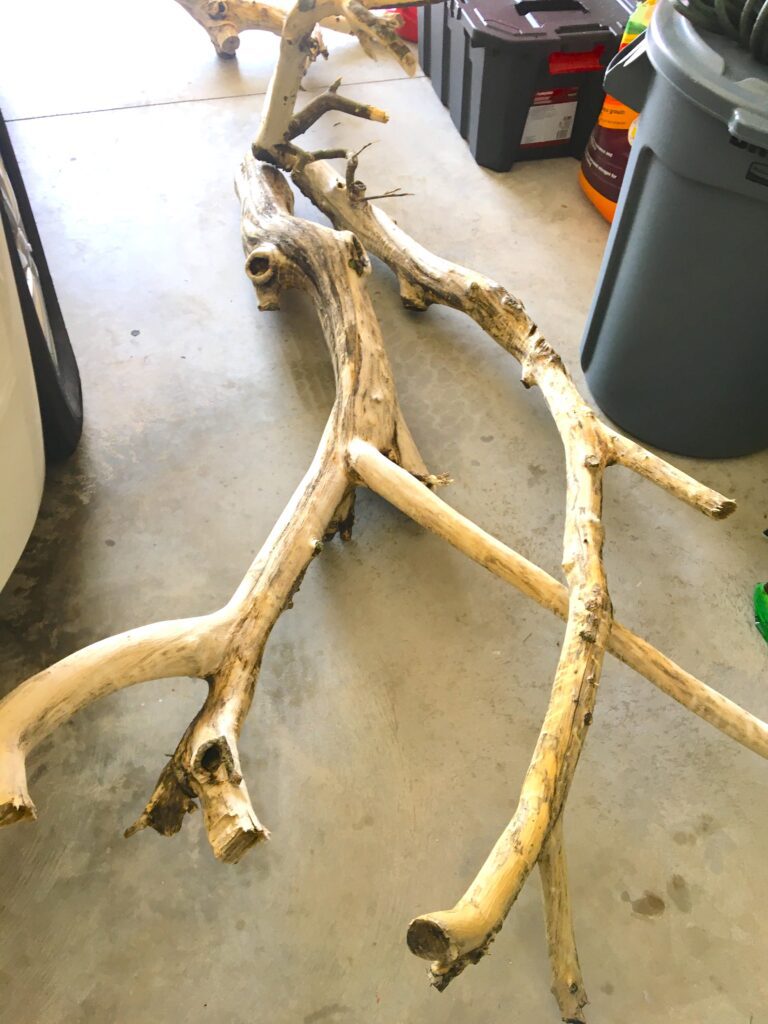
The pieces turned out beautiful.
Finally Time For The Cat Tree DIY!
A year and six months after cutting down the tree and six months after moving the cats down to Florida, it was finally time to make the cat tree DIY!
Seems a little crazy, I know, but during that year and six months, dad had unexpected open-heart surgery shortly after they received an offer on their house and were to move down to Florida.
I had to step up and help them go through stuff, sell stuff, pack stuff, and make sure Dad was recovering properly.
That April, we moved Mom and Dad to their house in Florida, just kiddie corner from us. The ride down was treacherous, but we survived.
Right after we got down, Greg broke his heel and was out of commission for 8 weeks.
Also not a fun time.
Then, Greg and I went back up north, sold our house, packed our house, and made two trips down to move what we were taking.
Yes…moving and packing the craft room was the WORST!
You can see more about our move HERE.
So the cat tree DIY was on hold until we finished all of that.
A month after our final and official move, the cat tree that looks like a tree was going to happen!
Ideas were shared.
Arguments were had.
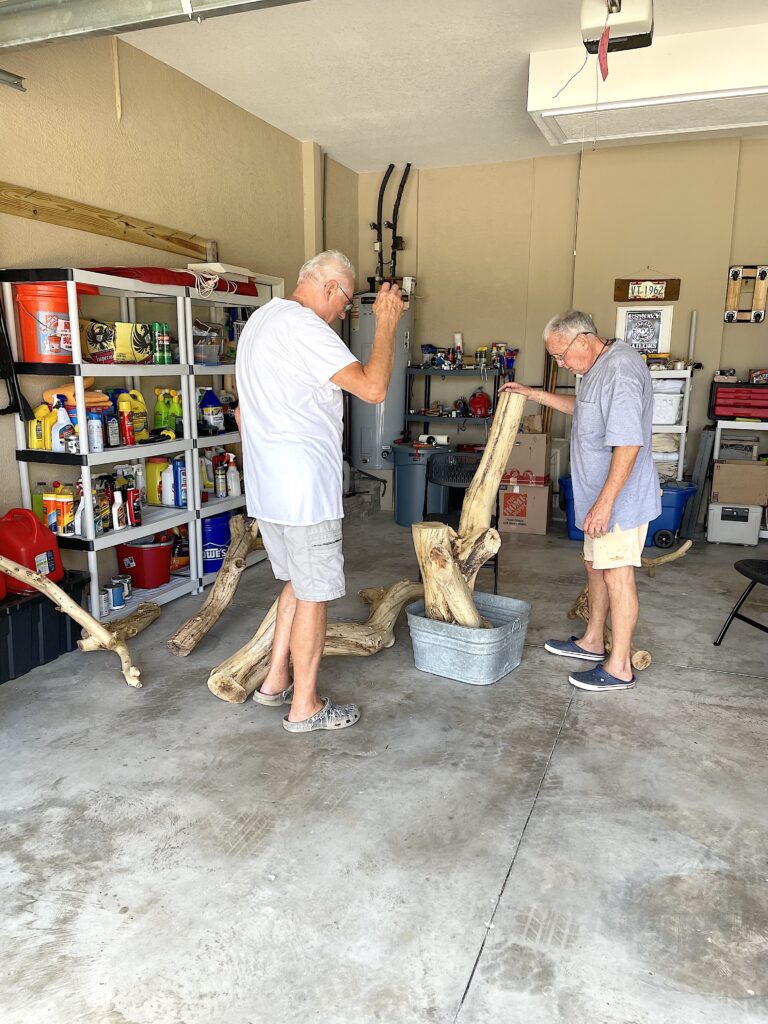
But we were finally on our way.
Things We Had To Consider When Making The Cat Tree DIY
Because we were building the cat tree in Florida, we had to make sure it was sturdy and portable.
Sturdy because we didn’t want hurricane winds to blow it over.
Portable, because we wanted to make sure we could move it and chain it up so it didn’t end up going through the screens or in the pool…should those winds arrive.
Little did we know…a year and a half after moving down, we had a historic hurricane and his name was Ian. You can see the hurricane HERE.
Also, because of the rain and being outside, I wanted to seal the wood.
I did seal all of the limbs prior to putting them together.
An update on the sealer. I originally used an all-natural sealer and it just could not stand up to the Florida rains. So I cannot recommend it.
Base Of The Cat Tree
This project was taken on by my dad, Greg, and me. The base of the cat tree was our biggest argument.
Everyone had their own ideas of what it should be.
I preferred a flat wood base but because of the weight of the tree and our need to move it, that wasn’t an option. And truthfully, this dilemma probably delayed us a month or two…or more.
Finally, Greg won this one.
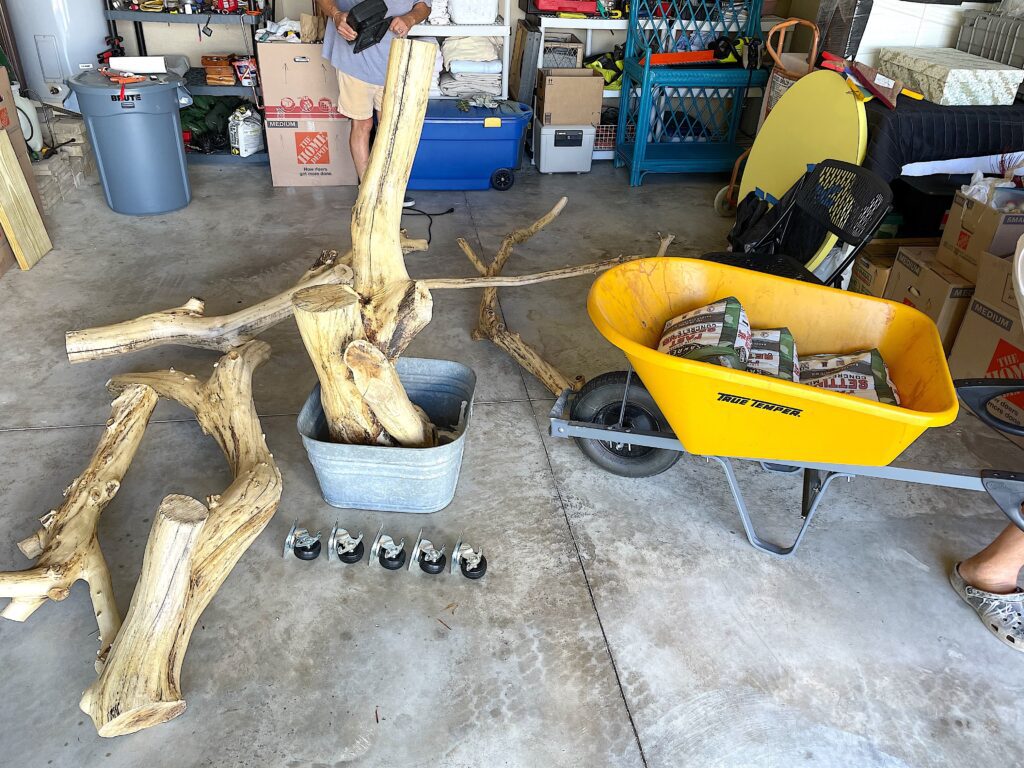
Cat Tree DIY Base Materials
*Disclosure: This blog uses affiliate links from Amazon and other retailers. I earn a small amount from qualifying purchases at no additional cost to you.
- Galvanized tub
- Heavy duty casters
- Concrete
- Part of the tree
Cat Tree Base Instructions
Step 1
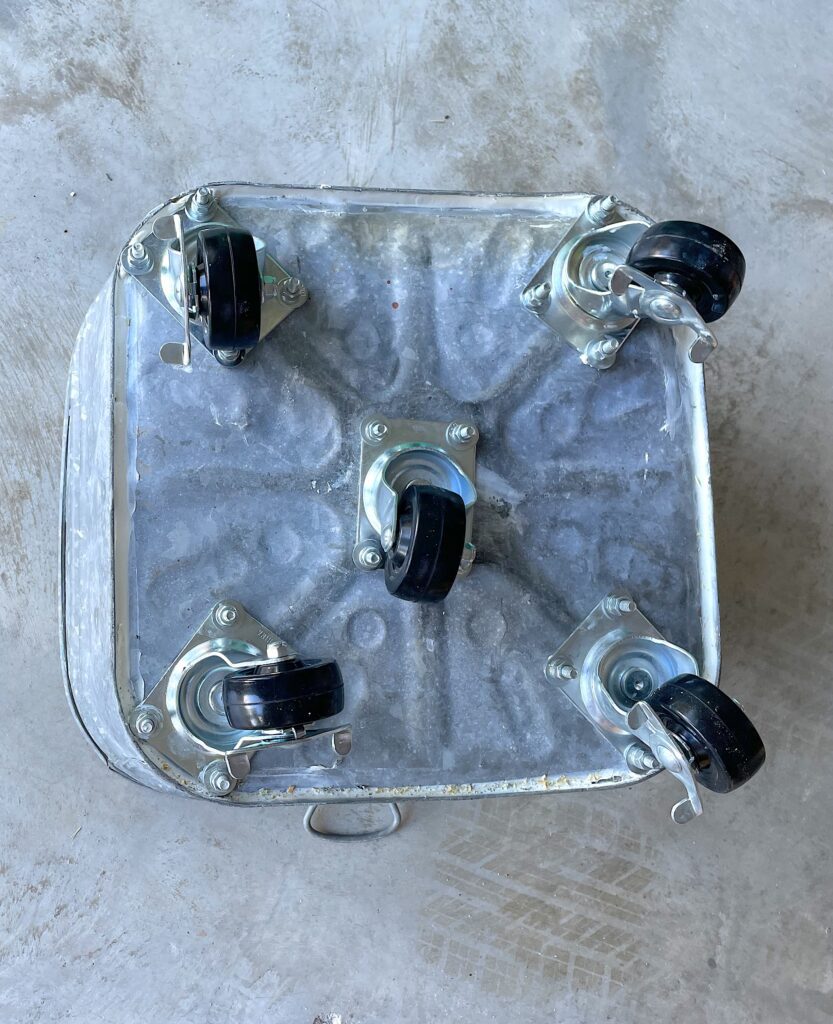
The first thing that needed to happen was to attach the heavy-duty casters. The casters were locking casters, so they could be locked in place.
Step 2
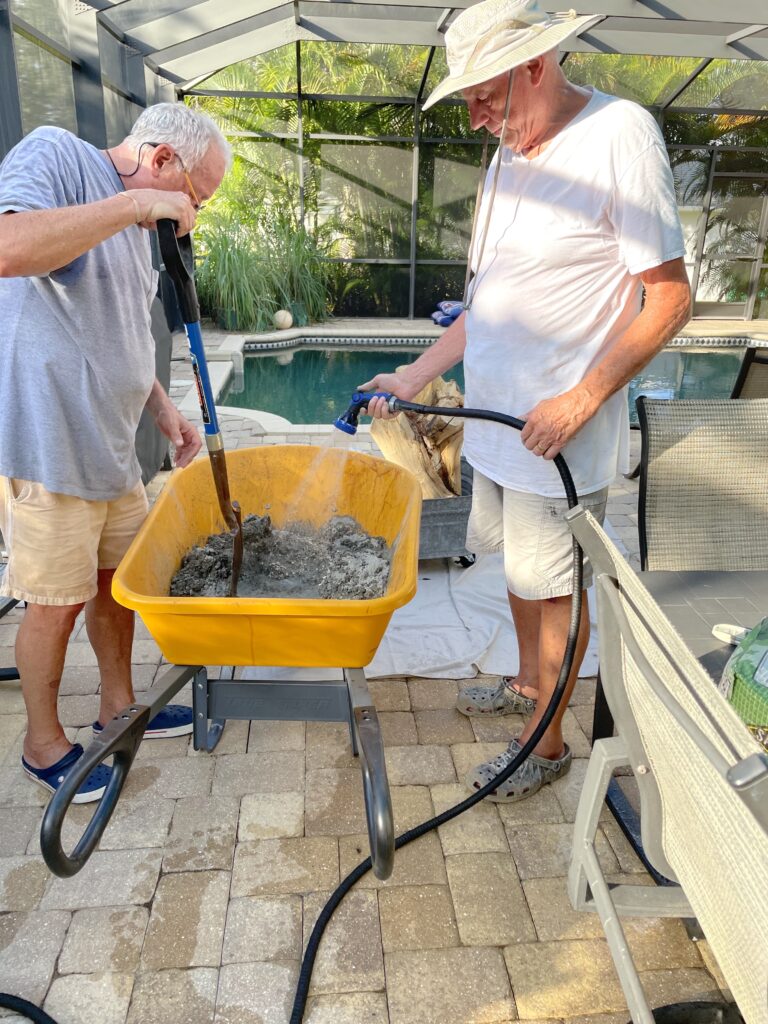
Once the casters were attached, it was time to mix the concrete and put it and the tree trunk into the base.
We filled the concrete around it until the tub was full. We wanted to make sure there was enough weight in the base to keep the tree stable.
*For the record, in case Greg or Dad read this, I’m using the term we very liberally. I mostly watched them make it and gave a little input here and there.
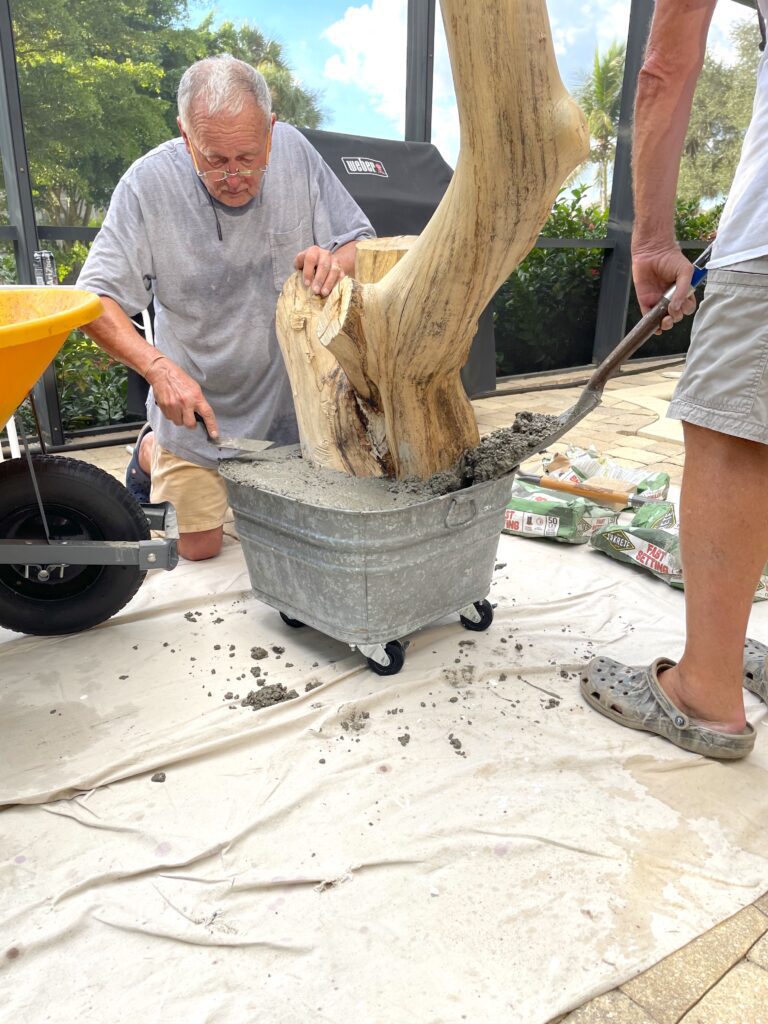
Then, we just let it sit and cure overnight.
Time To Build The Cat Tree That Looks Like A Tree
Onto the build!
The next morning, it was time to put it all together. The wood was sealed. And the concrete had cured.
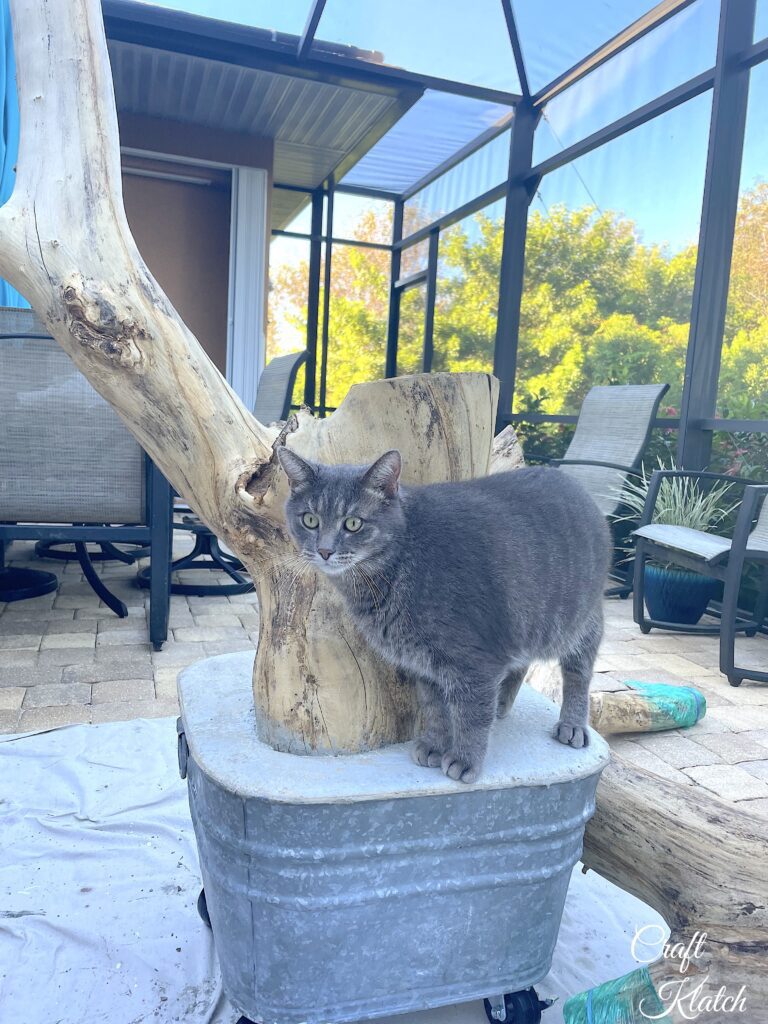
And Grayson was already warming up to it!
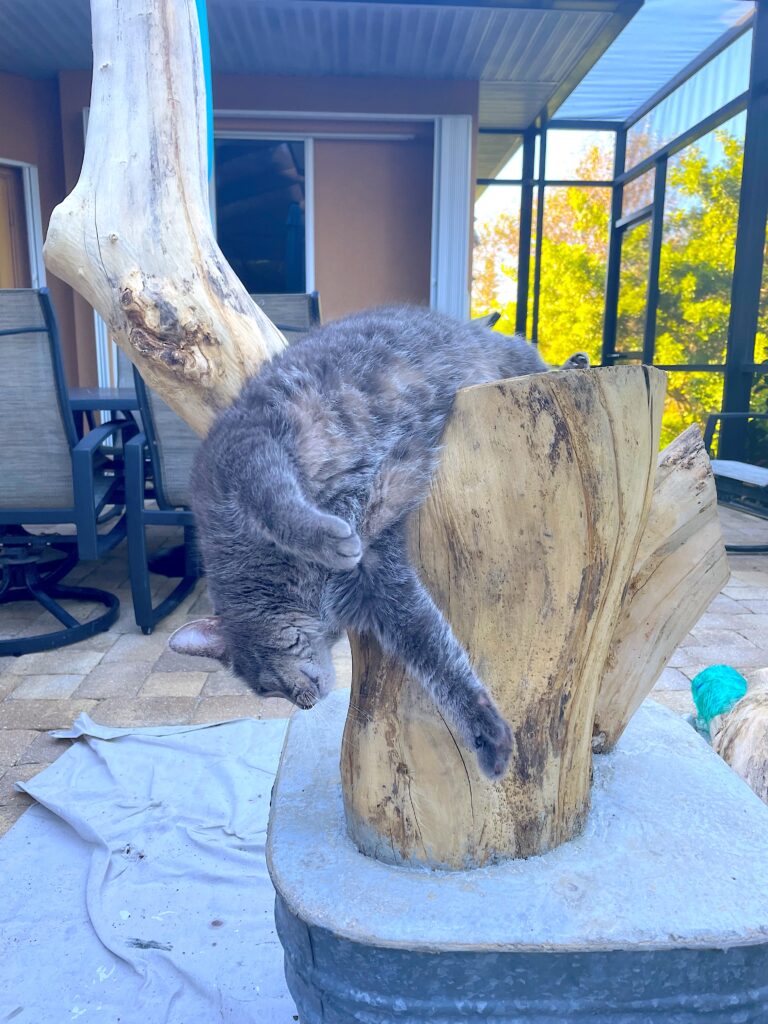
He’s very dramatic.
Materials and Tools To Build the Cat Tree DIY
We wanted to make sure the cat tree was stable and limbs wouldn’t go falling over when the cats jumped up on it.
But it also needed to look nice.
And the boys needed a place to perch.
Tools
Materials
- Bolts (3/8″ x 6″)
- Screws
- 1 Inch dowels
- Glue
- Sisal Rope
- Galvanized U-shaped staples
- Wood platform discs
- Sealer
- Aqua stain
- Rough sawn cedar
Directions To Build The Cat Tree DIY
Step 1
When we started figuring out which limb went where it became apparent that the original configuration was not the best for climbing and the overall balance of the tree.
I resisted changing it…a lot…but Greg and Dad helped me see the light.
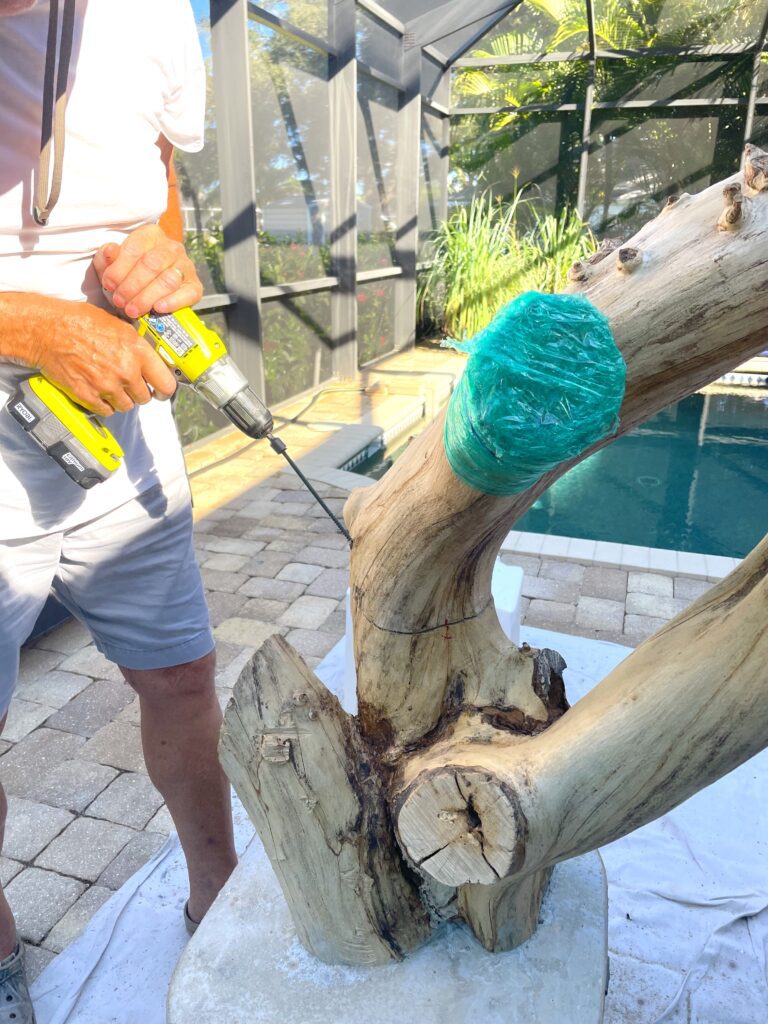
Once we figured out which branches should go where we drilled holes into the middle of the branches to insert the dowels.
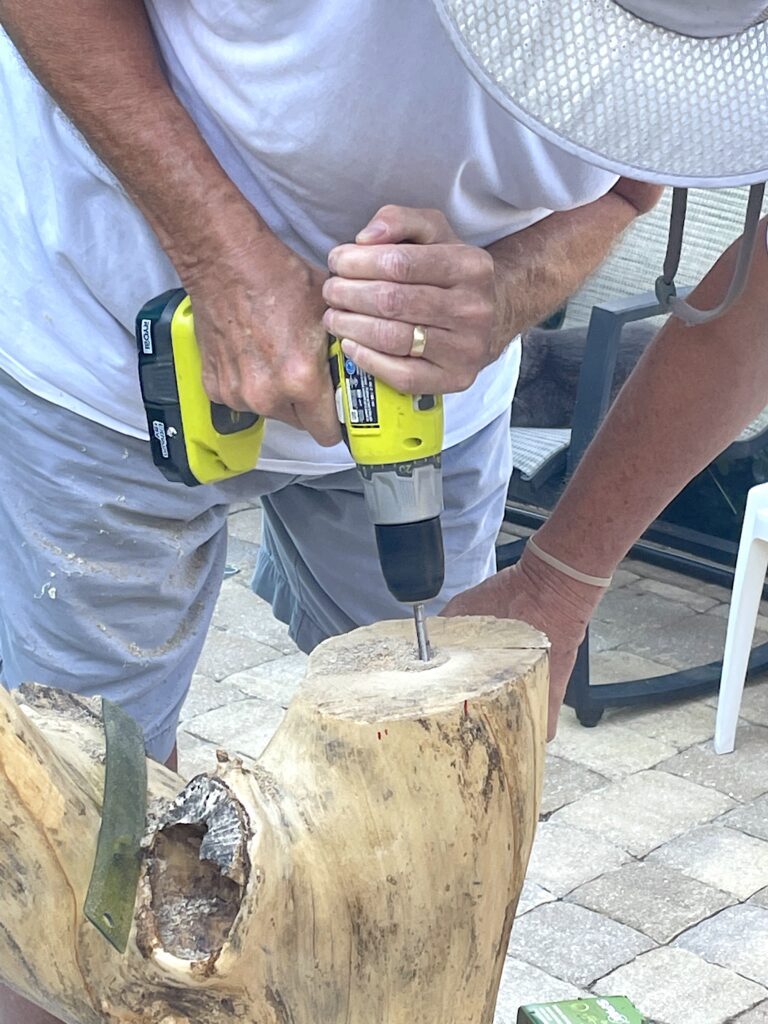
The dowels allowed us to attach the limbs.
We added glue and construction adhesive to both the holes where the dowels would be inserted and where the limbs would butt up.
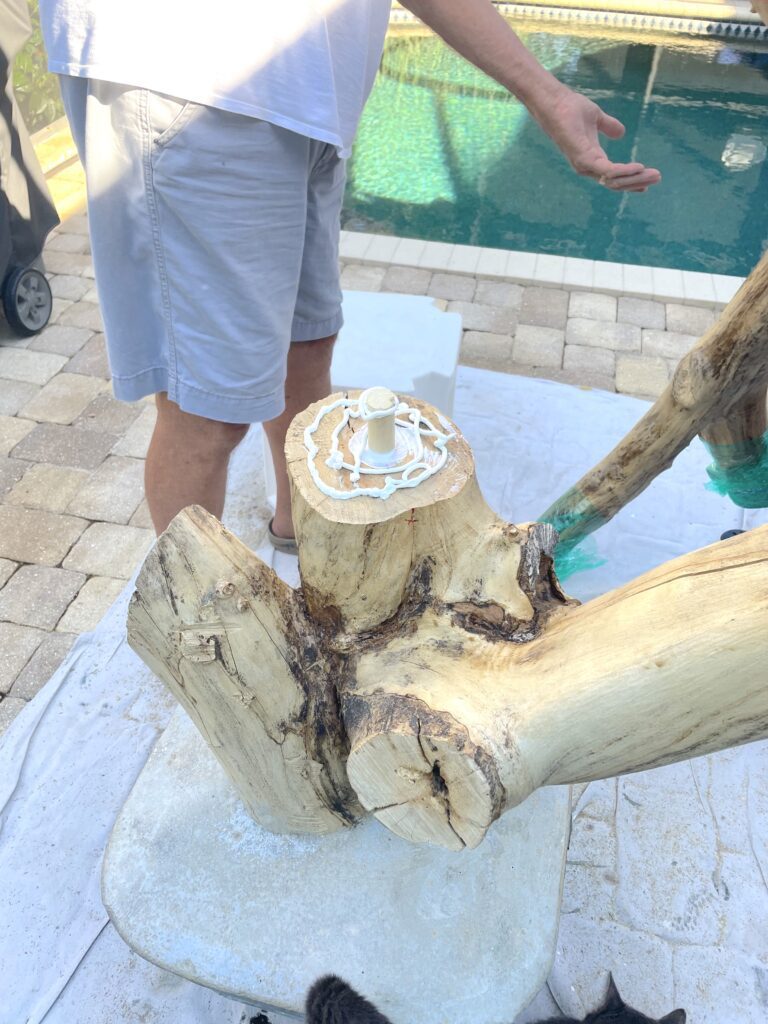
Step 2
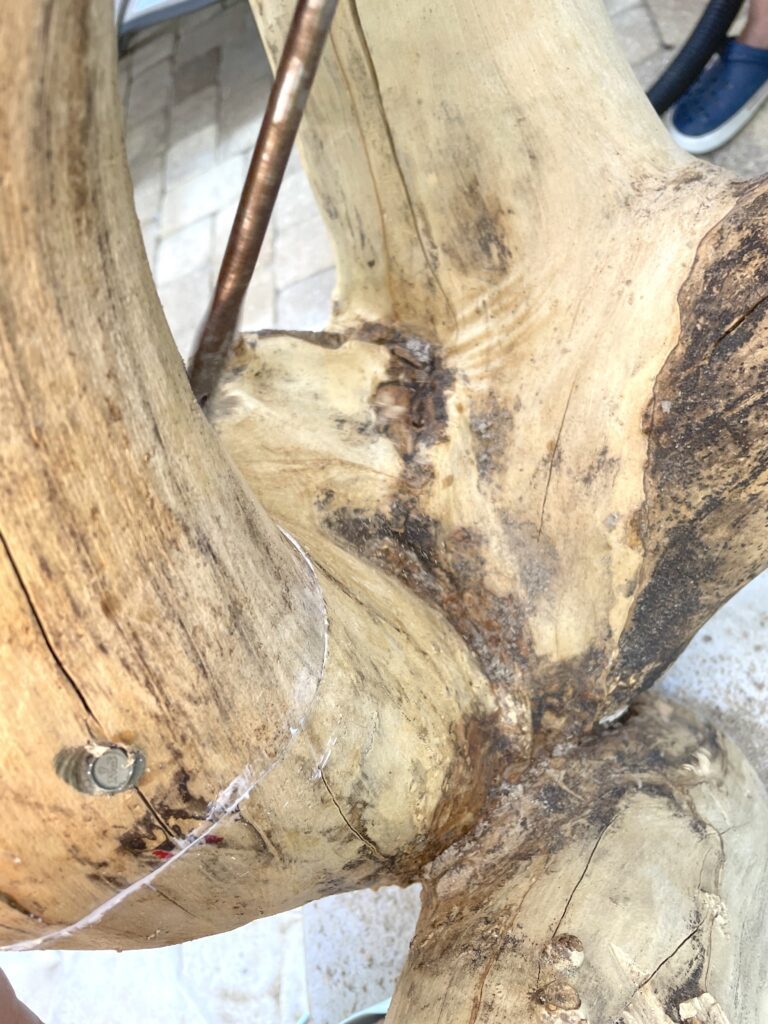
Once the dowels were inserted and the limbs were put together, Dad and Greg used bolts and screws to drill down and securely attach one piece to the other.
Step 3
Once the main limbs were put together, it was time to balance the cat tree DIY going the other direction, so it wasn’t a tipping hazard.
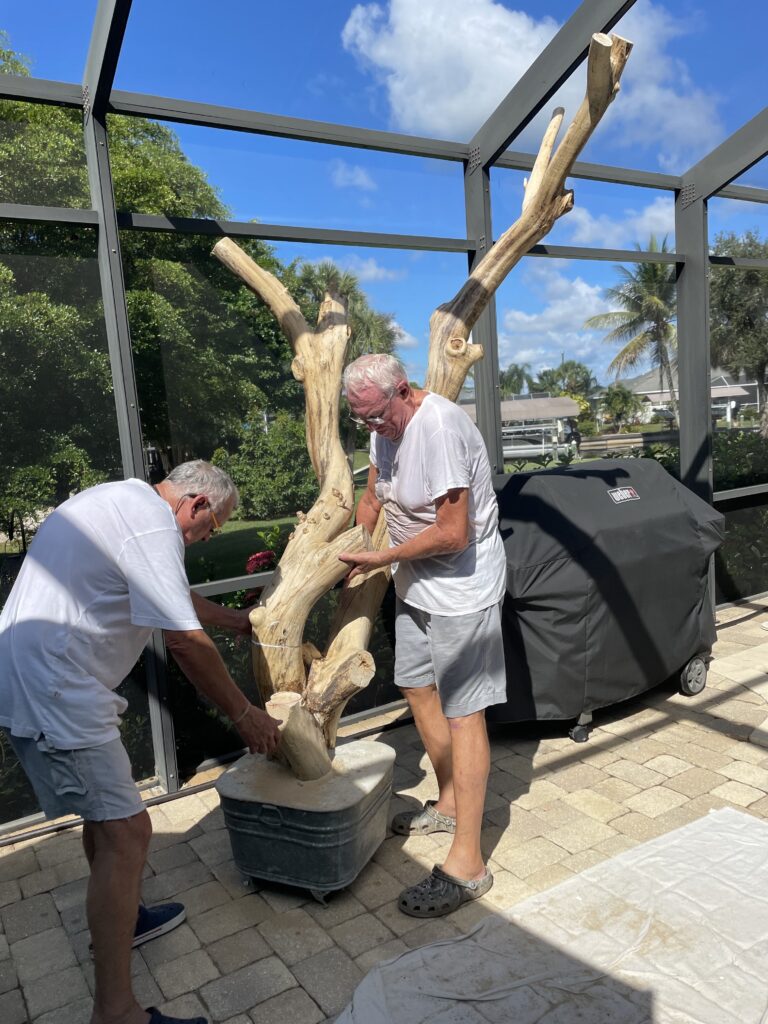
That’s where putting together mismatched limbs came into play.
Reworking Mother Nature.
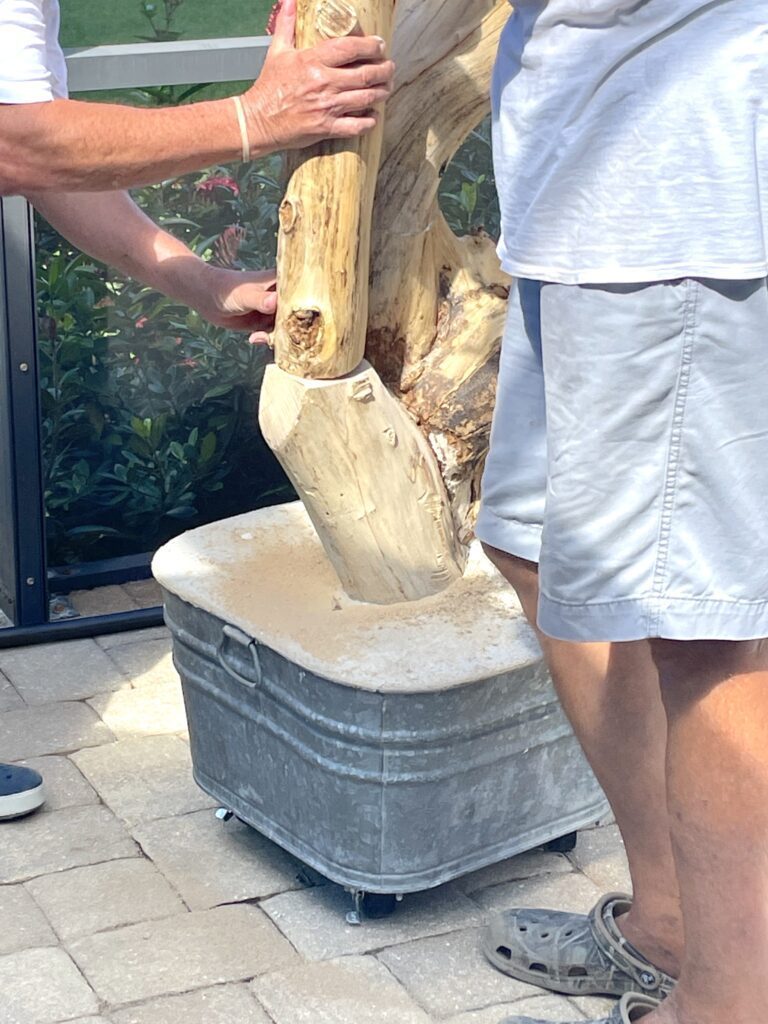
Whoohoo! Look at that magic!
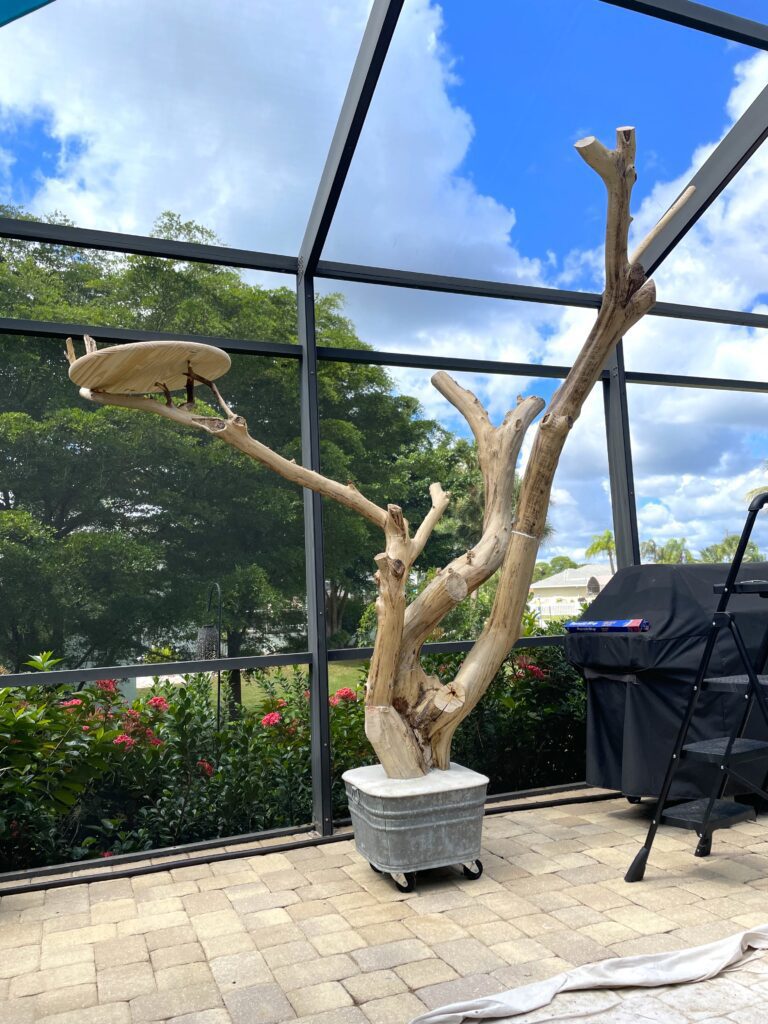
We put a platform on one limb just to see how it would look.
Step 4
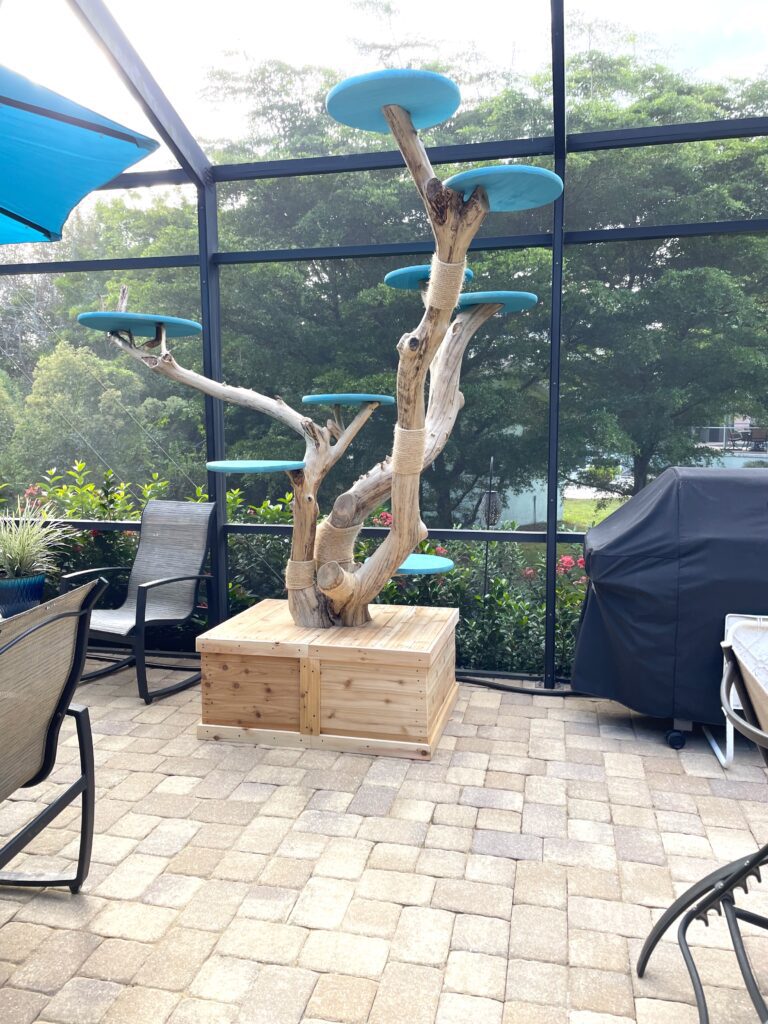
Now, I wanted it to be functional and decorative, so I stained all the precut wood platforms with an aqua stain. It was an indoor stain and I covered it with the outdoor sealer. By the way, the color has held on way better than I expected in the Florida sun.
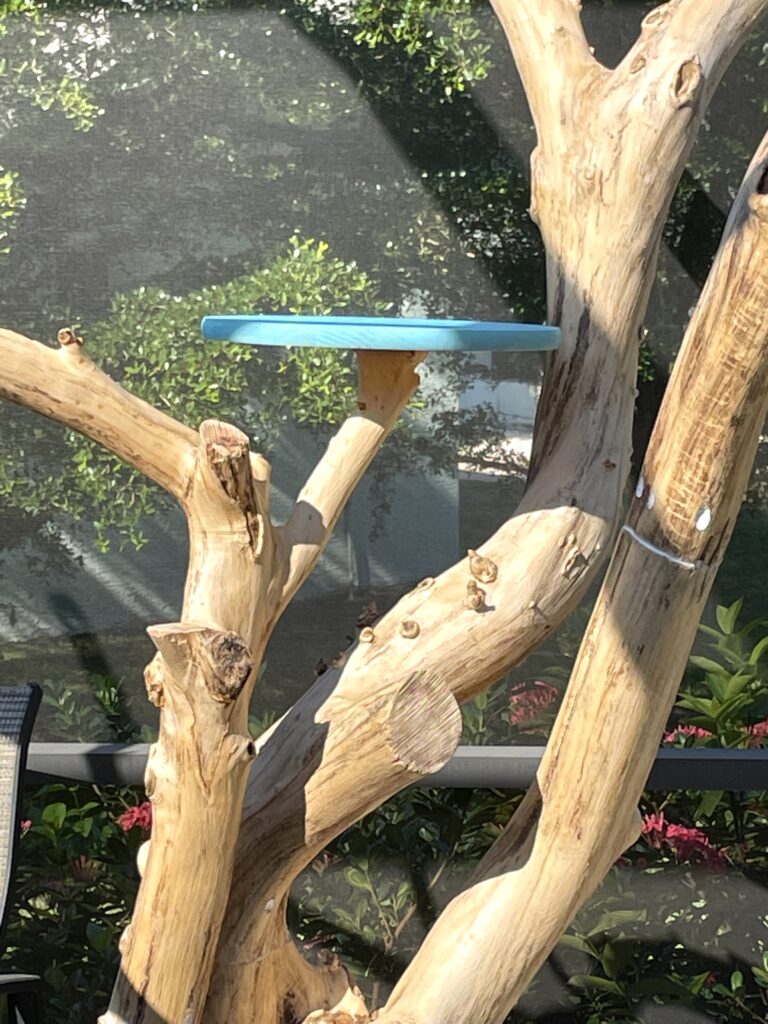
One by one, up they went!
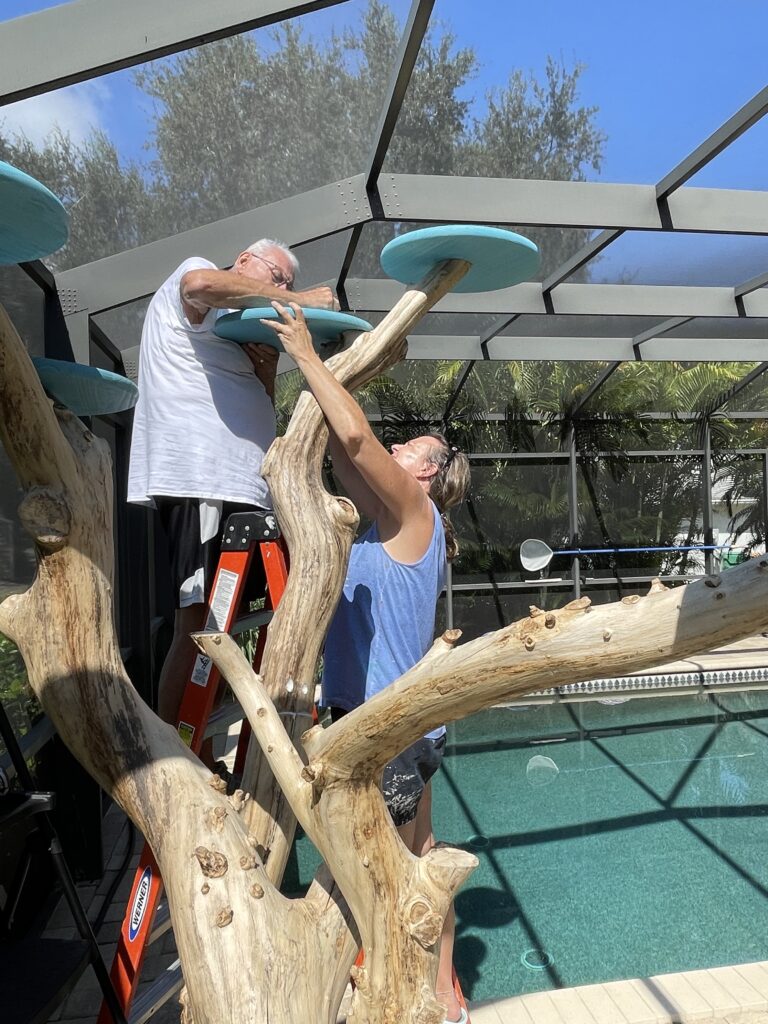
Until they were all attached!
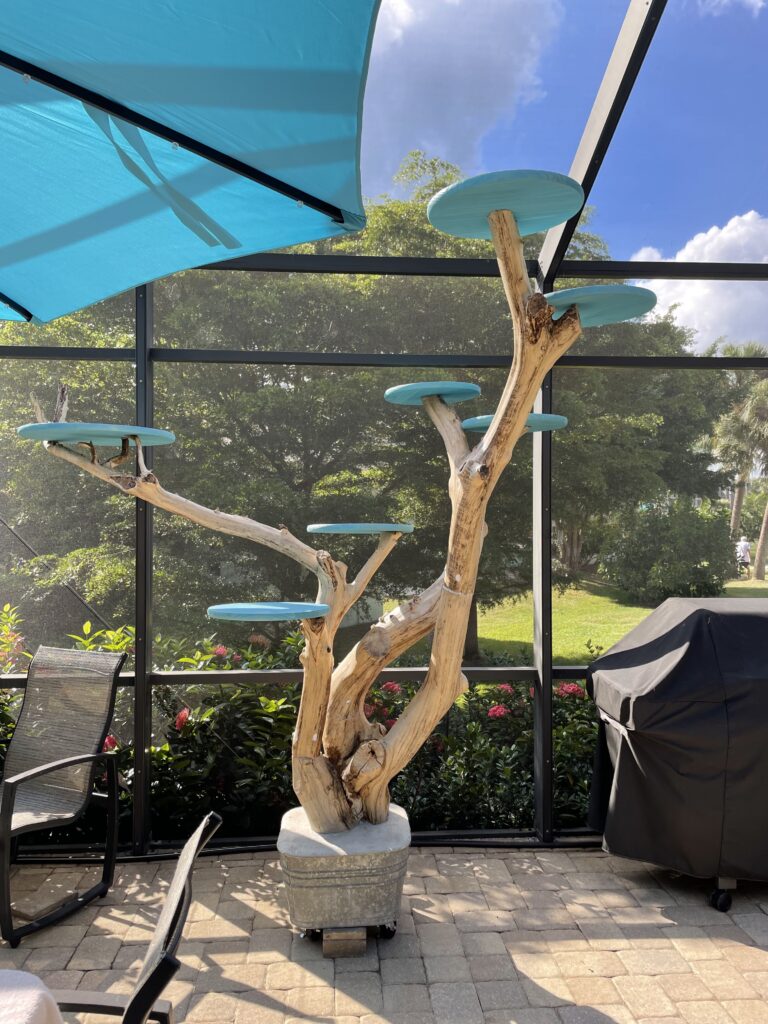
Notice how the platforms match my umbrella…which coincidentally matches the throw pillows on my patio set?
But we were not done yet!
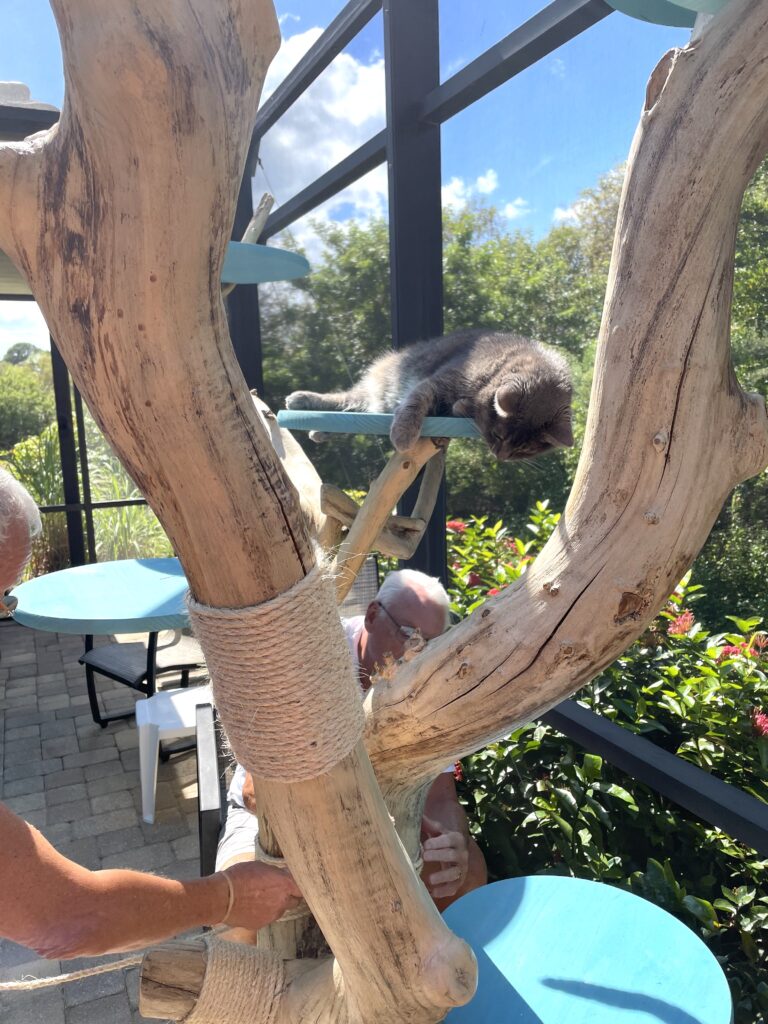
That didn’t stop Grayson. He was all in on the cat tree!
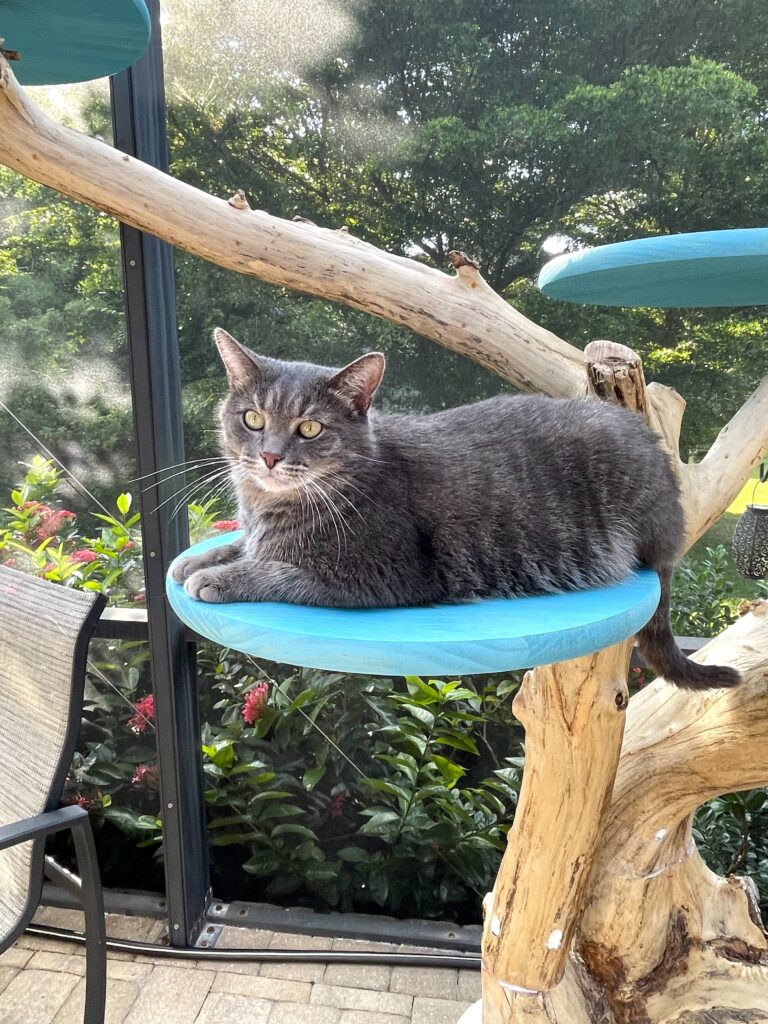
Step 5
It was time to break out the rope. It was a nice sisal rope that was ready to be scratched.
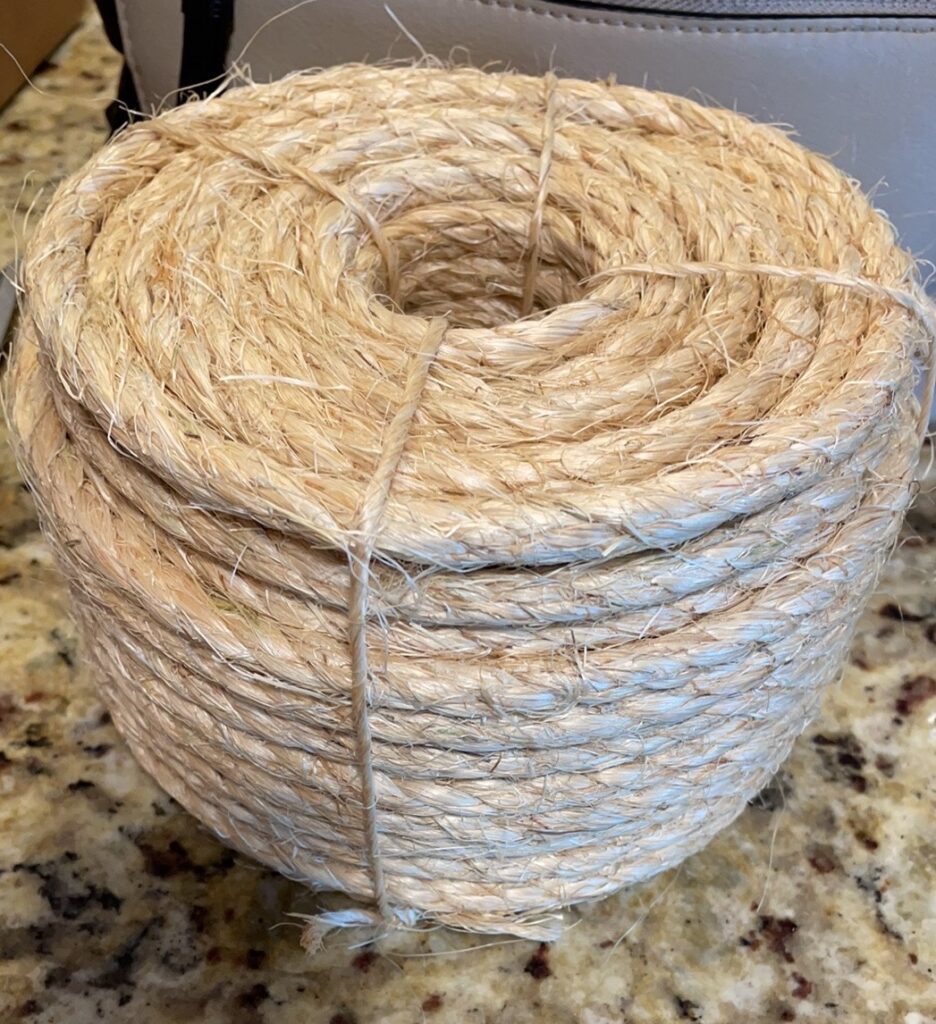
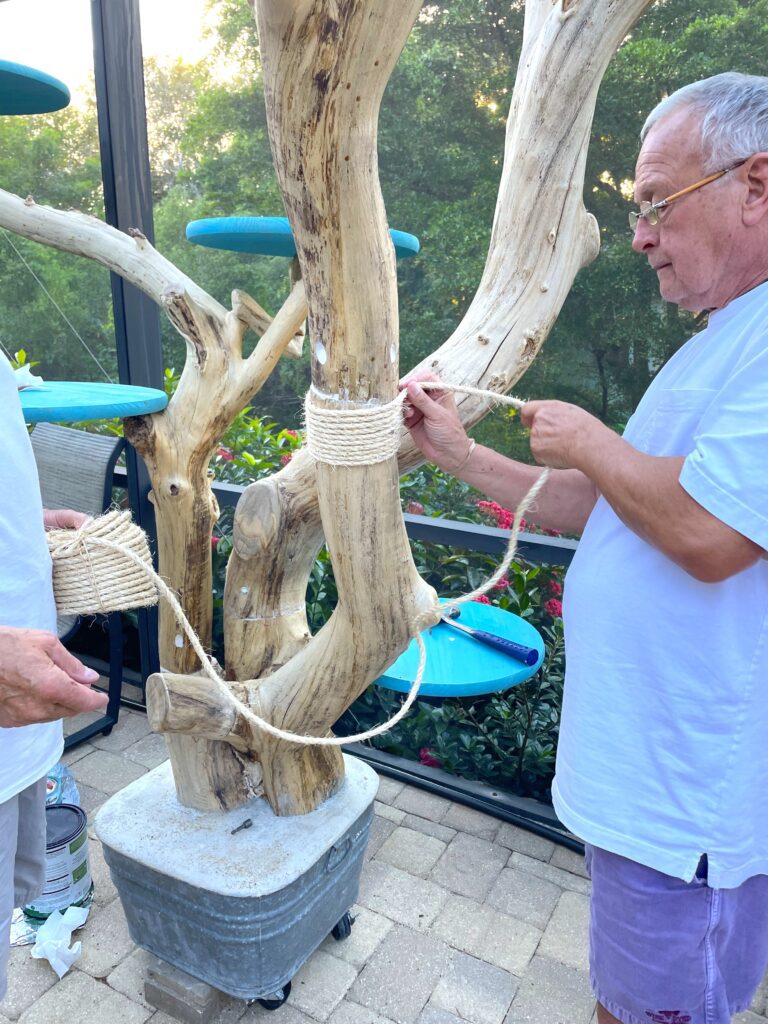
Let the winding begin!
We wound, glued, and used U-shaped heavy-duty staples to attach the sisal rope. We wanted to make sure there was no way they would pop out while the boys were scratching.
Grayson kept a very close eye on them to make sure the sisal rope was being put on properly.
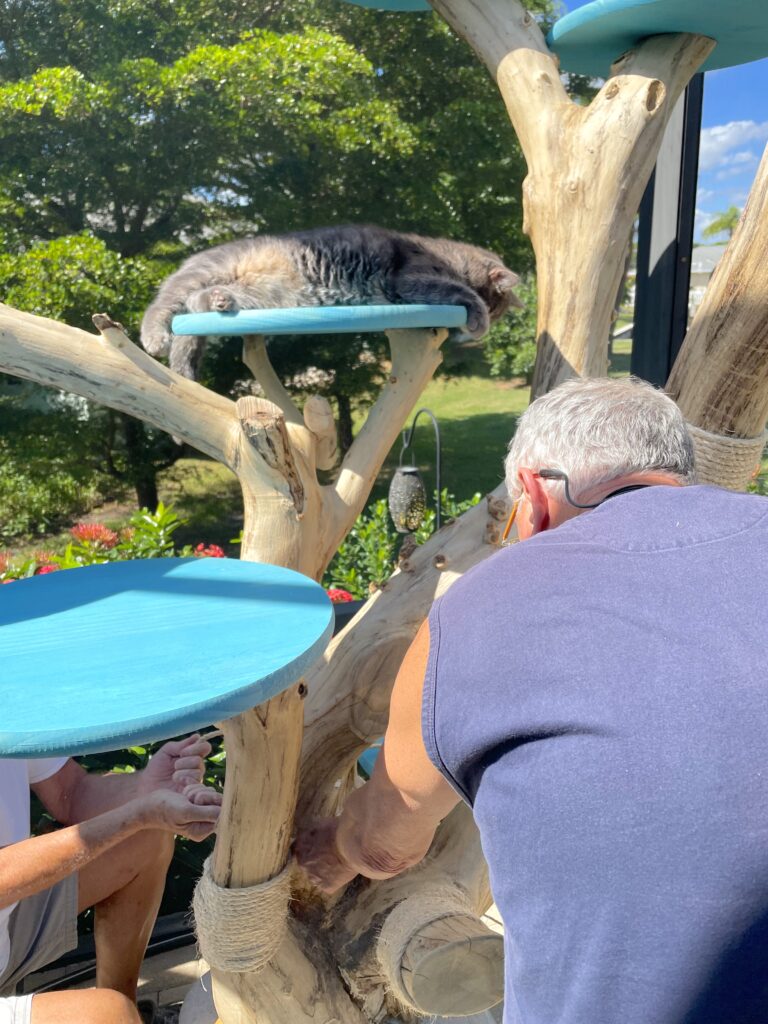
He was not going to put up with any nonsense!
Step 6
The ugly base needed to be covered, so Dad stepped up and like a true craftsman, built a box around it.
We needed it to be in two halves so it could be taken apart and put back together in the event of a hurricane.
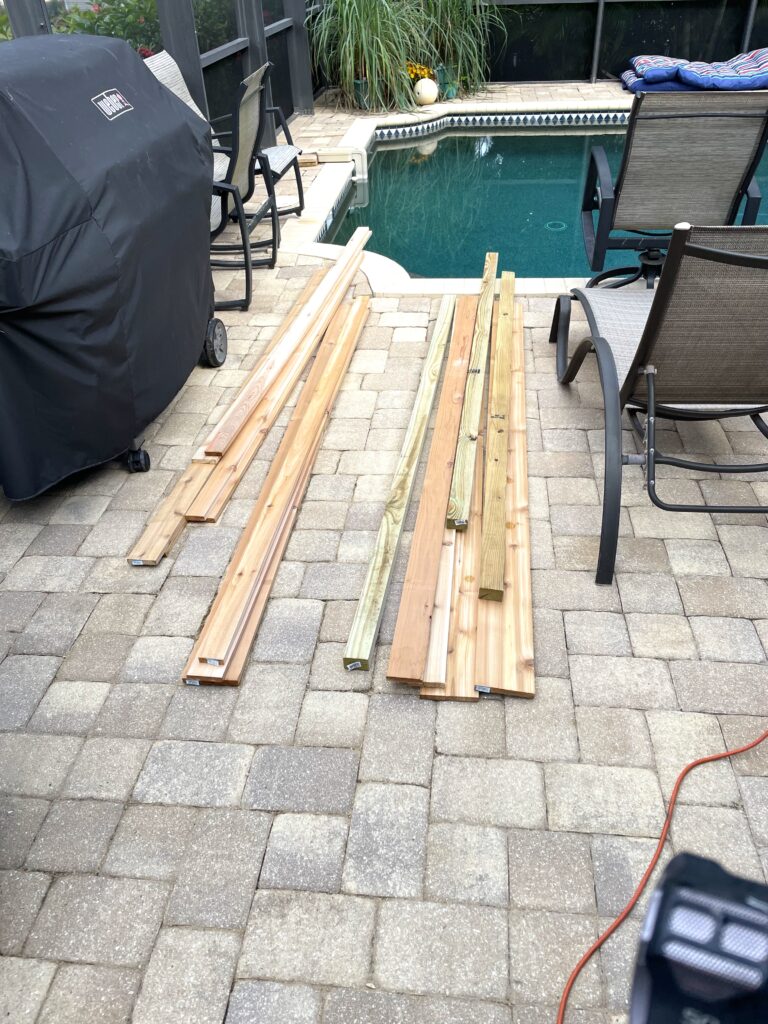
He framed it.
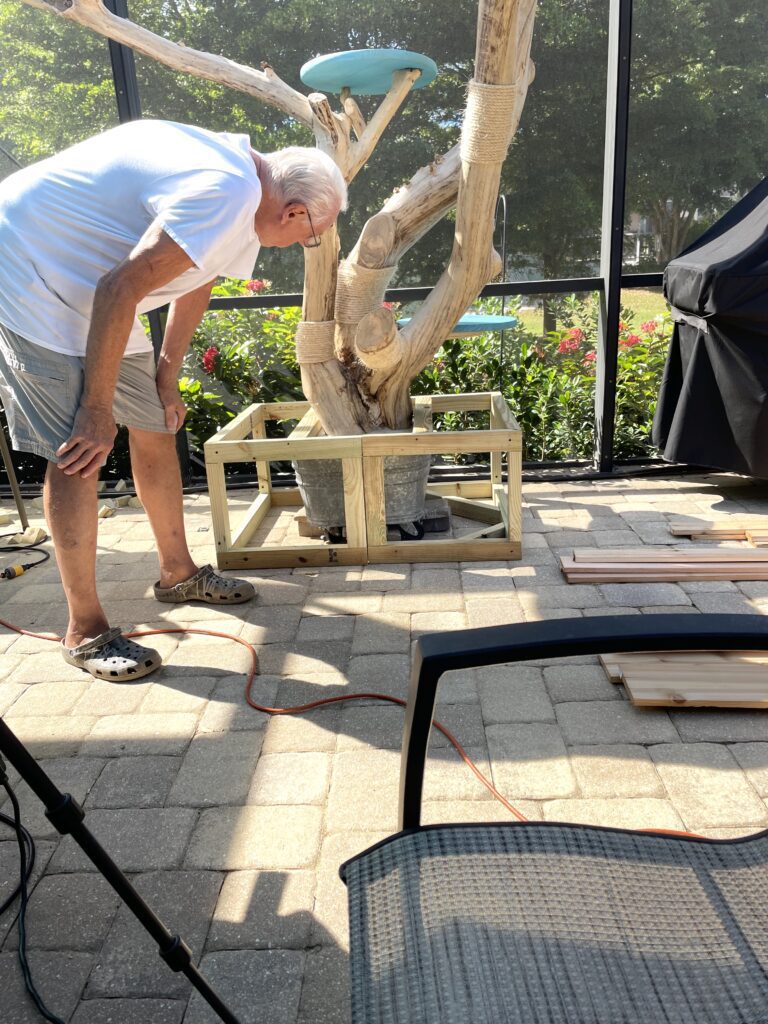
Greg lent a hand with finishing the sides.
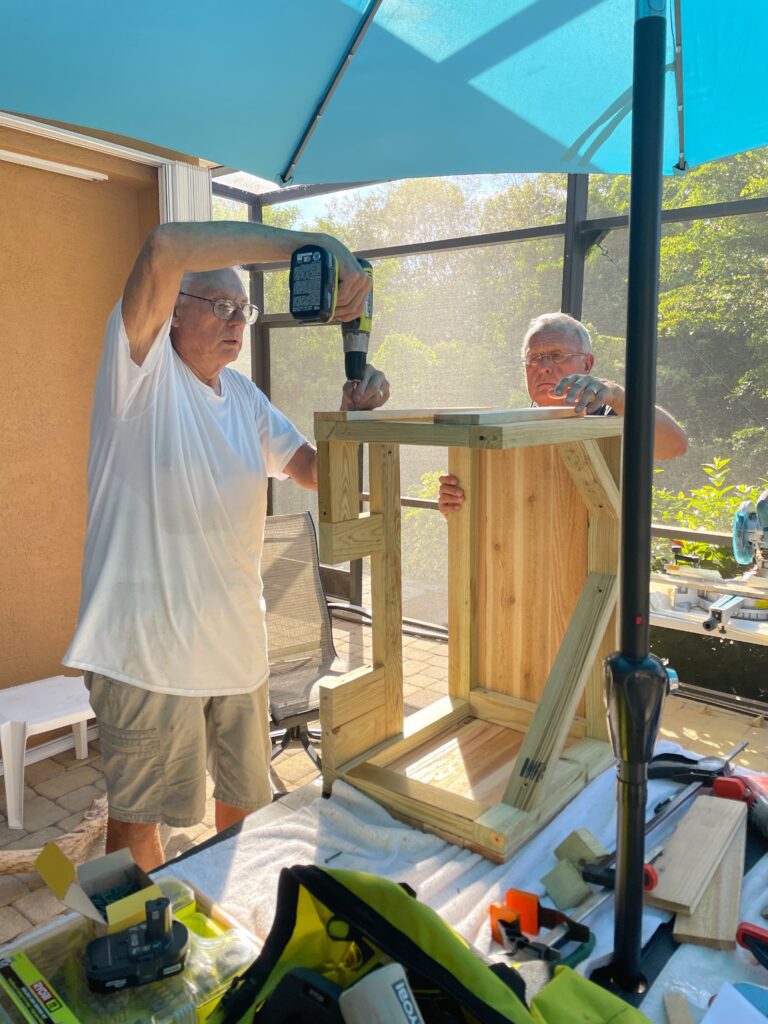
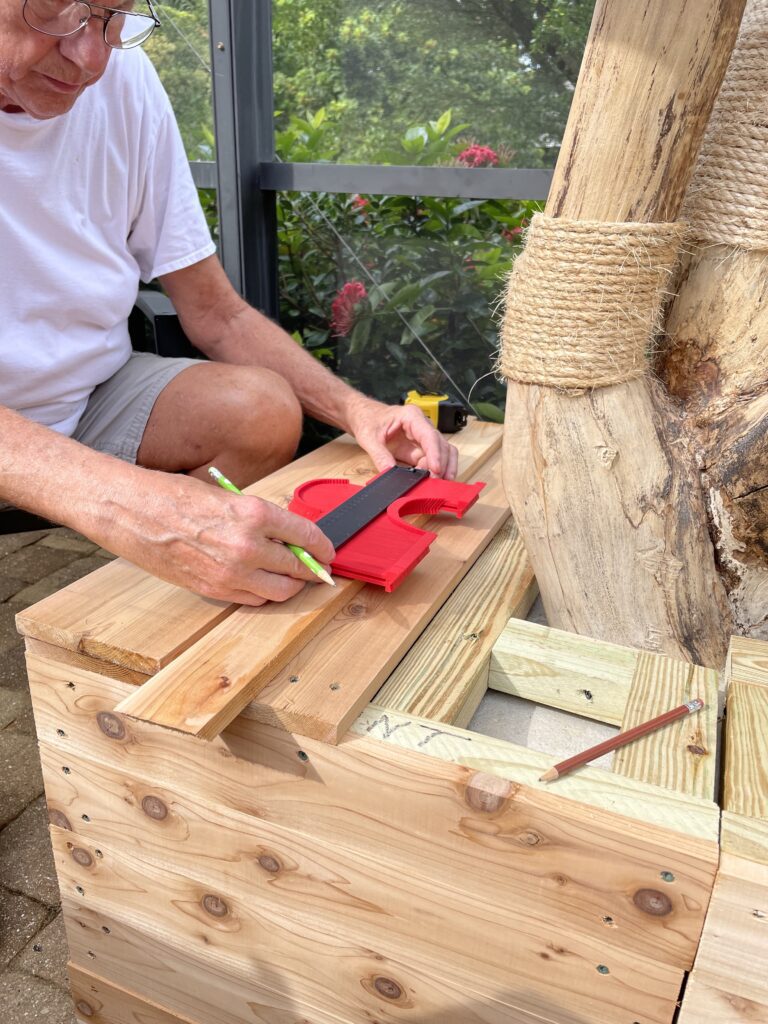
Dad even sanded the top!
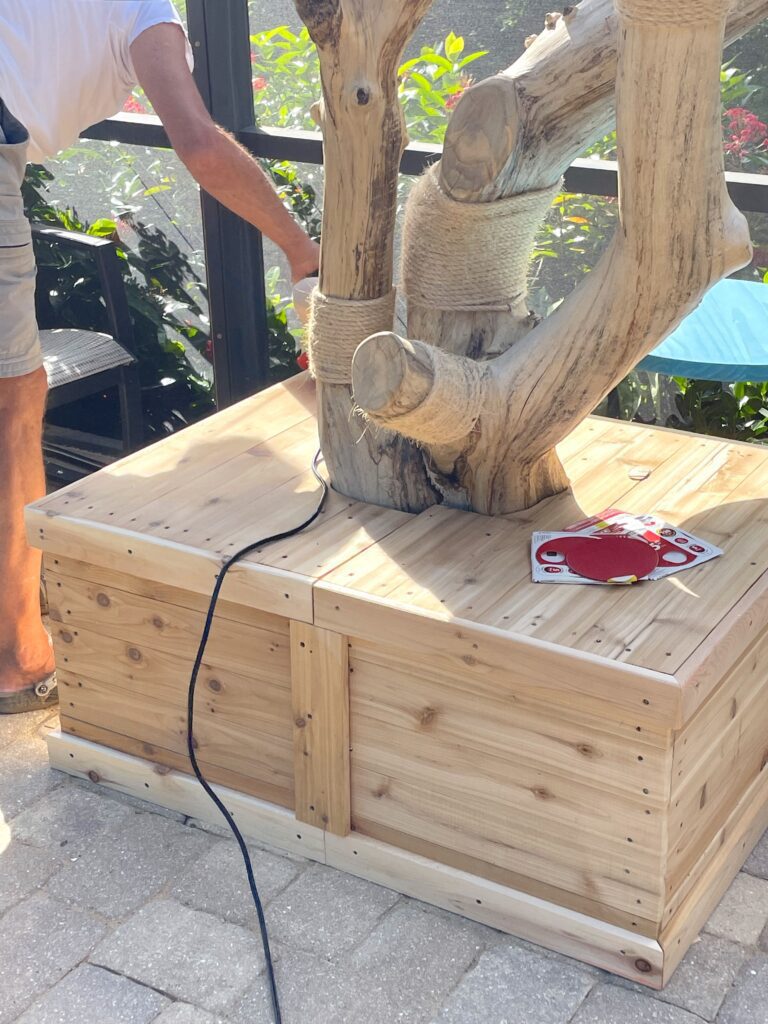
Ta Da!
The best thing about this cat tree DIY was: It’s a cat tree that looks like a tree because it is a tree! A tree with a new lease on life!
Step 7
I was trying to figure out fun ways to cover up where the base met the tree. I was all on aqua-colored glass stones but thought it would be a mess unless I glued them on.
A friend suggested I put seashells around the base…geez. I couldn’t seem to come up with the obvious myself!
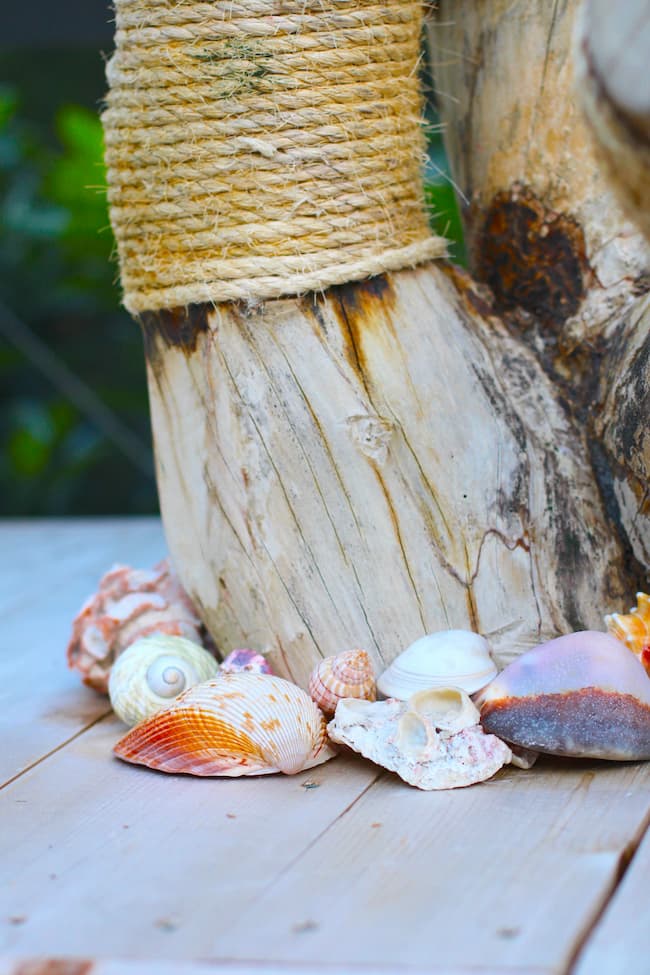
AND…I still had some beautiful shells from our honeymoon that had been boxed up forever!
And LOOK! Even Pouffy came out to enjoy the cat tree. He NEVER lets us see him on it during the day but I’ve heard him dismount from it at night.
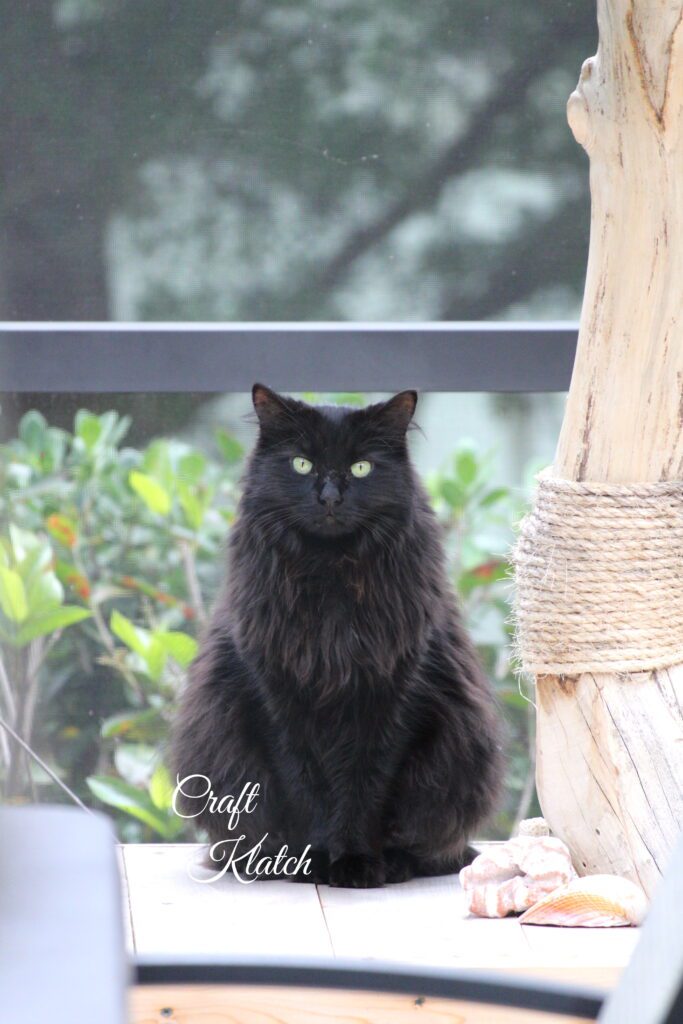
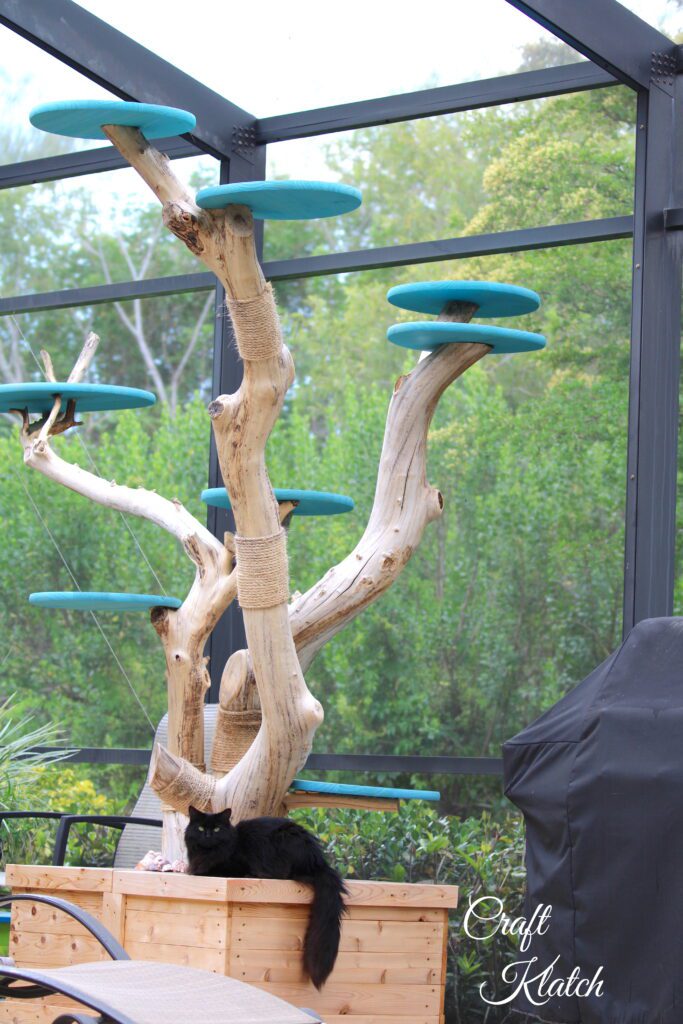
He’s super sweet but had a hard start in life, so he’s always extra cautious.
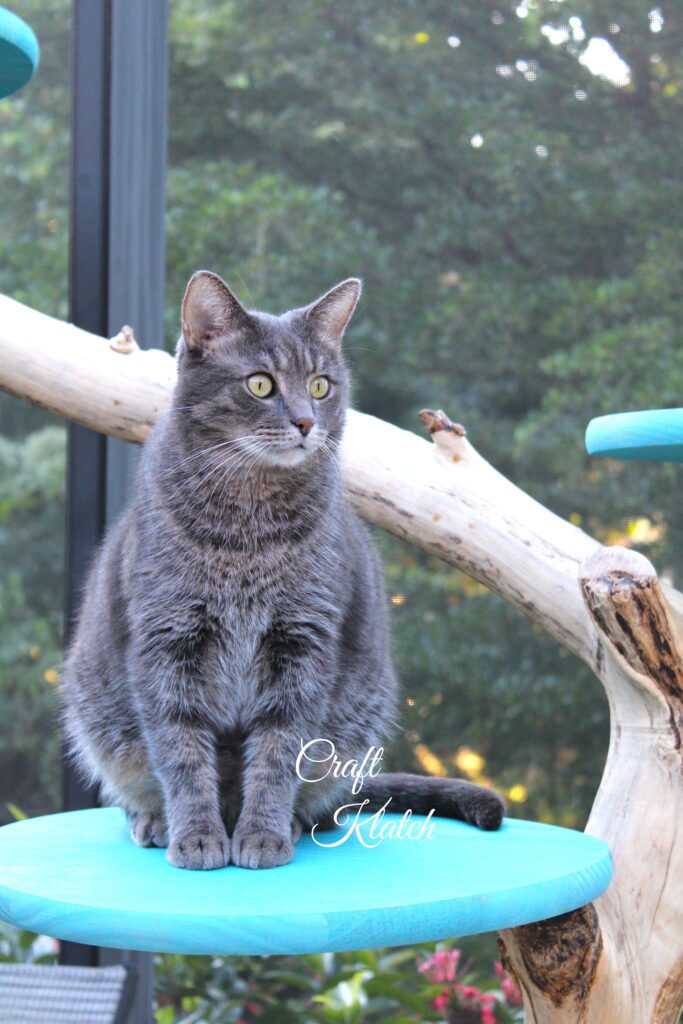
And Grayson, well, he’s loved the DIY cat tree even while it was being DIYed!
Other Pet Crafts
If you are an animal lover, here are some additional posts you’ll enjoy!
- Pet Paw Coasters
- Coco’s Beach House Dog House
- Cat Silhouette Coaster
- Cat and Dog Coasters
- A Cat Table Makeover
Other Cat Trees
If you are looking for a unique cat tree but aren’t up to making one, check out these. OMG! I don’t know which one I LOVE the most!
Thanks for stopping by!
Remember: Life’s too short not to shimmer, so grab your glue gun and your glitter!™ Stay safe!
Mona

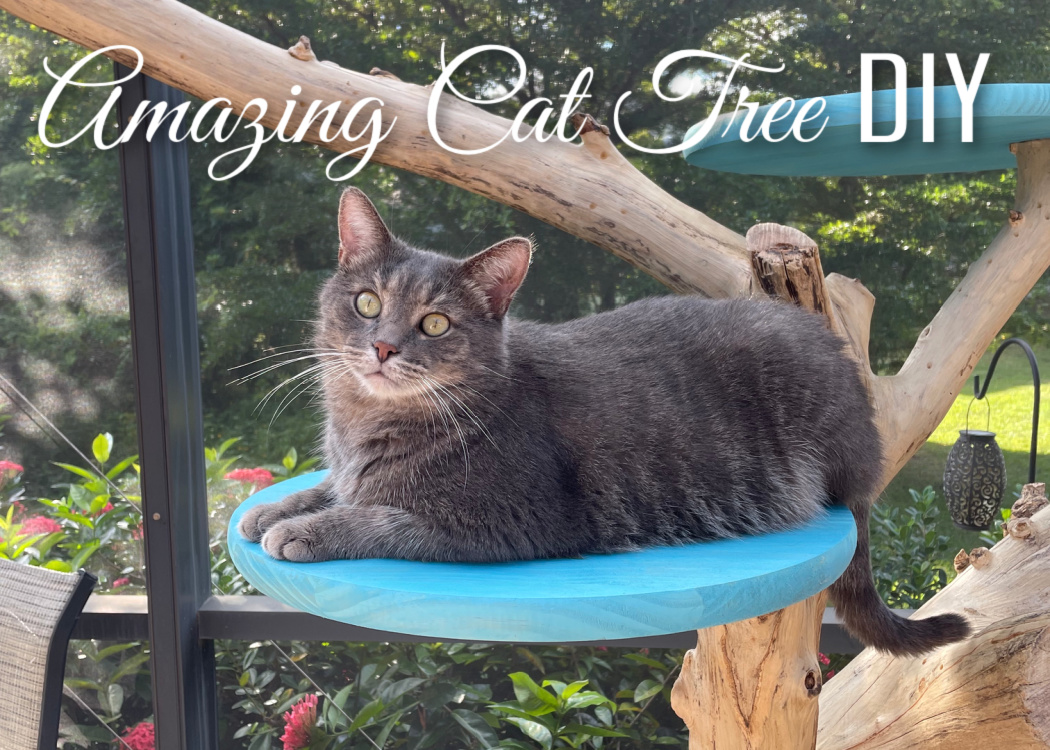
AMAZING Cat Tree! I love it! Sharing this with a friend who loves cats.
Thanks, Liberty! Took a long time from coming up with the idea to actually making it happen! I’ve had people say they’d love it for their birds or even plants. I guess cat trees aren’t just for cats anymore!
Hi! I love it!!! It’s really beautiful!! I don’t have a cat…yet, but when I do I will have hubby build one!!!! I’m saving a pic of it!!
Thanks, Sylvia! Get that cat! I have never gone to adopt one. The three I have had were all strays. We lost Spooky a couple of years ago (I’m still sad about it) and the boys showed up at different times but are super tight, which makes me happy. I’m afraid if I walk into shelter I’d walk out with all of them!
Hi Mona! OMG! You turned what sometimes can be an eyesore into an eye catcher! It truly looks like a piece of art and something that you should really be proud of. Kudos to all your helpers, too. I would expect nothing less from you….you are an amazing and talented artist. And your cats will thank you for years to come.
Lisa, you are so kind! You are right, some can be an eyesore. I’ve had people over that wished they had it for their birds and another for her orchids and air plants. I love reusing and repurposing! Greg and Dad were instrumental in making it happen! I only held things and told them what to do!
All I can say is that my intelligent, dear, sweet, crazy, cat, Lucy, and I are jealous!! She was a street stray when she came to live with me over ten years ago so is also an indoor/outdoor girl who thinks all the neighbors owe her a pet, a treat, and a spot on their sunny front stoop since my house is mostly in the shade, all our neighbors are happy to oblige her! I thought I was more of a dog person but I do not think that any longer!
Thank you for sharing your whole journey and all the pics, you made this a fun and interesting read. Your cats are very lucky to have found you and your hubby (and your dad), it is more than obvious that you feel like the lucky ones!
OMG, Alice! You are so kind! I’m not sure that Lucy has anything to be jealous of. It sounds like she is living the life! We had one very nasty neighbor up north. I am glad Lucy is welcome throughout the neighborhood.
I do feel like we are the lucky ones. I’m glad we could give them both safe and happy homes, where they are loved. And I’m glad Lucy found you. Clearly you are lucky too!
What a wonderfully creative idea! I love it! I may have to try my hand at this sometime in the near future! Thanks for sharing this.
Thank you, Kathleen! I’m so glad you like it! I think you should give it a try! Keep an eye out for the perfect tree!
This tree is fantastic. Also you have a loving husband and Dad not many would have gone through all this , cats are happy so WHAT THE HECK!!!!
Thank you, Sandy! It is pretty terrific and so are Greg and my Dad. And the cats are happy, so what the heck it right!
Wow….just WOW. DAD YOURE AWESOME
Yes, he is! Thanks, Carol!
Very cool! You are fortunate to have family who “get” your ideas and help you make concepts become concrete (even hidden by
a gorgeous box).
My furry girl, Cali, would be so jealous!
Thanks, Elizabeth! I am lucky! They do complain but eventually the come around!
Lucky cats. Beaautiful job!!!
Thank you so much, Peggy!
Hi Mona!
I loved reading about your journey to build one of the most amazing cat trees I’ve ever seen! My four kitties would love to climb all over something like that. Not long ago, I was looking for a way to build a cat tree as our old one, which held up pretty well, was in need of replacement. Similarly, I had my husband as my ever willing although sometimes skeptical, husband along for the ride. We live in the suburbs of LA, and out here everyone has their yards fenced in, so I wasn’t likely to find a tree from a willing neighbor.
Thank you, Beth! I think every kitty deserves an amazing cat tree because they are amazing!!! That was a pure fluke that we found the neighbor’s dead tree. We spent time driving the countryside to see if there was a dead or felled tree that would work. And my husband is generally pretty skeptical but I’m lucky that my dad is usually always game.
Wow! I have been looking at cat trees on Etsy + they’re all so expensive. Most of the dozing areas are too small for anything but a kitten. I have access to a forest + will be looking for dead trees to harvest as soon as the weather breaks. Thank you for showing how the guys made it. I don’t need one that big, but I love the natural tree look!
Thanks, Michelle! I’m so glad you like it! We have shortened it a little, since Grayson isn’t the most graceful of cats in the world. But they love sitting on it and looking around. And I love the natural vibe too!