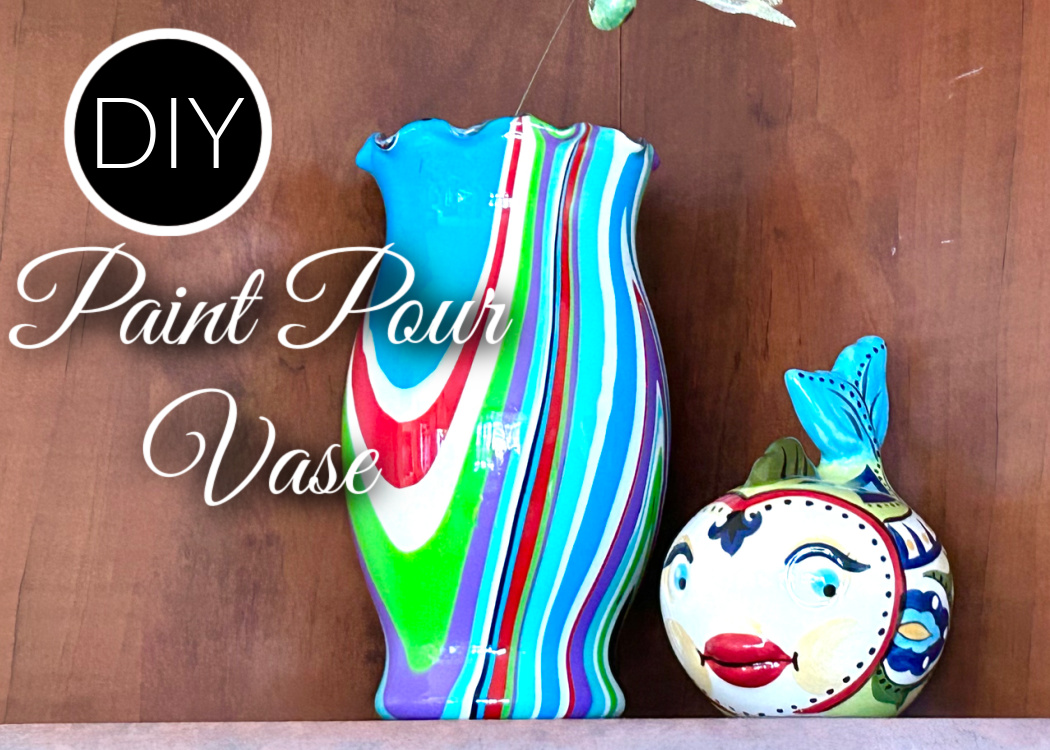
Acrylic paint pouring on vases is a fantastic way to create unique, vibrant home decor. Whether you’re a beginner or looking for new paint pouring ideas, this guide will walk you through the process of turning a plain glass vase into a colorful masterpiece.
I jumped in, grabbed a vase, some paint and started pouring!
This is the first vase I have ever poured and it was so fun!
I will show you how to transform an inexpensive glass vase with easy acrylic paint pouring techniques. Perfect for beginners, this guide offers tips, ideas, and methods to get you started. Watch my YouTube video for inspiration!
Acrylic Paint Pouring on Vases YouTube Tutorial
Follow these simple steps and watch your creativity flow!
Materials Needed:
*Disclosure: This blog uses affiliate links from Amazon and other retailers. I earn a small amount from qualifying purchases at no additional cost to you.
- Clear glass vase (you probably have some on hand)
- Apple Barrel Ready Pour paints
- Plastic cups
- Silicone mold (to catch any excess)
- Nitrile gloves and a workspace cover
- Epoxy resin (3 ounces recommended)
- Stir sticks
Step-by-Step Guide to Acrylic Paint Pouring on Glass Vases
This technique is simple and can be used on a variety of glass vases – different in both shape and size.
Step 1: Don’t Forget to Prep Your Workspace
Before getting started with acrylic paint pouring on glass vases, you want to prepare your workspace. Put a garbage bag or other plastic sheeting on the table. Using a larger silicone mold is a great catch-all for excess paint and resin. You can also use a canvas.
Be sure to wear your gloves to keep the resin off of your hands. And clean the vase. I used rubbing alcohol to make sure it was grease-free.
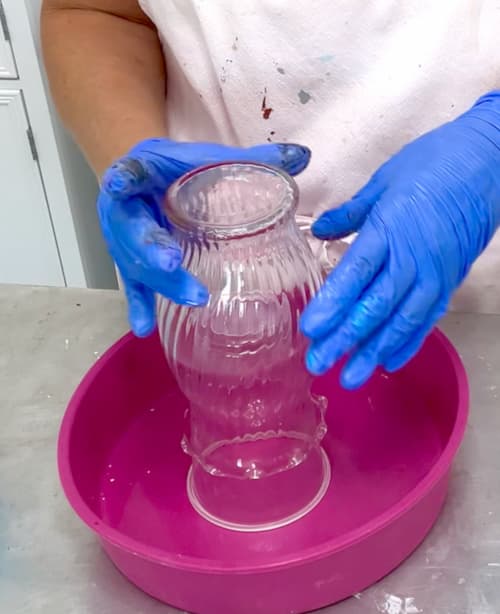
Step 2: Prep Your Vase for the Paint Pouring
Place your clear glass vase upside down on a plastic cup. This will elevate the vase and allow excess paint to drip off. Put the cup and vase inside a silicone mold to catch any excess paint, which can be used to create a different project.
Step 3: Choose Your Colors for Acrylic Paint Pouring on Vases
Select a variety of colors from the Apple Barrel Ready Pour Paint collection. These paints are pre-mixed and perfect for acrylic paint pouring on vases.
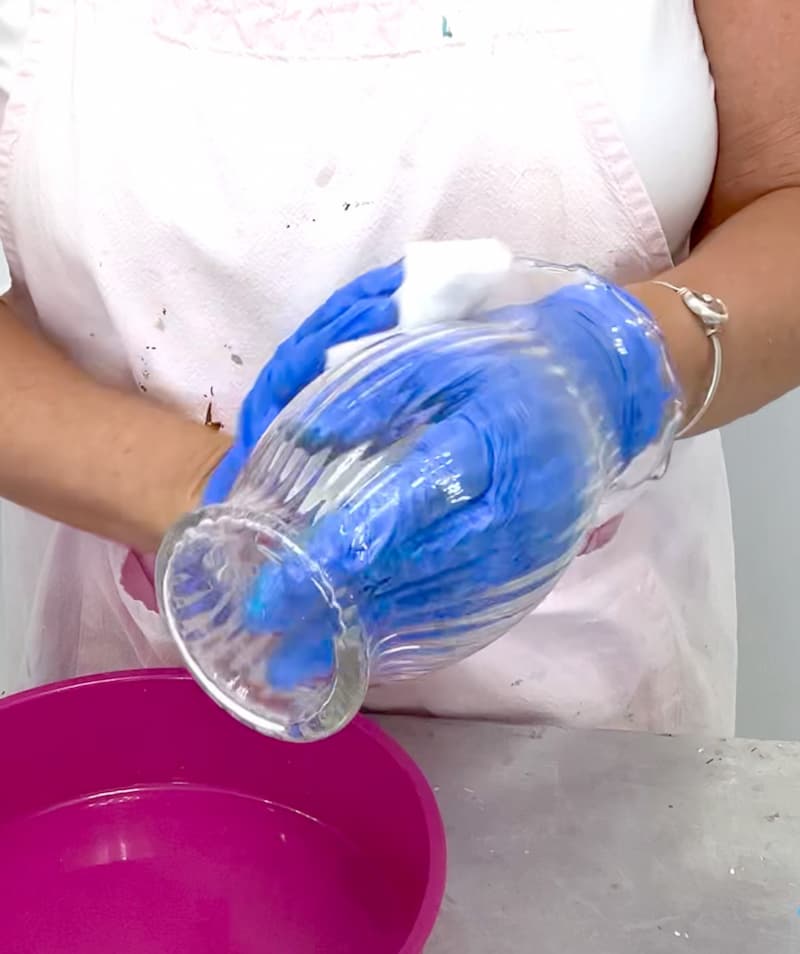
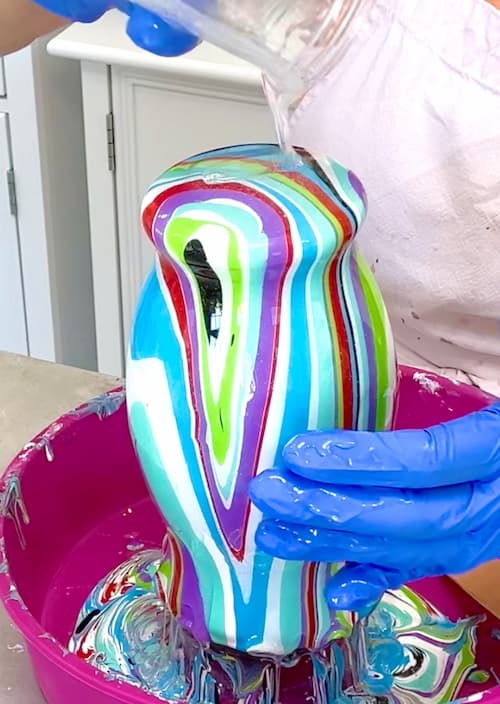
Step 4: Start Pouring:

Slowly pour each color over the bottom of the vase, allowing the paints to flow down the sides. Experiment with different pouring techniques to create various effects.
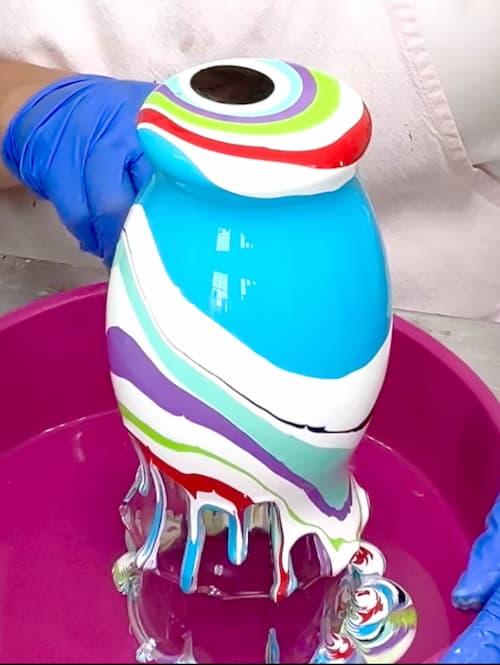
After pouring, let the vase dry for at least 24 hours. This ensures the paint dries properly.
Step 5: Apply Resin for a Glossy Finish:
After the paint has dried, remove the vase from the cup. Mix three ounces of resin (though two ounces might be sufficient) following the instructions on the resin package. Pour the resin onto the vase and use your gloved hands to ensure the vase is fully covered. Make sure to remove any drips and run your finger along the rim to ensure the edge is covered and all the paint is sealed.
Allow the vase to cure for 12 hours. Once cured, remove it from the cup. The vase should have a beautiful, glossy finish.
Tips for Successful Acrylic Paint Pouring on Vases
- Use Quality Paints: Apple Barrel Ready Pour paints are ideal for this project, providing vibrant colors and a smooth finish.
- Experiment with Techniques: Try different paint pouring methods, such as the dirty pour, flip cup, or puddle pour. Explore easy paint pouring ideas on YouTube to find the style that suits you best.
- Protect Your Work Area: Using a silicone mold or a similar catch tray will help manage the mess.
- Resin Application: Be meticulous when applying resin to avoid drips and ensure complete coverage.
Acrylic Paint Pouring on Vases is Just the Beginning!
Looking for more paint pouring ideas and inspiration? Check out these resources:
- YouTube: There are numerous pour painting ideas on YouTube. Search for “acrylic paint pouring on vases” or “paint pouring for beginners YouTube” to find tutorials and inspiration.
- DIY Paint Pouring Medium: There are great premade paints for pouring nowadays but there are great products to help you create your own. Creating your own allows you to customize your pour.
- Beginner-Friendly Projects: Start with easy paint pouring ideas to build your confidence. As you get more comfortable, you can try more complex designs and techniques.
Uses for Your Finished Vase
Once your vase is complete, it can serve multiple purposes:
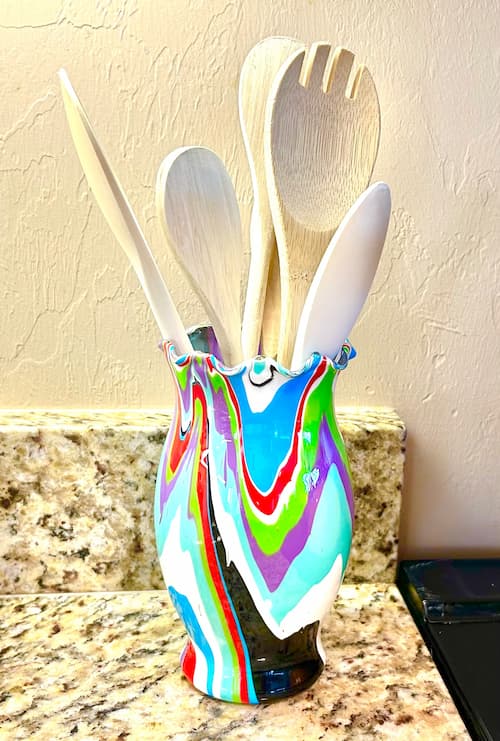
- Kitchen Utensil Holder: A vibrant and functional addition to your kitchen.
- Decorative Vase: Use it to hold flowers and enhance your home decor.
- Craft Room Organizer: Perfect for holding paintbrushes or other craft supplies.

Acrylic paint pouring on vases is a fun craft for all skill levels. By following these simple steps and exploring various paint pouring methods, you can create stunning, one-of-a-kind pieces that brighten any space. Ready to get started? Gather your supplies, watch some paint pouring videos for beginners, and let your creativity pour out!
Other Fun Resin Projects
- Liquid Rainbow Resin Coaster DIY w/ video
- Transform Your Space: Stunning Sunflower Basket Table DIY You’ll Love
- How to Make Nail Polish Jewelry
- DIY Resin Acorn Molding and Casting
Feel free to share your tips and comments below.
Remember: Life’s too short not to shimmer, so grab your glue gun and your glitter!™ Stay safe!
Mona
I love doing paint pours. Your’s is beautiful.
Thank you so much, Cathy! They sure are fun!
Absolutely and outstanding, so beautiful. WOW, just WOW
Just visited A Little Bit of Everything and WOW, such a awesome links left!
Here’s what I’m sharing: #23+24. Let’s make it a party!
Link your posts at #SSPS: https://esmesalon.com/tag/seniorsalonpitstop/