To stay up on the latest, be sure to
SUBSCRIBE to my YouTube Channel!
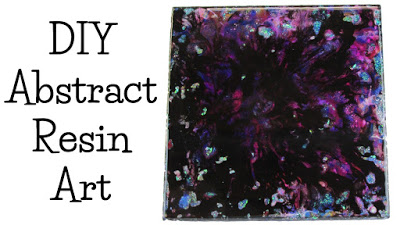
I’ve been wanted to experiment with resin and layers for a while now. This is truly an experiment. I mixed in different pigment powders, thick and fine glitters and India inks into the resin. The pictures do not do it justice. I has a great amount of depth and color to it!

Here are some of the items I used:
– Pigment powder: https://amzn.to/2GwoBuK
– India ink: https://amzn.to/2BtgJ7D
– Glitter – both fine and chunky: https://amzn.to/2EFunIT
– Iridescent confetti flakes: https://amzn.to/2EEKmqI
– Sander and sandpaper – I used grits ranging from 60 to 220. (Start with the rougher grit and end with the fine grit).
– Sander and sandpaper – I used grits ranging from 60 to 220. (Start with the rougher grit and end with the fine grit).
Resin (use whatever resin brand you like): https://amzn.to/2CpymqI
Easy Cast: https://amzn.to/2yjYmBC
Art Resin: https://amzn.to/2yk9X3z
Clear Cast: https://amzn.to/2z4rxGw
FX Poxy: https://amzn.to/2AF3Pkk ~ According to the manufacturer, this one is heat resistant to 500 degrees F.
Easy Cast: https://amzn.to/2yjYmBC
Art Resin: https://amzn.to/2yk9X3z
Clear Cast: https://amzn.to/2z4rxGw
FX Poxy: https://amzn.to/2AF3Pkk ~ According to the manufacturer, this one is heat resistant to 500 degrees F.
Here is the video tutorial:
I don’t have formal directions on this one. I did three or four layers before I sanded it. I did let it cure at least 12 hours before I sanded it. The layers will give you depth. There is no right or wrong on how to do this. Just experiment and try things!
Thanks for stopping by! Happy Crafting and stay safe!
Mona

Too dark but some of the close-up shots do look good.
Looks great. Definitely gonna try this.
I enjoyed reading this blog. in my opinion, everything was perfectly written there as well as few small tips are also can be taken as healthy suggestion. Descriptive informative content written in this blog is very useful.epoxy resin คือ