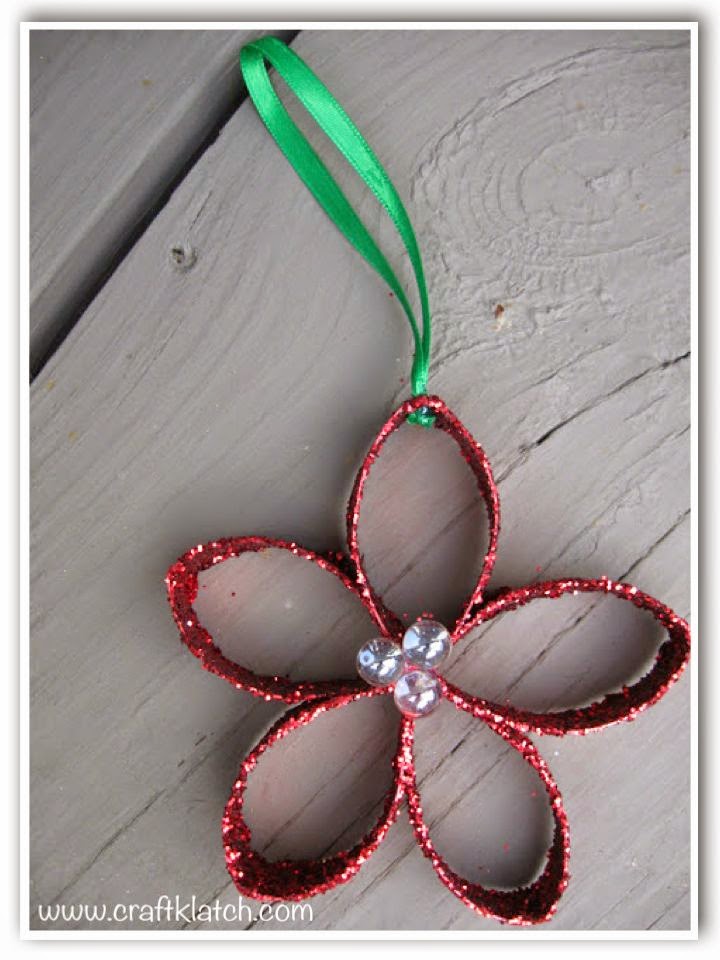
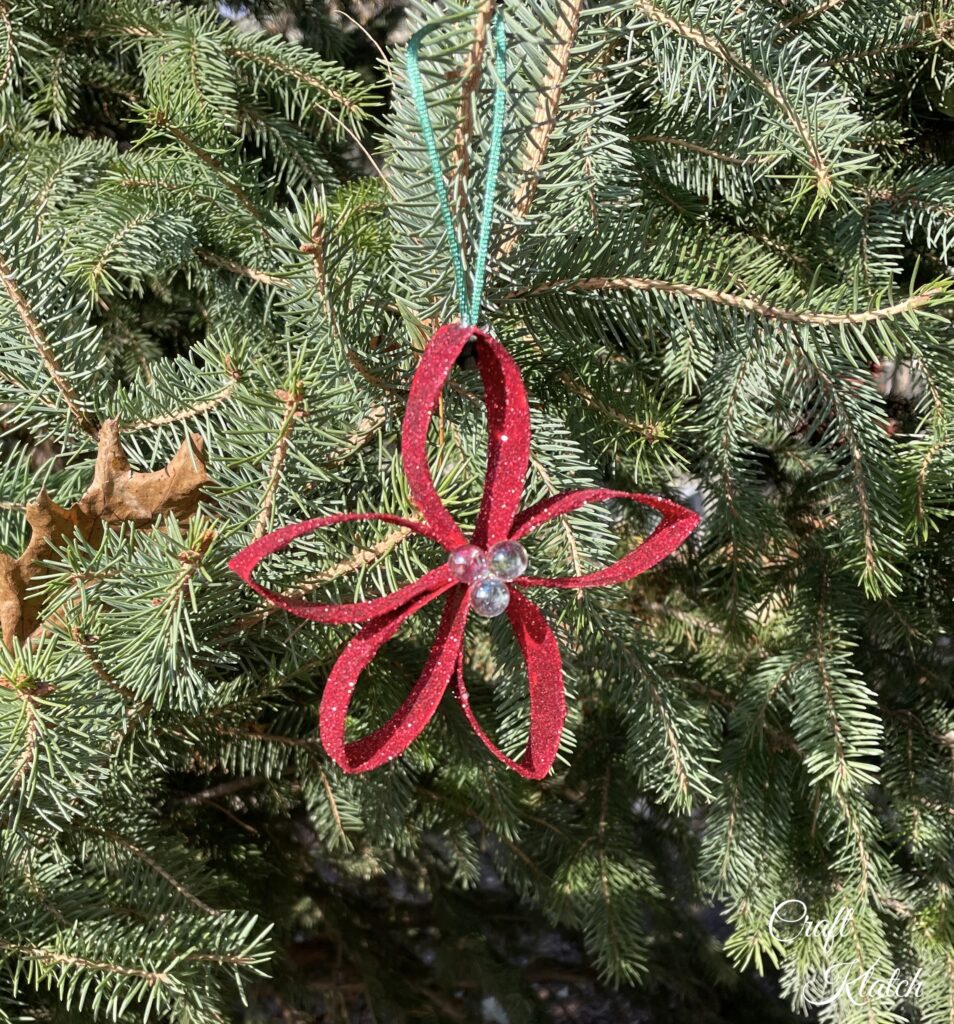
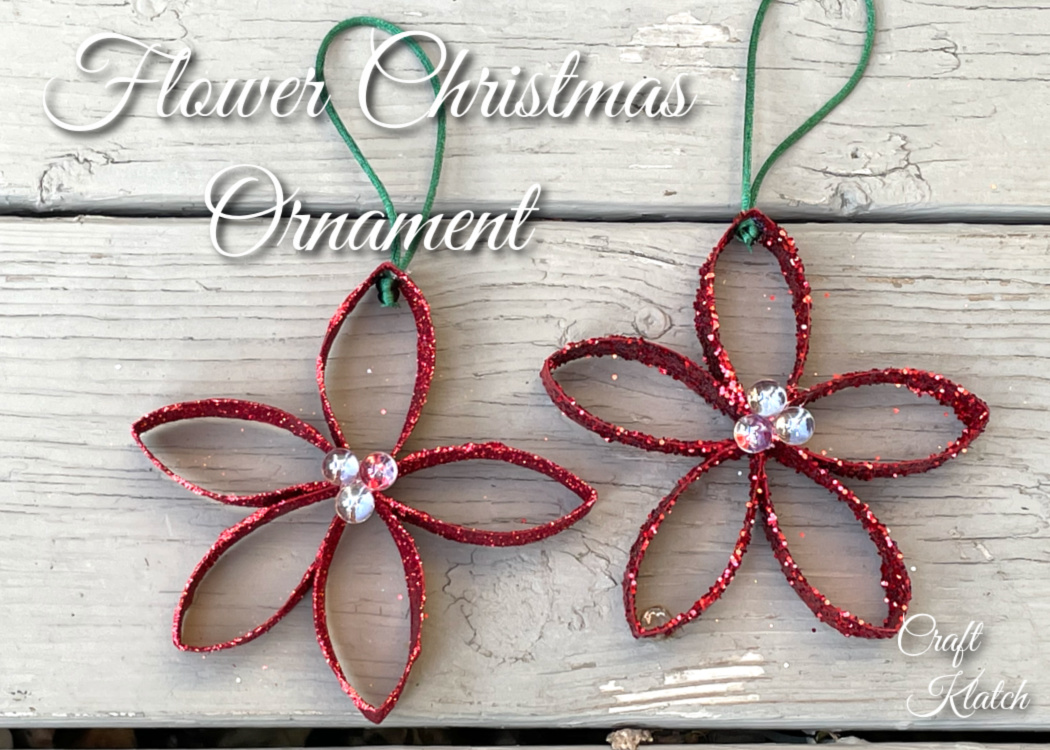
If you search Christmas Pinterest, you will find thousands of Christmas craft ideas and Christmas decor ideas to beautify your home. However, I’m not sure you will find one easier or more beautiful than this DIY Christmas flower ornament! The best part is that it is cheap! You are using recycled toilet paper rolls to craft this beauty…recycling and easy…double win!
Ornaments…not just for Christmas anymore!
If you are planning a Christmas wedding, Christmas in July, or looking for Christmas crafts for kids to make as gifts, this is a total winner!
However, this project does not just have to be for Christmas.
5 Alternative Uses for the DIY Christmas Ornament
- Change the colors and it could be a spring flower ornament.
- Change the color to match your wedding theme. They can be tied to the chairs at the reception, on pews at the church, a garland, etc.
- Glue them together to make a wreath, for any season!
- Make a flower, add a painted skewer stick for a stem. Add two more cut petals and paint them green for leaves. Stick it in a frame for flower art!
- How about attaching it to a napkin ring to help decorate your holiday table!
Did you know I have a Craft Klatch YouTube Channel, where you can find all my tutorials?
You should definitely check it out!
Supplies you will need to DIY the Christmas Ornament:
*This blog uses affiliate links. As an Amazon Associate I earn from qualifying purchases.
Video Tutorial of 5 Easy DIY Christmas Ornaments, including the flower!
Seriously, check the video out! I have five very different and super easy Christmas ornaments all made from toilet paper rolls!
Here are the other ornaments:
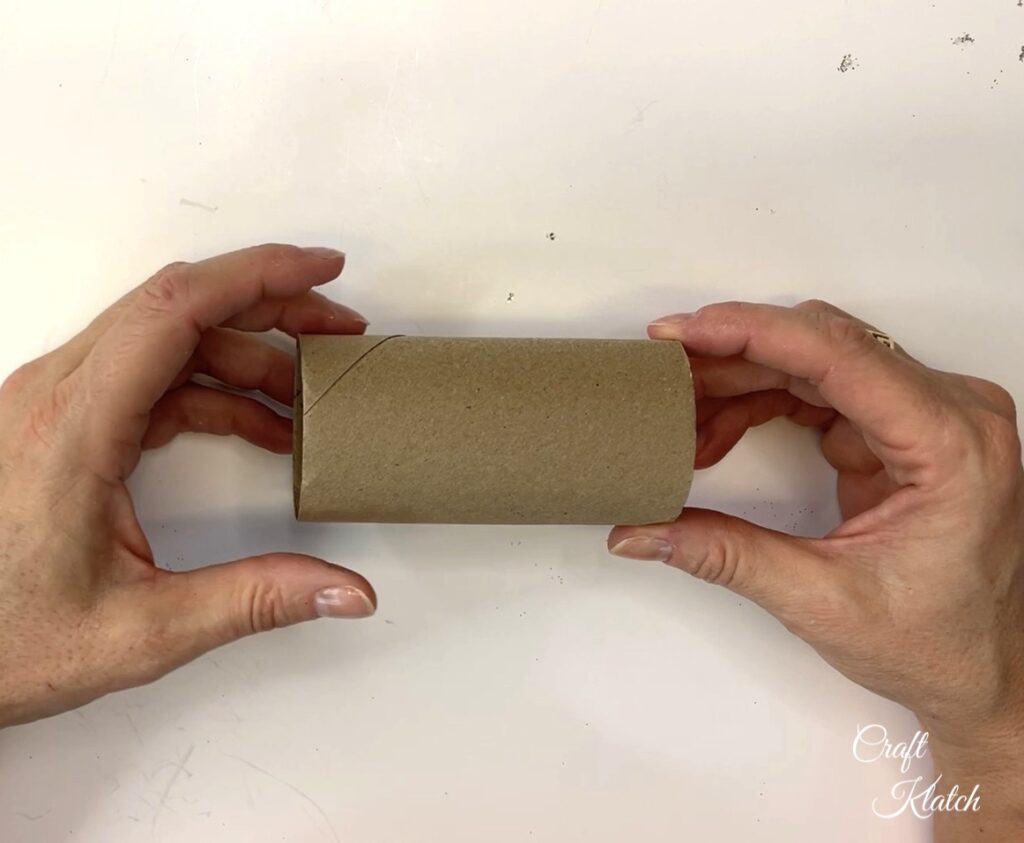
Go collect your toilet paper rolls!
Directions:
Step 1: Flatten
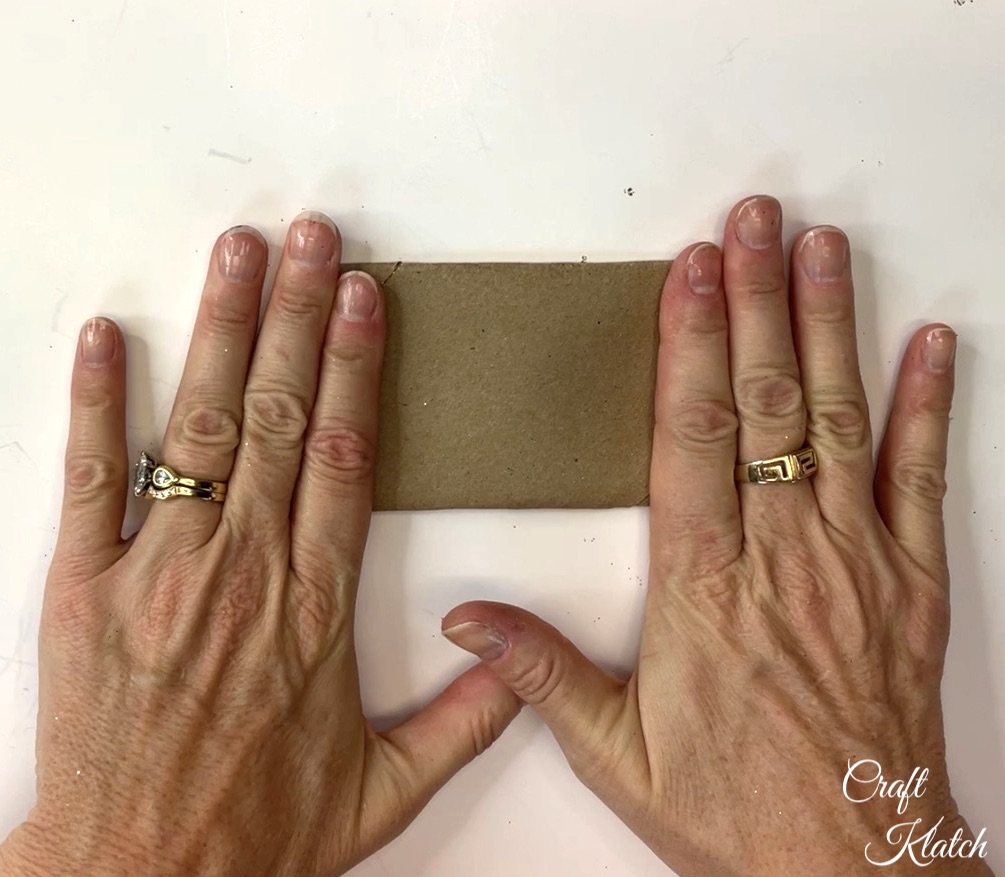
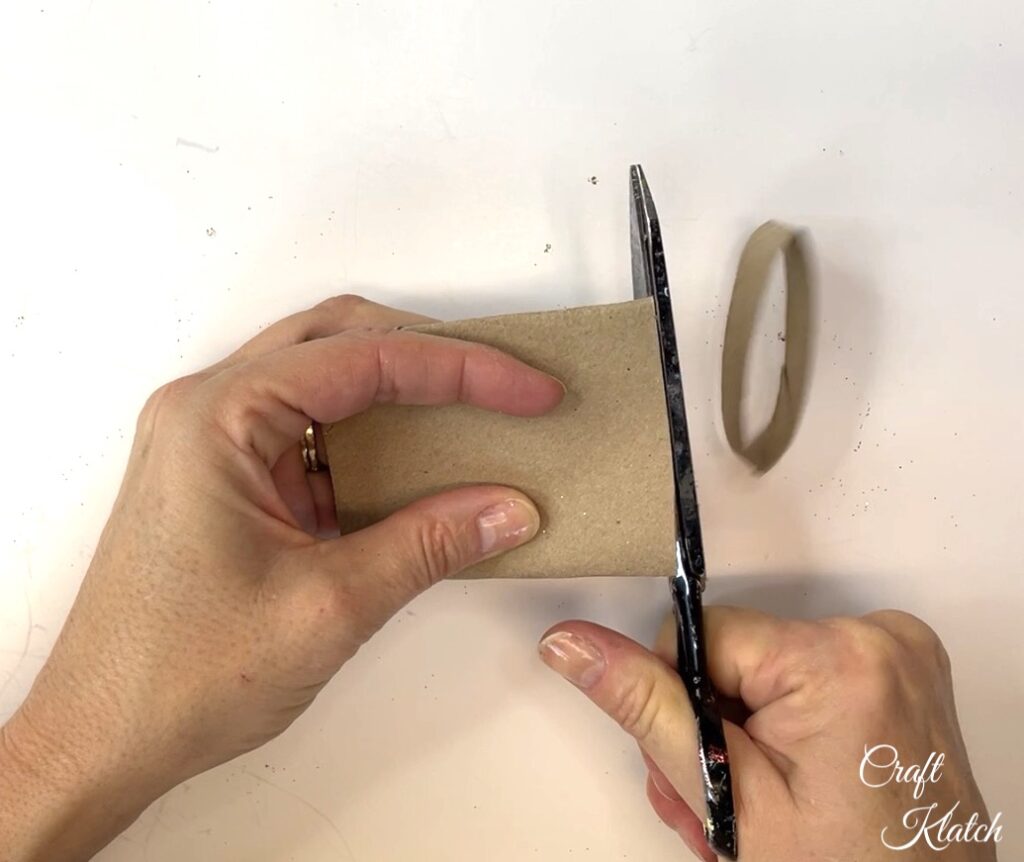
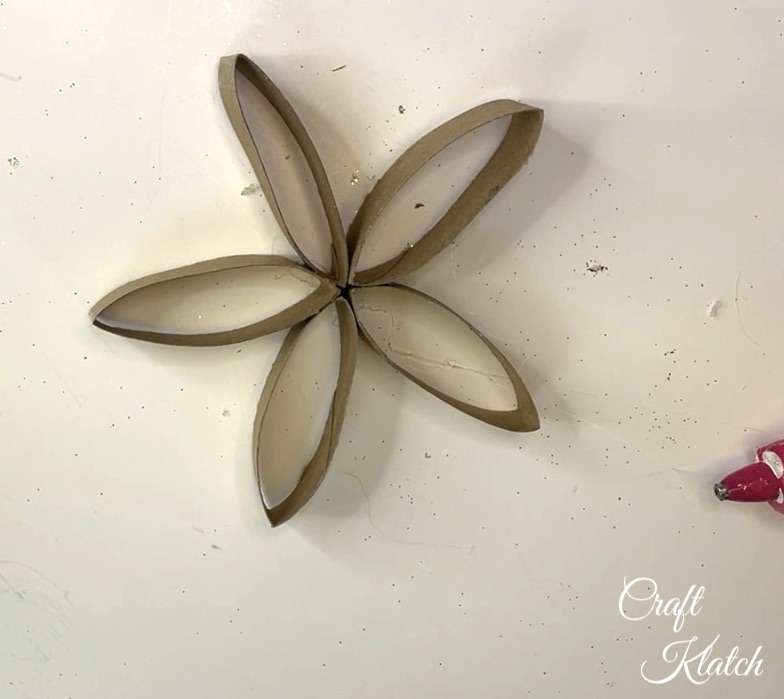
Flatten the toilet paper roll. It just makes it easier to cut. Then, cut a piece that is approximately 1/2 inch in width.
Don’t worry about getting the exact size, just make sure they are all about the same width.
Step 2: Start Gluing
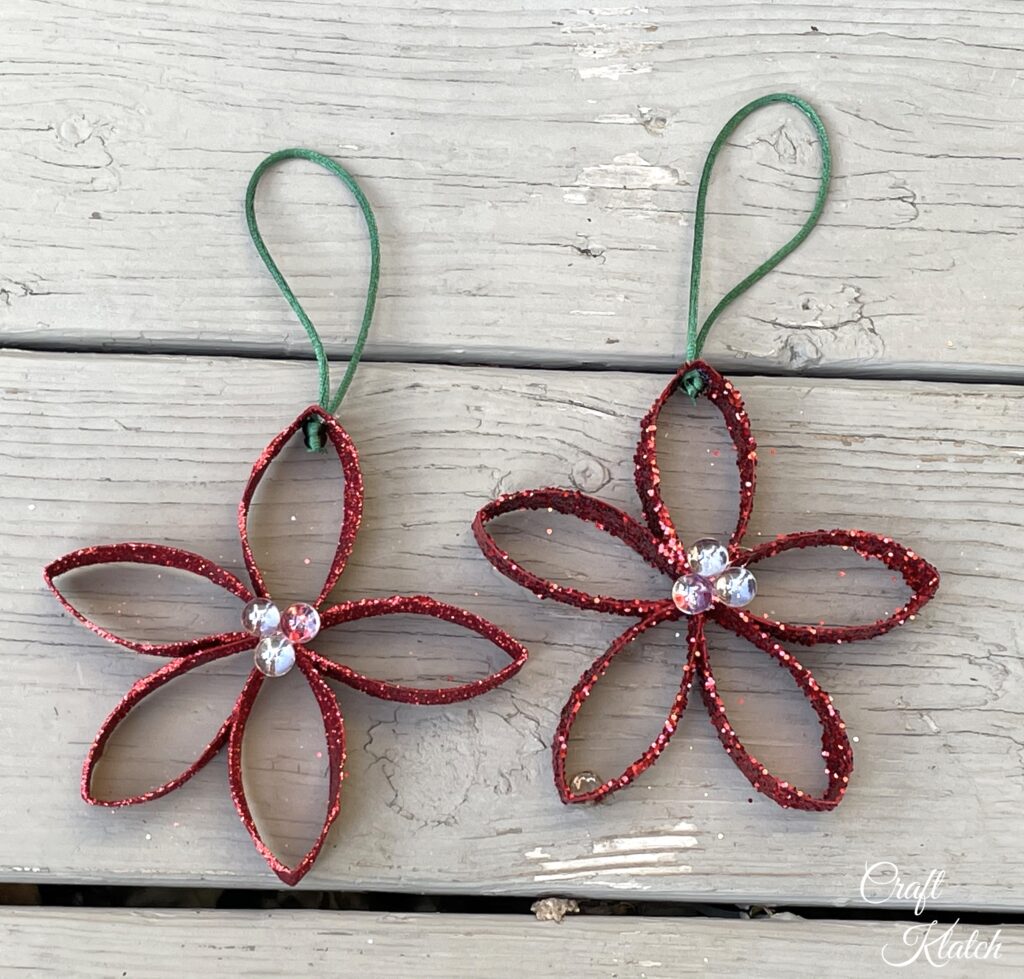
Cut five petals in total. You can use a glue gun or any glue that you want to use. Put a dab of hot glue near the top of each petal and glue it to the next petal to secure them in place.
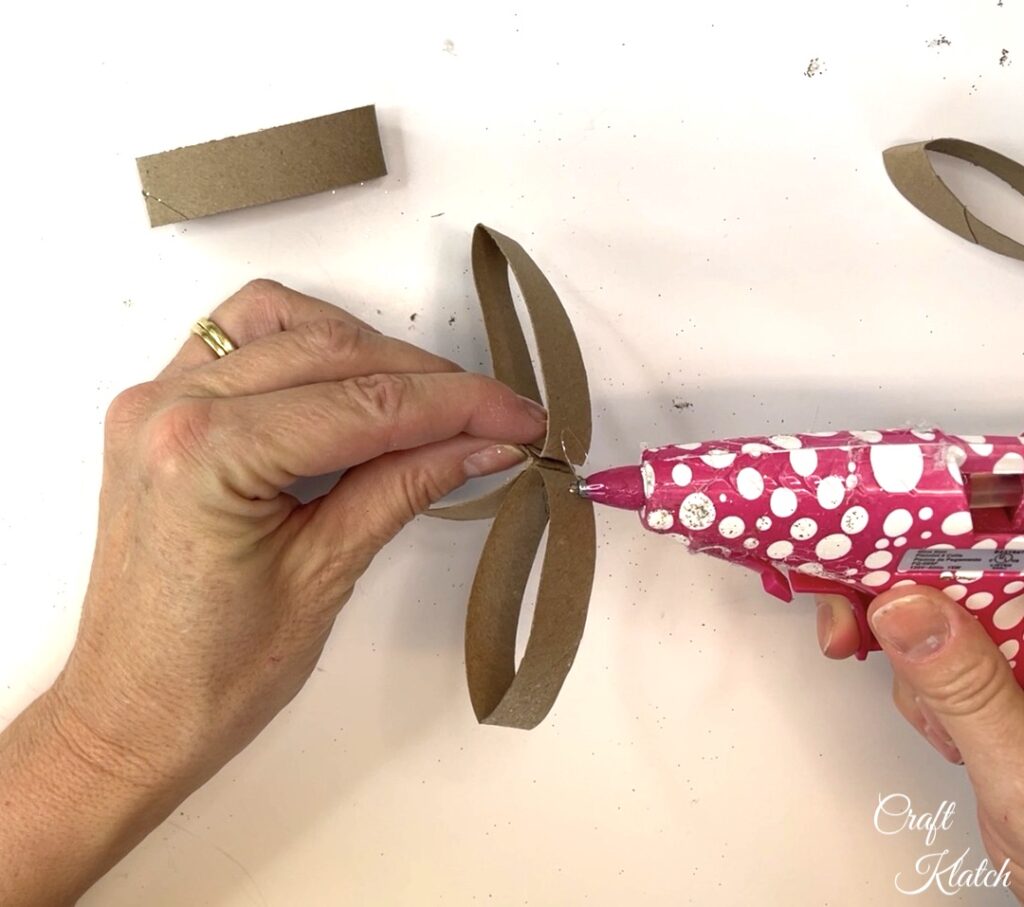
Now it should start to look like a flower.
Step 3: Paint
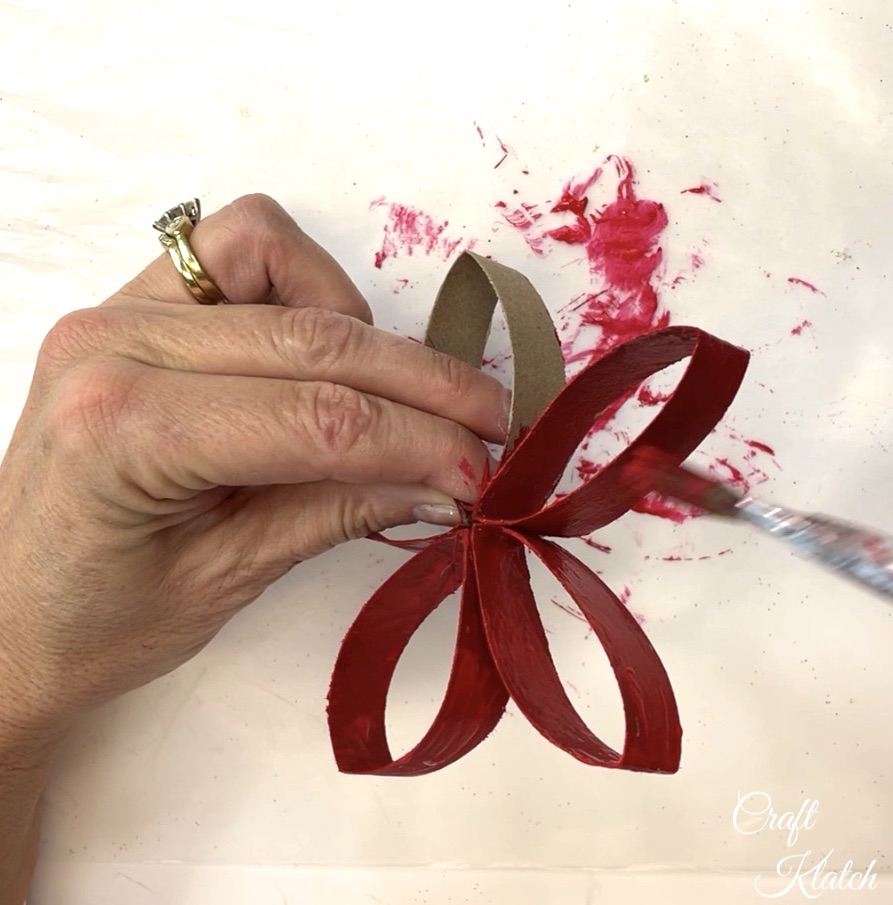
Paint the entire flower with red acrylic paint. You don’t have to match the red paint to your glitter exactly. It’s just there so if any of the cardboard from the toilet paper roll shows through, it won’t be brown cardboard.
Step 4: Time For The Glitter
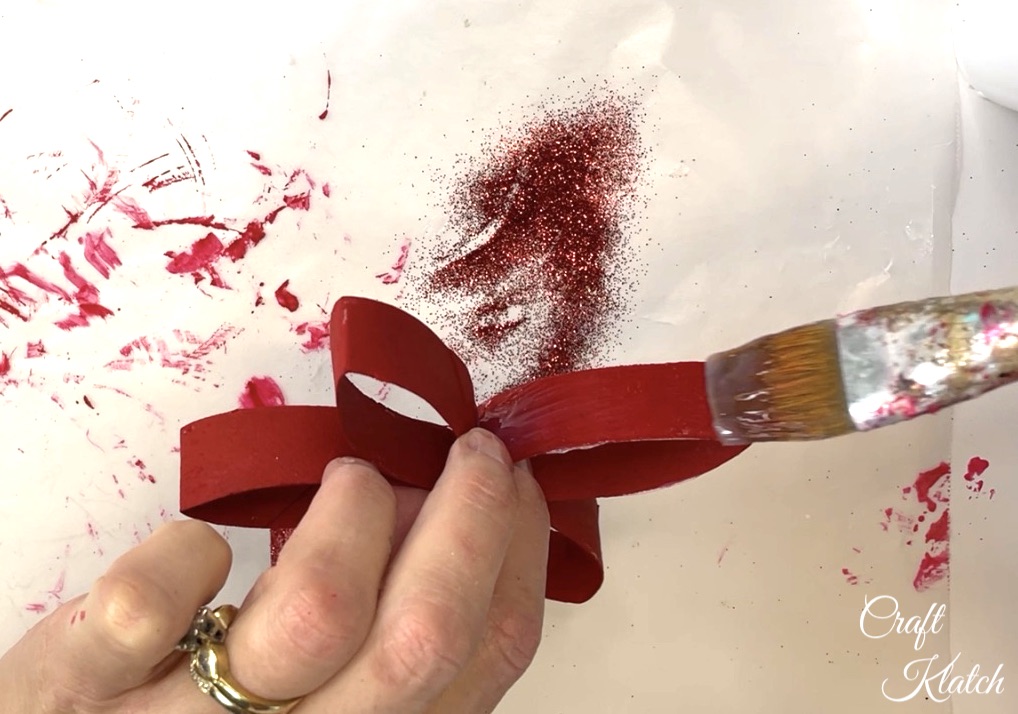
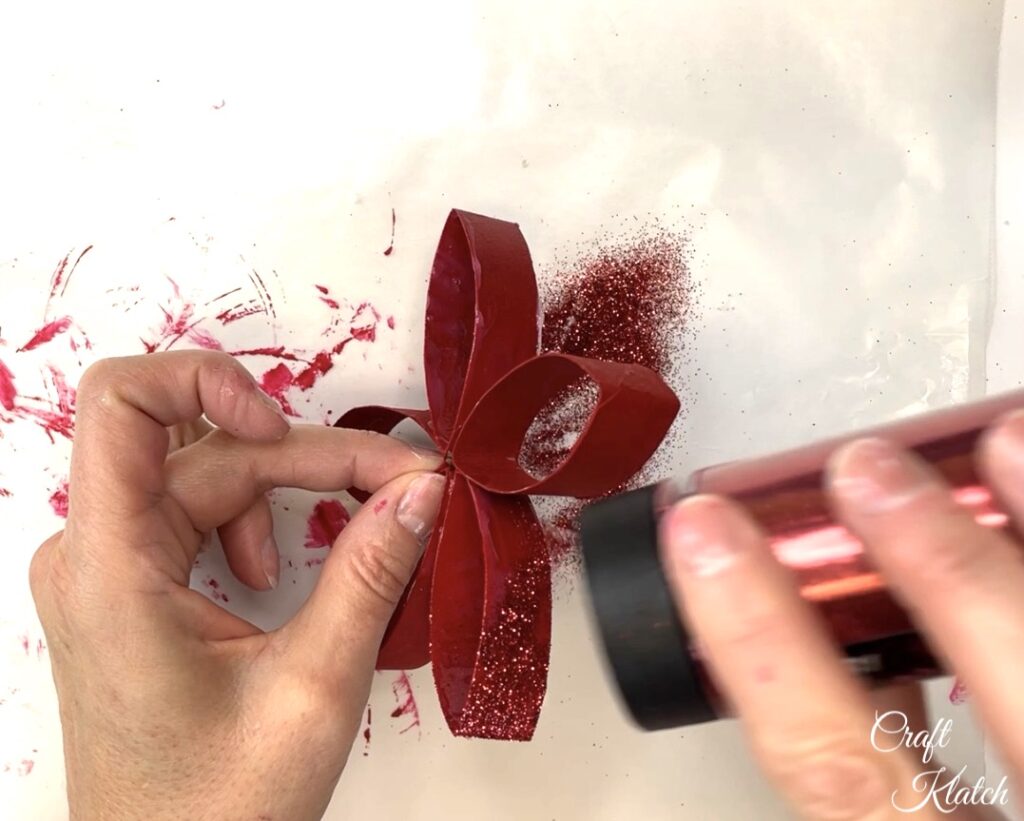
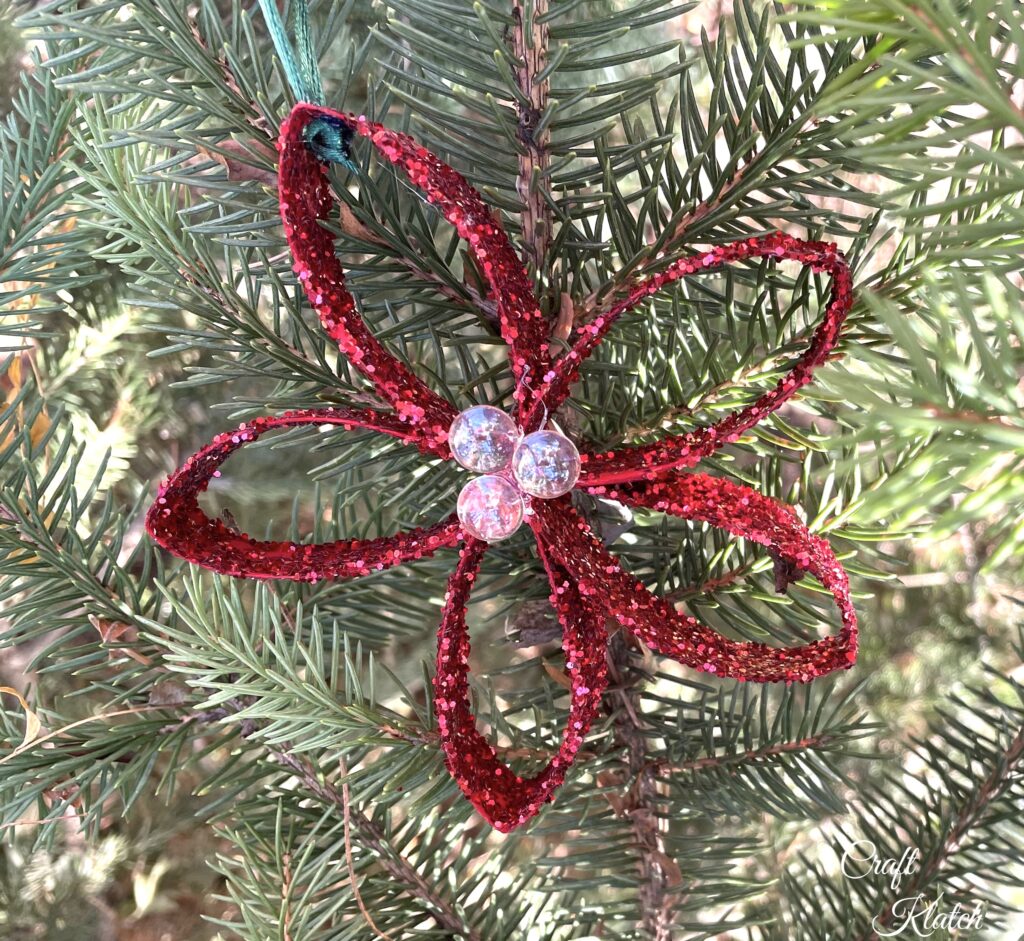
Let the paint dry. Then, brush on Mod Podge (or any clear drying glue) and sprinkle with glitter. Fine and chunky glitters both work great. They will just give you a different look, which you can see at the bottom of this post.
Let it all dry.
Step 5: Don’t Lose Your Marbles
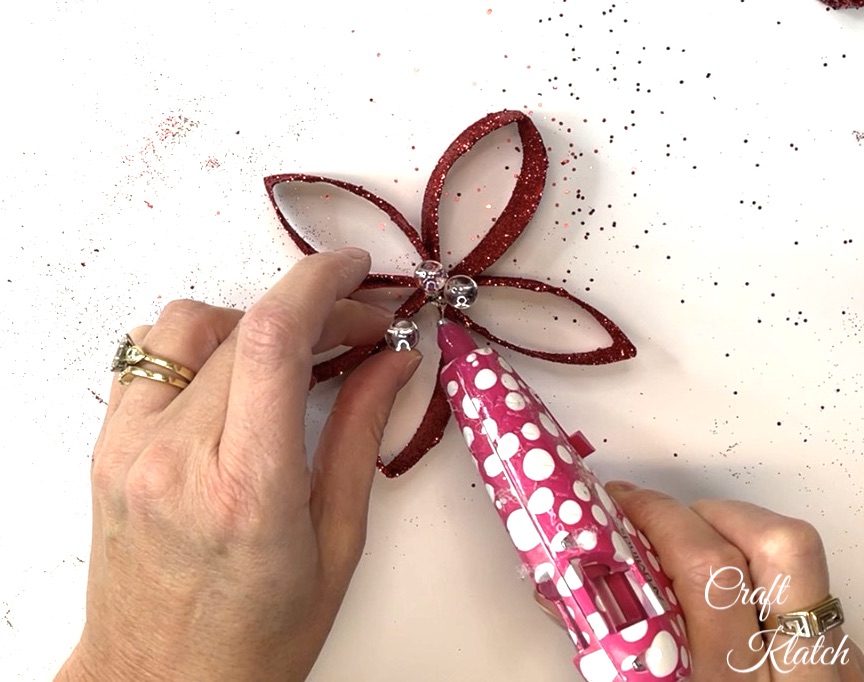
Put a glob of hot glue in the center, where all of the petals meet, and attach the glass marbles.
If you don’t have or can’t find round marbles you can use these instead
- buttons
- one flat gem
- fake pearl
- thin rope/twine wound and glued in a circle (great for a rustic look)
Step 6: Punch A Hole In It
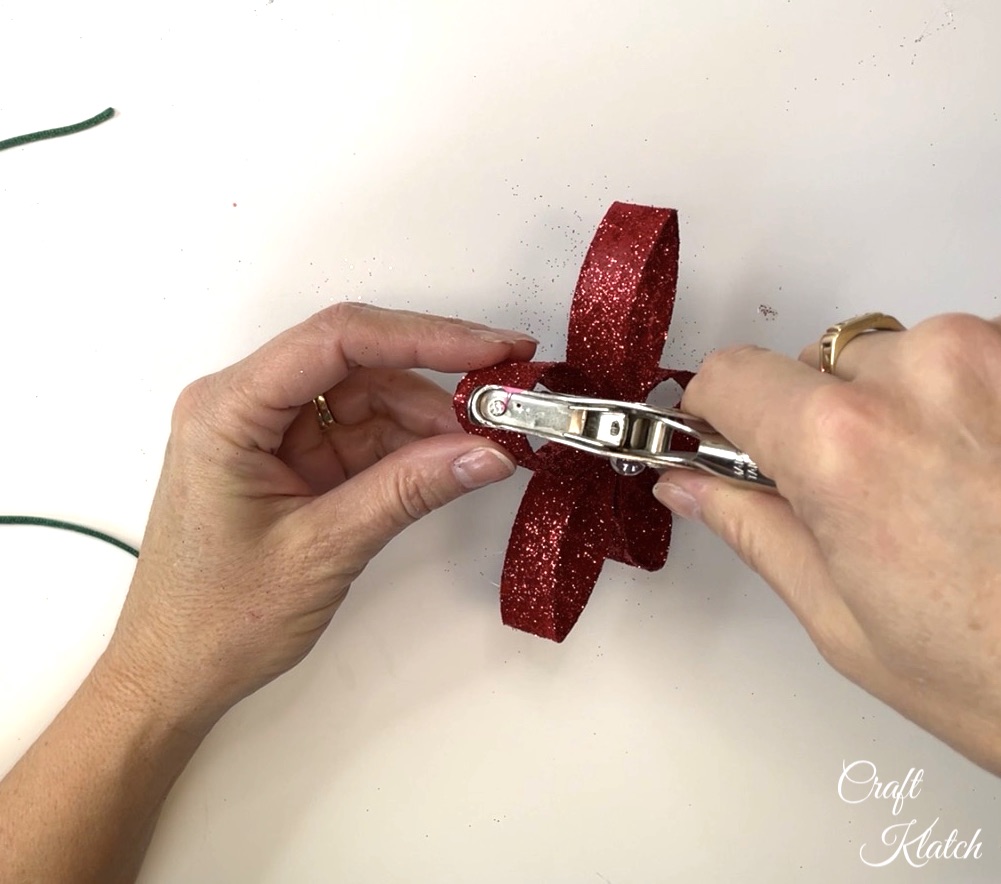
Using a hole punch, punch a hole in one of the petals.
If you don’t have a hole punch, you can use an ice pick or screwdriver to poke the hole.
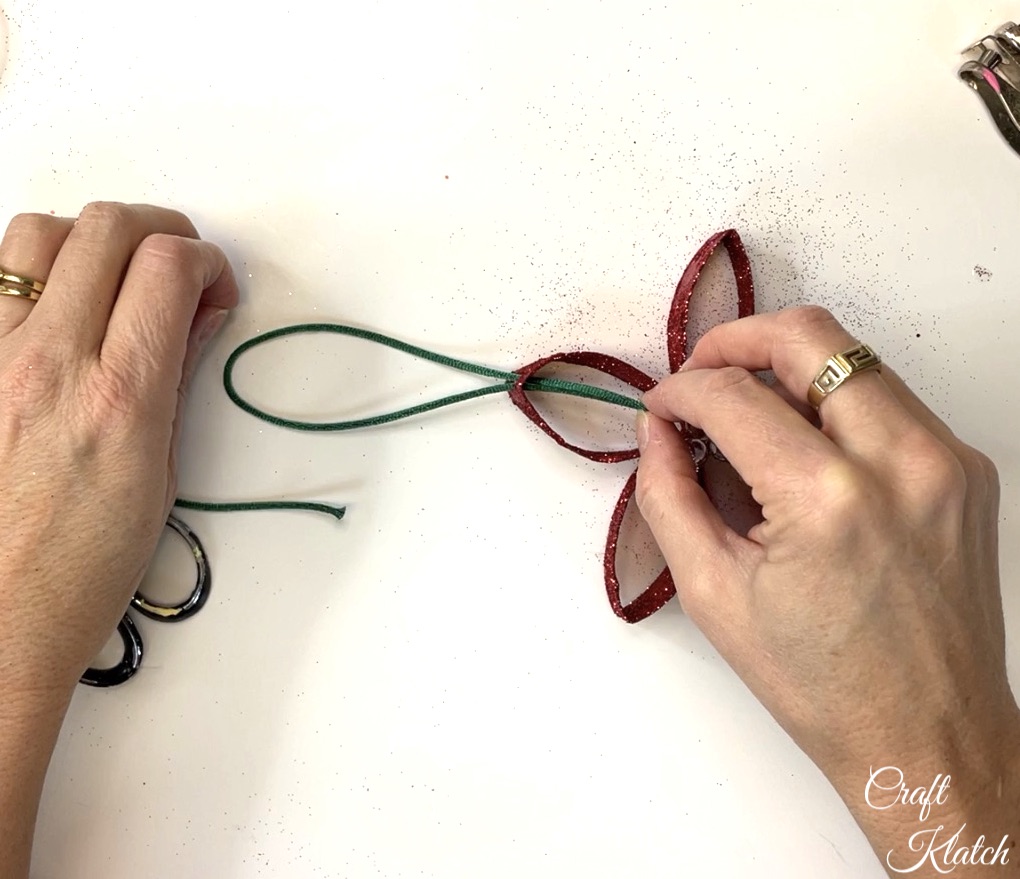
String a ribbon through and make a loop to hang the ornament. Add a little dab of glue to the top of the knot, so it attaches to the ornament. Trim off any excess.
That’s it!
For another fun DIY Christmas ornament craft using toilet paper rolls, check out the Frosty Christmas Star!
Thanks for stopping by! Happy Holidays!
Remember: Life’s too short not to shimmer, so grab your glue gun and your glitter!™ Stay safe!
Mona


There's certainly a lot to find out about this topic. I like all the points you made.
Feel free to surf to my web blog :: adventures Gauteng
My site – diving courses Gauteng
Dear Mona,
My name is Laura, and I am the editor of AllFreeChristmasCrafts.com. I am contacting you because I would love to feature some of your craft tutorials, like this one, on AllFreeChristmasCrafts.com. I know my readers would love your content!
Each one of our craft reviews includes a short description of the project, a byline that credits you, a link to the tutorial on your site, and a photo of the finished project. We also feature links to projects and accompanying pictures in our free weekly e-mail newsletter.
My email address is lplack@primecp.com. Please let me know if we have permission to feature your projects and photos on AllFreeChristmasCrafts.com and in our newsletters, which reach over 110,000 subscribers. I look forward to hearing from you!
Thank you,
Laura
Thank you for sharing this great idea! I'm going to try it with my class as we learn about Mexico & Christmas Around the World!
Hi, I could not fill in my first per the request. Thanks, Betty
Betty, what exactly do you mean so I can take care of it for you. Mona