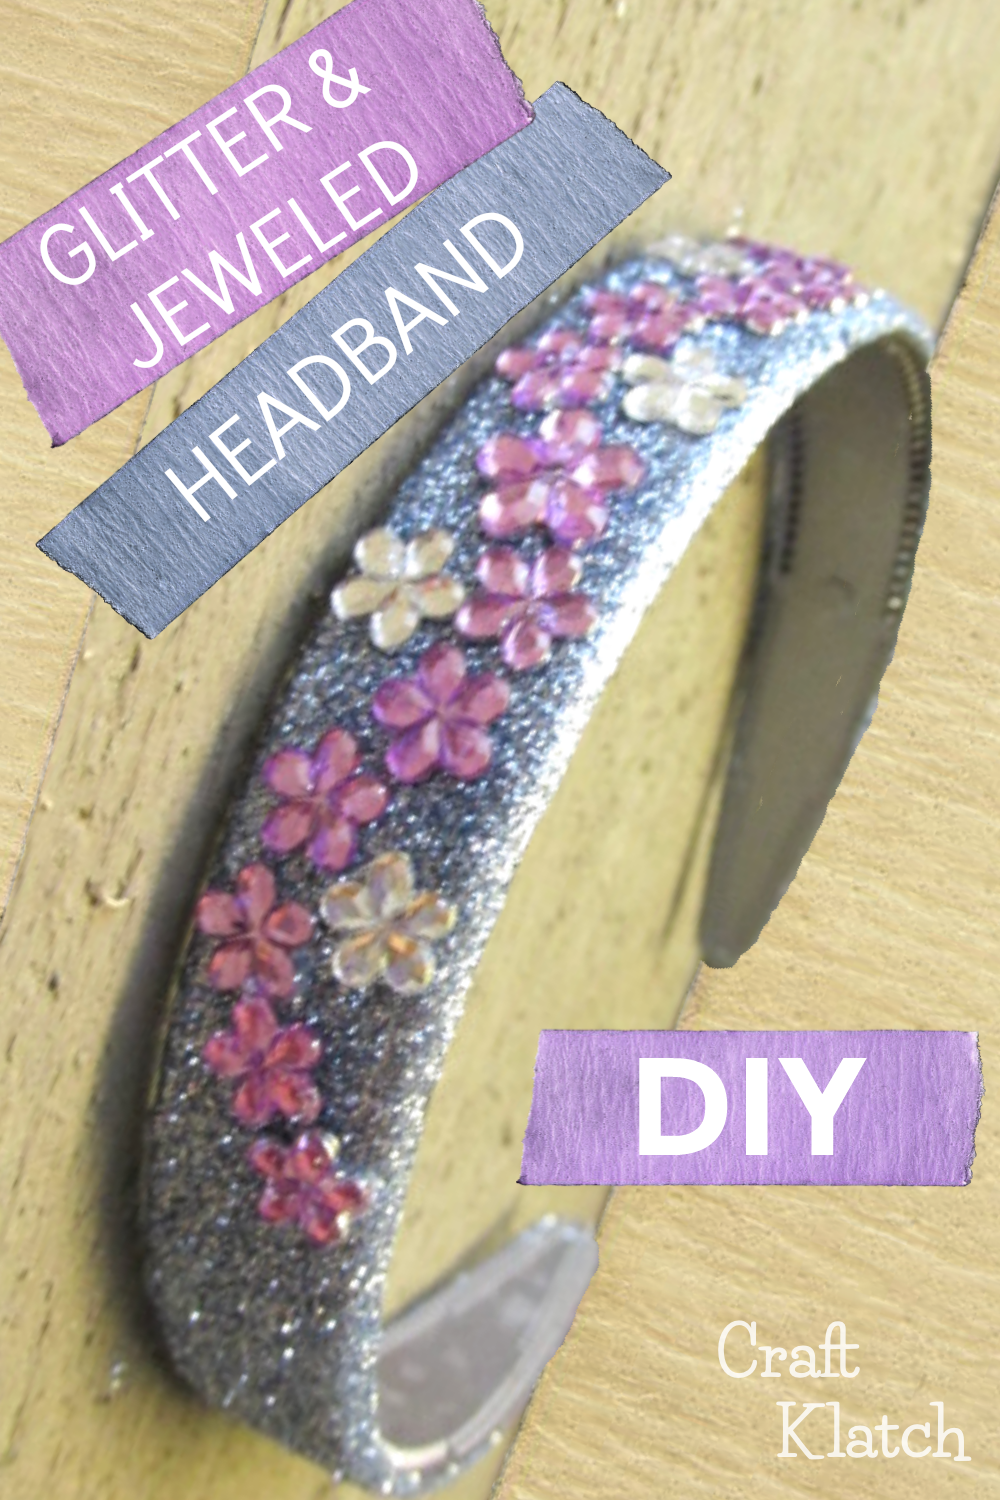
On my video, I was asked if they were called hair bands, not hair bows. I really don’t know if they are hair bows, head bands, or hair bands anymore. Growing up, we called them hair bows. Hair bands to us were Bon Jovi and their contemporaries. I think the package said head bands. So call them whatever you would like, we all get what it is, right?
It’s a hair accessory.

You will need:
– Hair bow/headband – I bought mine at the Dollar Store – 2 for a dollar! Quite a deal! Options on Amazon: https://amzn.to/2Q0Dbf5
– Glitter: https://amzn.to/2W83DJy
– Flower jewels: https://amzn.to/2HgUzJT
– Mod Podge: https://amzn.to/2E7pJBw
– Spray sealer in gloss – if you want: https://amzn.to/2LJdykC
– Glue: https://amzn.to/2YrMYOw
Directions:
1. Take the Mod Podge, I think you could probably use white glue instead too, and put some in a cup and add some glitter. Mix it really well.
2. Paint it onto the hair bow. While it’s still wet, sprinkle more glitter over it. Tip: I used a Solo cup to help support it, while working on it. You can see that in video above.
3. Once dry, you can put a spray sealer on it. I did, but I didn’t think it looked as shiny, so I sprayed the sealer again and sprinkled even more glitter on it. Now it’s really sparkly!!
Tip: When working with glitter, it is good to work over a piece of paper, or in a tray and then you can return any excess glitter back into the container and it won’t go to waste!
4. When everything is dry, using a strong glue, I think I used Ultimate Glue, but most any glue should work, glue on your flowered jewels in any pattern you like!
5. Let it all dry and you have a rockin’ new hair accessory.
That’s it! Thanks for stopping by and Happy Crafting!
Mona

