To stay up on the latest, be sure to
SUBSCRIBE to my YouTube Channel!
You can click right HERE!
For easy reference, click on the Tutorials tab above.
Also, I created an Amazon store link, with items that I use in my crafts, just click on the
Products I Use above!
Products I Use above!
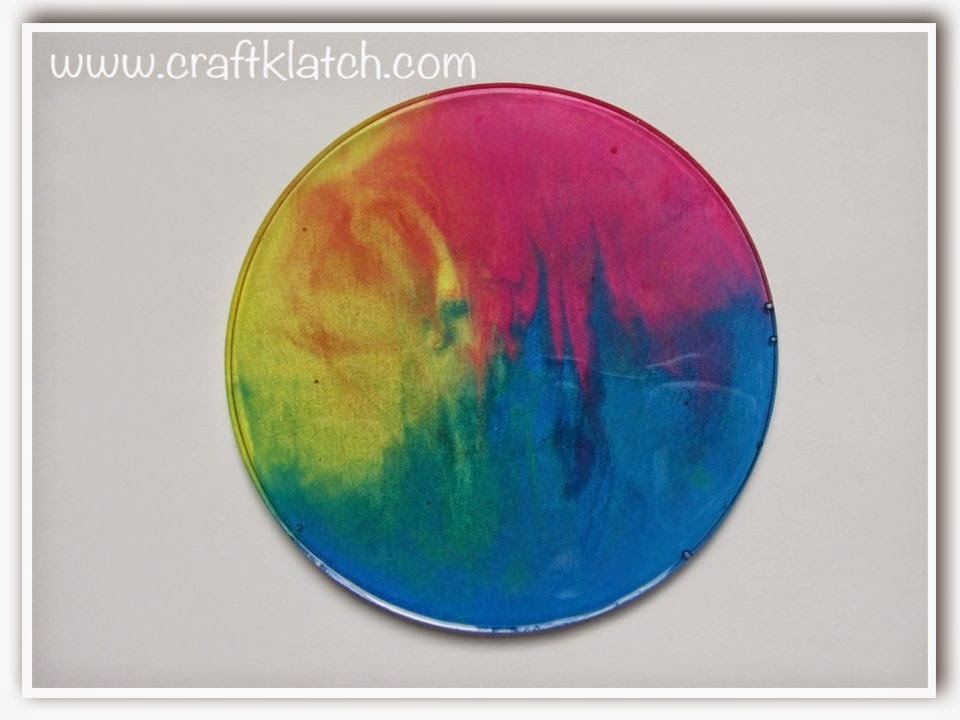
I wanted to do a little more experimenting with the ink and here is what happened:

You will need:
– Ink
– Coaster mold
– Resin (If you are looking for Easy Cast internationally, go to www.eti-usa.com)
– Mold Release (optional)
Here is the video tutorial:
Directions:
1. Prepare your resin according to the package directions.
2. Split the resin into three separate cups.
3. Add a small amount of ink into each of the cups (red, yellow and blue).
4. Pour the resin into the coaster mold.
5. Using a toothpick, swirl the colors into one another, until you get the desired effect.
6. Allow to sit for at least 12 hours.
7. Unmold.
**You can always add a second layer, if you think the coaster is going to be too thin, but do it before unmolding it.
That’s it! Thanks for stopping by!
Mona
