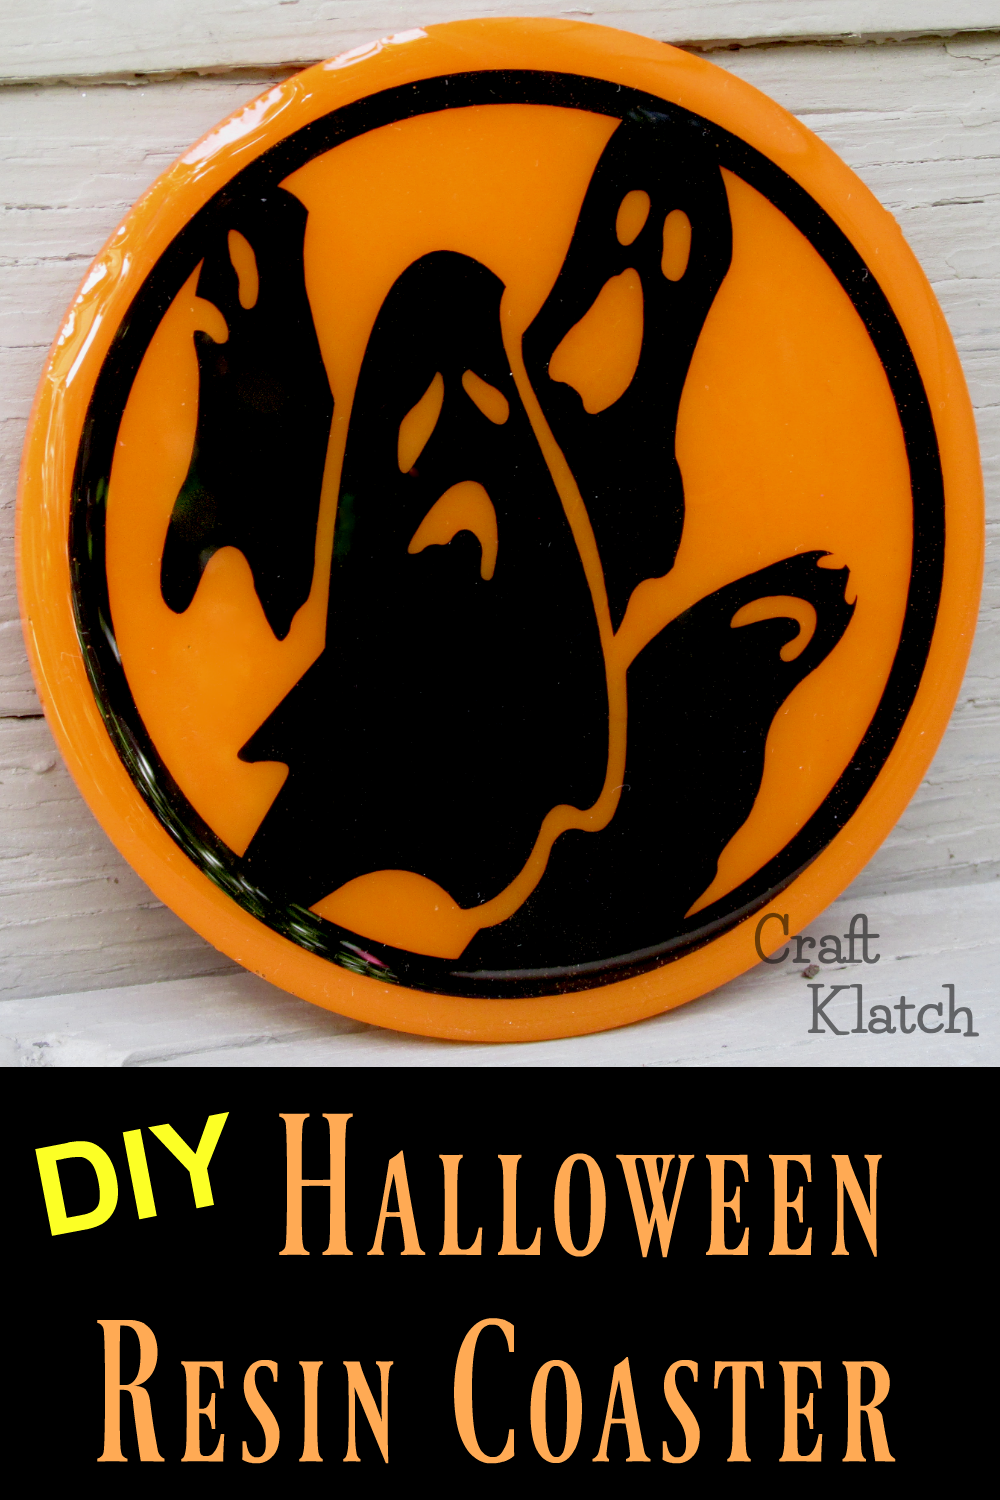
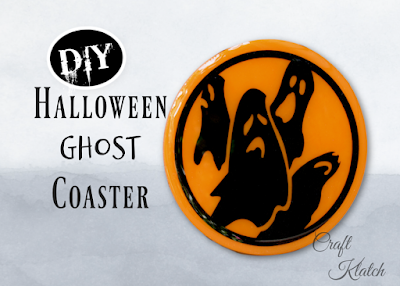
Learn how to make a Halloween Resin Coaster! It’s an easy Cricut craft project!
You will need:
Coaster mold: https://amzn.to/2YNg2EK
Orange pigment: https://amzn.to/321TMEt
Mixing cups: https://amzn.to/31RZ7xU
Stir sticks: https://amzn.to/323Av59
Cricut on Amazon: https://amzn.to/2GV6zki
Cricut from Cricut: https://shrsl.com/1kzdi
Removable vinyl: https://amzn.to/2Tf4p1A
Transfer tape: https://amzn.to/2Y49FJ9
Resin (use whatever resin brand you like):
Easy Cast: https://amzn.to/2yjYmBC
Art Resin: https://amzn.to/2yk9X3z
Clear Cast: https://amzn.to/2z4rxGw
This is the resin I used for this project:
FX Poxy: https://amzn.to/2AF3Pkk ~ According to the manufacturer, this one is heat resistant to 500 degrees F.
Here is a quick video tutorial, so you can see exactly how I made it!
Directions:
1. I mixed one ounce of resin and mixed in some orange pigment.
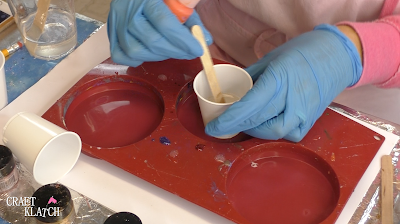
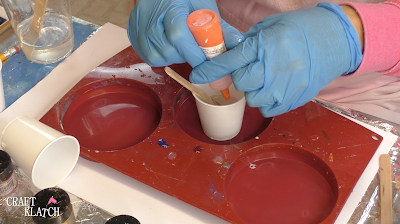
2. I poured it into the mold.
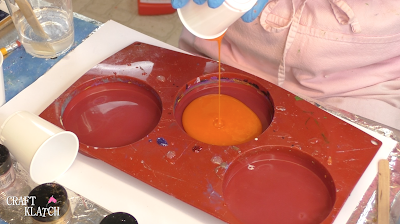
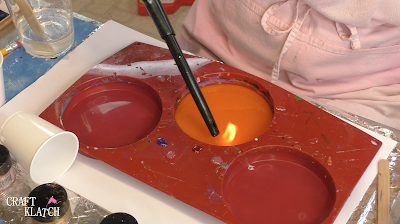
3. I used my lighter to pop the bubbles.
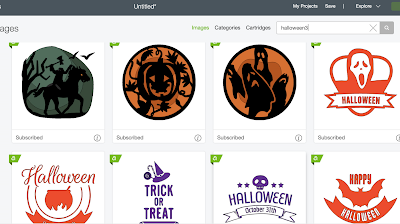
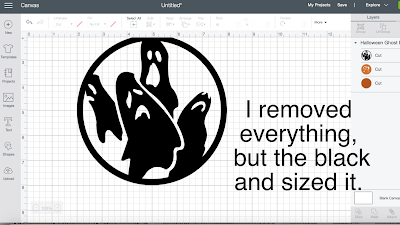
4. I went into Cricut design space and looked up Halloween. A lot of fun images showed up, but I really liked the ghosts.
5. I added it to my project.
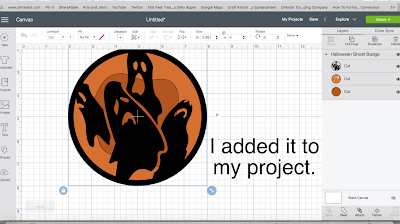
6. I removed the colors and sized it to 3.5 inches. All I wanted was the silhouette.
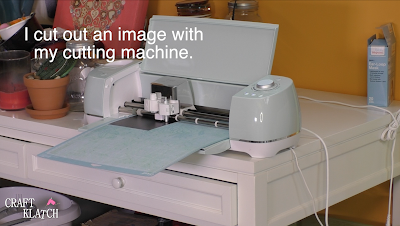
7. I cut it out of vinyl with my cutting machine.
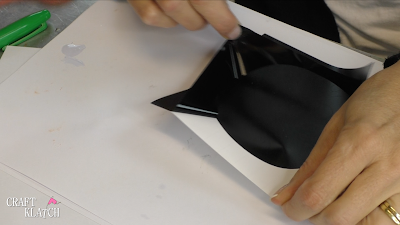
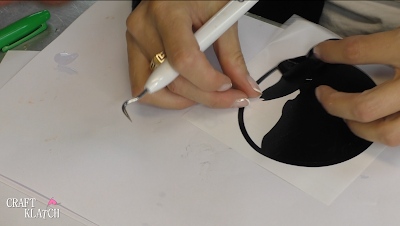
8. I removed the excess vinyl, or weeded it.
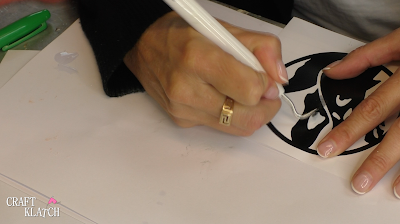
9. I put transfer tape over the image.
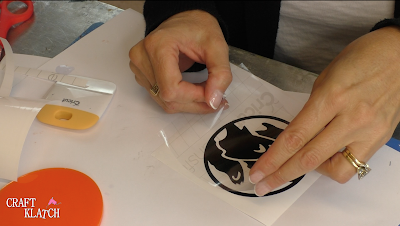
10. I burnished it down.
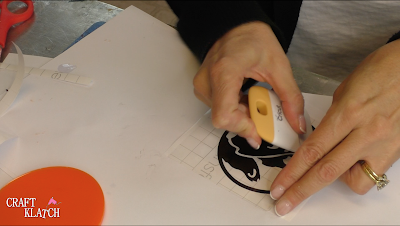
11. I pulled the image up.
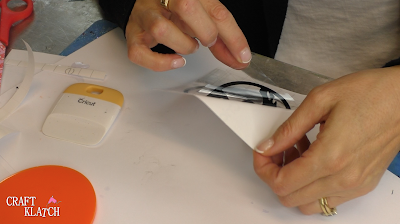
12. I placed it on my cured coaster.
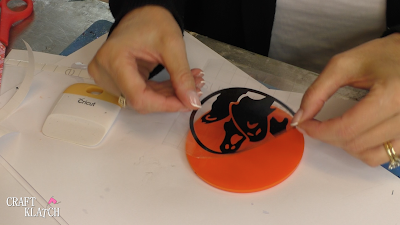
13. I burnished it down and removed the transfer tape.
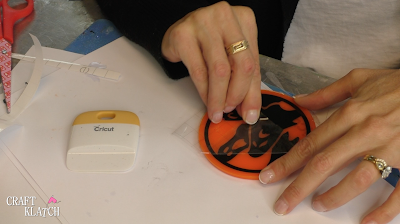
14. I mixed one ounce of resin and poured it over the coaster.
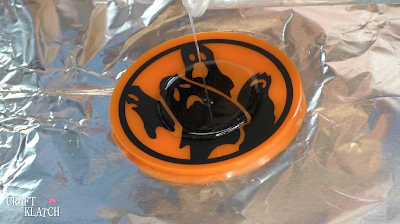
15. I used my lighter to pop the bubbles and let it cure a minimum of 12 hours.
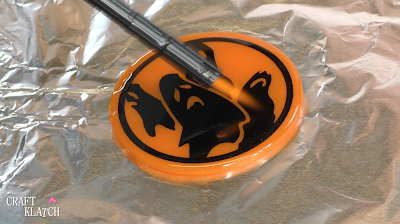
That’s it! Now you have this fun coaster. The simple color scheme definitely gives off a Halloween vibe.
Thanks for stopping by! Remember: Life’s too short not to shimmer, so grab your glue gun and your glitter!™ Stay safe!
Mona
