SUBSCRIBE to my YouTube Channel!
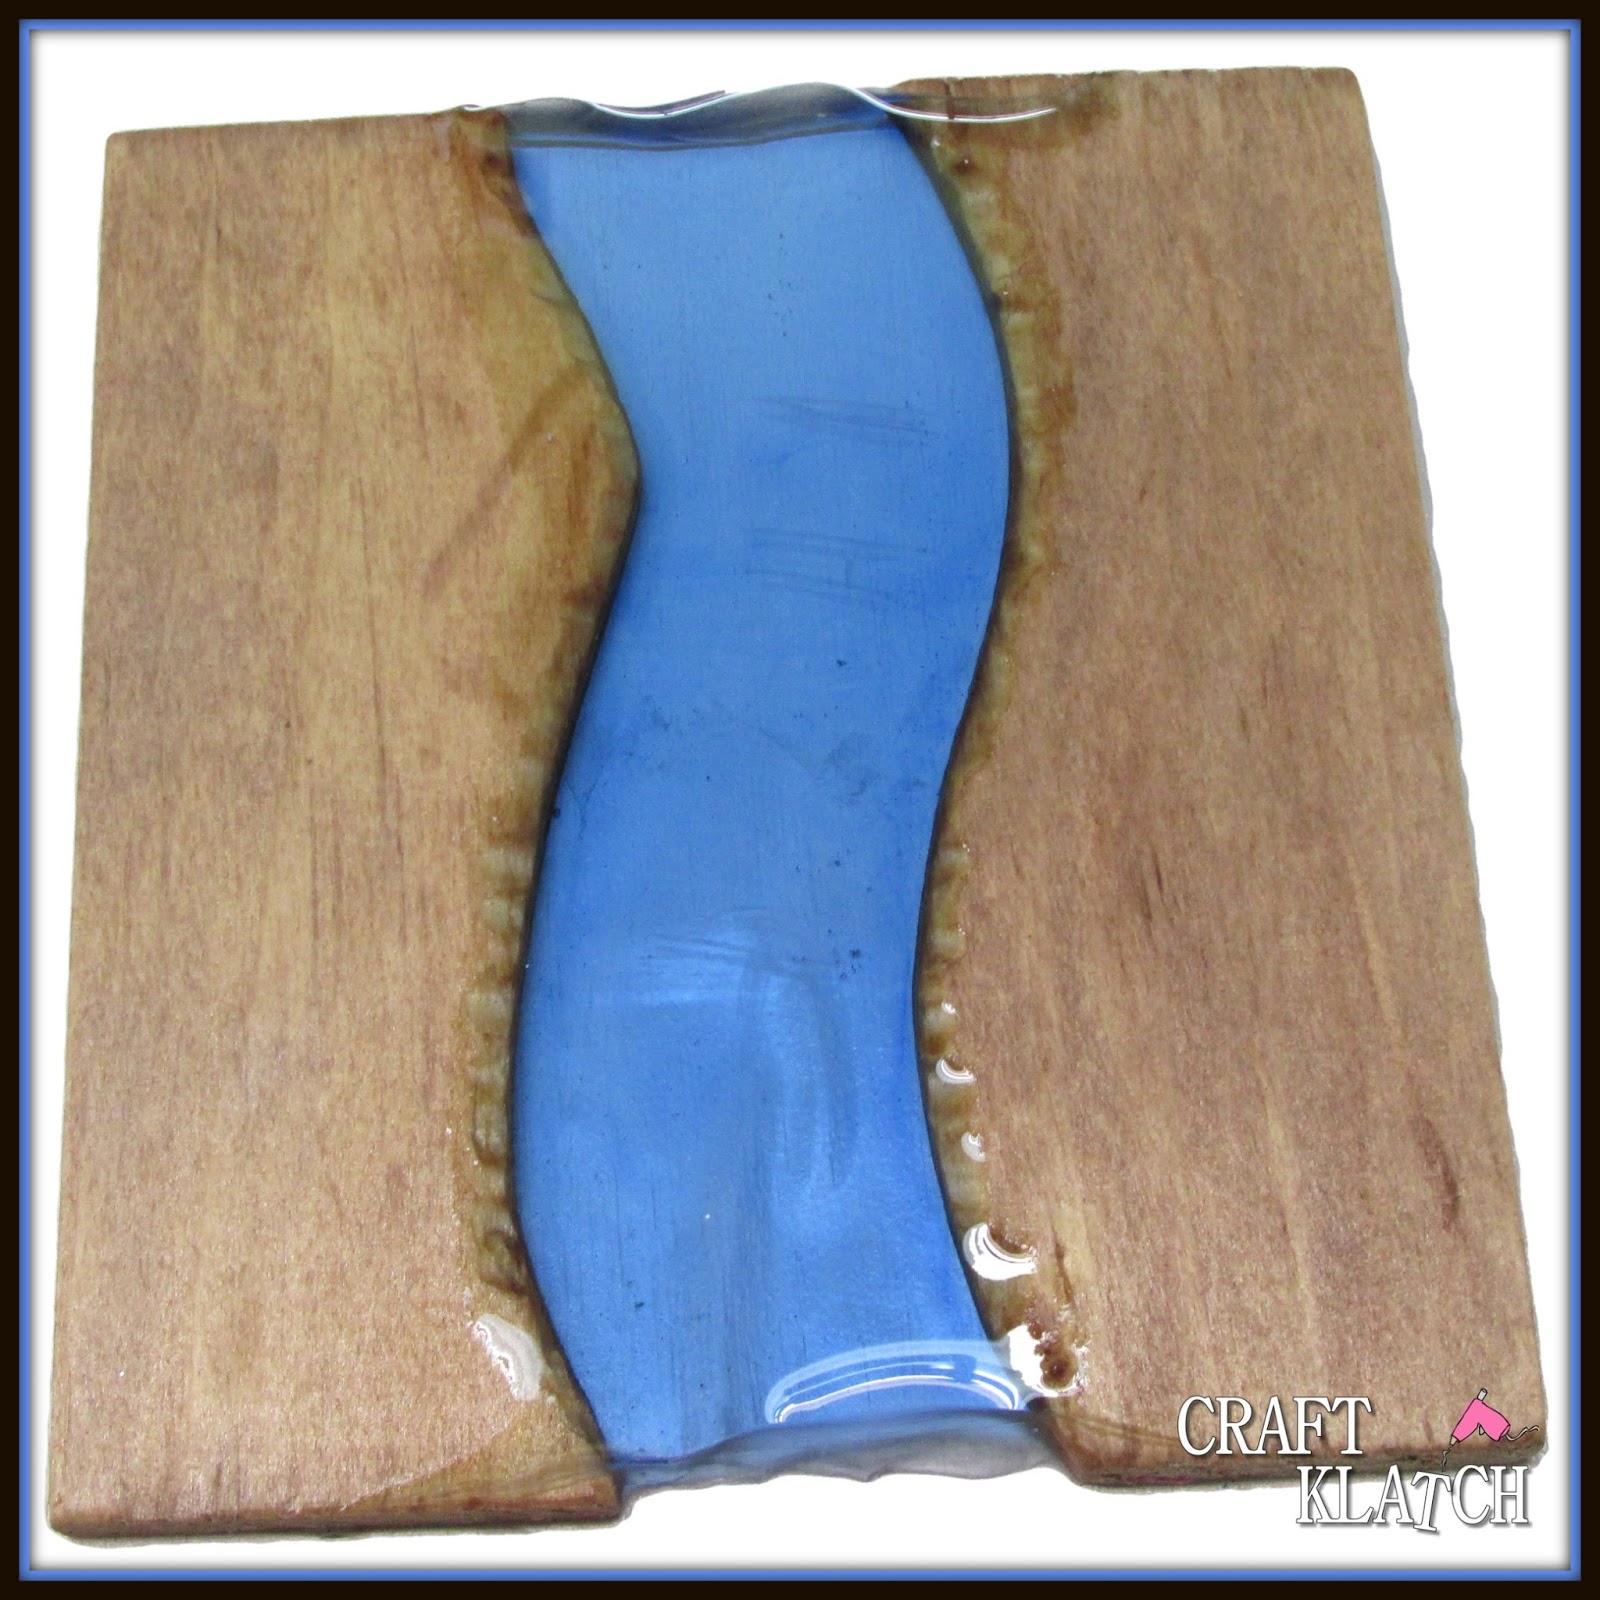
This week’s coaster was inspired by the popular river tables.

You will need:
Resin: https://amzn.to/1TYQmJz
Pigment: https://amzn.to/25DLhPI
Wood square: https://amzn.to/1r4Ce7e
Saw (optional): https://amzn.to/287gWrn
Wood stain: https://amzn.to/287m8eW
Silly Putty: https://amzn.to/1r4EeMQ
Packing tape: https://amzn.to/22BrWsV
Dremel too (optional): https://amzn.to/1r4EBqE
Wood burning tool (optional): https://amzn.to/1O74Yax
Wood stain: https://amzn.to/287m8eW
Silly Putty: https://amzn.to/1r4EeMQ
Packing tape: https://amzn.to/22BrWsV
Dremel too (optional): https://amzn.to/1r4EBqE
Wood burning tool (optional): https://amzn.to/1O74Yax
Here is the video tutorial:
Directions:
1. Draw an outline, of the river, on the wood.
2. Cut out the outline.
3. Rough up the cut edge. I used Dremel tool, but a wood burning tool would work great too.
4. Stain the wood and allow to dry.
5. Using packing tape, tape the two pieces of wood to the tape (sticky side up), to create the channel. Turn it over and rub it, to make sure the tape has made good contact with the wood.
6. Then run the wood along the back, running the opposite direction.
7. Add Silly Putty to the open ends of the channel. (See video).
8. Mix one ounce of resin and mix in the blue pigment dye.
9. Pour it into the channel you created.
10. Carefully pop bubbles with your lighter. Do not set your project on fire. Remember you are working with wood.
11. Allow to cure a minimum of 12 hours before removing the Silly Putty and the tape.
That’s it! Thanks for stopping by! Remember: Life’s too short not to shimmer, so grab your glue gun and your glitter.TM
Stay Safe!
Mona
