I’m going to show you an easy way to use wood with resin for a tree coasters DIY! They are a beautiful and easy craft!
Be warned! Once you start diying with resin, you are never gonna stop!
Sometimes using wood with resin can be a little tricky, but if you follow the directions and tips below, you will have beautiful coasters that will add pizzazz to your decor.
And it should help you with other projects when you decide to combine wood with resin.
Supplies for the Wood with Resin Tree Coasters DIY
*Disclosure: This blog uses affiliate links from Amazon and other retailers. I earn a small amount from qualifying purchases at no additional cost to you.
- Wood discs with tree cutouts – I found them at Hobby Lobby
- Polyacrylic
- Packing tape
- Resin pigment dye
- Resin
- When deciding on which resin to use for your coasters, you need to keep in mind whether you want it just for cold cups or for hot as well.
- If only for cold drinks, you can be flexible and use whatever brand you like:
- If you want it to work for both hot and cold drinks, you need to look for a heat resistant resin, like these:
- FX Poxy ~ According to the manufacturer, this one is heat resistant to 500° F.
- Stone Coat
- When deciding on which resin to use for your coasters, you need to keep in mind whether you want it just for cold cups or for hot as well.
The video tutorial
HERE is the video tutorial so you can see exactly how I made them!
Click the pic for the video
Directions for the Wood with Resin Tree Coasters DIY
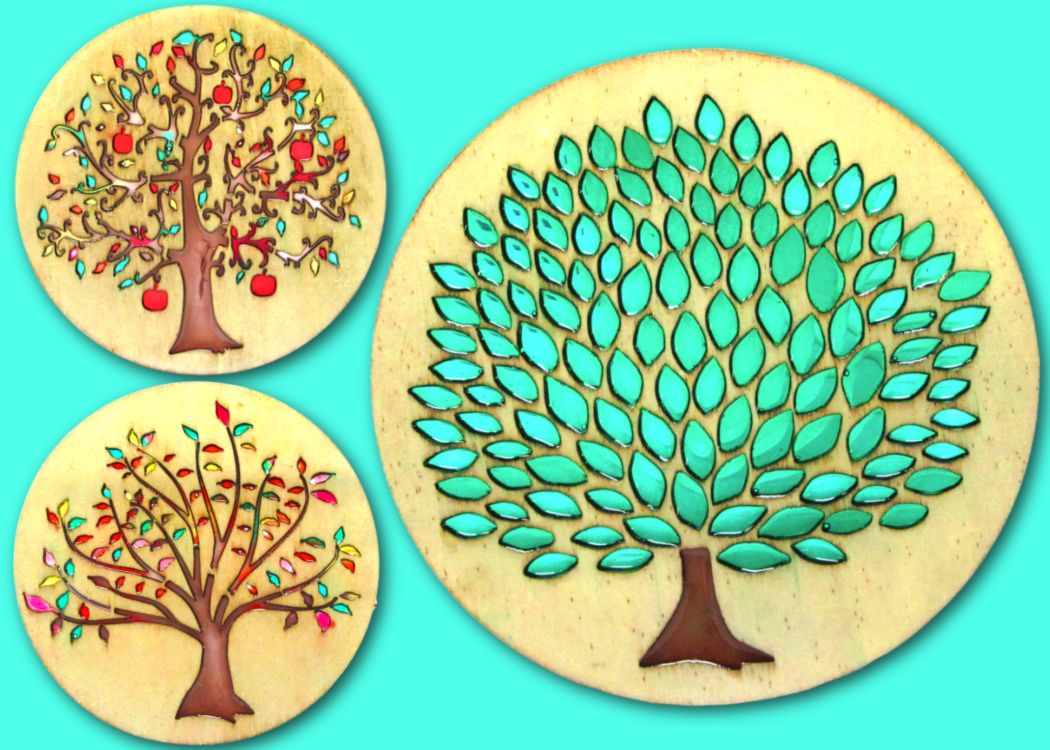
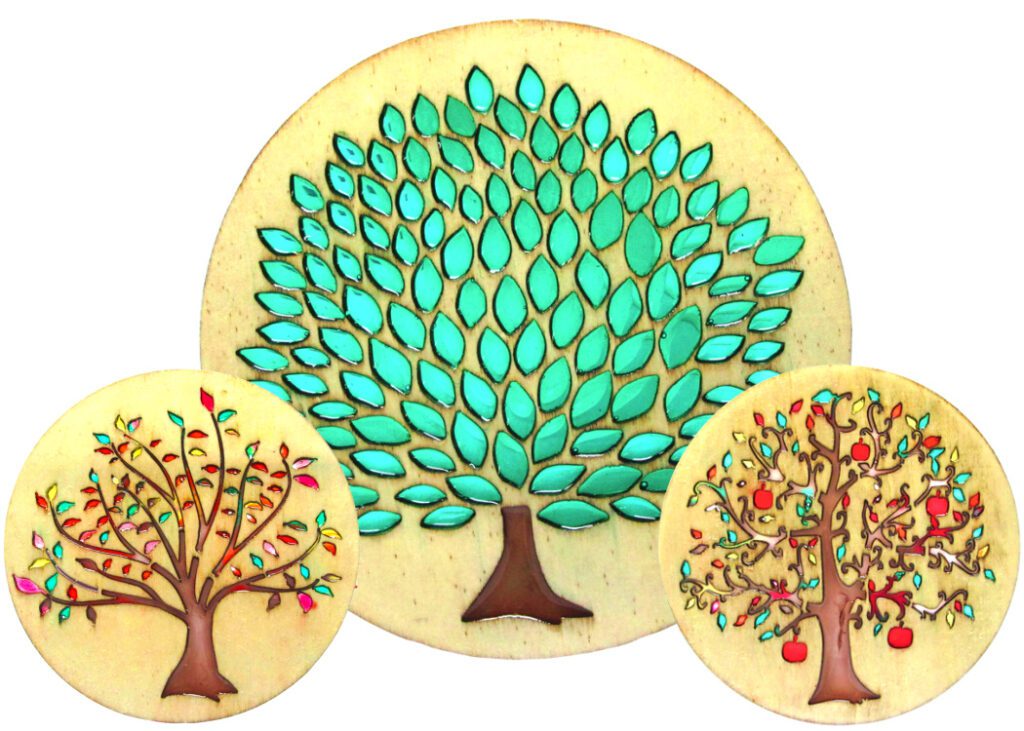
Here are the directions for the wood and resin tree coasters DIY. They are made with wood discs that have trees laser cut in them.
Step 1
The main thing to remember when pairing wood with resin is that wood is a porous material and when you cover it with resin you will get a lot of bubbles.
The easiest way to take care of that is to seal the wood before adding the resin. It can be sealed in a number of ways including the following:
- Pour a thin coat of resin over the wood and let it cure
- Bruson on paint to seal it
- Seal it with glue or Mod Podge
- Seal it with a varnish or wood sealer
So in this case, because I wanted the wood to retain its natural color, I simply sealed it with a polyacrylic sealer. I used a gloss finish, did three coats, and sanded between the coats.
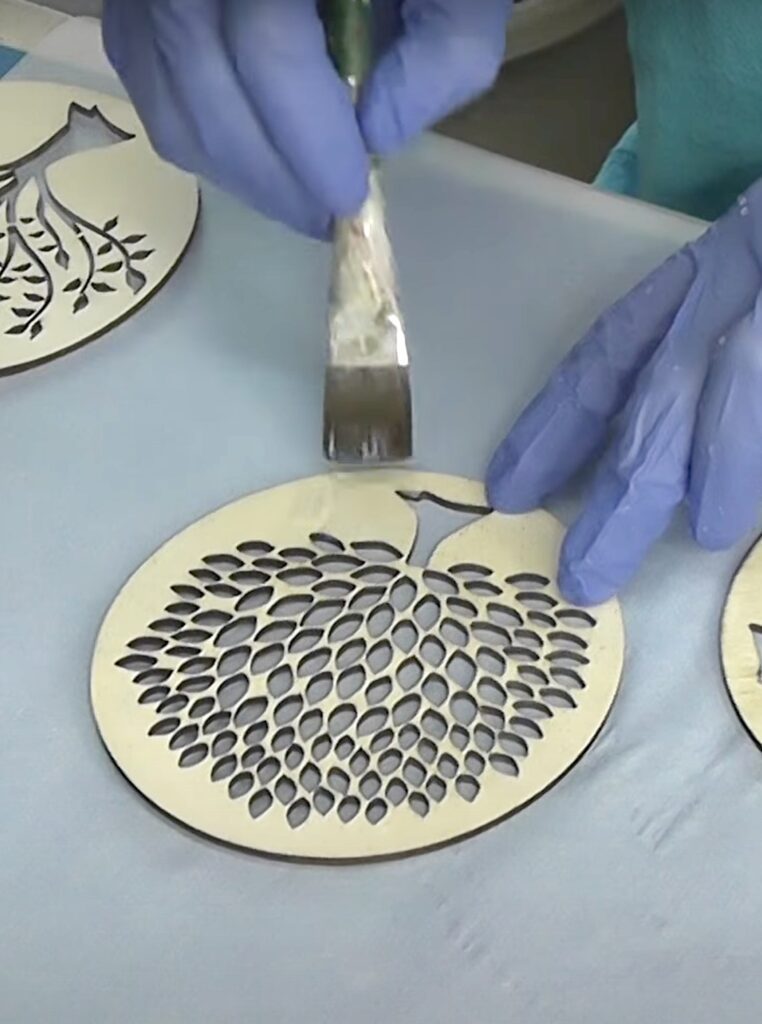
*Always follow the directions on the product you are using.
Step 2
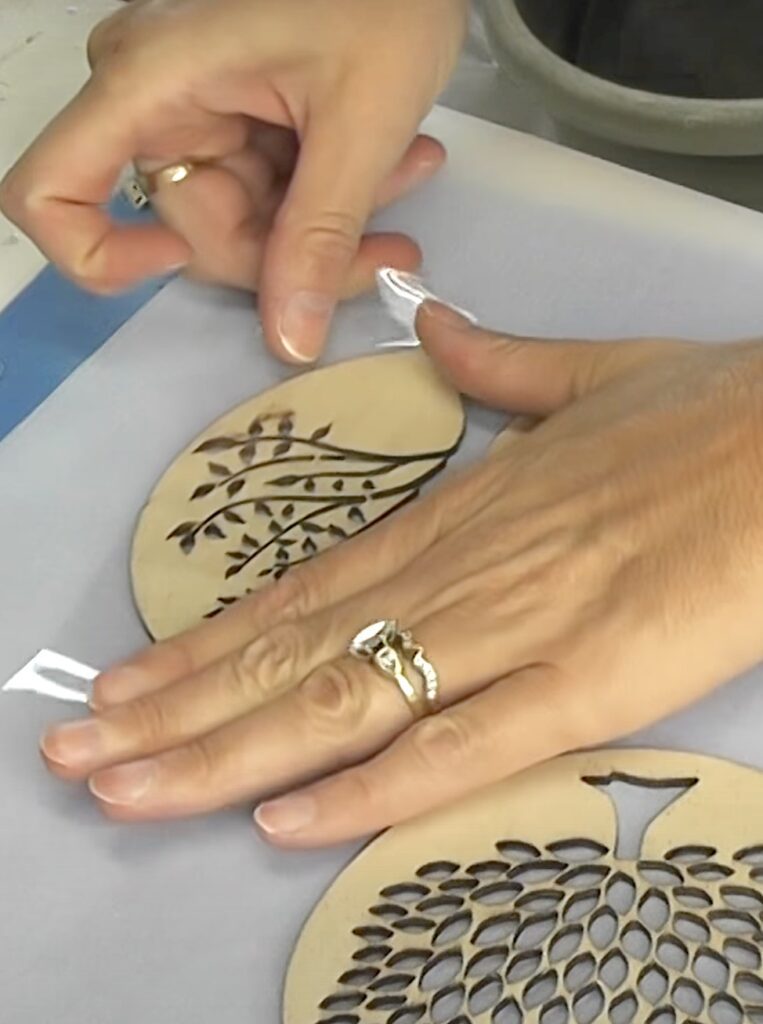
Once dry, I lined one side of the coasters with packing tape and burnished it down to make sure it created a good seal.
Step 3
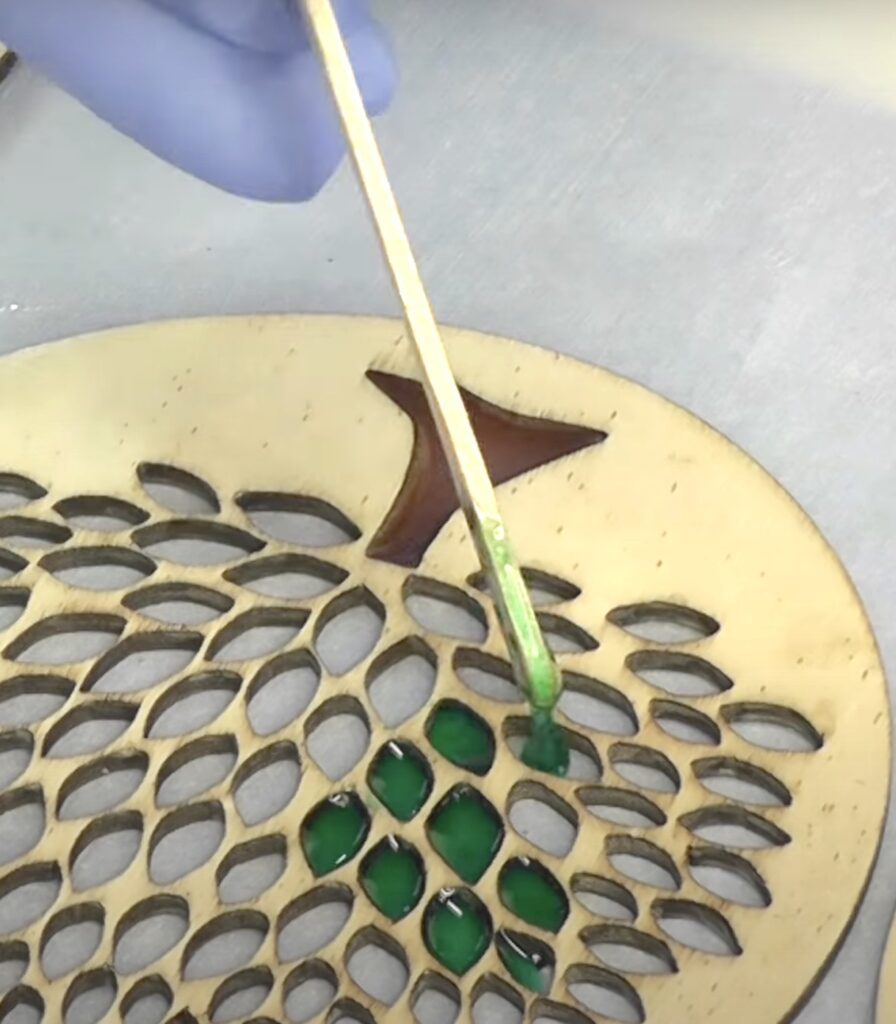
I mixed the resin according to the package directions and added different-colored pigments.
These are the colors I used:
- Opaque brown for the tree trunks and limbs
- Transparent green, red, and orange for the leaves and apples
*TIP: Work in small batches of resin, otherwise it will be set up before you are ready to use it all.
Once I had the colors mixed, I dripped the individual colors into the openings. I used a combination of a stir stick and toothpicks for the smaller holes.
Go into this project knowing it will take time and patience.
Step 4
Once I had everything filled, I took my lighter and ran it quickly across the coasters.
WARNING: Remember you are working with wood. Run the lighter across the resin areas quickly because you do not want to set your coasters on fire.
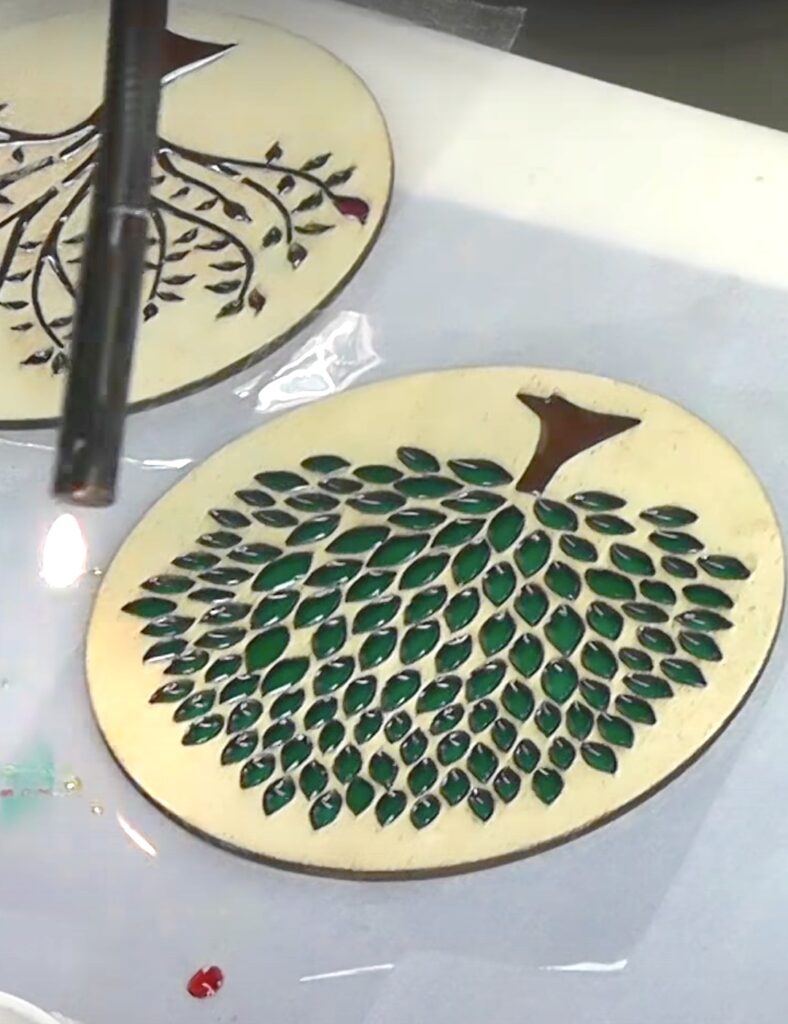
Then, I let them cure for a minimum of 12 hours.
Step 5
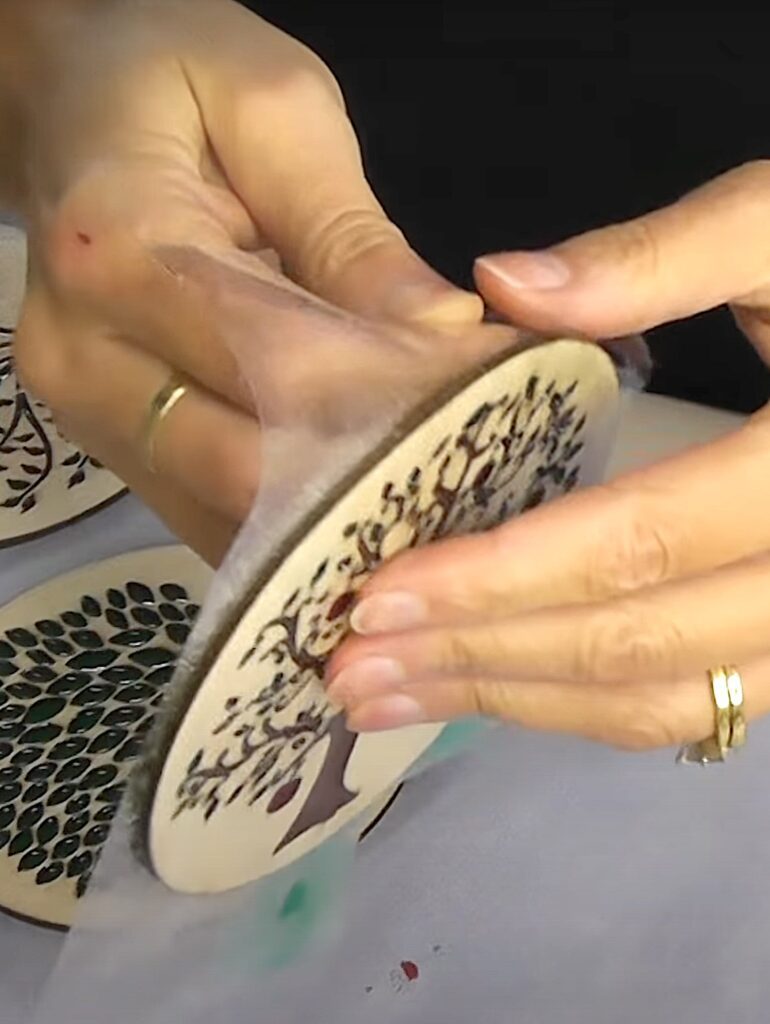
Once cured, I removed the tape from the back of the coasters.
When removing the tape, you don’t want to risk pulling out any of the resin, so pull the tape parallel to the coaster. Do not pull up and away.
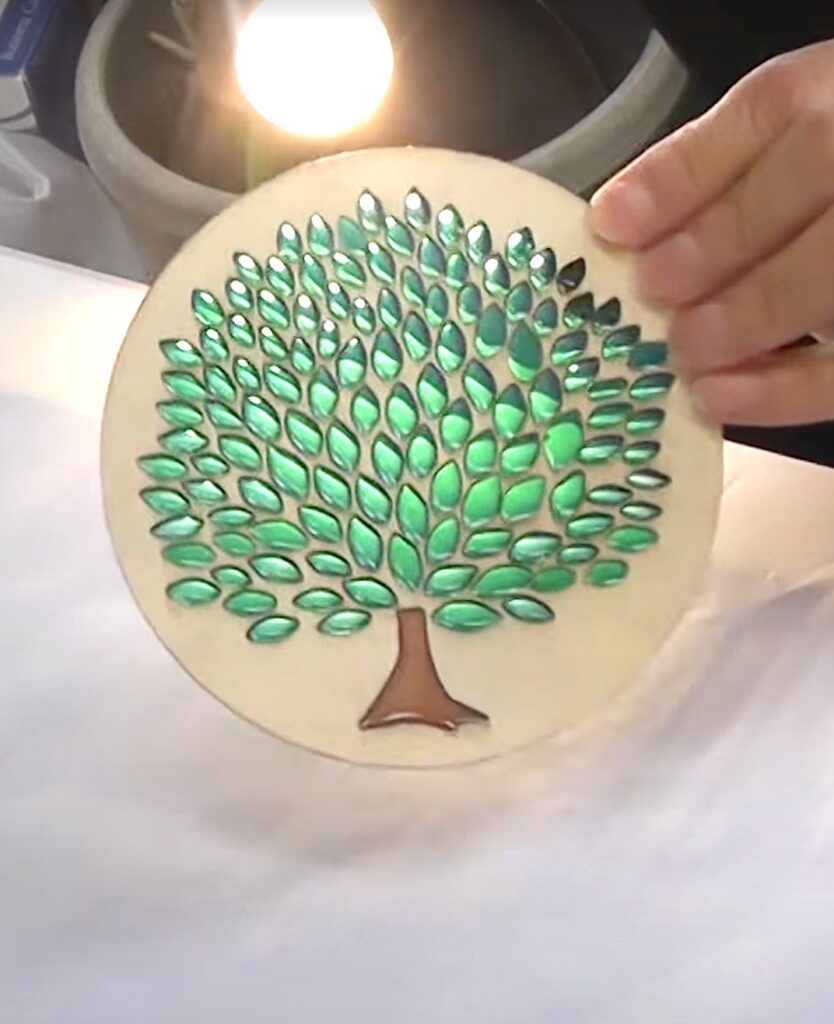
That’s it!
Now you have some stunning coasters!
I’ve Done Other Coasters with This Technique
The trees are one of my favorite but I have combined wood with resin before.
Check these out:
- Wood, Resin, and Glitter Christmas Ornaments
- Wood Heart Coasters
- Pet Paw Coasters
- Rose Resin Coasters
- Sugar Skull Decoration
- Fall Napkin Rings
If you are just getting started with resin or running into some trouble, be sure to check out 6
Thanks for stopping by! Remember: Life’s too short not to shimmer, so grab your glue gun and your glitter!™ Stay safe!
Mona

These are beautiful. Love the idea of hanging them in window.