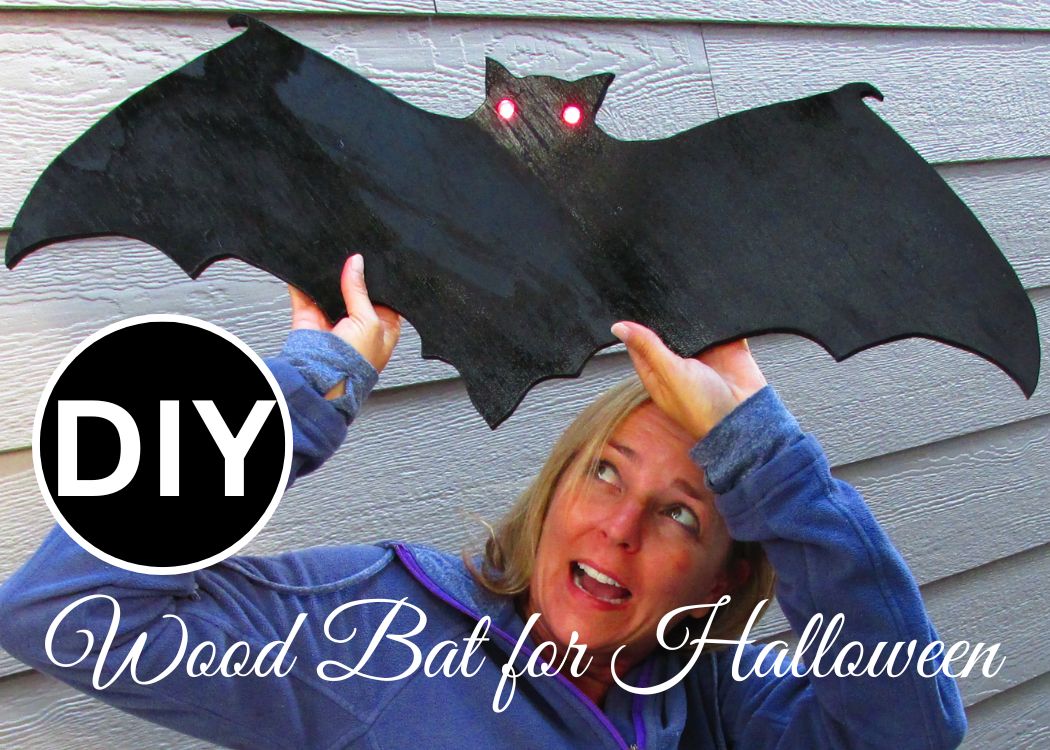
Create a spooky wood bat for Halloween with this easy DIY tutorial. Learn how to make a wood bat using simple materials for a haunting Halloween decoration. Perfect for any Halloween setup!
Halloween is just around the corner, and it’s the perfect time to start crafting some spooky decorations. In this tutorial, I’ll show you how to make a wood bat for Halloween that will add a haunting touch to your home. This simple DIY project uses basic materials and can be customized to fit your style.
Today, I did a collaboration video with Jenny at Origami Tree! We both created Halloween-themed crafts. Be sure to check out Jenny’s Origami Ghost Garland for some extra inspiration!
Jenny’s Origami Ghost Garland
Materials Needed to Make a Wood Bat for Halloween
*Disclosure: This blog uses affiliate links from Amazon and other retailers. I earn a small amount from qualifying purchases at no additional cost to you.
- 2′ x 2′ piece of 1/2″ plywood
- Black spray paint
- LED party lights
- Saw
- Glass paint (red)
Step-by-Step Instructions:
Step 1: Make a Large Bat Template and Trace It
To begin, draw a bat shape on a piece of poster board and cut it out. This will be your template for the wood bat. You can find bat stencils online or design your own for a unique touch. The size is entirely up to you.
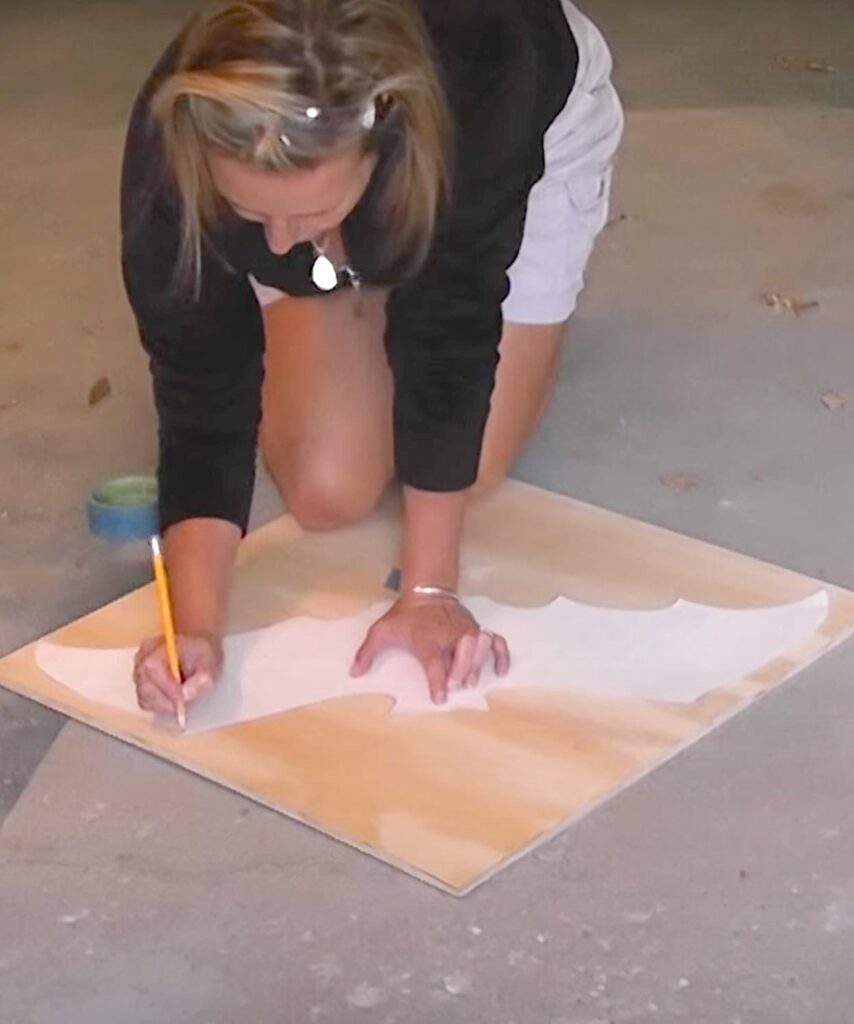
Place the poster board template on the 2′ x 2′ piece of plywood (adjust size of wood if you decided to go bigger). Using a pencil or a marker, trace the outline of the bat onto the wood. Make sure to press firmly to get a clear outline.
Step 2: Cut Out the Wood Bat for Halloween
Using a saw, carefully cut along the traced lines to create your wood bat. If you’re not experienced with a saw, you may want to ask someone for help or use a jigsaw for more intricate cuts.
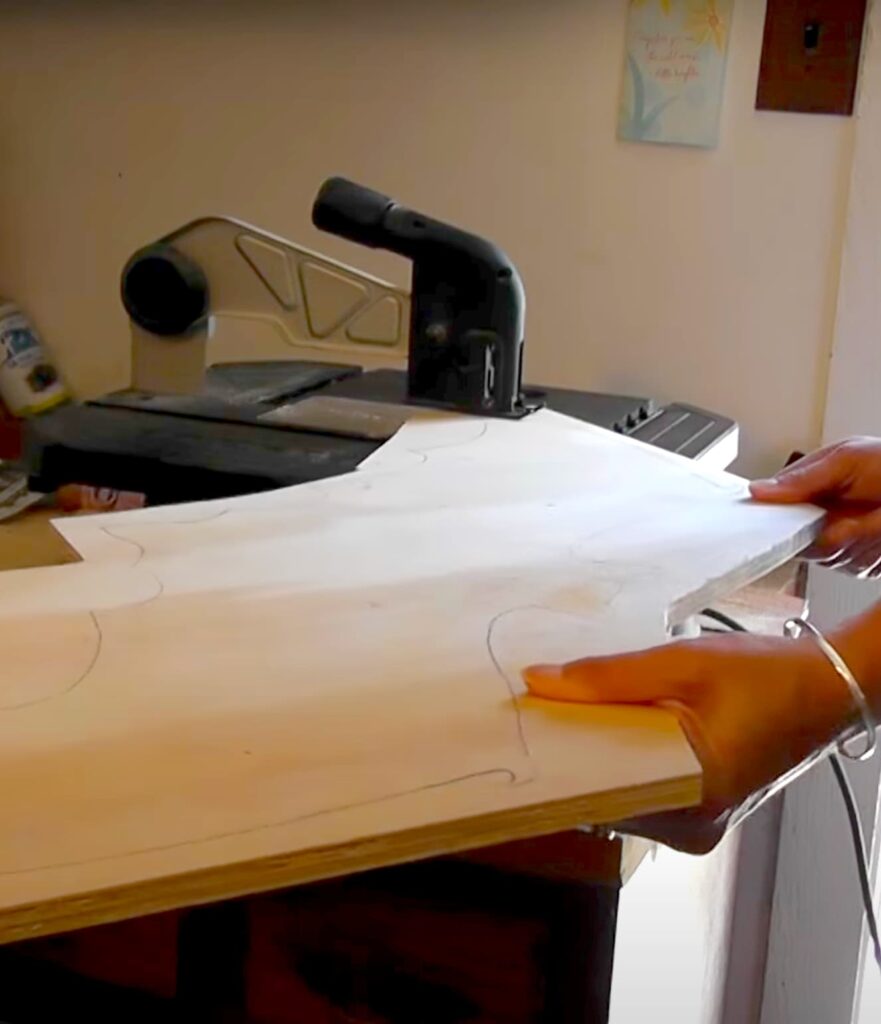
Next, mark where you want the eyes to be on your wood bat. Drill holes in these spots, ensuring they are large enough to fit the LED lights snugly. This step is crucial for creating that eerie glowing effect.
Step 3: Paint the Wood Bat Black
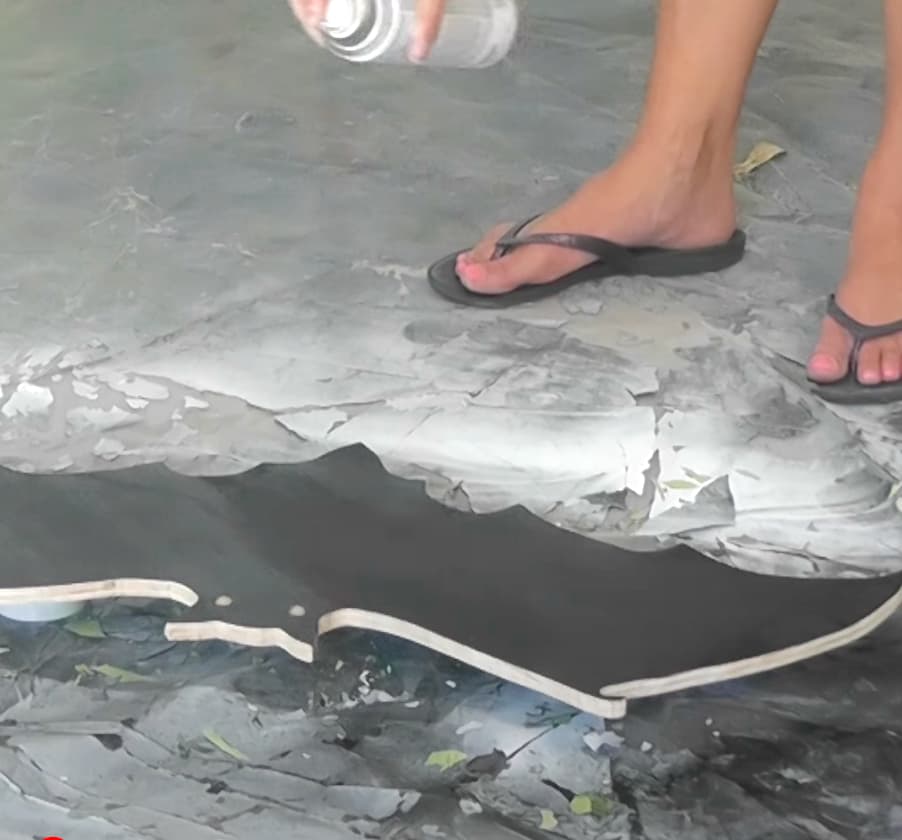
Take your black spray paint and evenly coat the entire bat. Allow the paint to dry completely. This might take a couple of hours depending on the paint brand and weather conditions.
Step 4: Paint and Insert the LED Lights
While the bat is drying, paint the LED lights with red stained glass paint. This will give your bat a menacing look once the lights are inserted. Let the paint on the LED lights dry thoroughly before proceeding to the next step.
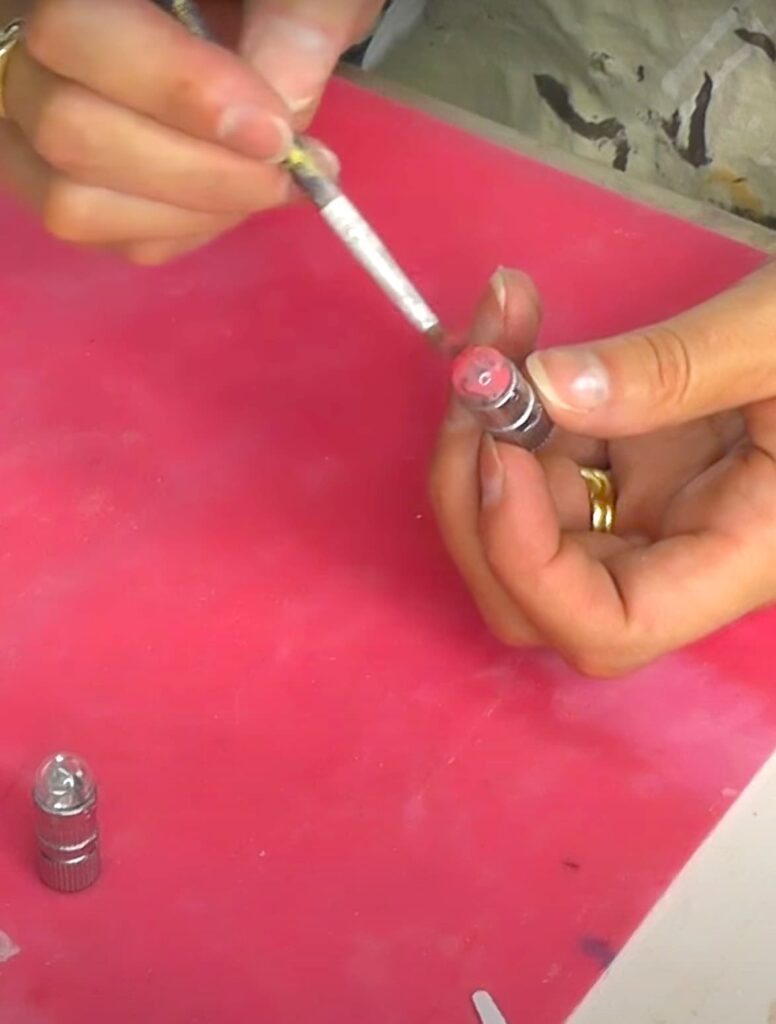
Once everything is dry, insert the painted LED lights into the drilled holes for the eyes. Make sure they fit snugly and are secure. Now your wood bat has glowing red eyes that will stand out in the dark!
Step 5: Display Your Wood Bat for Halloween
Your wood bat for Halloween is now ready to be displayed! You can hang it on your front door, place it on your porch, or even use it as a centerpiece for your Halloween party. For more ideas on how to hang it, be sure to watch the video linked below.
Since I made this project, there are so many more options for lights. You could easily do LED strip lights behind it and be able to control it with a remote and a lot of other ways to light it up and make it better.
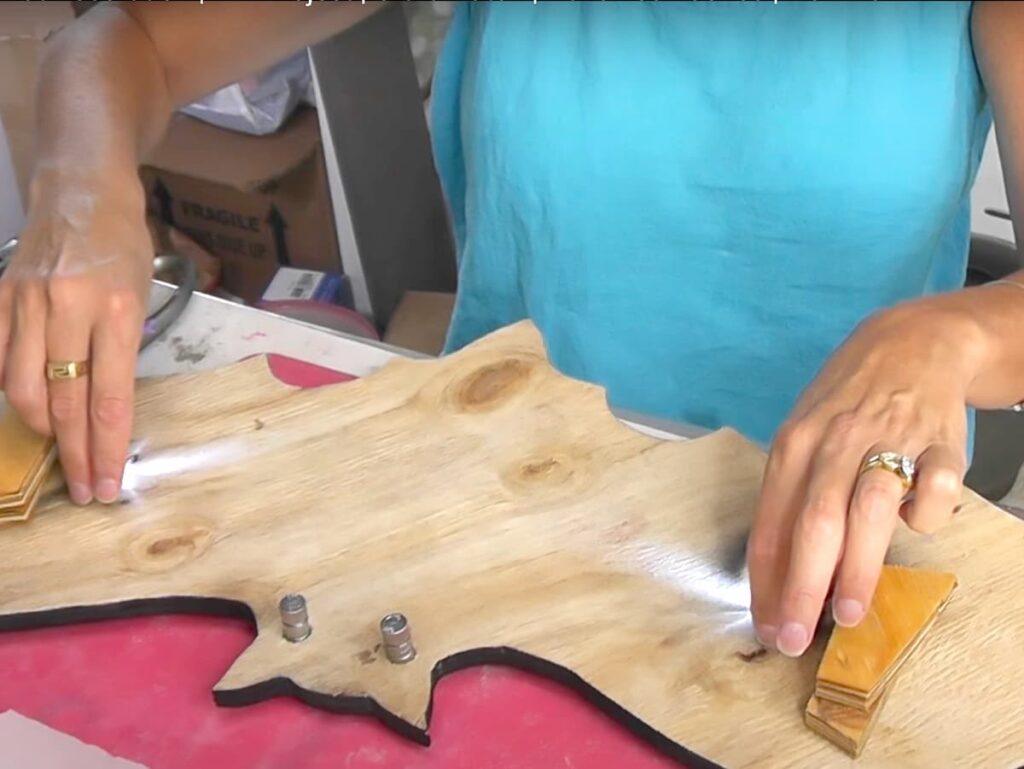
What you are seeing in the image below is me putting spacers behind it because the lights stuck out so much. That may no longer be necessary when you make your wood bat for Halloween.
Check out Jenny’s channel for more Halloween craft ideas, and don’t forget to subscribe to both of our channels for more fun and creative projects!
More Bat for Halloween Projects you will LOVE!
- Halloween Bat Craft Coaster DIY
- Glitter Bat Craft Tutorial
- Bat Necklace DIY
- Bat Craft Silhouette Craft Tutorial
Remember, life’s too short not to shimmer, so grab your glue gun and your glitter! Stay safe!
Mona

Love the bat with its spooky glowing eyes.