Create a fun Halloween craft using recycled yogurt jars! Discover fun and easy waste material craft ideas to turn everyday items into Halloween decor.
What am I going to do with all these empty yogurt jars?
That has been the nagging question in my subconscious.
Does this remind you of when I shared my story about hoarding toilet paper rolls in the 15 Unexpected Things to Save for Crafts post?
Well, I have a confession: I’ve been hoarding glass yogurt jars for a while now. They are the perfect size and shape for…
…SOMETHING...
I hadn’t quite figured out for what, but I knew I’d come up with SOMETHING creative to do with them…
…eventually.
Greg, however, has been less than enthusiastic about my collection. Remember how guys used to collect beer cans and build beer can towers in their younger days?
Well, I had my version – a mini yogurt jar tower on the kitchen counter.
It was clear I needed to find a better use than just recycling them or building my yogurt fortress…
But what…?
After some friendly nagging, I disassembled my tower and moved the jars to a bin in the garage, and my collection kept growing.
I would think, “I’m never going to use these,” only to change my mind two minutes later and say (to myself), “Of course I’ll use these!”
I can’t tell you how many times I put them into the recycling bin…just to pull them out again.
It was madness!
Until now!
When we set the rules for this month’s fun Halloween Craft or Crap Challenge, I raced out to the garage and rescued those yogurt jars from the recycling bin one last time!
That’s right, I’m going to turn this trash into fun Halloween crafts!
What Is Craft or Crap?
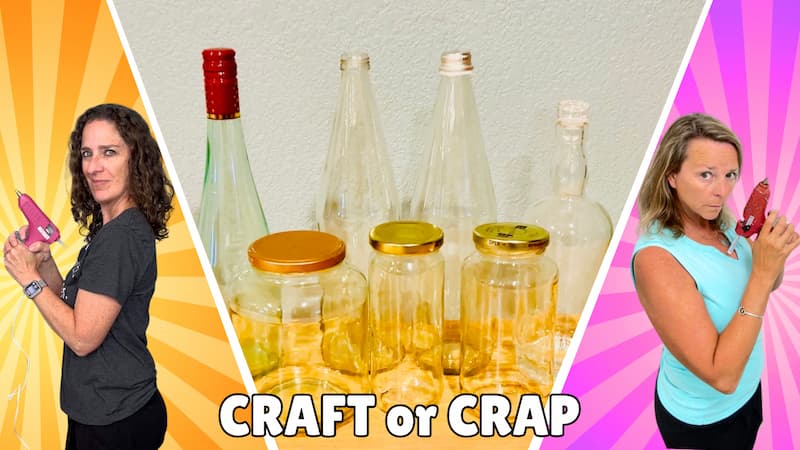
If you are unfamiliar with Craft or Crap, it is a fun craft challenge where Chas from Chas’ Crazy Creations and I craft within a set of rules. When we are finished, you get to decide whether our creations are “craft” or “crap.”
Fun Halloween Craft or Crap Rules
For this fun Halloween Craft or Crap challenge, we have been tasked with using jars or bottles to create Halloween decorations.
RULES:
- Use bottles or jars
- Make a Halloween display
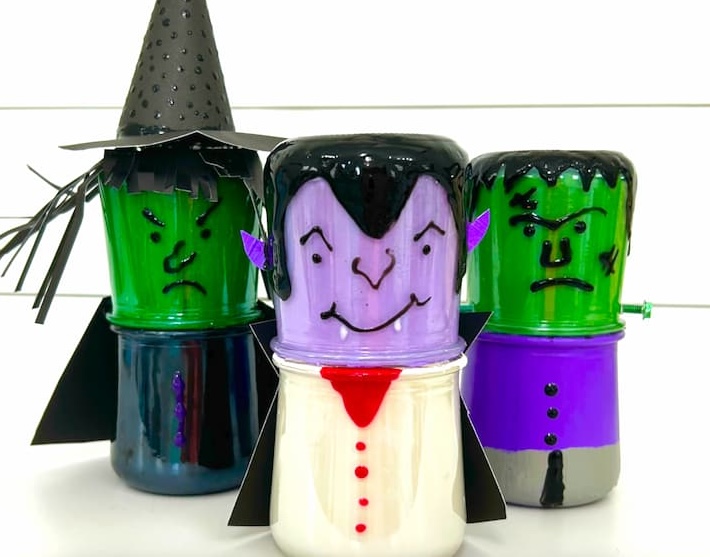
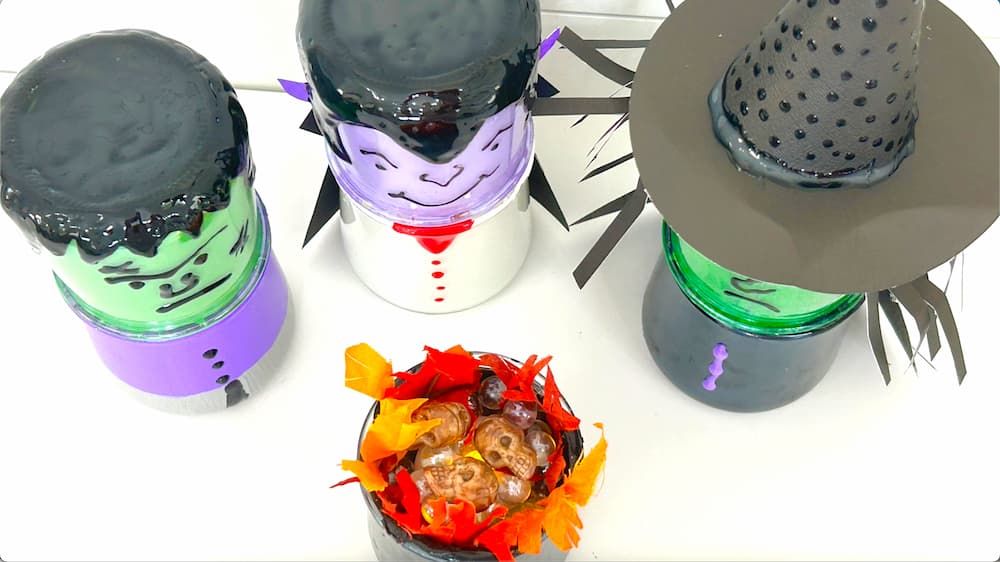
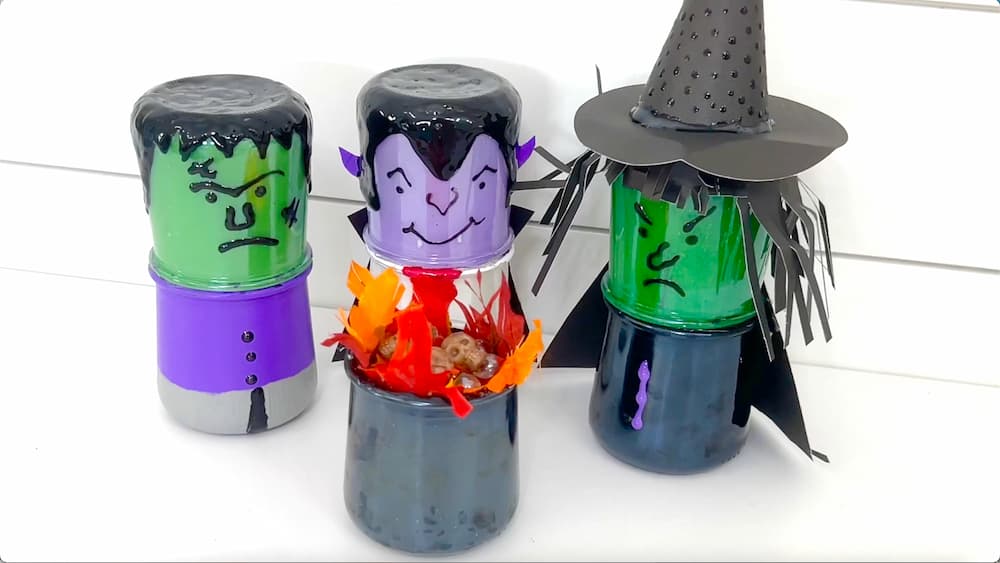
Easy peasy! I’m turning my yogurt jars into a vampire, a witch, a Frankenstein, and a cauldron!
Materials you need to make this fun Halloween craft!
*Disclosure: This blog uses affiliate links from Amazon and other retailers. I earn a small amount from qualifying purchases at no additional cost to you.
- 7 Empty yogurt jars
- Mod Podge
- Acrylic paint (purple, green, black, and white)
- Rubbing alcohol
- Disposable tray
- Silicone risers
- Gallery Glass paint (jet black, red, lavender)
- Black card stock
- Hot glue
- Clear marbles
- Mini skulls (for extra spookiness)
- Two small screws or bolts (I found some in our garage but the link has an option. You can use the extra stuff in future craft projects)
- Flickering tealight
Fun Halloween Craft Ideas Video Tutorial
You can see exactly how I make this fun Halloween craft using yogurt jars to bring these characters to life in this video tutorial.
Directions for our Ghoulish Halloween Gang:
Step 1: Prep and Paint the Jars
To kick off this fun Halloween craft, clean your yogurt jars thoroughly, then wipe the insides with rubbing alcohol. This will help the paint stick better.
Mix Mod Podge with acrylic paint (purple, green, black, and white), and coat the inside of 6 jars by swirling the paint around and draining the excess. Leave them overnight to dry.
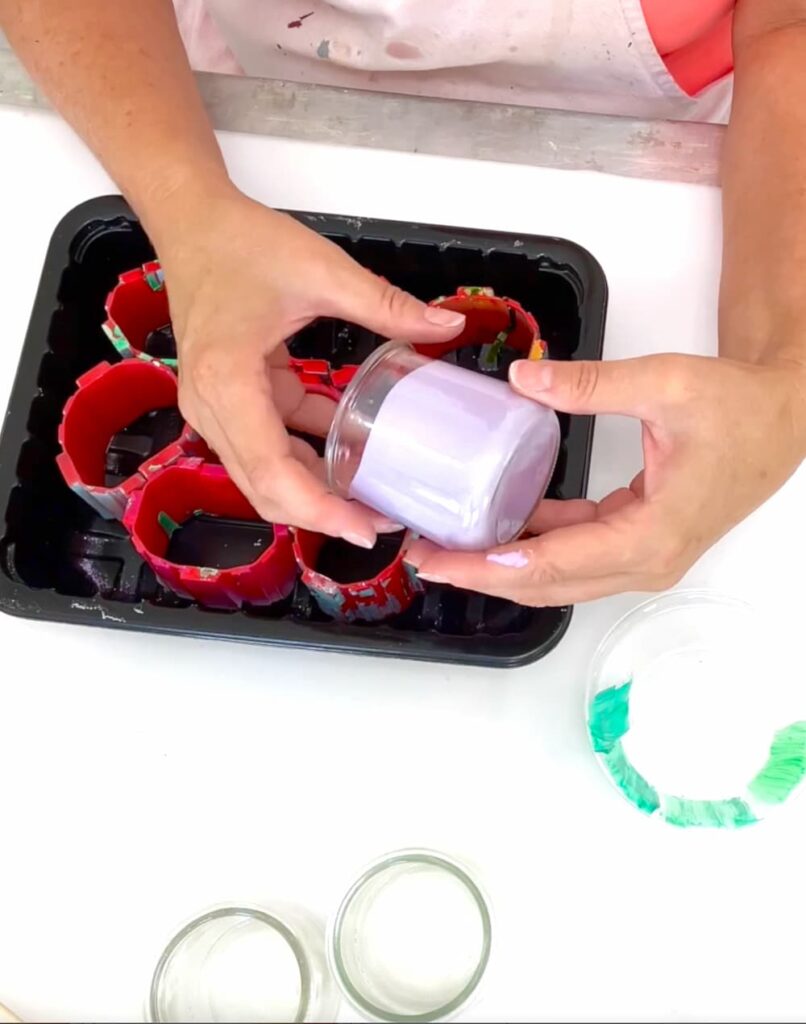
- 1 white
- 2 black
- 1 purple
- 2 green
I put them in a tray, raised on silicone risers, so the air can flow and they are free to drain.
For Frankenstein’s body jar (the 7th one), paint the outside purple for his shirt. After it dries, add gray for his pants and paint a line down the middle to create a split for his legs.
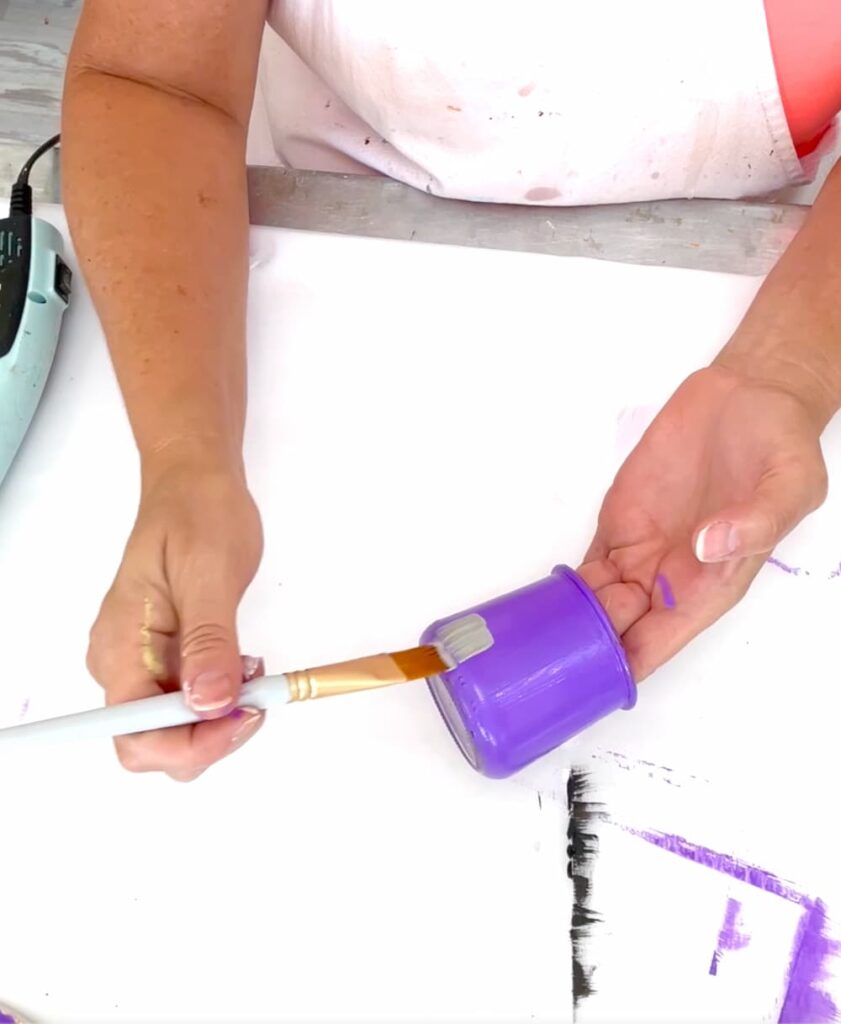
Expect to apply two coats of purple. You want it nice and solid.
*Tip: When the jars have fully dried, there will likely be paint drips on the edges. Either use an emery board or sandpaper to clean up the edges or carefully use your craft knife to scrape the edges.
Step 2: Paint Frankenstein’s Face
Next, it’s time to tackle Frankenstein’s head and face. Grab one of the green jars and use Jet Black Gallery Glass paint to add his brow, eyes, nose, mouth, and signature scars.
Then, paint his distinctive hairline. I used the same paint for all of it. Frankenstein is an icon. Everyone knows what he looks like. Don’t overthink his features, keep the details simple.
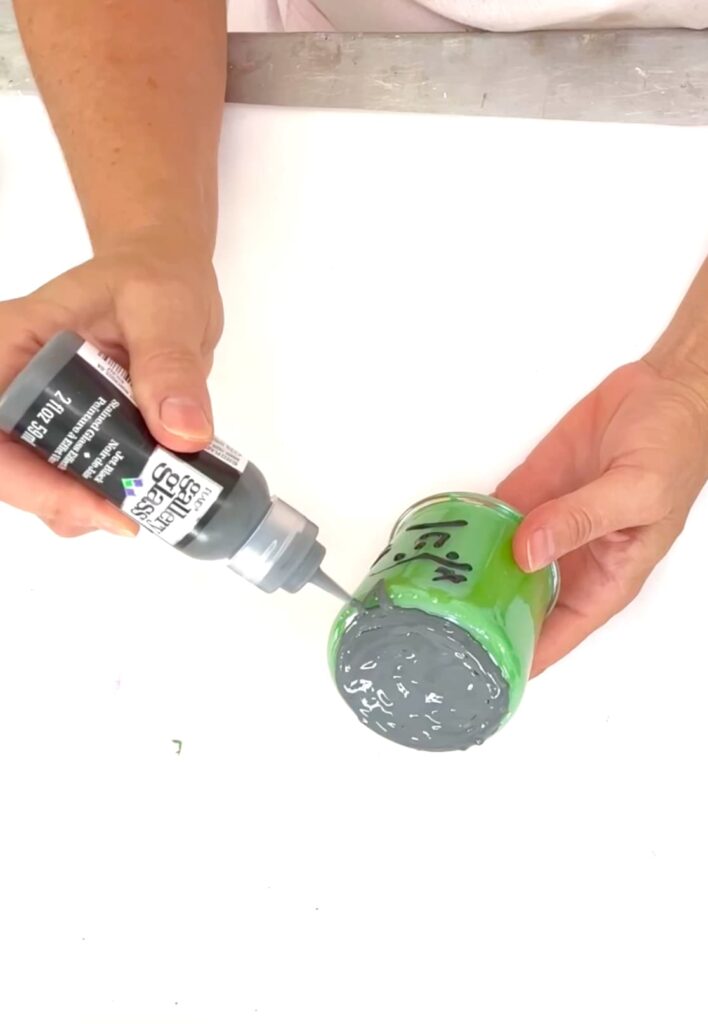
Keeping it simple makes this fun Halloween craft easy and effective and perfect to include the kids!
As a final touch and one I almost forgot…bad me…I added two small machine screws as bolts. I found some in Greg’s collection of screws we’ll never use.
*Tip about the paint: It goes on charcoal gray but when it dries, it is jet black. You can use a heat gun to help it dry faster, or just set it aside to air dry.
Step 3: Create Dracula’s Face and Cape
Now onto Dracula. He is another iconic figure in Halloween history. Two main features make you think vampire: the extremely pointy hairline and of course the fangs, but I have a couple of other details that help too.
First, cut pointy ears from purple card stock and glue them to the sides of the jar which you poured the purple paint into. I painted a piece of card stock with the purple paint from the insides of of the jars.
Any self-respecting vampire is going to have a serious widow’s peak (sorry all you Twilight fans).
Paint Dracula’s hairline, followed by his eyebrows, eyes, nose, and mouth. Again, I used Jet Black Gallery Glass paint for all of it.
I gave him a smile because not all vampires are angry…some are pretty sneaky too.
Use white Gallery Glass paint to add fangs.
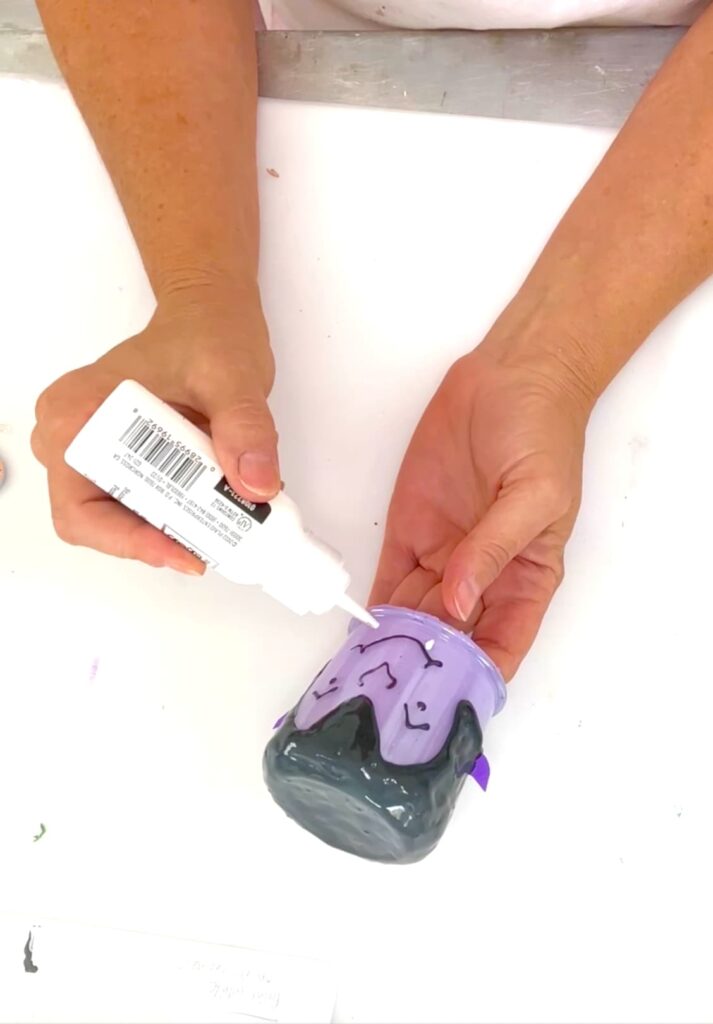
Use the white jar for his body. Add a red ascot and red buttons to complete Dracula’s sharp look. After all, he is a dapper dude!
For his cape, cut a piece of black card stock and glue it to the back. I cut it so he would have a collar that stood up.
Idea: If you did this on a larger scale, with some bowls and the open side up, this jar could also serve as a spooky DIY Halloween treat container!
Step 4: Make the Witch’s Hat and Body
It’s time for the witch. For her body, use one of the black-painted jars. I added purple buttons down the front.
Paint one of the green jars for her face. Using the jet black Gallery Glass Paint, give her angry eyebrows, beady eyes, a crooked nose, and a frown.
Let’s be honest, wicked doesn’t smile.
For her hair, fringe-cut a scrap piece of black card stock. You can do it in pieces or one larger piece that goes around most of her head. I did a few shorter pieces of fringe cut to make her bangs. Glue the hair on. Also, bend the pieces of hair to give her a wild and unkempt look about her.
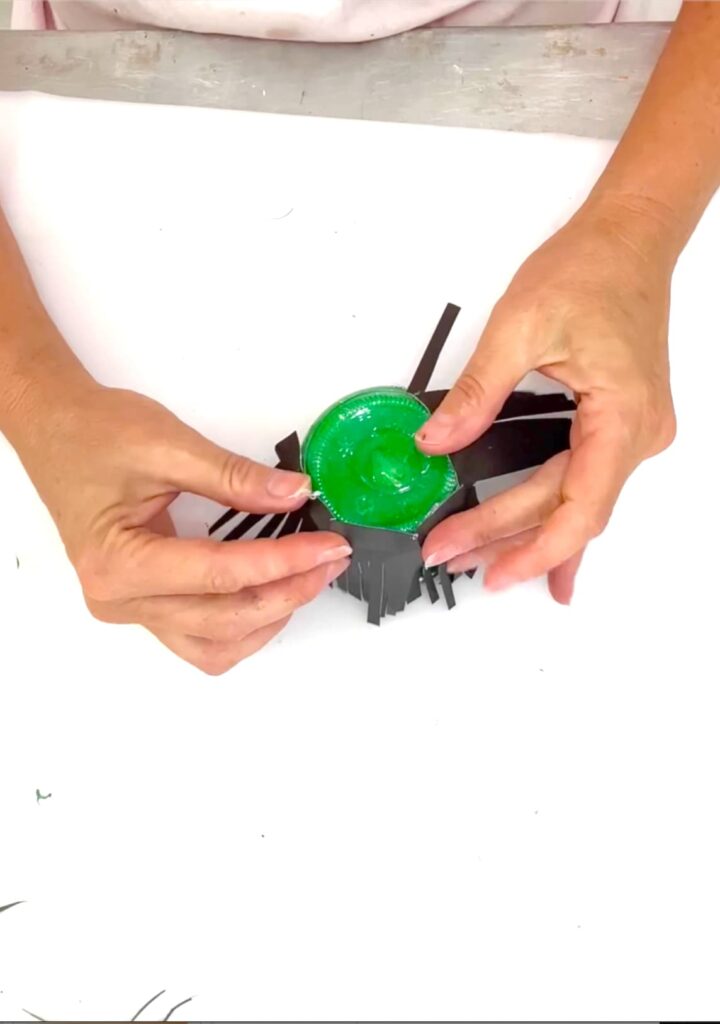
For her hat, cut a cone shape from black card stock, roll it into a point, and glue it together. I used a circle cutter but you can freehand cut a circle to make the brim, then glue the hat together and glue it onto her head.
For a final touch, I thought she needed a cloak, so I cut a piece of black card stock and glued it on.
Step 5: Craft the Cauldron and Finish the Characters
Finally, it’s time to create the cauldron using a black jar. This gnarly group needs a place to gather.
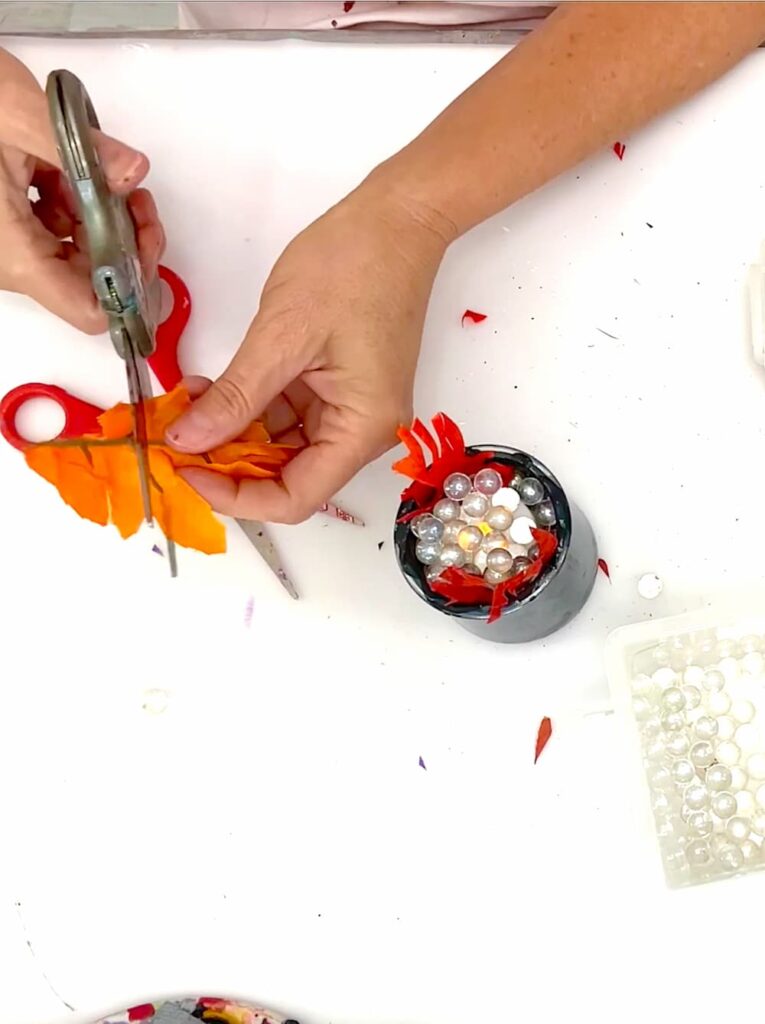
Add a flickering tea light and fill the jar with clear glass marbles to simulate a bubbling brew.
Cut inexpensive fabric fall leaves into fringes and glue them around the inside rim to look like flames. For an extra spooky touch, place mini skulls inside.
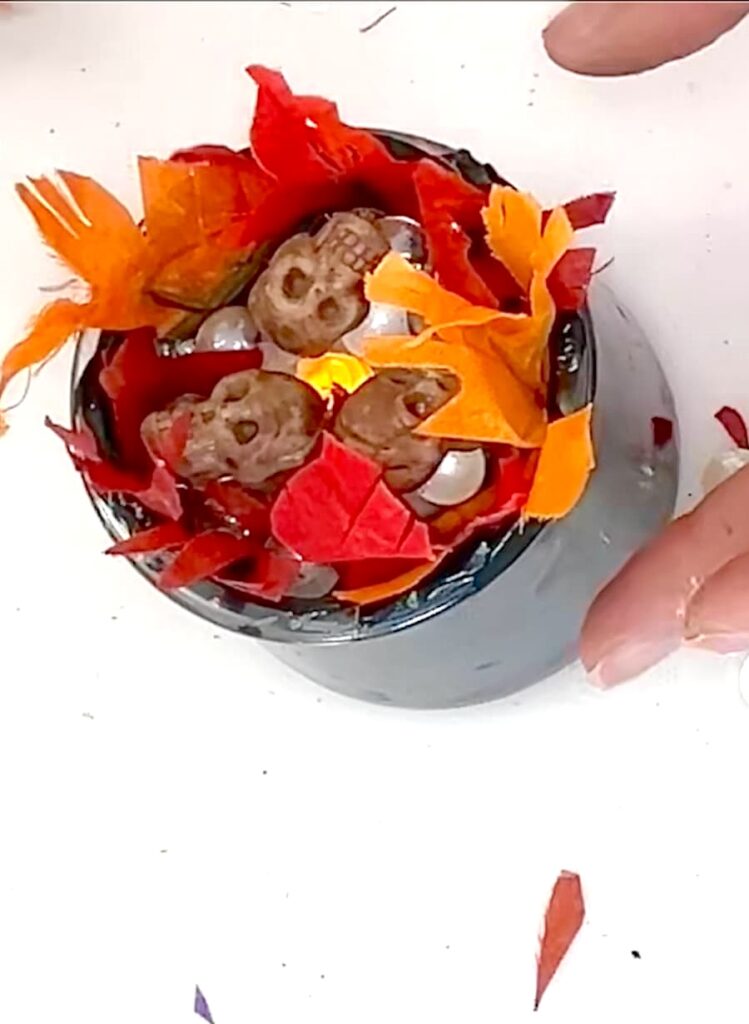
Once everything is dry, glue the heads to the corresponding bodies of Frankenstein, Dracula, and the Witch, and your collection of spooky characters is complete!
The Fun Halloween Craft Reveal
With just five steps, you’ve got a variety of fun Halloween crafts that are easy to make and can be used as unique decor. You can create any of them on a larger scale and you have DIY Halloween treat containers.
Did I Follow the Rules?
Let’s see how this project stacked up against the Craft or Crap challenge rules:
- Jars or Bottles: I used my empty yogurt jars!
- Halloween Display: I created a gathering of ghoulish spirits ready to haunt the night!
Craft or Crap? You Decide!
Now it’s your turn—what do you think? Is my fun Halloween craft a craft or a crap? Let me know in the comments below!
Check Out Chas!
Don’t forget to check out Chas’ Halloween bottles and jars project over at Chas’ Crazy Creations!
If you enjoyed this tutorial, be sure to check out the previous Craft or Crap challenge, where we had to incorporate cardboard and school supplies into a Halloween project.
Other Great Craft of Crap Challenges
- Fall Gnome Makeover
- Epic Yard Art Showdown Craft or Crap Challenge
- Sunflower Thrift Store Craft or Crap Challenge
- Glass Christmas Tree Craft for the Holidays


Get Featured!
Share what you make based on our Craft or Crap Challenges!
Share what you make based on the rules of current or previous Craft or Crap challenges!
Here’s a quick video on how to get featured or follow the directions below:
- Join our Craft or Crap Facebook Group and share your pics! So you can craft along with us, have fun, and inspire others!
- On Instagram: Post a picture of your project on Instagram and tag: @CraftKlatch and @ChasCrazyCreations ***Be sure to use the hashtag #CraftorCrap
- If you aren’t on Instagram or Facebook…NO PROBLEM…email your pictures to us at craftklatch@gmail.com or Chas at chas@chascrazycreations.com
For Even More Fun Halloween Crafts
Remember: Life’s too short not to shimmer, so grab your glue gun and glitter. Stay safe!
Mona


I know you have been saving those glass jars for a while, and this was the perfect use for them. They’re so cute and I love how they turned out. Definitely CRAFT! Always fun crafting with you!
Thanks, Chas! Always so fun crafting with you too! I still have more of those jars I’m going to have to find a use for!