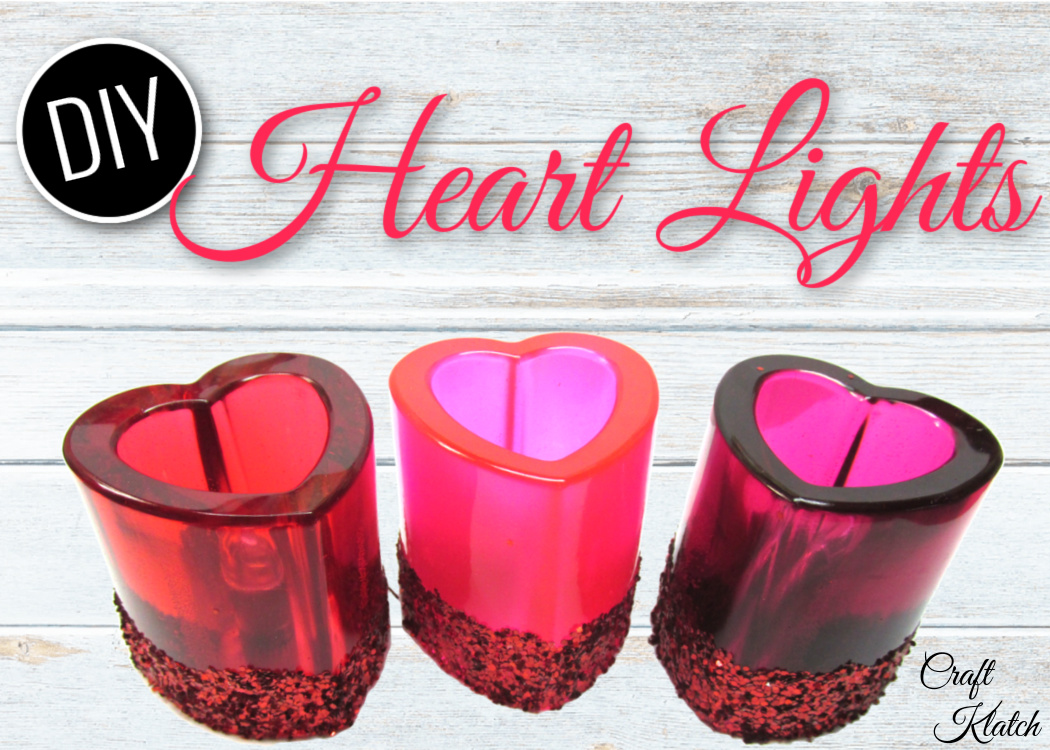
Do you like making hearts? How about a heart light?
The most obvious use for hearts is to use them for Valentine’s Day decorations but they can be used for wedding decorations or anniversaries too! Or if you just love hearts, you can use heart lights in your home decor!
Other Fun Valentine’s Day Decorations:
*This blog uses affiliate links. As an Amazon Associate I earn from qualifying purchases.
Material You Will Need for Heart Light Craft:
- Mold: https://amzn.to/2j1UpGM
- Pink pigment: https://amzn.to/2j1Rhe3
- Red pigment: https://amzn.to/2jNAPCw
- Magenta pigment: https://amzn.to/2jNEm3H
- Glue: https://amzn.to/2jNNCVh
- Glitter: https://amzn.to/2jFNhCa
- LED lights: https://amzn.to/2jNFaVZ
- Resin:
- When deciding on which resin to use, there are a lot of qualities that might be appealing, UV resistant, price, heat resistance, etc. Just make sure to select a resin that fits your needs.
- Use whatever brand you like:
- Easy Cast
- Art Resin
- Let’s Resin
- Promise Epoxy
- These are heat resistant resins:
- FX Poxy
- Stone Coat
Hearts for Valentine’s Day Decorations | Heart Light Quick Video
Here is the quick video tutorial. You can find the full version at the end of this post and it should answer all your questions.
Project Directions
Step One: Heart Light Mold & Resin
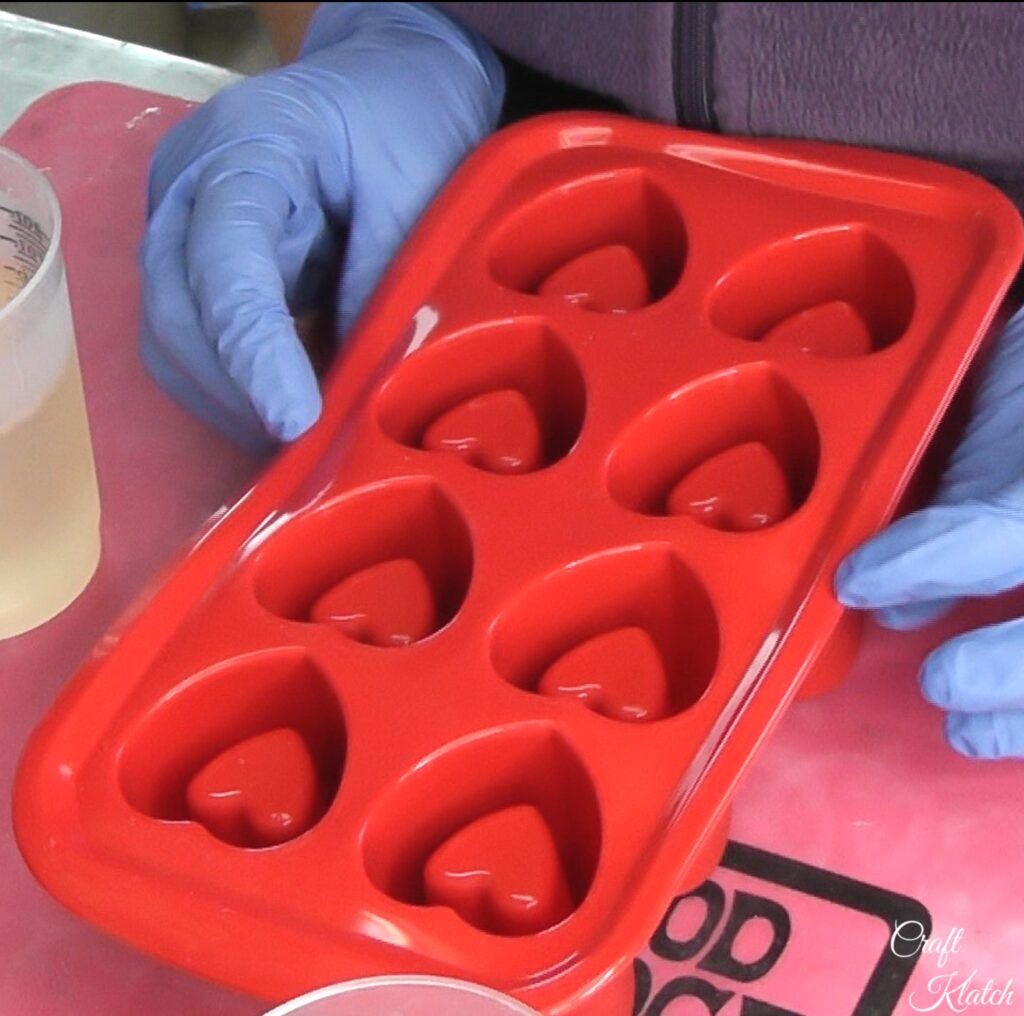
The heart light mold is actually for shot glasses or chocolate dessert cups. I decided to use them for cute Valentine’s Day decorations as heart lights.
Mix six ounces of resin, according to the package directions.
Step 2: Separate
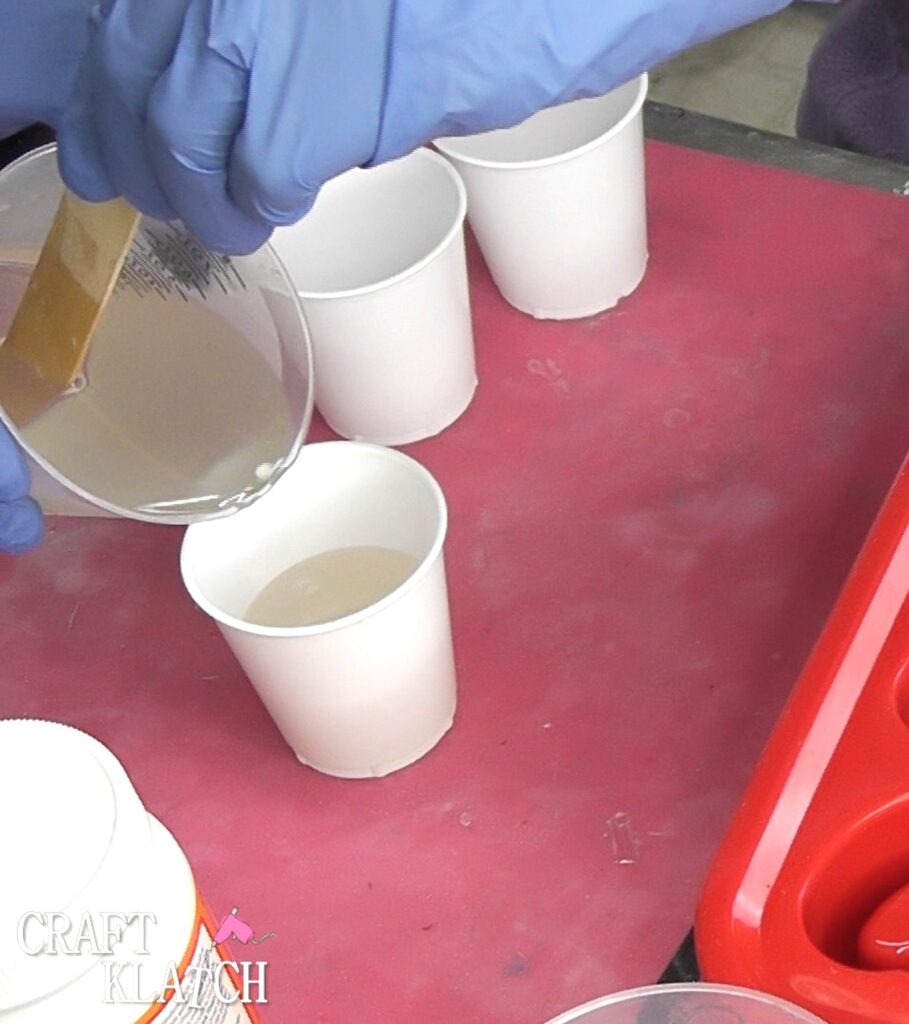
Separate the resin equally into three smaller cups.
Step 3: Mix Color for the Hearts
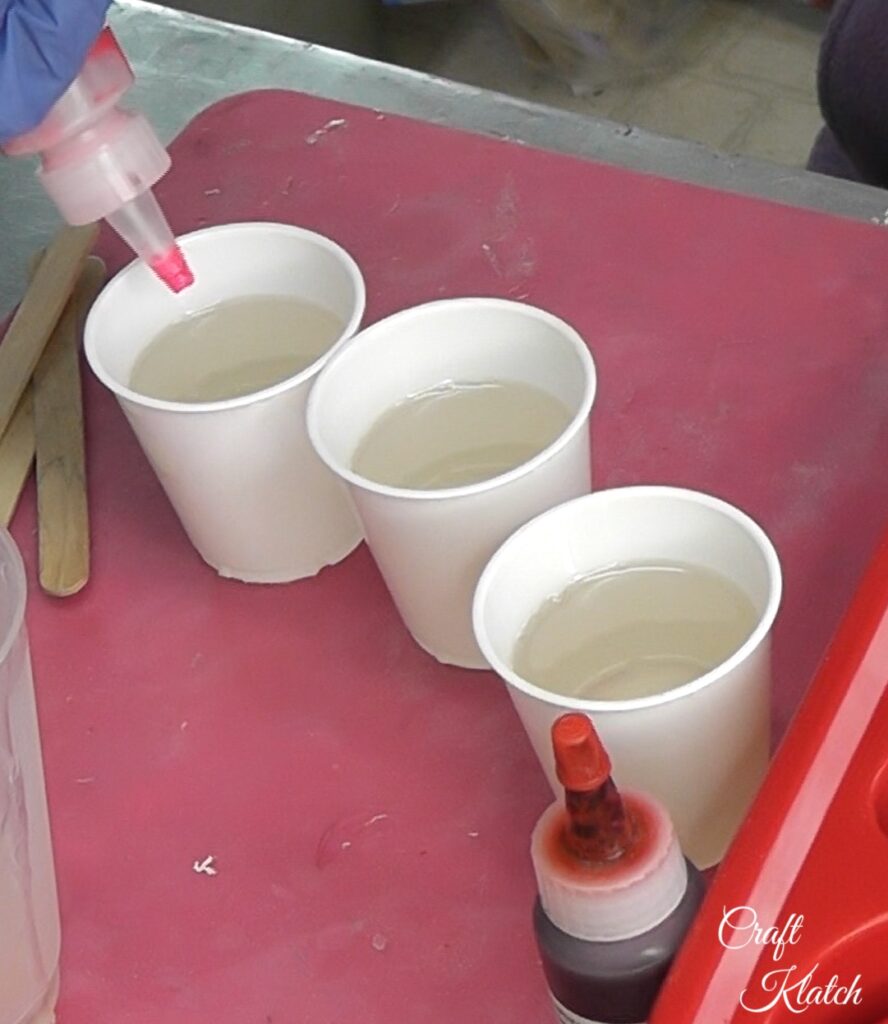
Add the resin colors into each cup and mix well. Use whatever colors you want. If you are thinking Valentine’s Day decorations, maybe you want to stay traditional with red or pink.
If you are thinking wedding decorations, you can customize them to match your wedding colors.
Step 4: Time to Pour
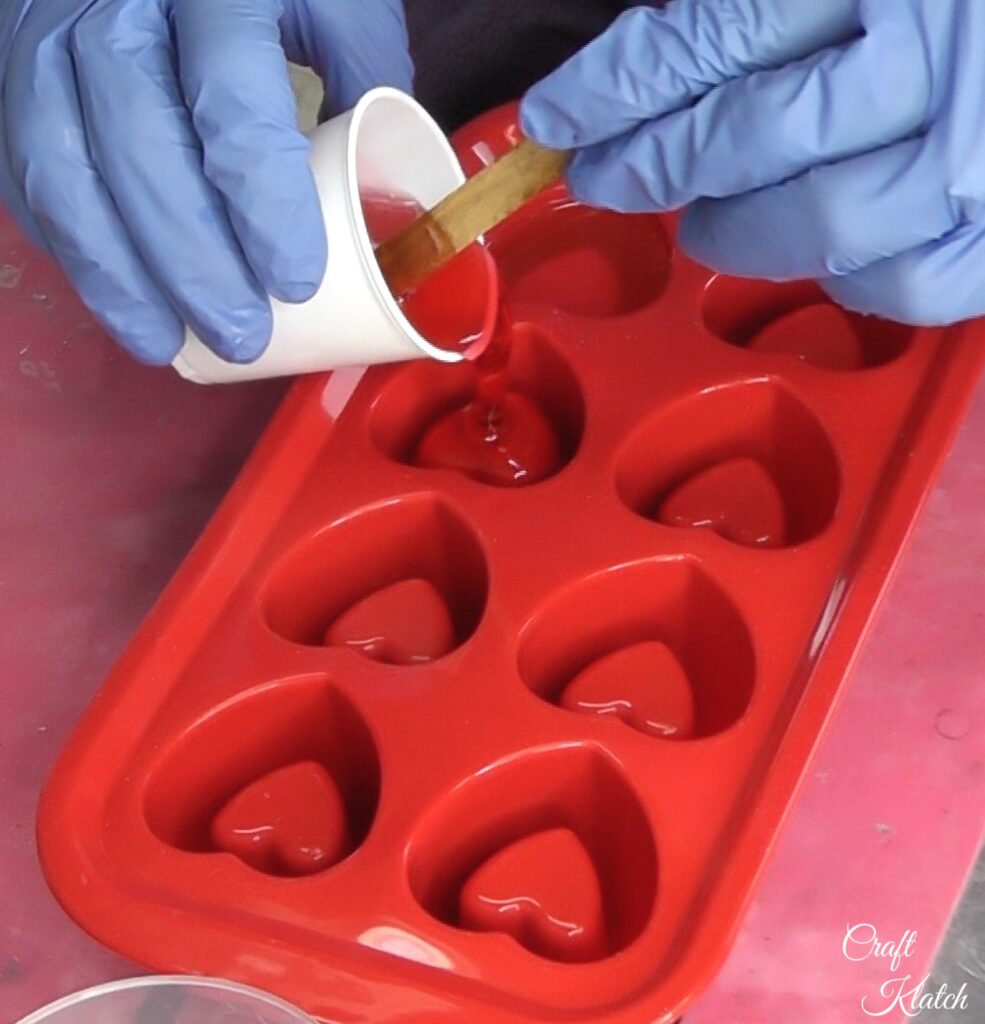
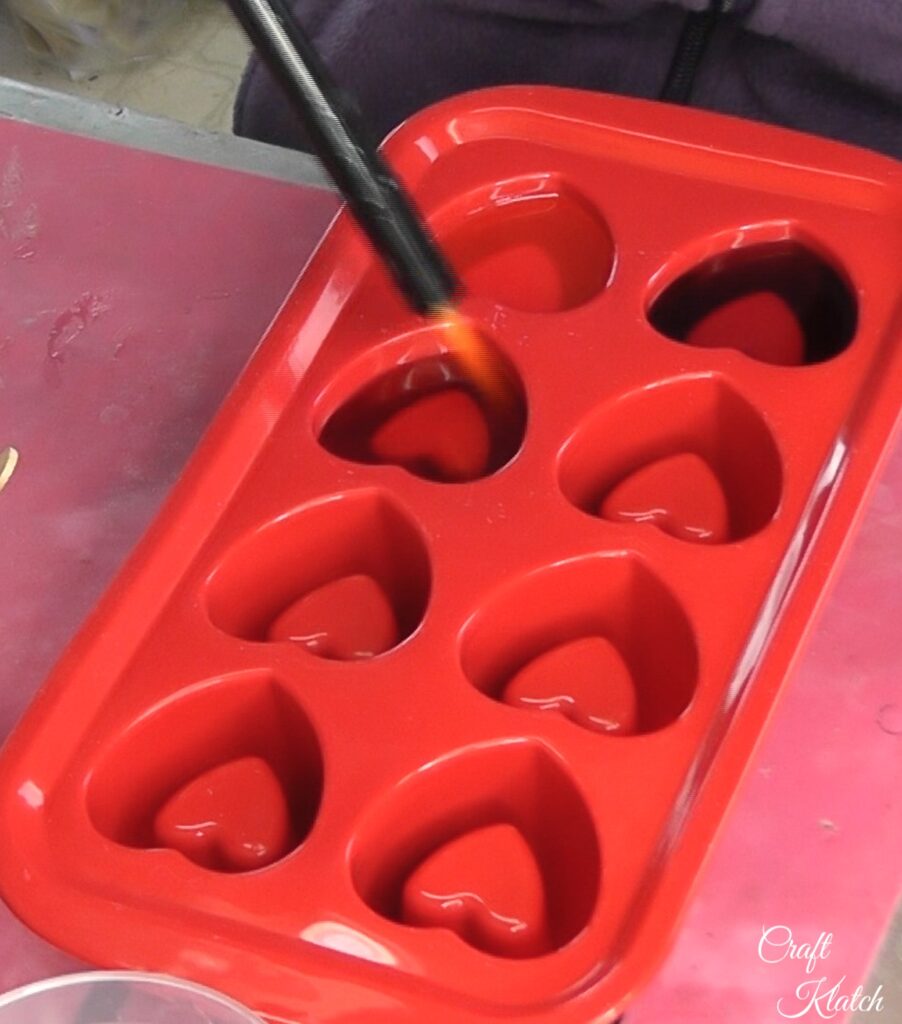
Pour the colored resin into different heart light cavities of the mold.
Step 5: Pop
Pop bubbles with a lighter.
Step 6: Curing Hearts
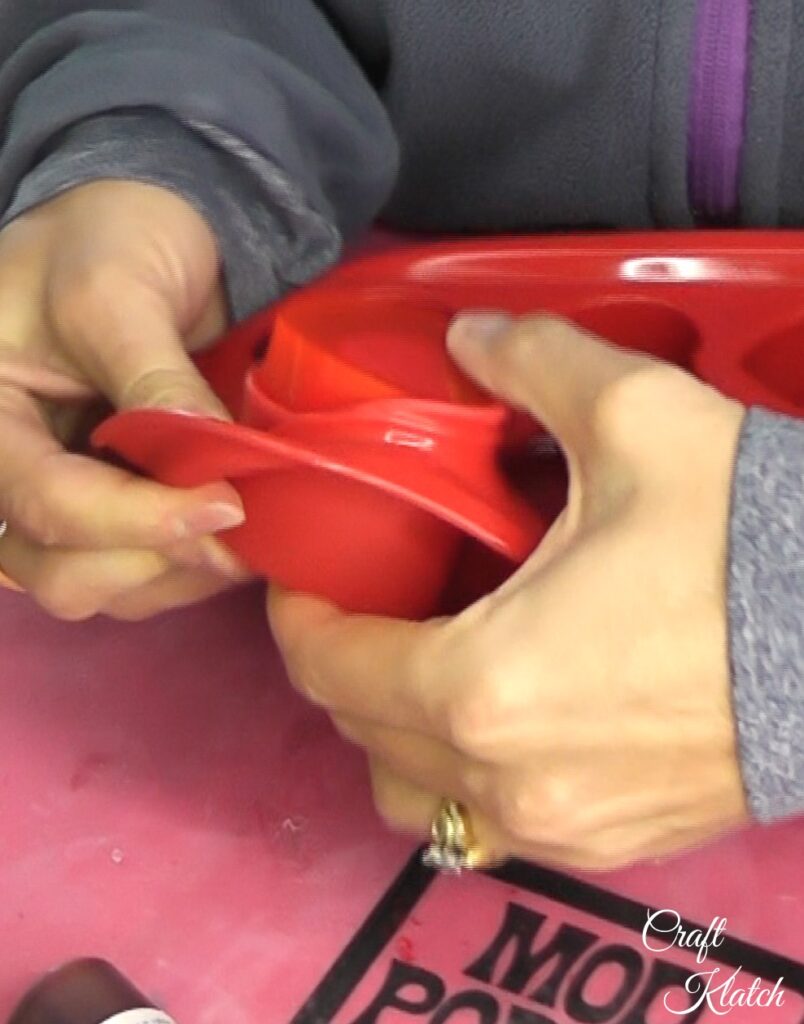
Allow the hearts to cure at least 12 hours before removing them from the mold.
Step 7: What Makes a Heart Light a Heart Light
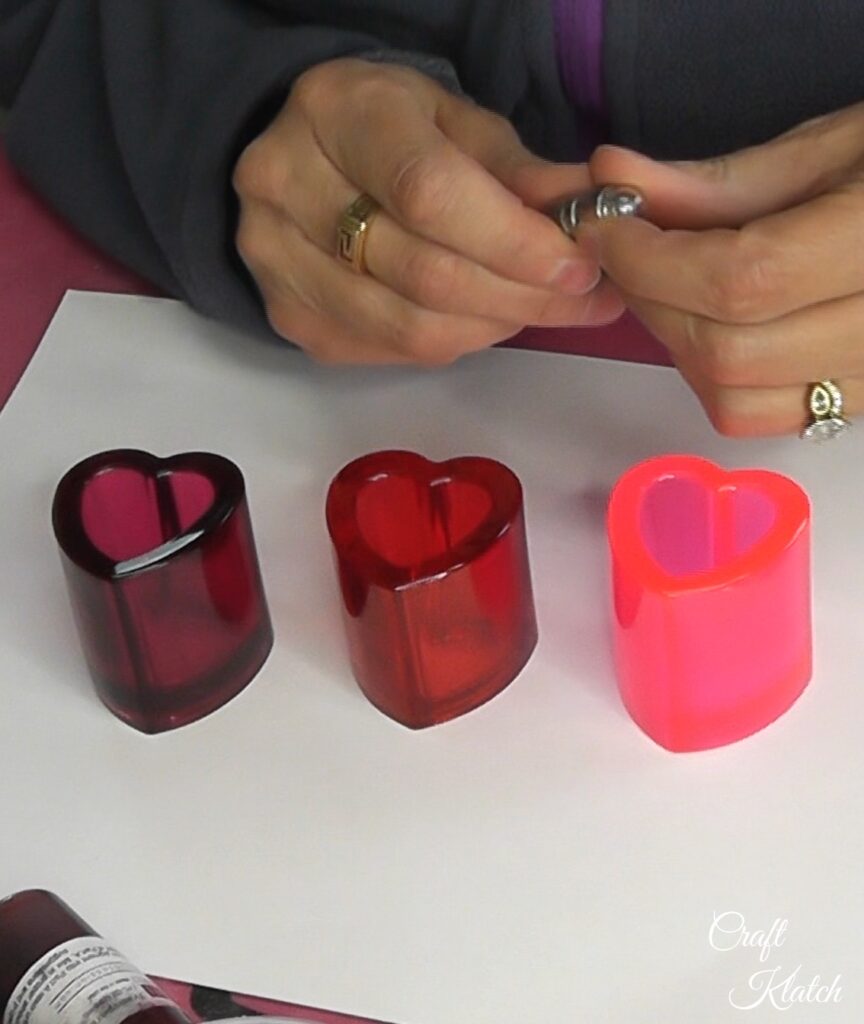
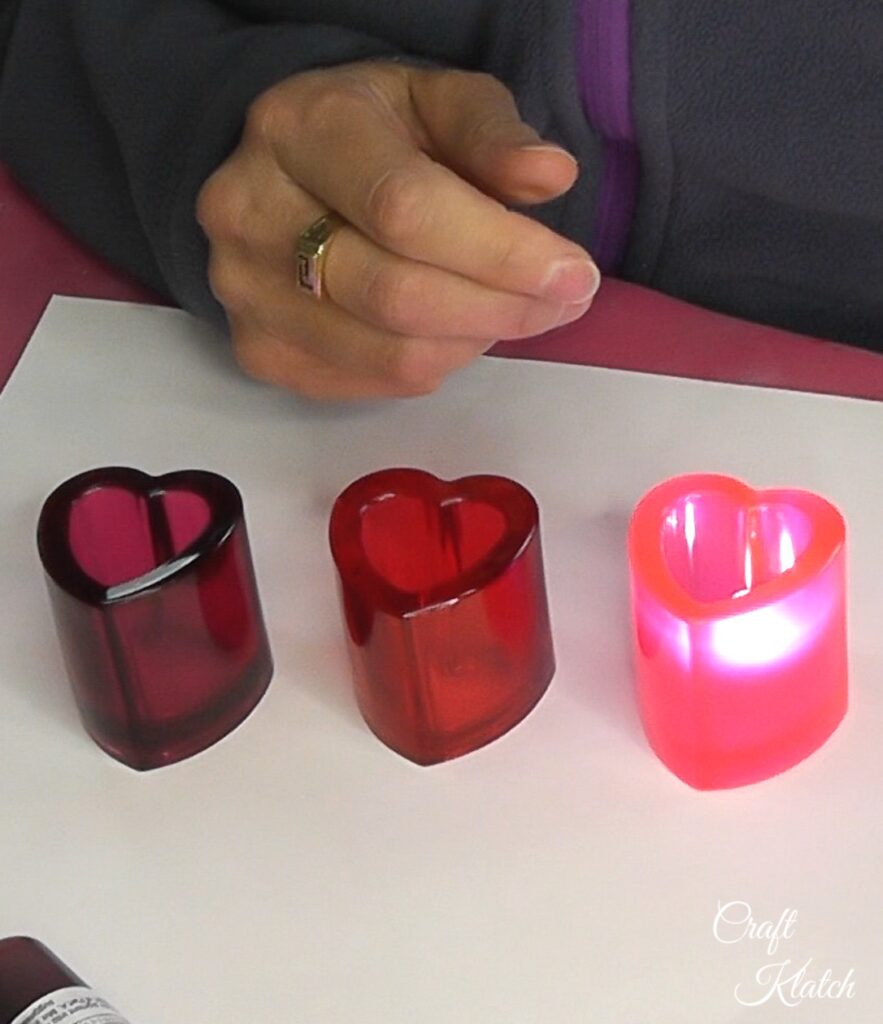
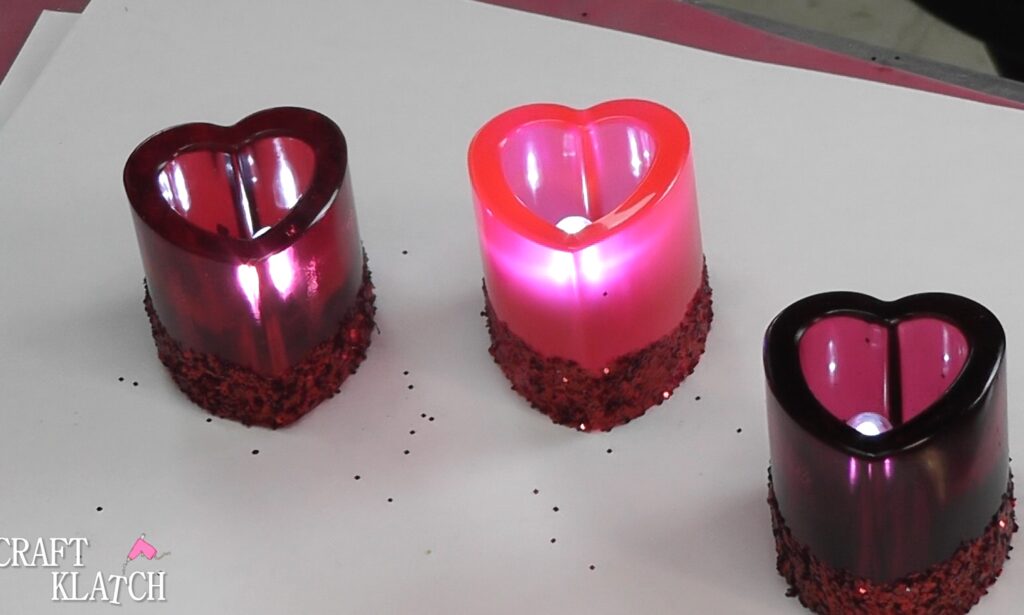
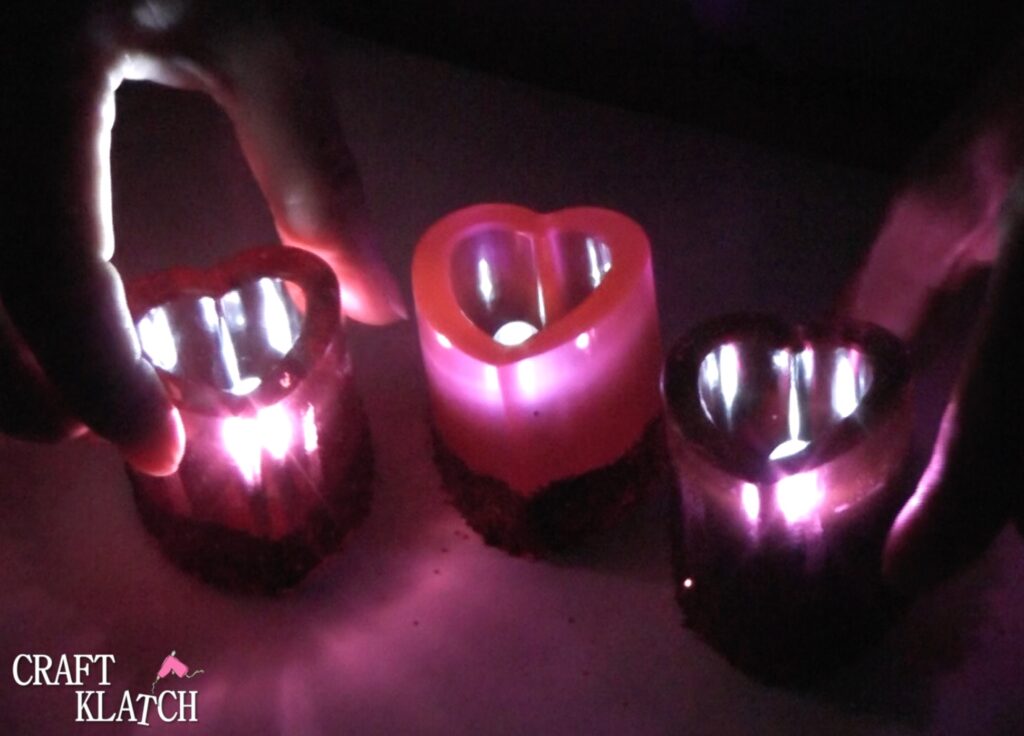
To light up the hearts, add little LED lights!
Have fun with it! I’d LOVE to see what you make! Be sure to share it over on my Craft Klatch Facebook Group! It’s Free!
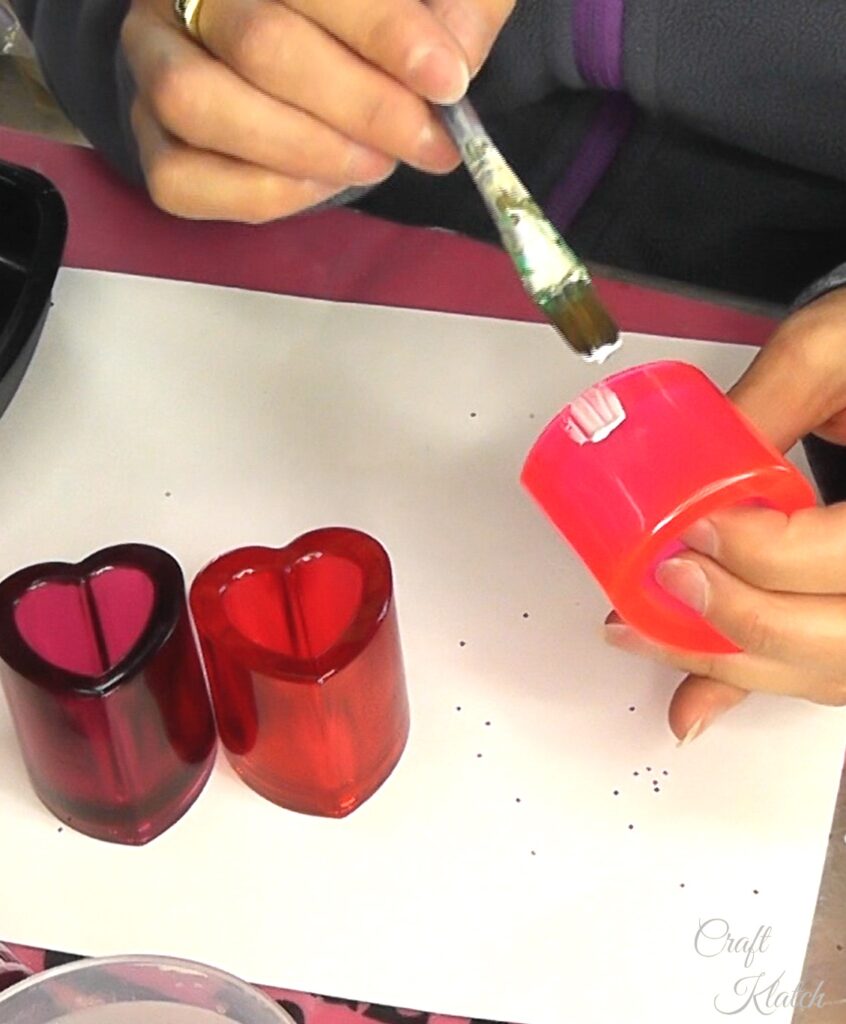
Step 8: Glue
Brush a small band of glue along the bottom of the hearts.
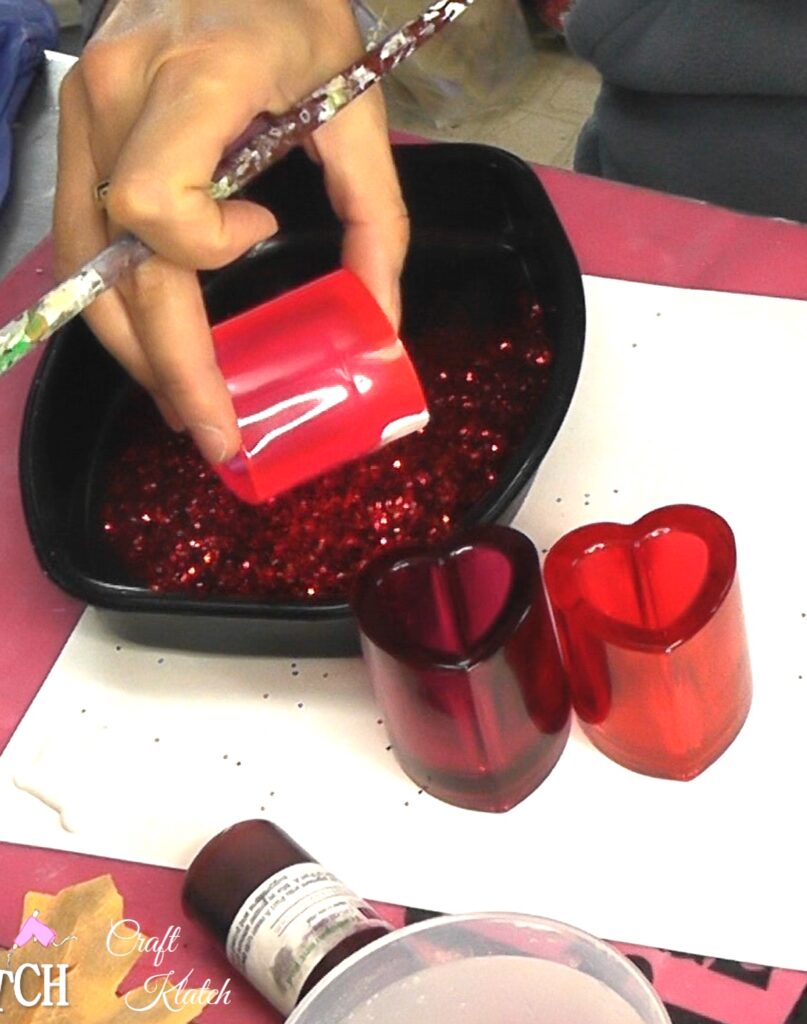
Step 9: Dippin’ Hearts
Dip the hearts into chunky red glitter.
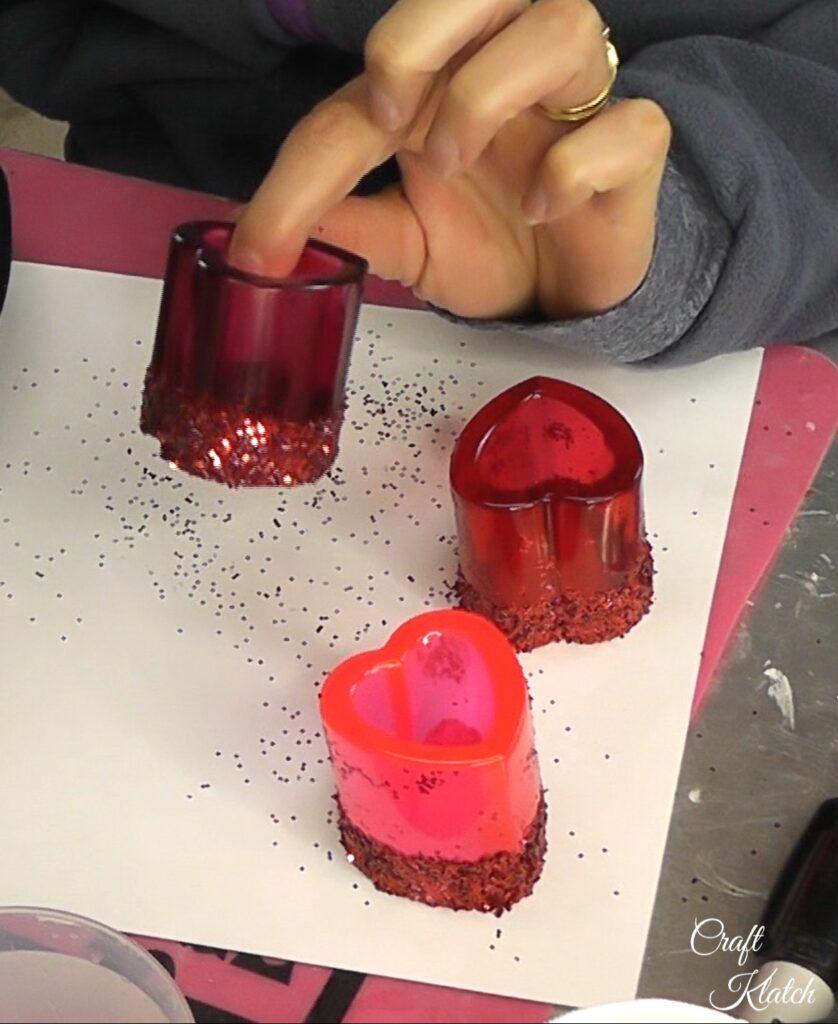
Viola!
Allow to dry and brush off any excess.
Remember to add a little LED light. You do not want to use a candle in the hearts!
Alternatives!
Maybe you don’t have time to make these little lights, or perhaps you would like other fun Valentine’s Day decorations or gifts…WELL…I found some!
Here is the video tutorial, so you can see exactly how I did it:
That’s it! Remember, Life’s too short not to shimmer, so grab your glue gun and your glitter!™ Be safe!
Mona
Remember to pin it for later!
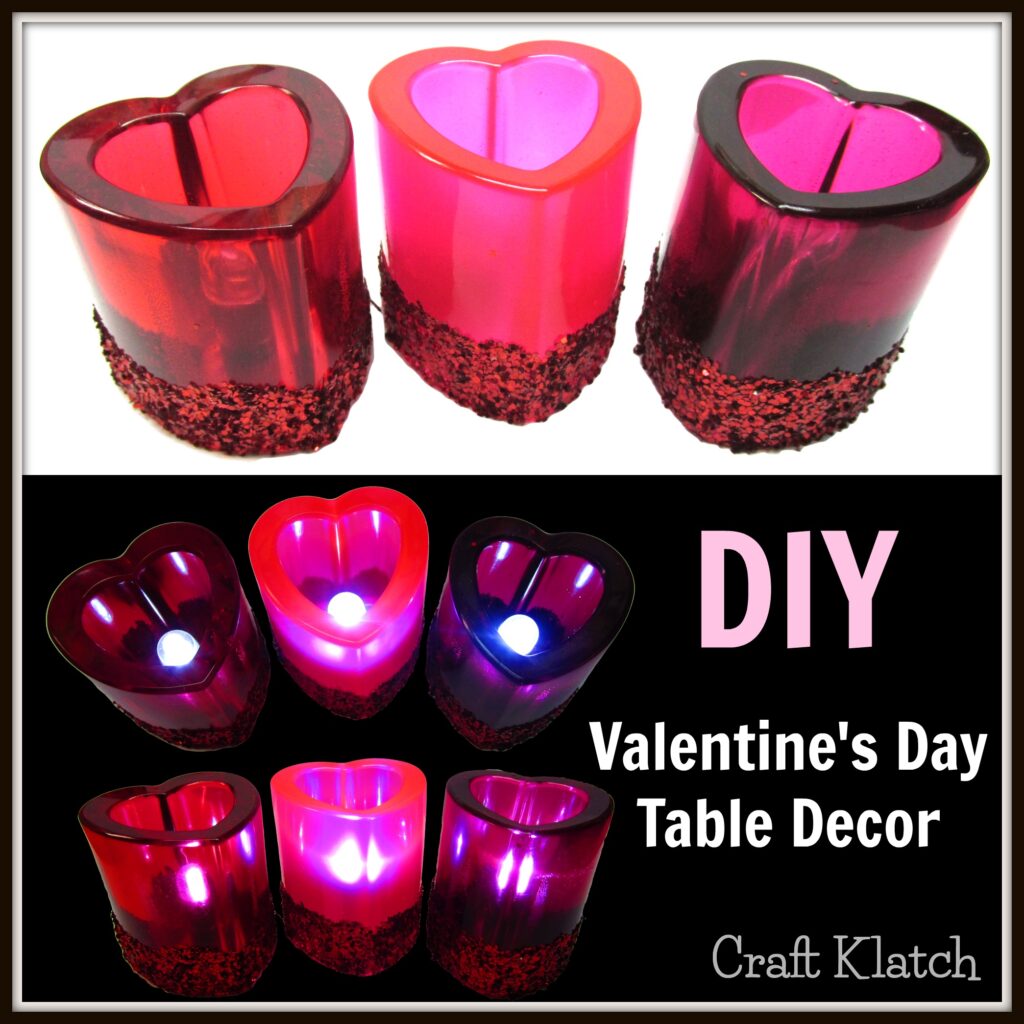
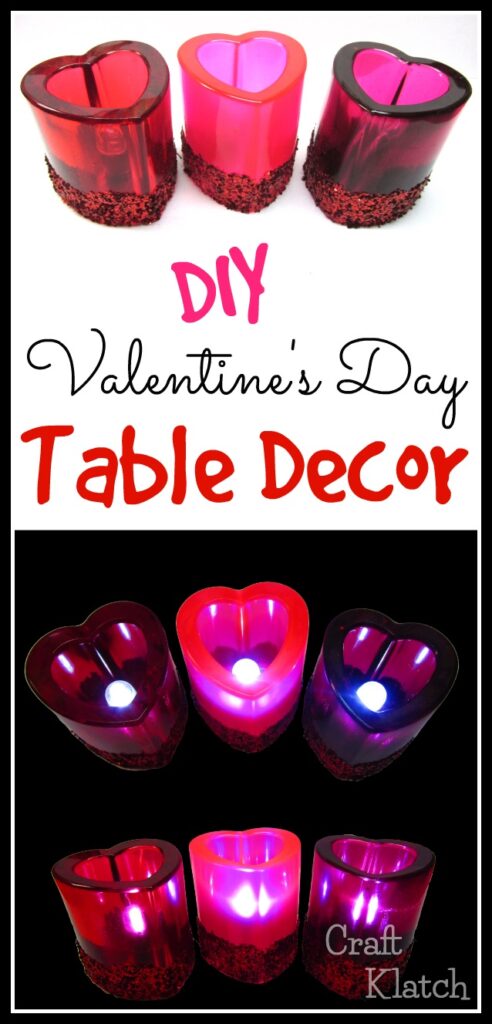


I like the idea of using them for wedding decor
Thank you, Deb! I agree. I think if they matched the wedding colors and were made part of the centerpiece, they would look really cute!