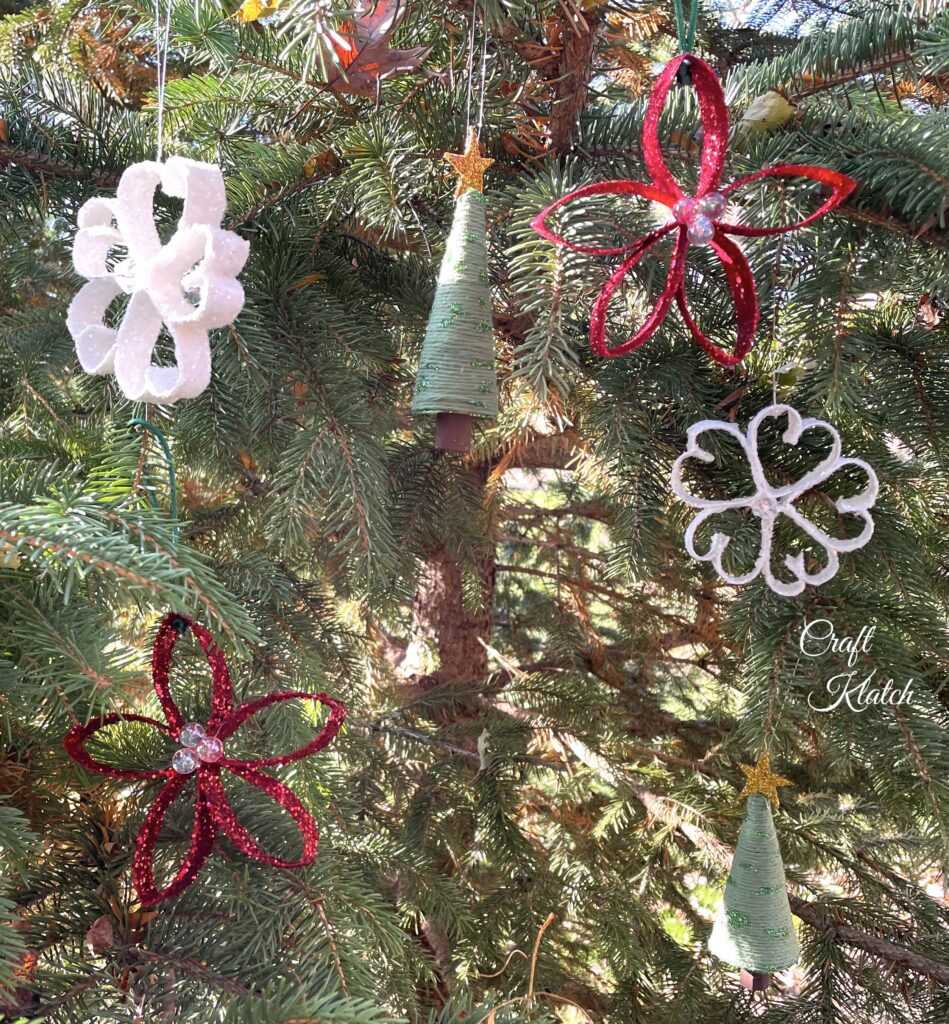
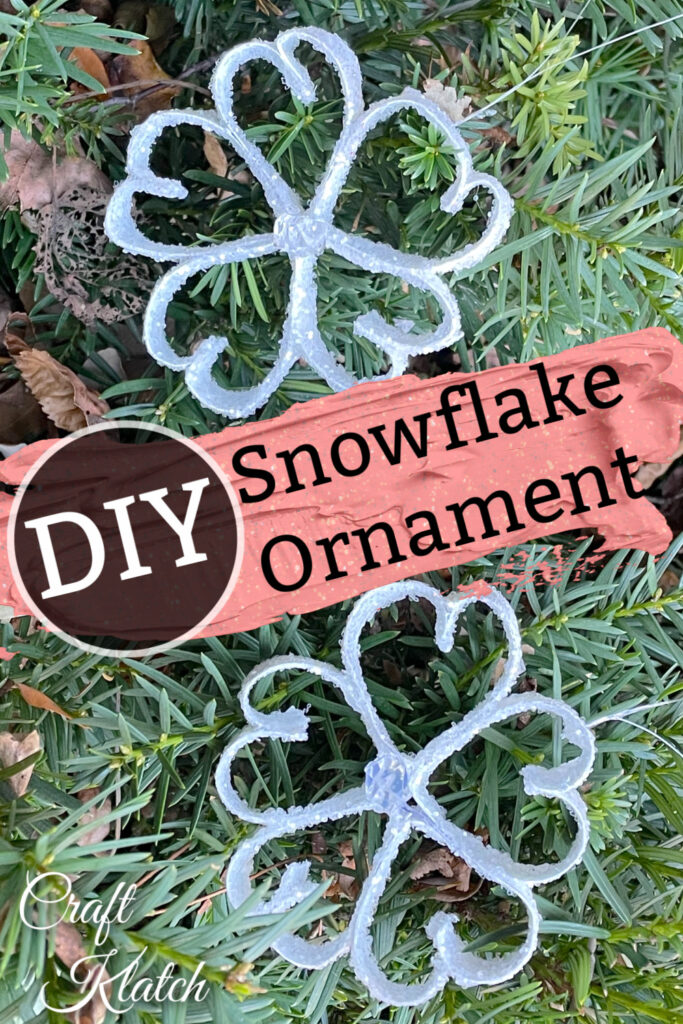
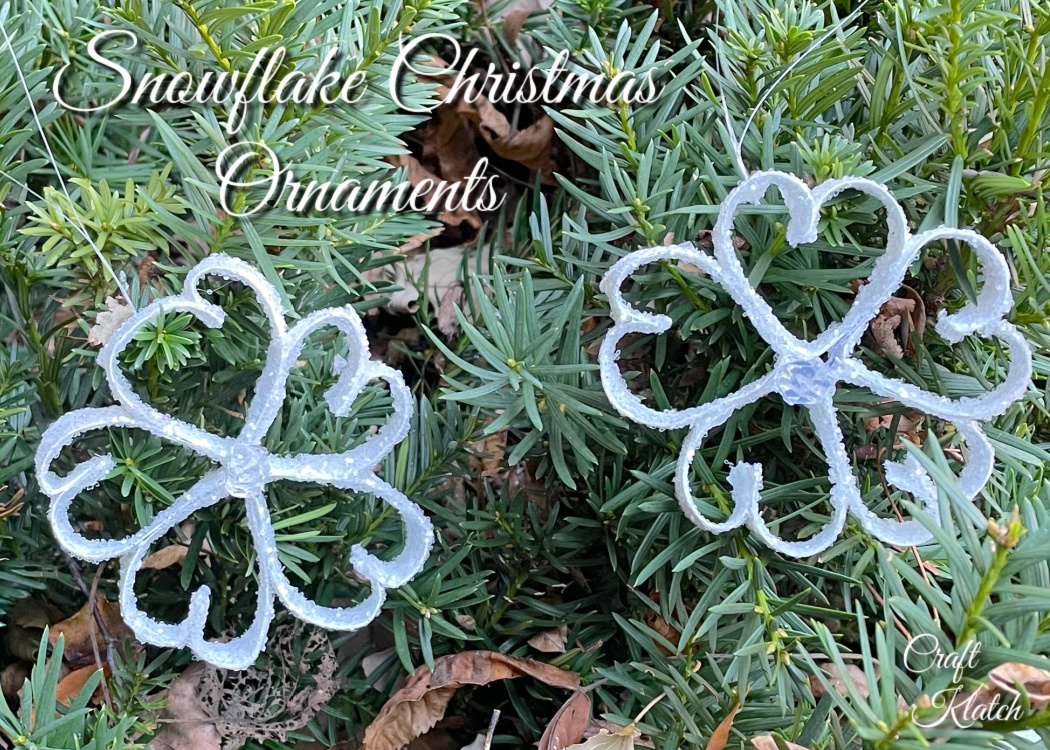
How to make a paper snowflake using a toilet paper roll. It is an easy and glittery Christmas ornament DIY.
You know how I have been telling you to collect your toilet paper rolls? Well, here is another reason why!
Seriously, who doesn’t think snowflake DIYs when they think of toilet paper rolls?
If you thought you were going to find a paper snowflake drawing or a paper snowflake template, you are not. We are going to make paper snowflakes using toilet paper rolls. It’s so much better than a flat snowflake!
Toilet Paper Ornament DIYS
This has been a big year for toilet paper roll ornaments here at Craft Klatch. So, let’s do a quick recap!
Here is the quickie video tutorial for the flower and Christmas Tree Ornaments
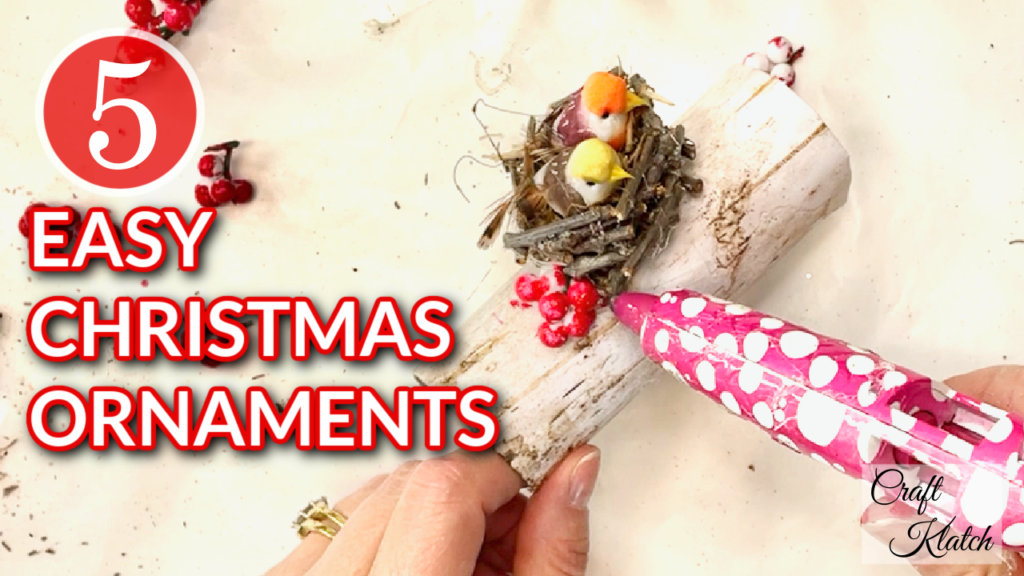
Here is the quickie video tutorial on the Enchanted Birdhouse Ornament
Supplies for How to Make a Paper Snowflake
This list is pretty short and you probably have most of it on hand already.
They are like free ornaments!
But incase you need to stock up on any supplies, here you go:
- Toilet paper roll
- Mod Podge (or white glue)
- White paint
- Hole punch
- White/clear glitter
- Fishing line
- Scissors
- Hot glue
Paper Snowflake Ornament Directions
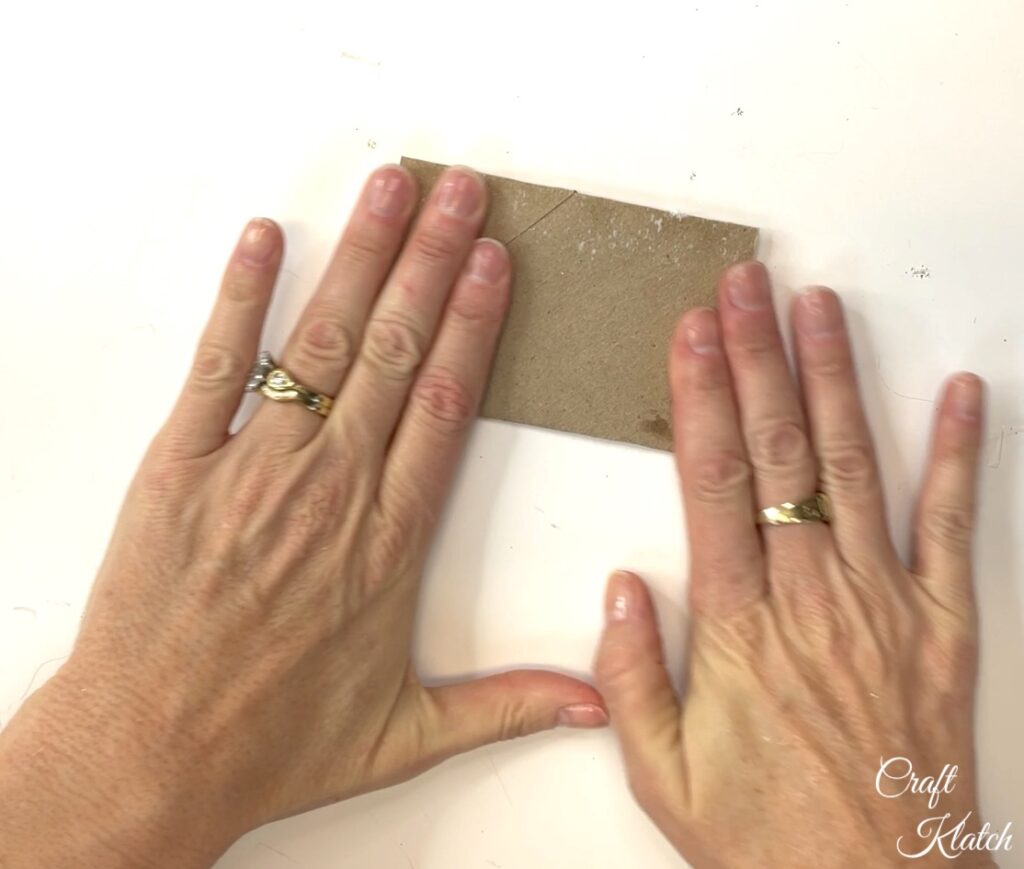
Step 1: Flatten
Use both hands to flatten the toilet paper roll. Give it a good crease.
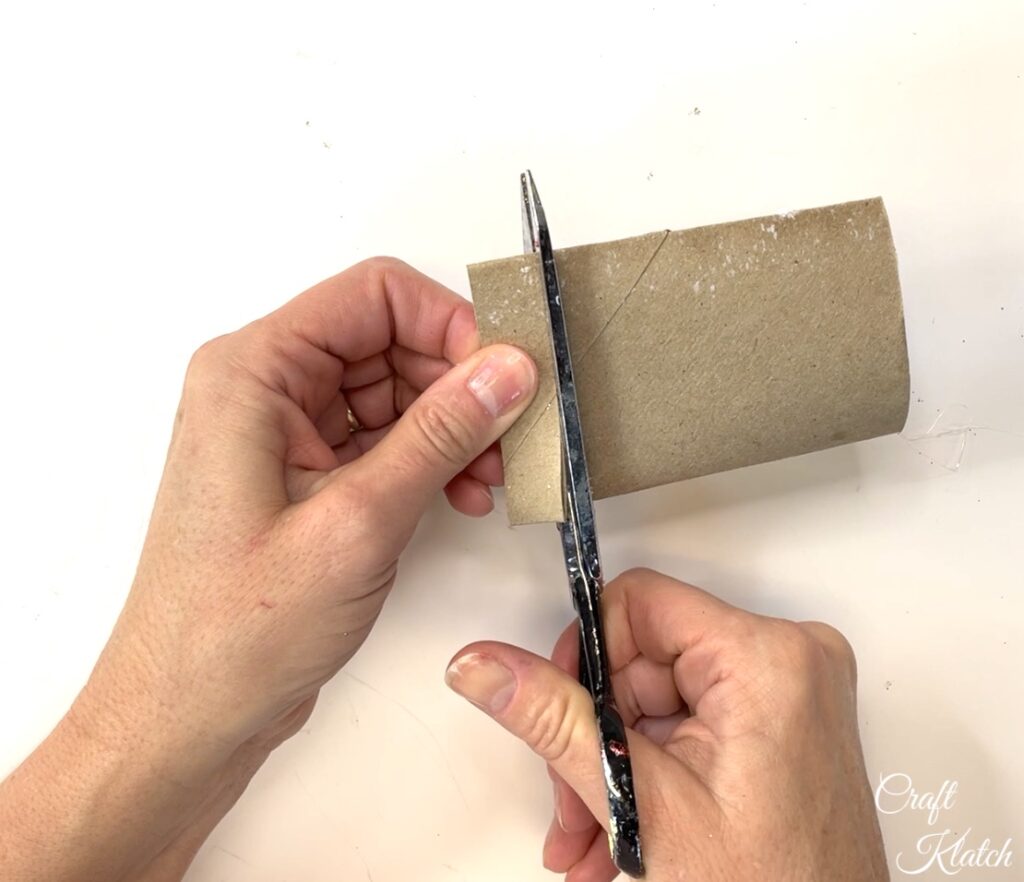
Step 2: Cut
Cut the pieces for the paper snowflake. Cut strips that are approximately 1/2″ in width.
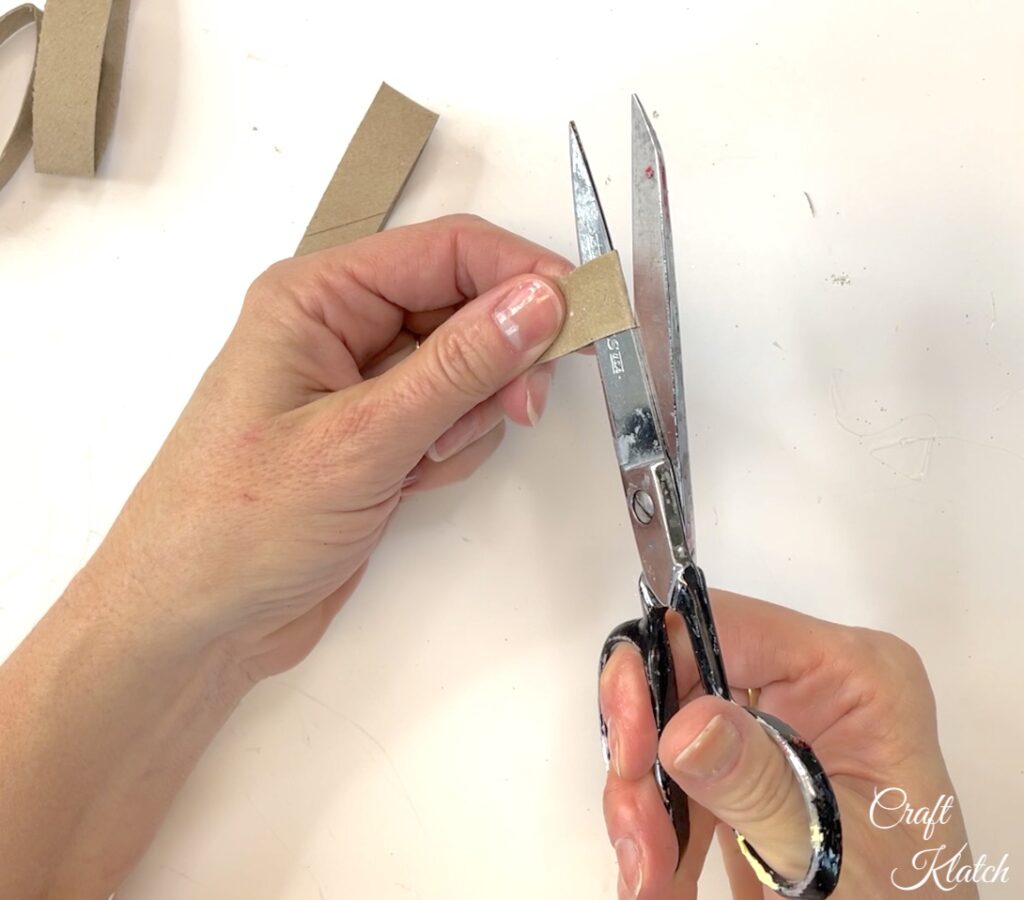
Step 3: Cut Again
Using scissors, cut the end of the strips open. You can and should cut right on the crease you created.
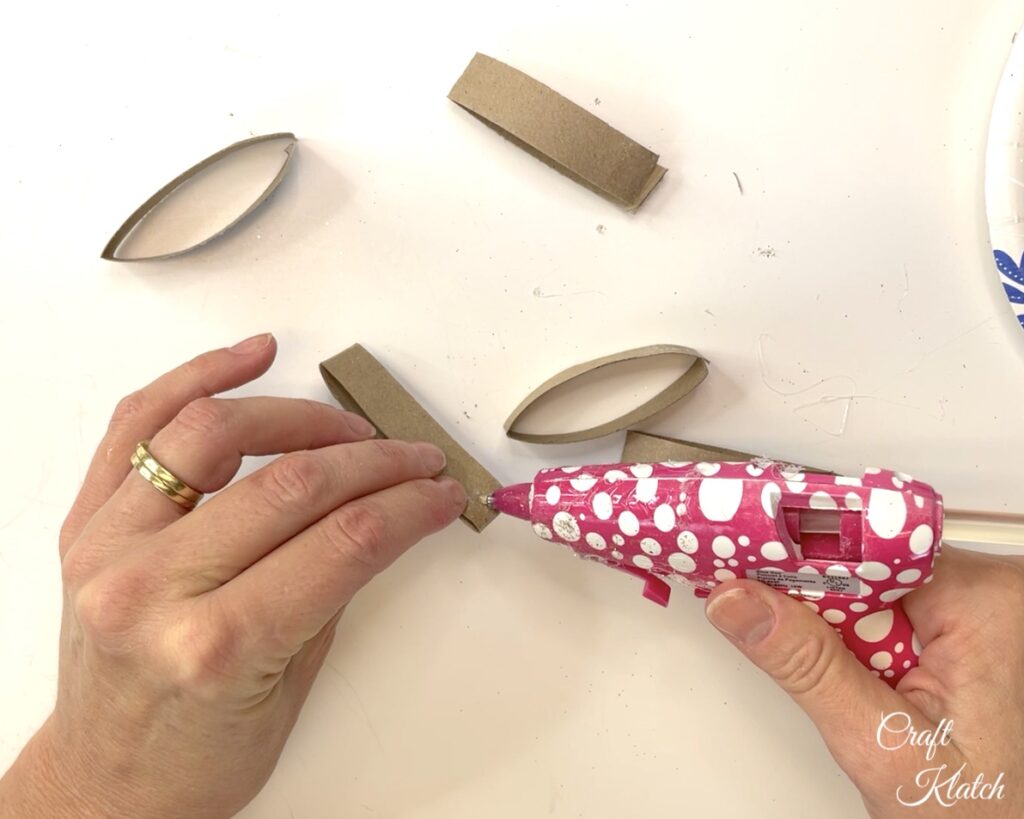
Step 4: Glue
Using hot glue, glue the pieces together. You want the cut side out.
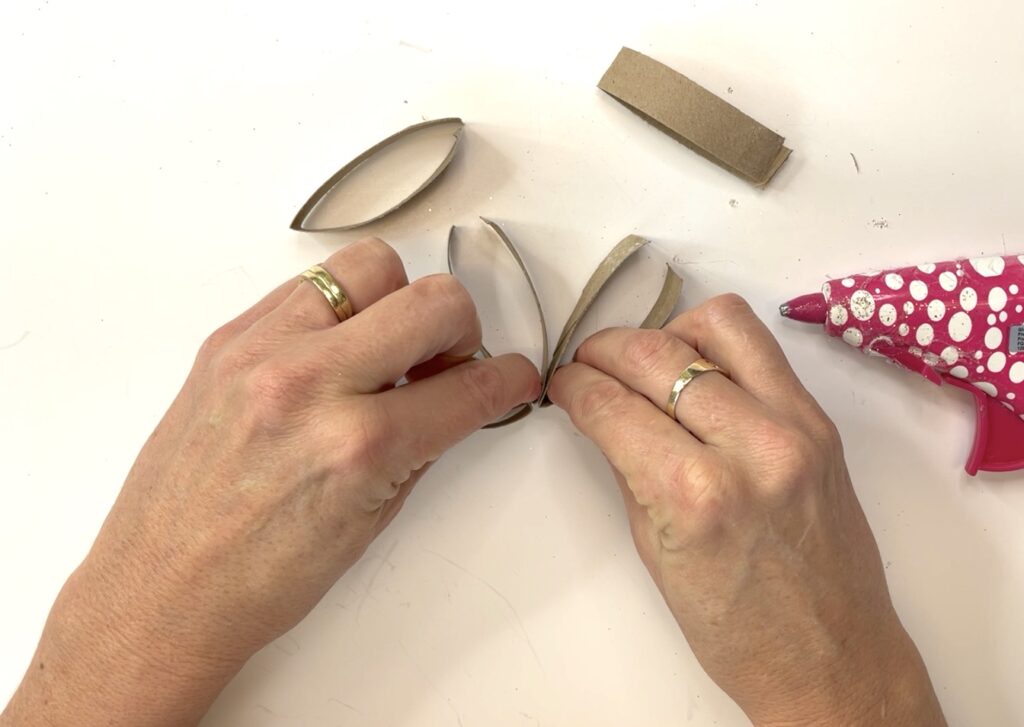
Step 4: Start Curling
Once the pieces are all glued together, you should have a piece that kind of looks like a flower.
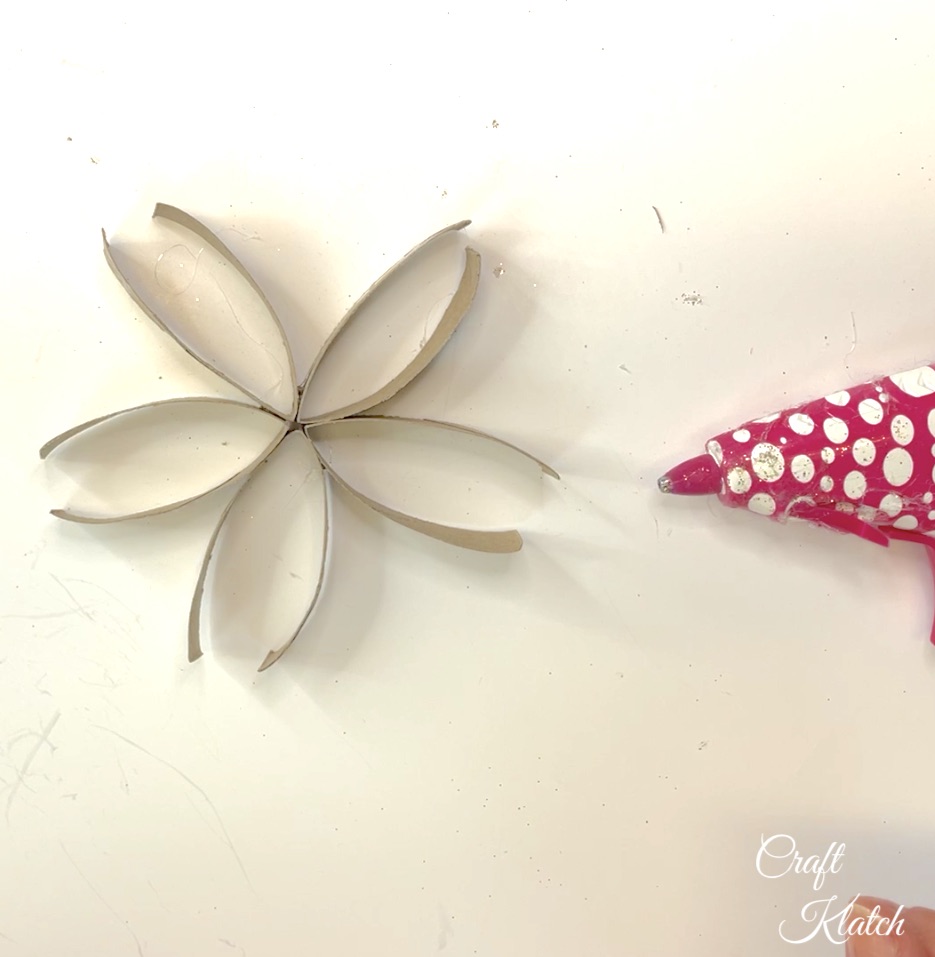
Curl the ends into one another and secure them with a dab of hot glue and it should look something like this. I know what you are thinking.
What about those messy looking pieces sticking up?
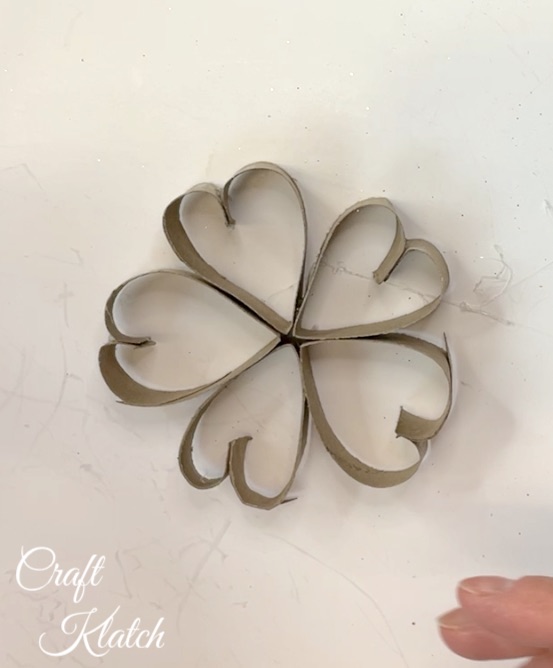
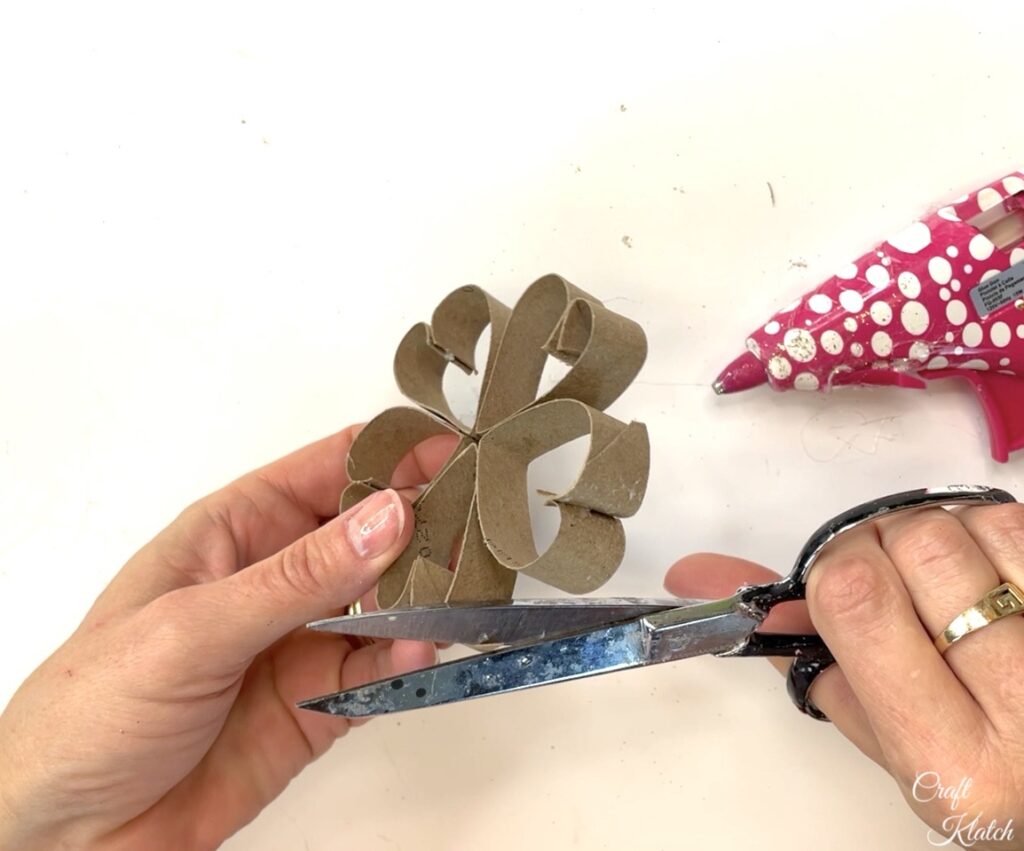
Step 5: Trim
Give the ornament haircut. Trim off the pieces that are sticking out and looking messy!
Step 6: Paint
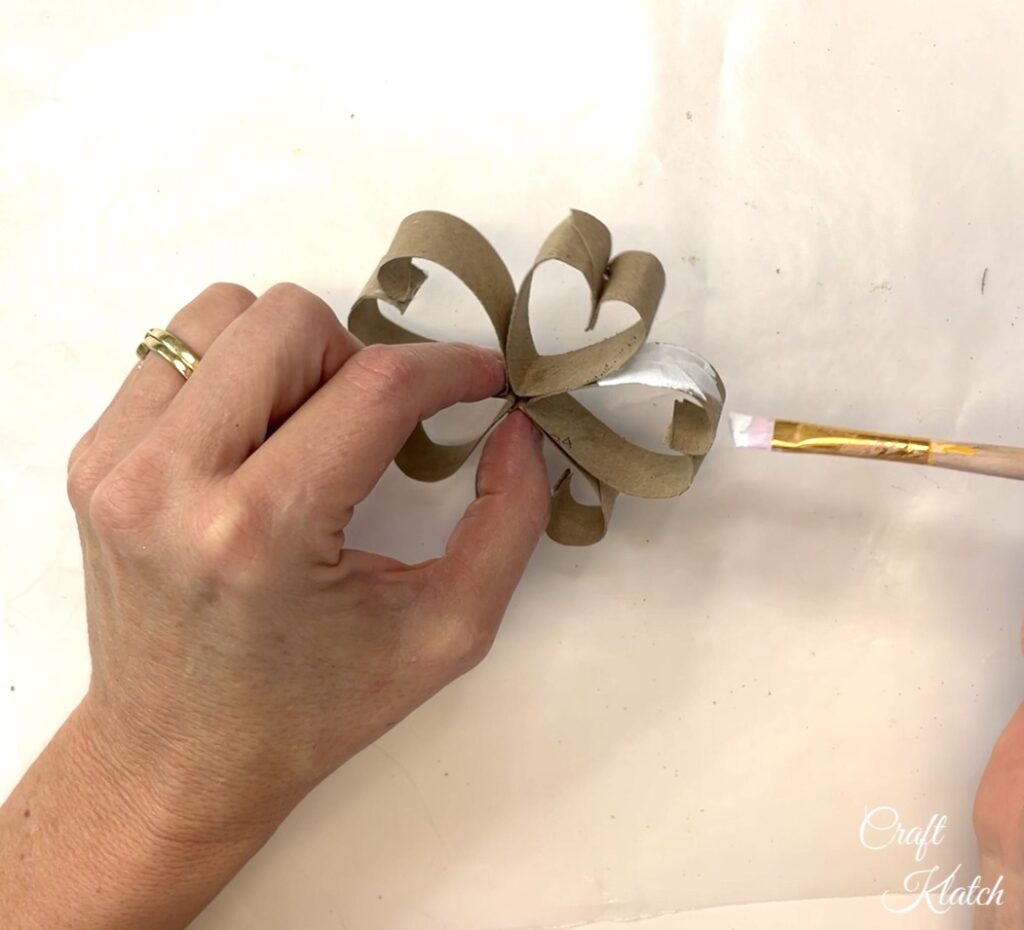
Step 7: Glue
Use either a clear drying glue or a Mod Podge and brush it all over the ornament.
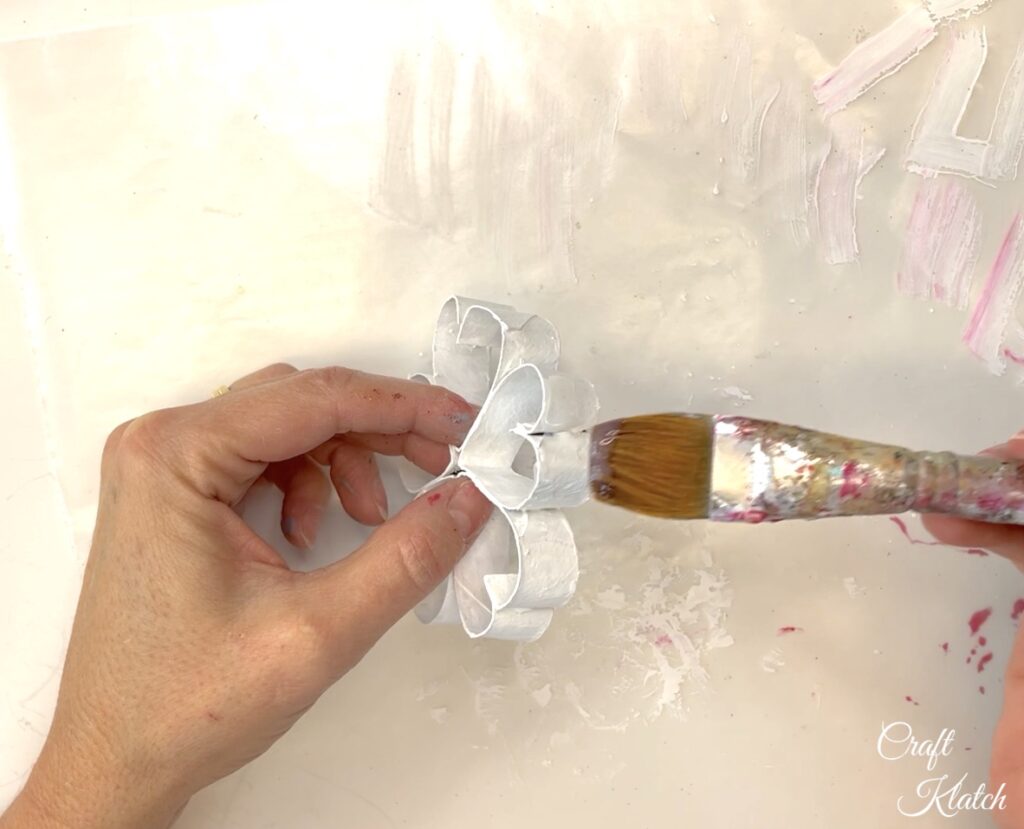
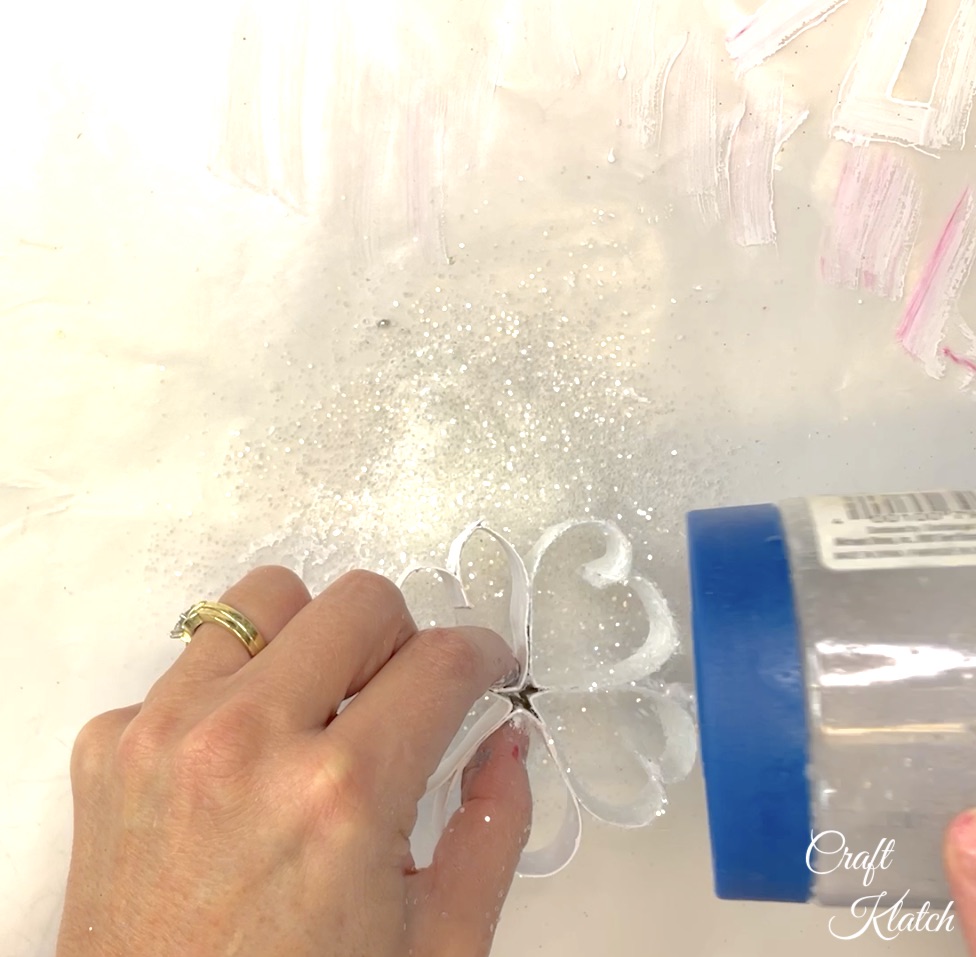
Step 8: Glitter It Up! Add a little pizzaz to the paper snowflake.
While the glue or Mod Podge is still wet, sprinkle with a clear or white glitter.
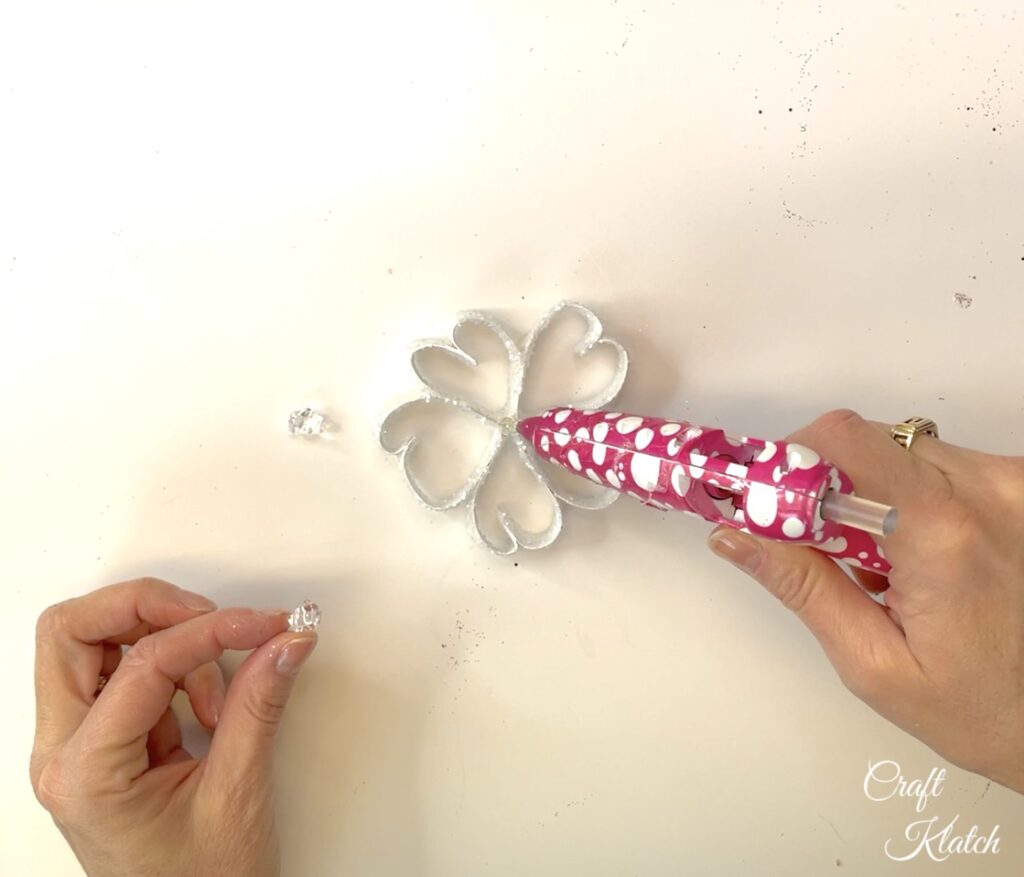
Step 9: A Little Extra Sparkle To The Paper Snowflake
Glue two clear gems into the middle of the snowflake. It gives it a little extra sparkle.
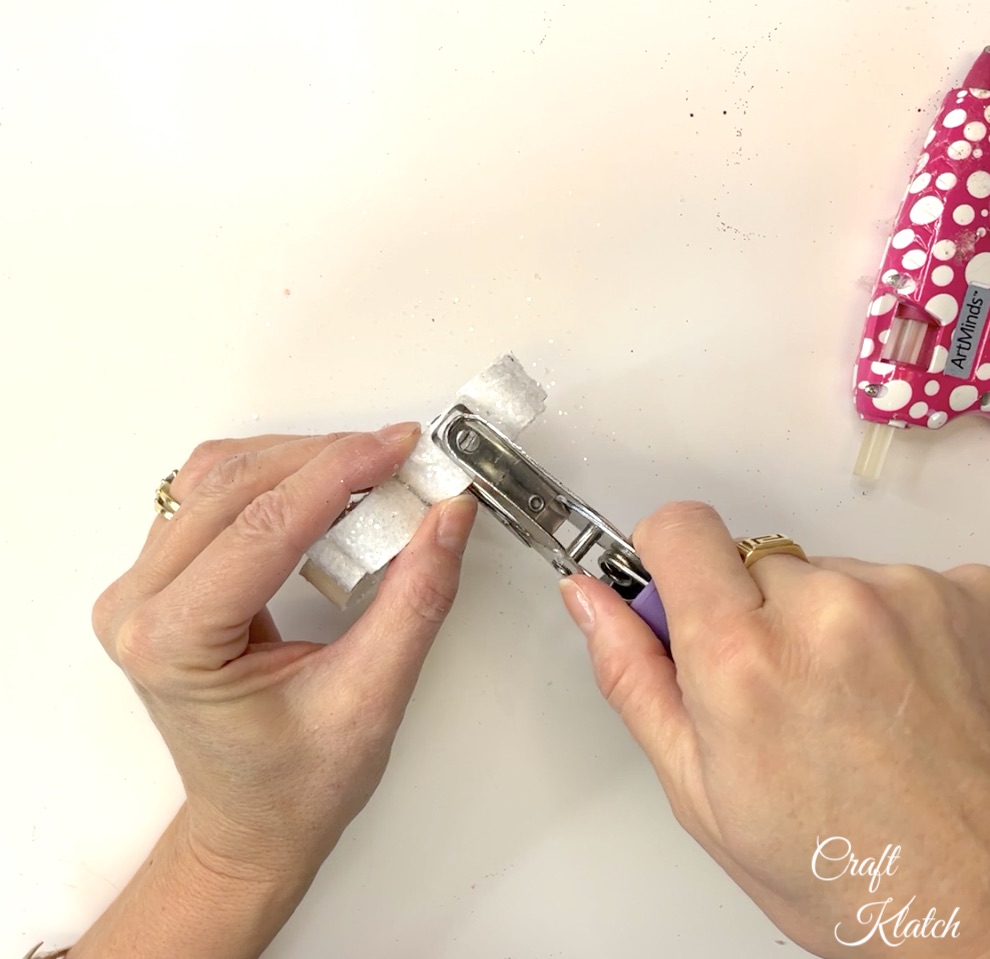
Step 10: Punch A Hole
Punch a hole into one of the curves. I used a hole punch, but anything pointy will do.
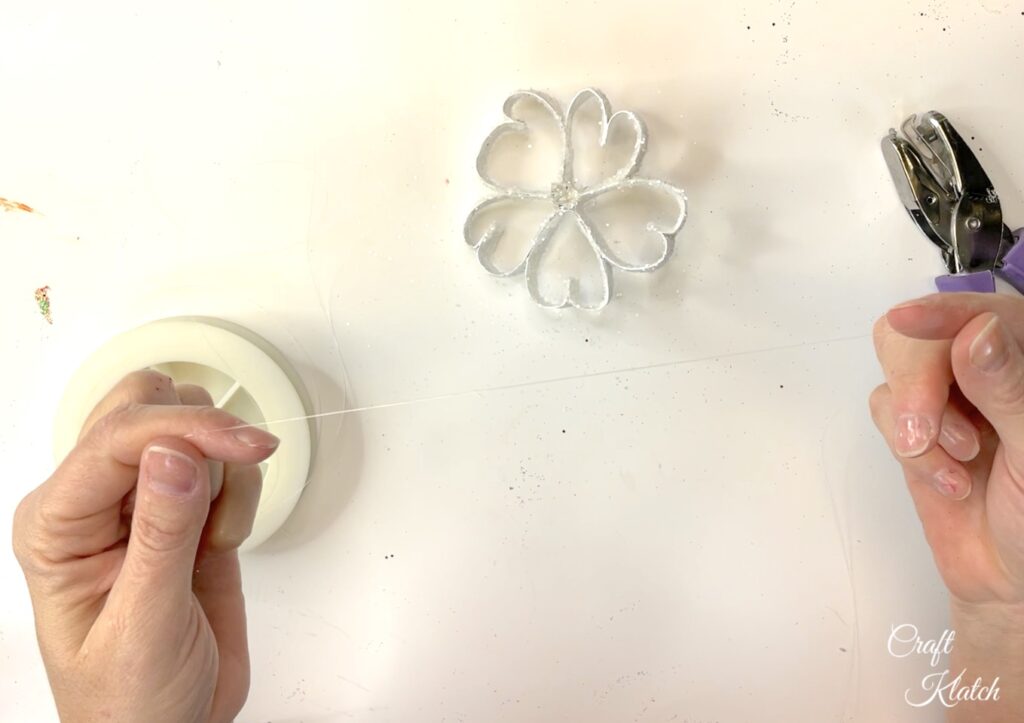
Step 11: Hang the Paper Snowflake
Cut a length of fishing line, loop it and tie it off.
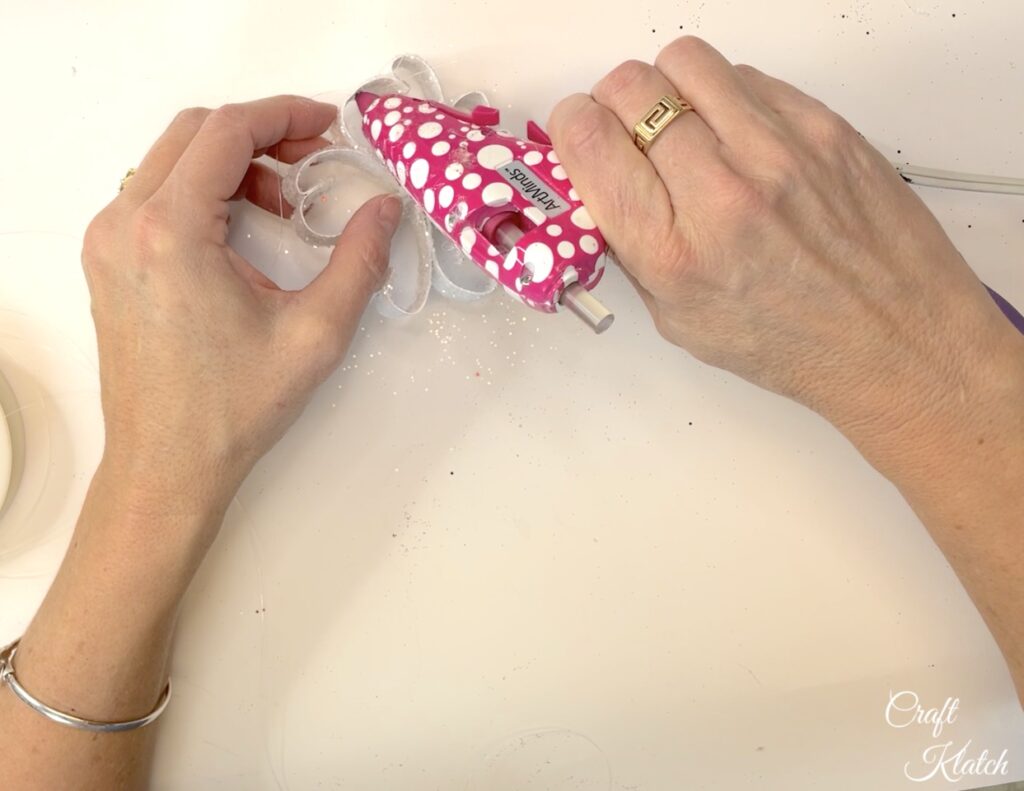
Add a dab of glue to keep it in place.
Now you know how to make a paper snowflake ornament and you can go hang it up!
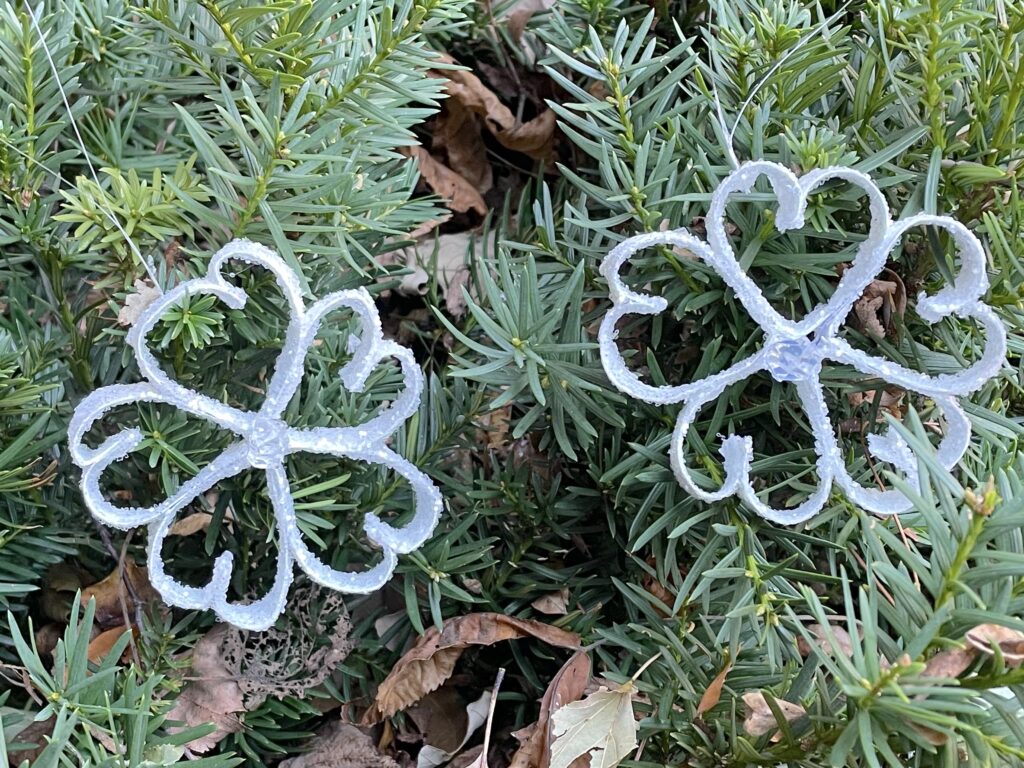
Every Snowflake Is Unique
Maybe you love snowflakes, but paper snowflakes aren’t for you. I also have a Big Glitter Resin Snowflake Decoration, a Resin Snowflake Coaster, and a beautiful Button Snowflake to frost up your decor!
You Have Run Out Of Snowflake Crafting Time!
Of course, if you don’t have time for crafting because the holidays are getting away from you, here are some beautiful snowflakes to add to your holiday decor:
Thank you for stopping by!
Remember: Life’s too short no to shimmer, so grab your glue gun and your glitter!™ Stay safe!
Happy Holidays!
Mona
Full Video Tutorial With All Five Christmas Ornament Projects


Your snowflake ornament is beautiful. Love glittery ornaments on the tree and white snowflakes show up exceedingly well! I like your enchanted bird house and the flower made from tp rolls also! Reduce, reuse, repurpose!
Thank you so much, Barbara! I like the white against the green of a tree too! Thanks so much for stopping by and I’m so glad you enjoyed them!