Materials:
Mold: https://amzn.to/2SbQzQJ
Pigment: https://amzn.to/2EFMCvD
Black vinyl: https://amzn.to/2reGBTN
Gold glitter vinyl: https://amzn.to/2PFZHvq
Scissors: https://amzn.to/35E6sDs
Cutter (optional): https://amzn.to/38SERR7
Craft knife: https://amzn.to/2r9uSFQ
Resin (use whatever resin brand you like):
Easy Cast: https://amzn.to/2yjYmBC
Art Resin: https://amzn.to/2yk9X3z
Clear Cast: https://amzn.to/2z4rxGw
This is the resin I used for this project:
FX Poxy: https://amzn.to/2AF3Pkk ~ According to the manufacturer, this one is heat resistant to 500 degrees F.
Here is a video tutorial, so you can see exactly how I made it!
1. I mixed one ounce of resin and added red pigment. I mixed the pigment in well.
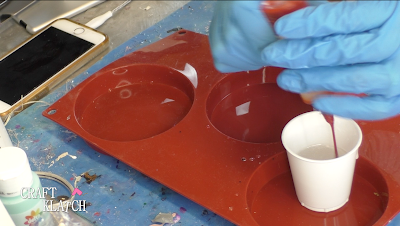
2. I poured it into the mold.
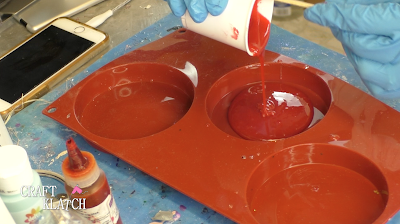
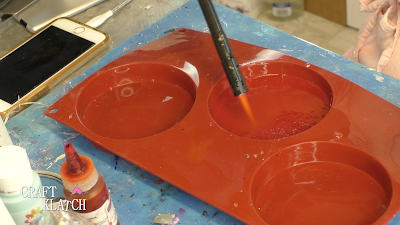
3. I popped the bubbles with my lighter and let it cure a minimum of 12 hours.
4. Once cured, I removed the coaster from the mold.
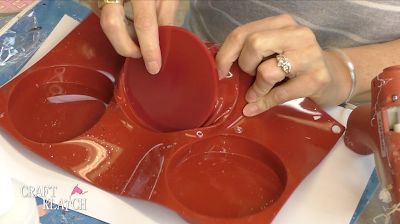
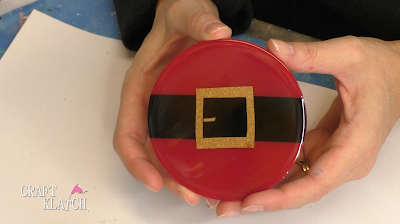
Now I have this red disc.
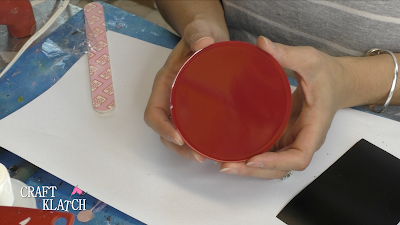
5. I pulled out some of my black vinyl and cut a strip.
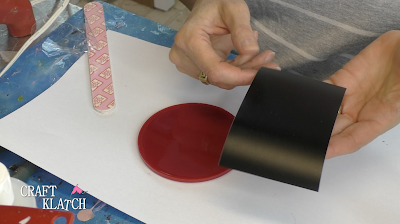
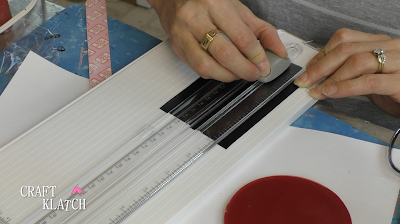
6. I peeled off the backing and smoothed the vinyl onto the resin disc.
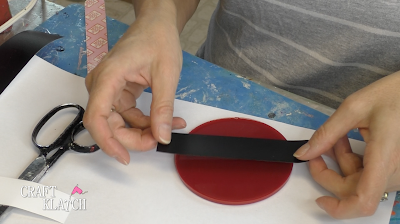
7. I flipped it over and trimmed off the excess.
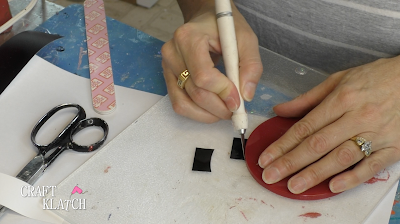
8. I trimmed a square out of the gold glitter vinyl.
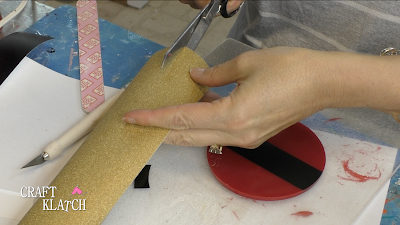
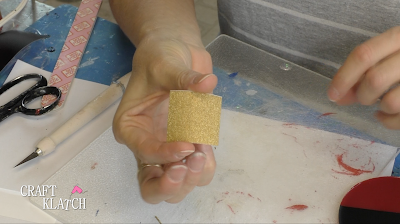
9. I took my ruler to use as a guide and trimmed a smaller square from within the square.
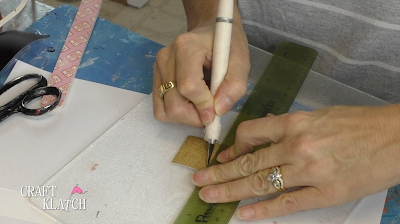
10. I peeled off the backing and applied the gold square.
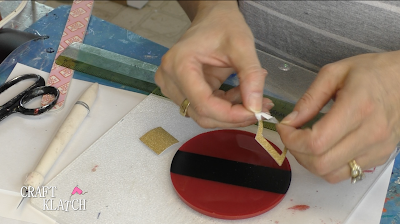
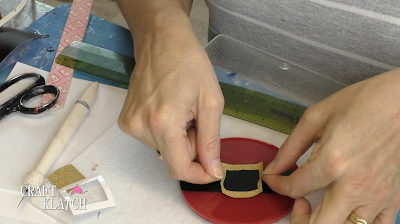
11. I cut and applied a small piece for the pointy belt part. (I can’t think of what it’s called!)
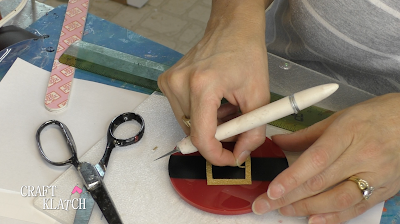
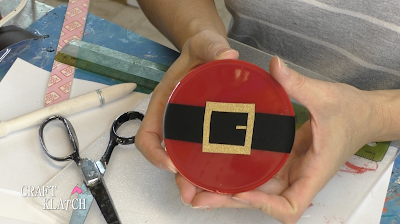
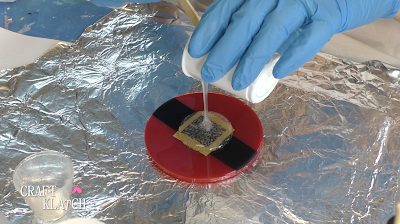
12. I mixed one ounce of resin and poured it slowly onto the coaster.
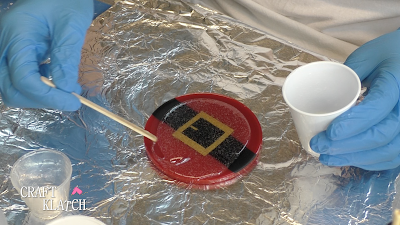
14. I used my lighter to pop the bubbles and let it cure for at least 12 hours.
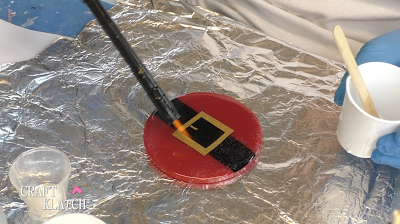
That’s it! Here is the side view.
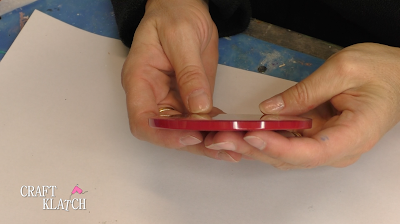
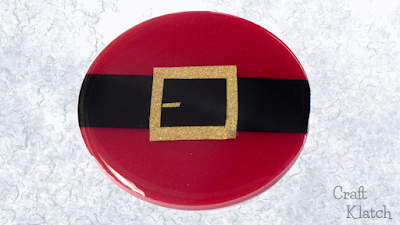
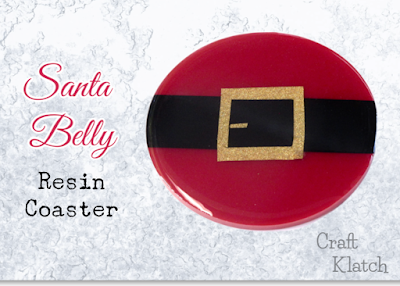
Now I have this cute Santa Belly Coaster!!!
Thanks for stopping by! Remember: Life’s too short not to shimmer, so grab your glue gun and your glitter!™ Stay safe!
Mona
