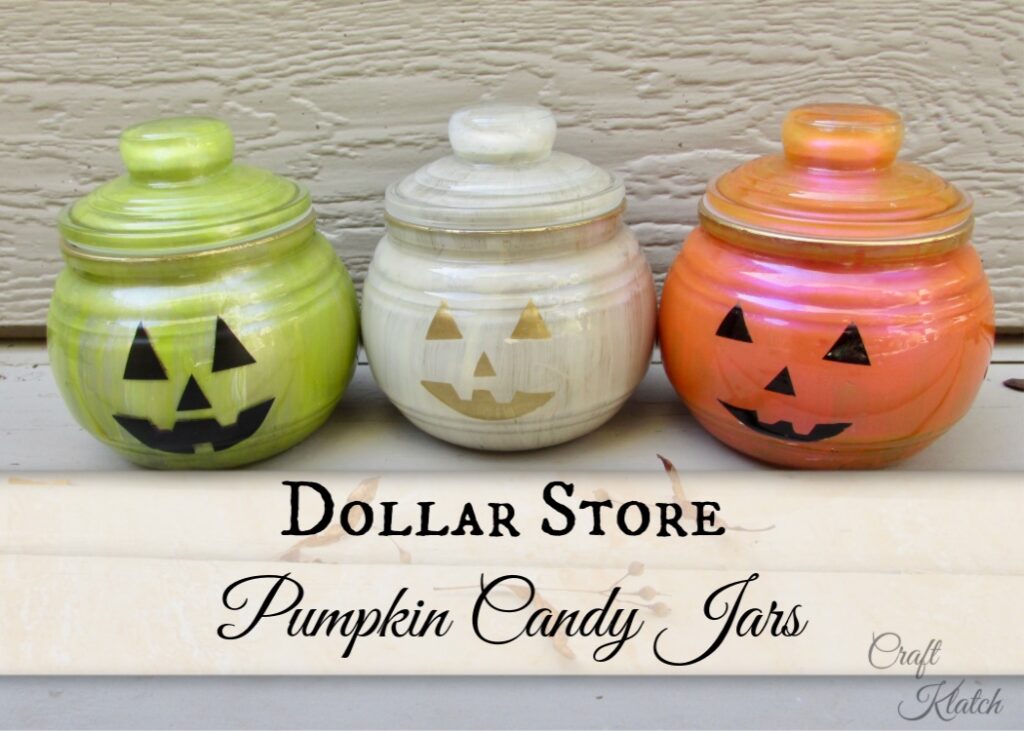
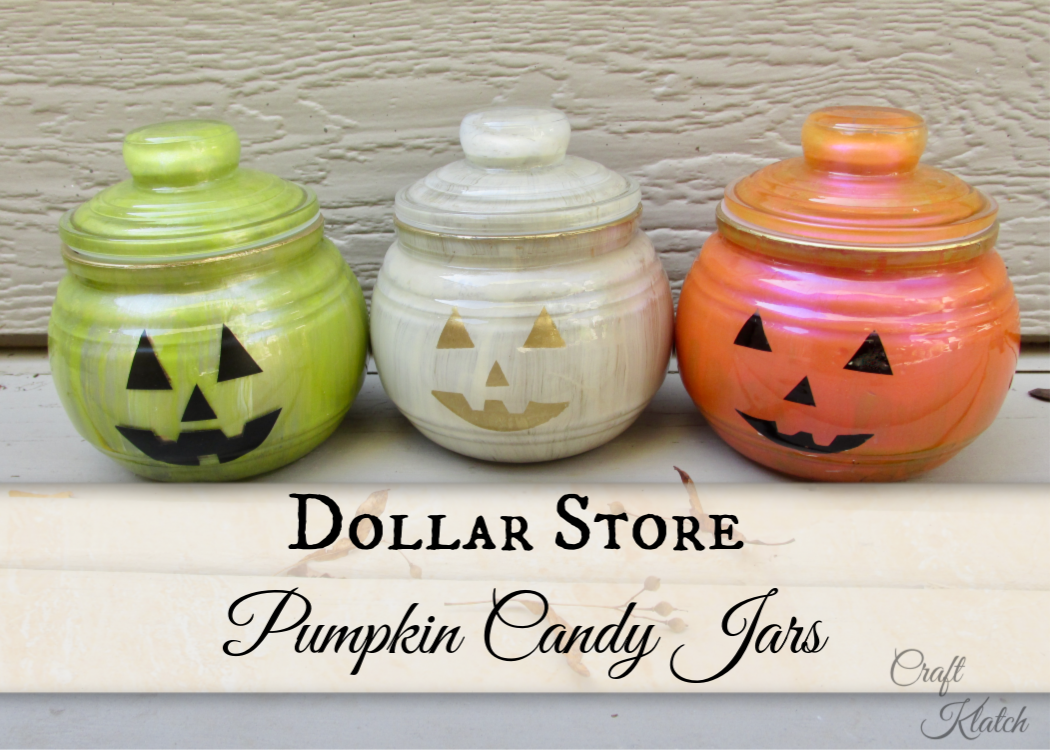
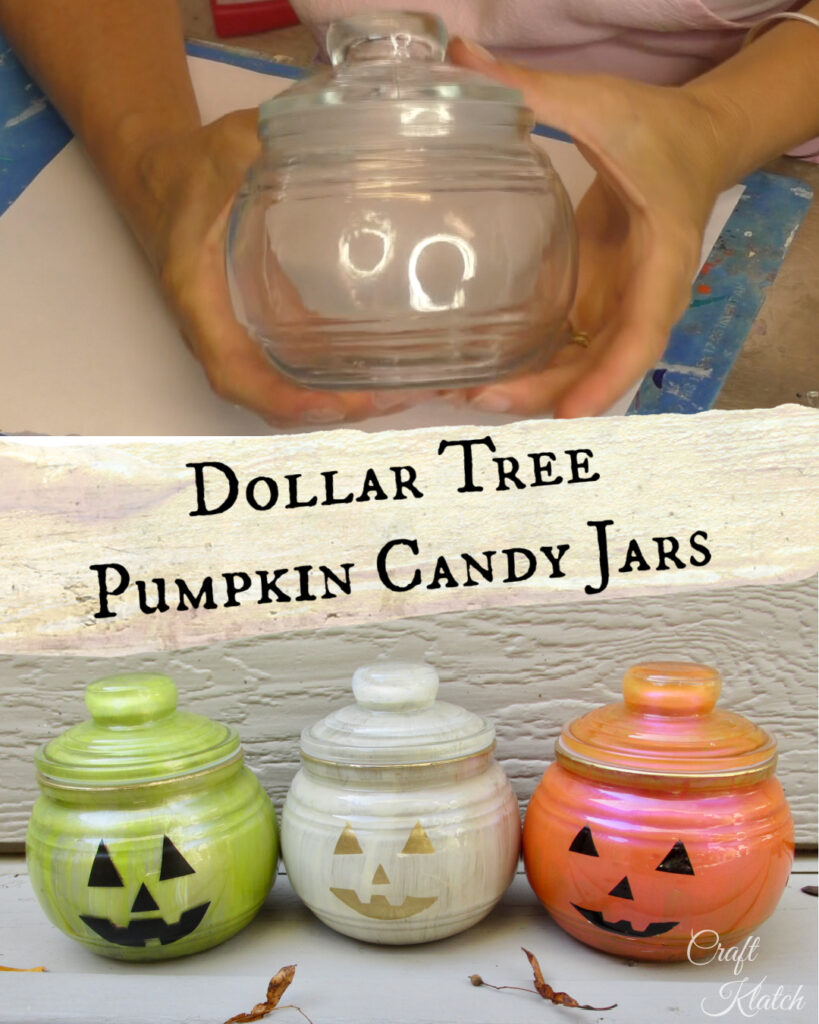
I love dollar store crafts! Let your creative juices flow and start crafting for Halloween. I made glass pumpkin decorations out of candy jars!
I think they are super cute!

Materials You Will Need to Make Glass Pumpkin Decorations
*This blog uses affiliate links. As an Amazon Associate I earn from qualifying purchases, at no additional cost to you.
Candy jars: https://shrsl.com/1uhcl
Color shift paint: https://amzn.to/2mUP8cs
Champagne Acrylic paint: https://amzn.to/2oDnEsl
Khaki paint: https://amzn.to/2n48ZWv
Ivory paint: https://amzn.to/2mmxy0C
Peridot paint: https://amzn.to/2nOq2Mq
Citron yellow: https://amzn.to/2nXd8eP
Gold spray paint: https://amzn.to/2oB9FmK
Vinyl: https://amzn.to/2mnuaCI
Plastic wrap: https://amzn.to/2oBIbNO
Painter’s tape: https://amzn.to/2me8Pvc
Video Tutorial For Glass Pumpkin Decorations:
Here is the video tutorial, so you can see exactly how I made them!
Directions for Glass Pumpkin Decorations
Step 1
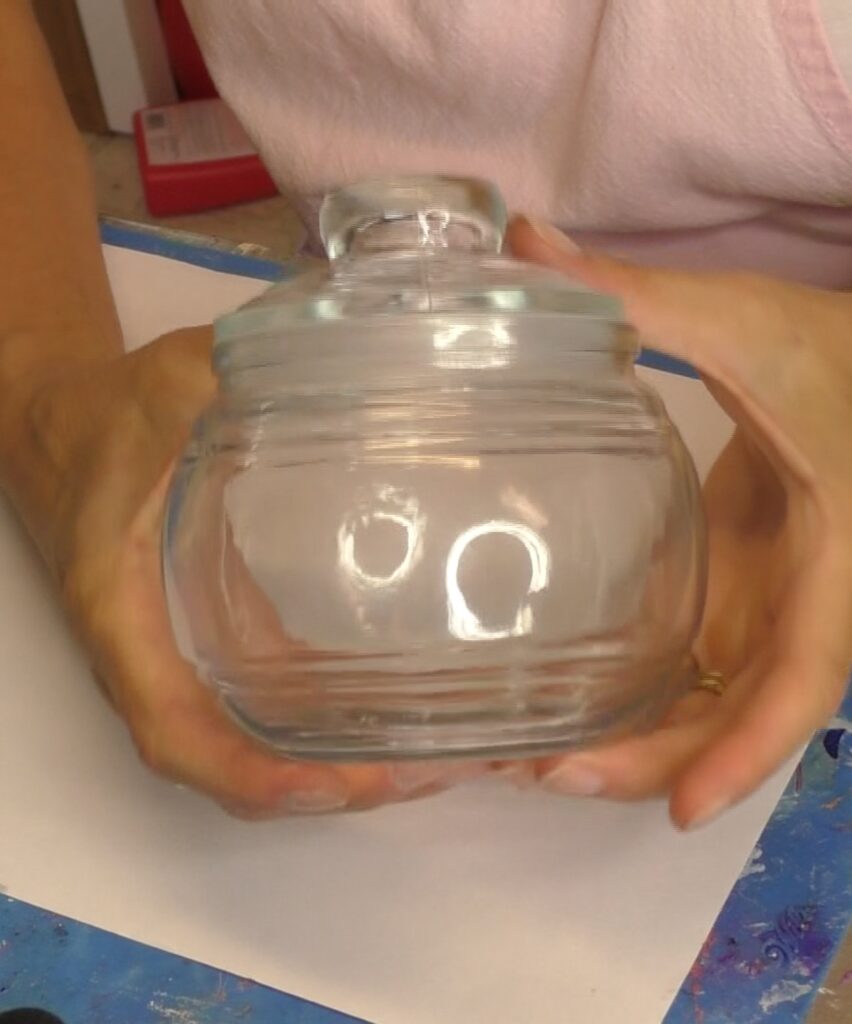
Find candy jars! I found these at Dollar Tree and I thought they would make perfect glass pumpkin decorations.
Step 2
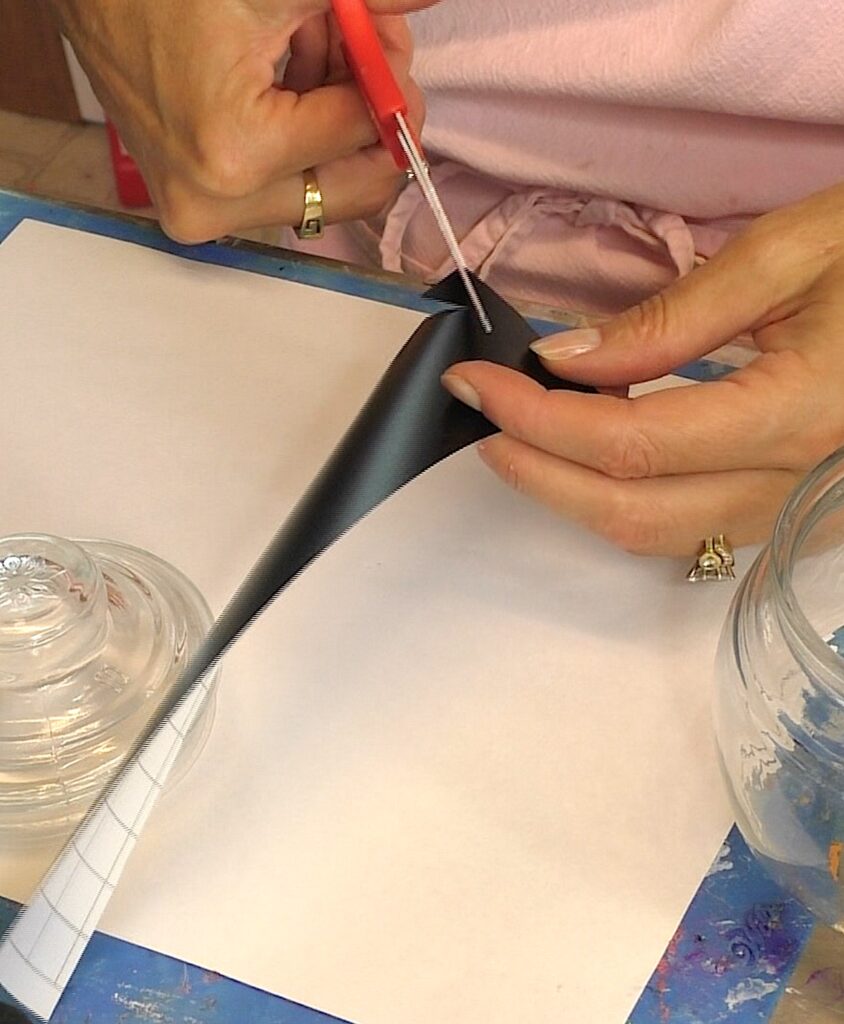
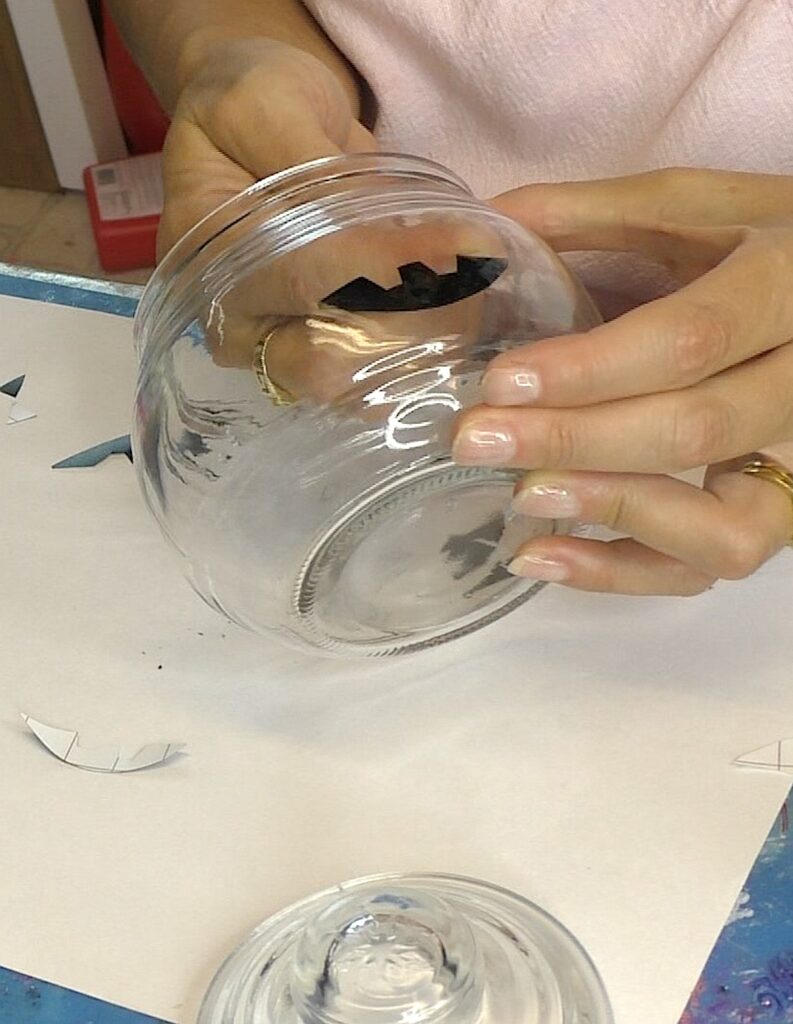
Use vinyl to cut out pieces for the pumpkin faces.
Step 3
Stick the vinyl on the side of the glass jars. Make sure to burnish (rub) it down.
*You can skip this step and just put the vinyl on the outside at the end. I’ll get into that more later. My intention was to put the vinyl inside and remove it when I added the gold on the inside.
Step 4
Once the faces are in place, paint the inside of the jars. Choose any colors you want to match your decor. Plan on at least two coats.
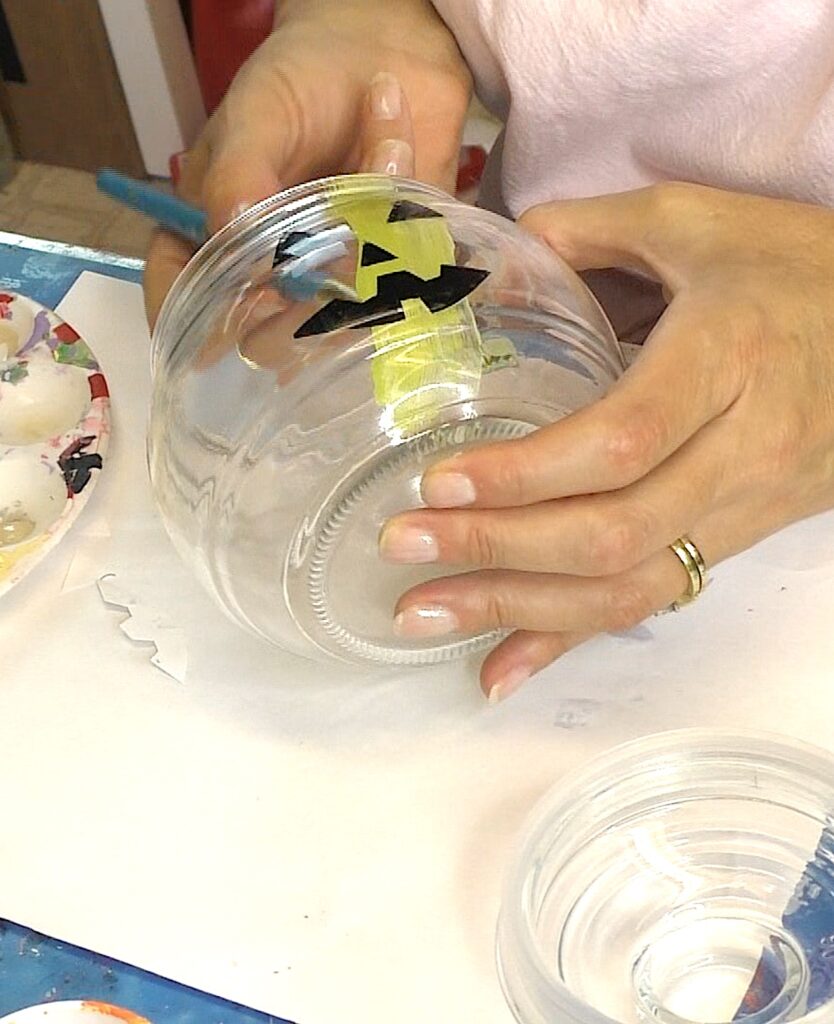
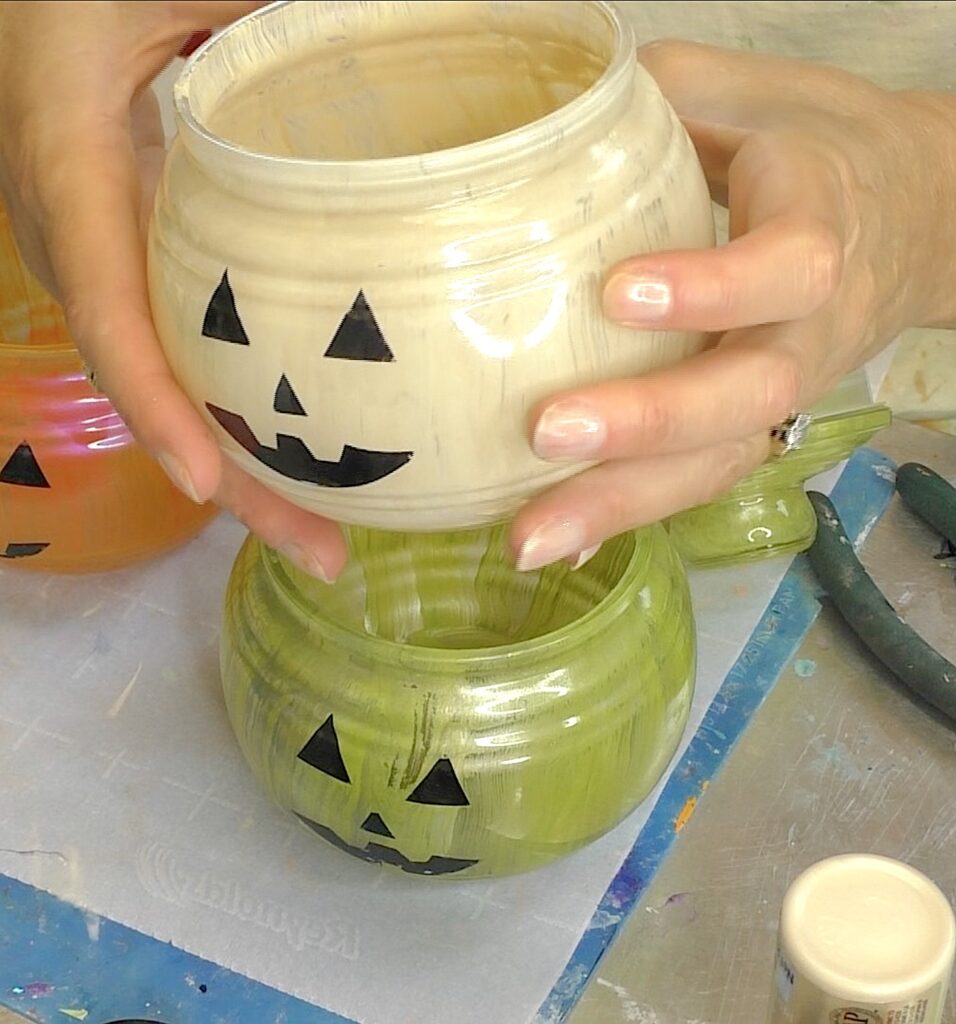
FYI: The beige/ivory glass pumpkin only needed one coat.
Step 5
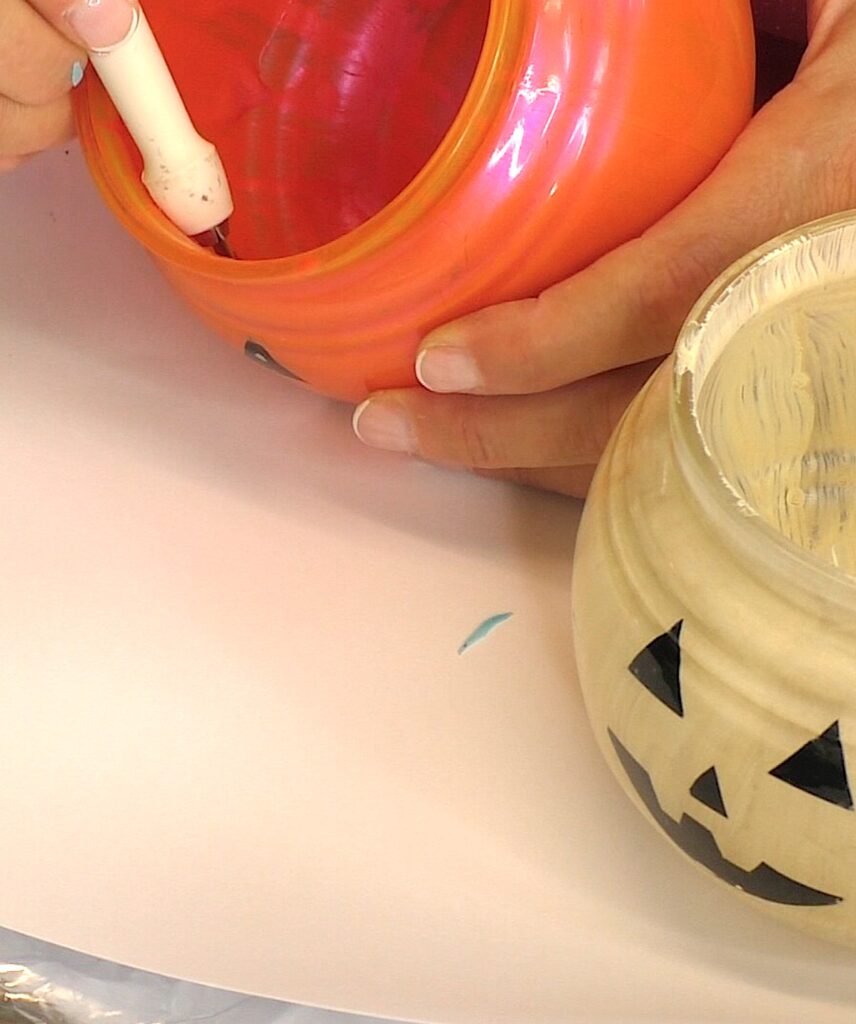
When the paint dries remove the vinyl from the insides of the jars.
**I tried to remove the face from inside the jars. Unfortunately, the paint wanted to come off the glass too. So, I nixed that part….temporarily.
Step 6
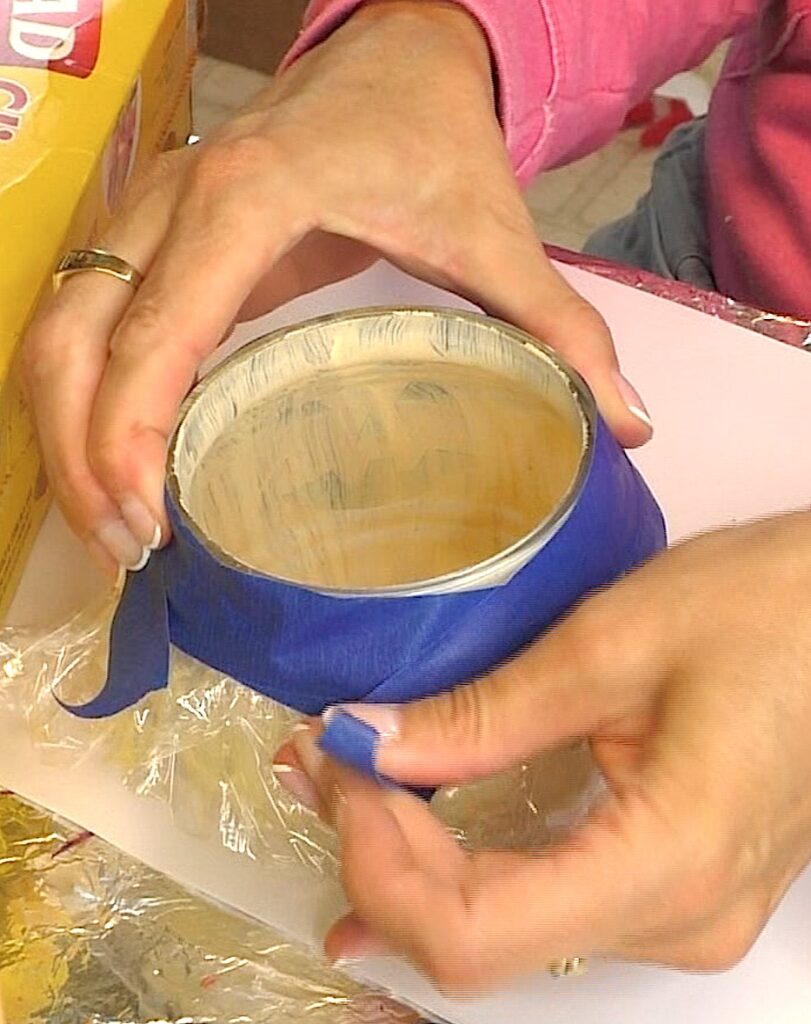
Use cling wrap and painter’s tape to cover the outside of the jars. This protects them from the next stage of painting.
Step 7
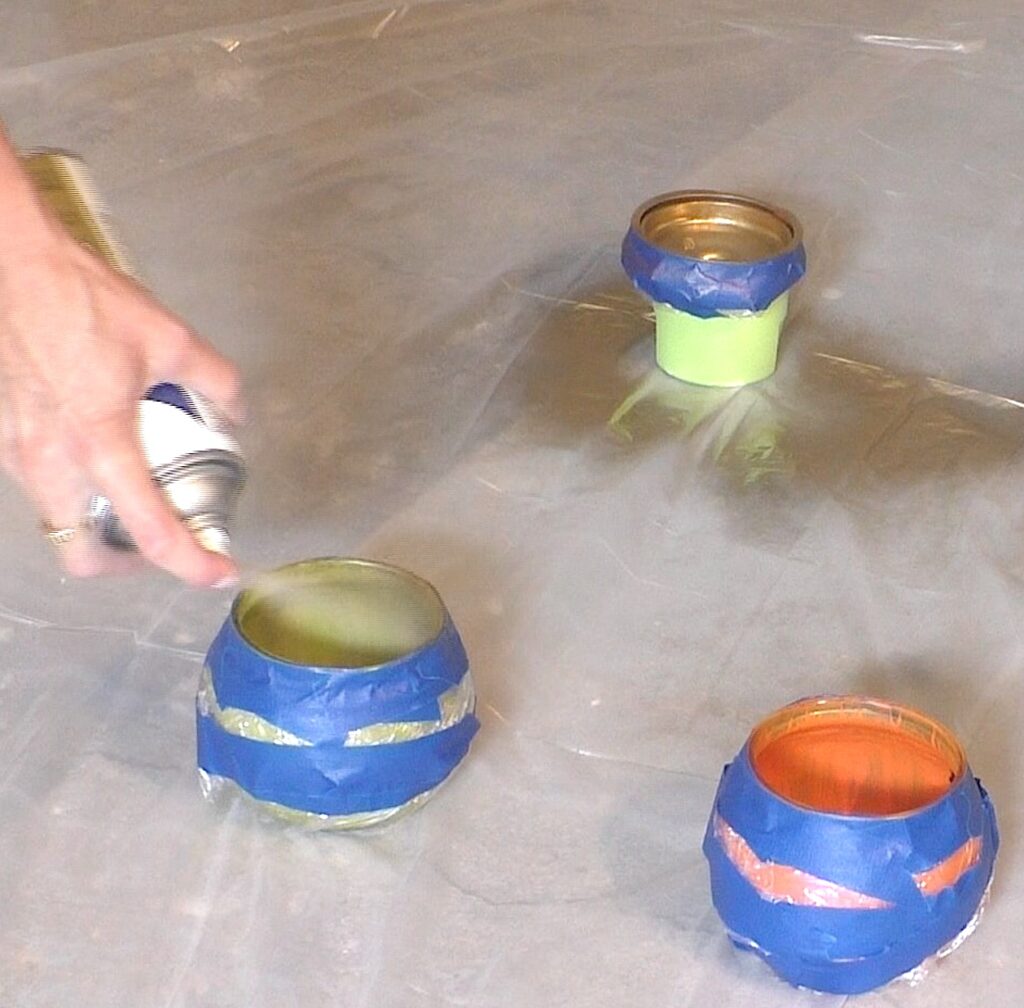
Use gold spray paint to paint the inside of the lids and the jars.
Step 8
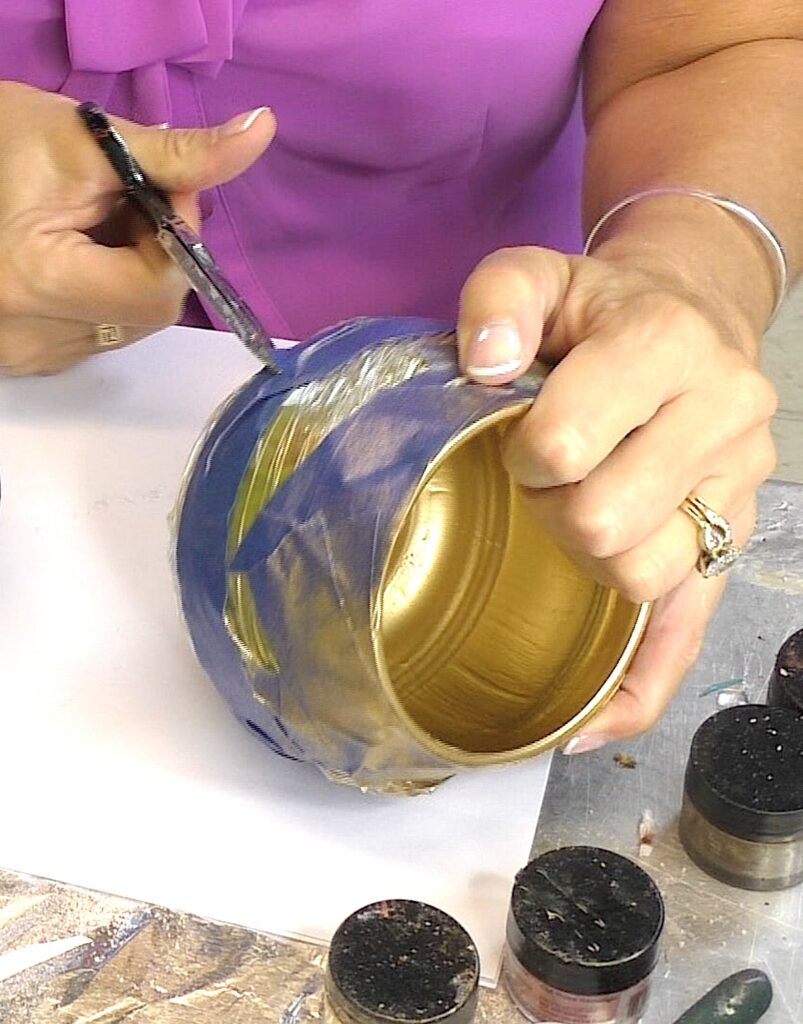
Once dry, cut the tape and remove the plastic wrap.
FYI:
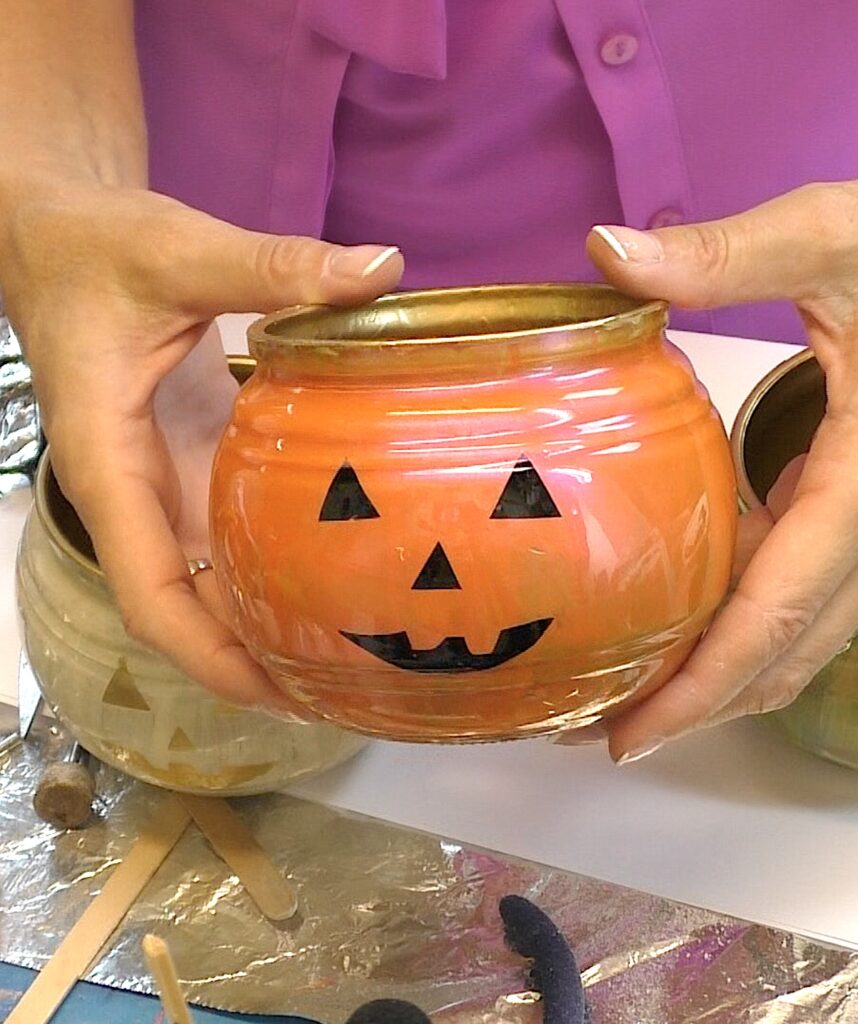
Originally, I wanted all of the pumpkins to have gold faces, which is why I wanted to remove the vinyl after the first paint colors. The vinyl would not remove, without removing the paint, so I left it. When I painted the gold, the vinyl pulled away from the green and the ivory ones. I removed the vinyl and sprayed the insides again. Turns out, I don’t like the gold face with the green because there isn’t enough of a contrast. The solution: Put black vinyl on the outside of the jar and cover up the gold face.
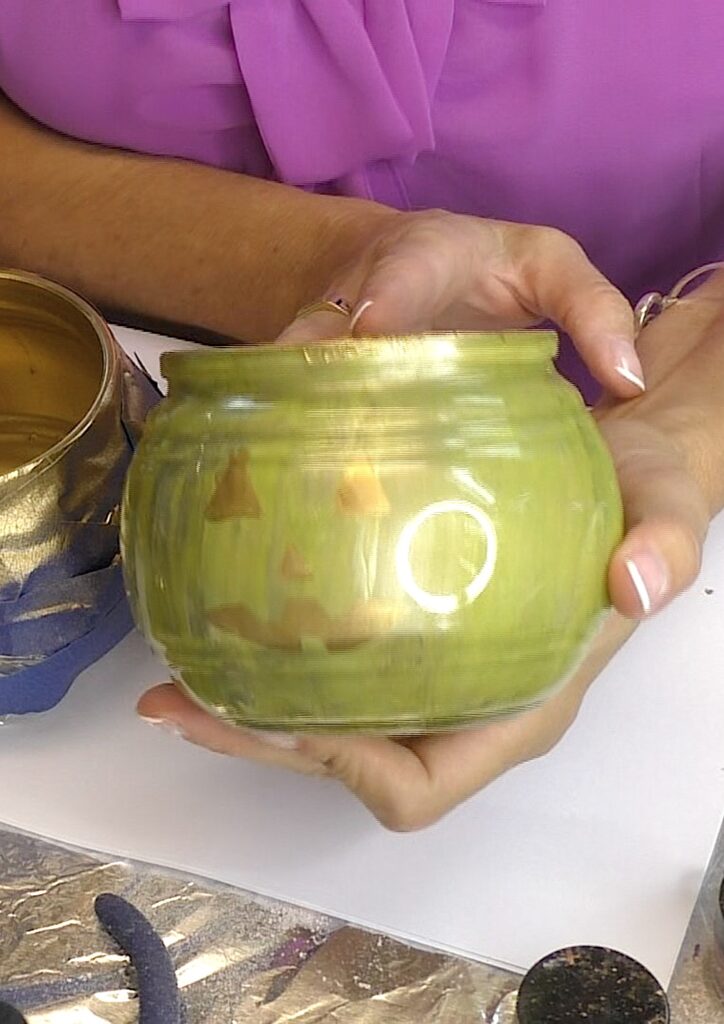
However, I do like the gold face on the ivory one.
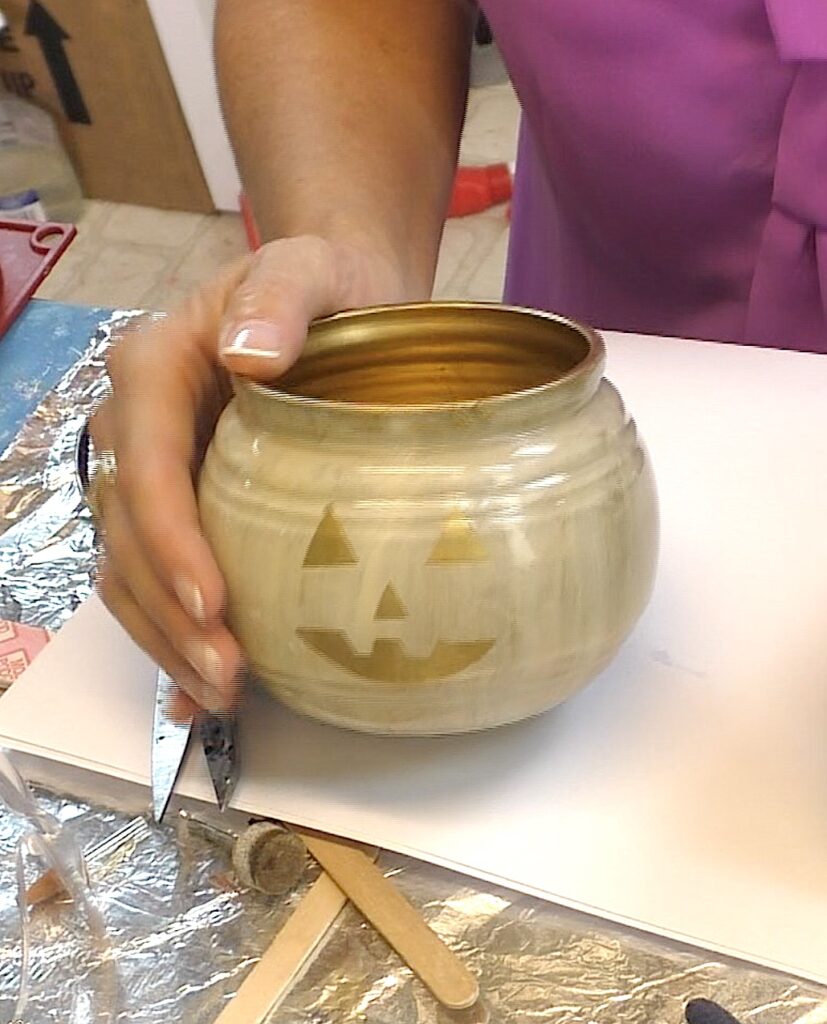
The orange still has the vinyl inside the jar. I like that one too.
Step 9
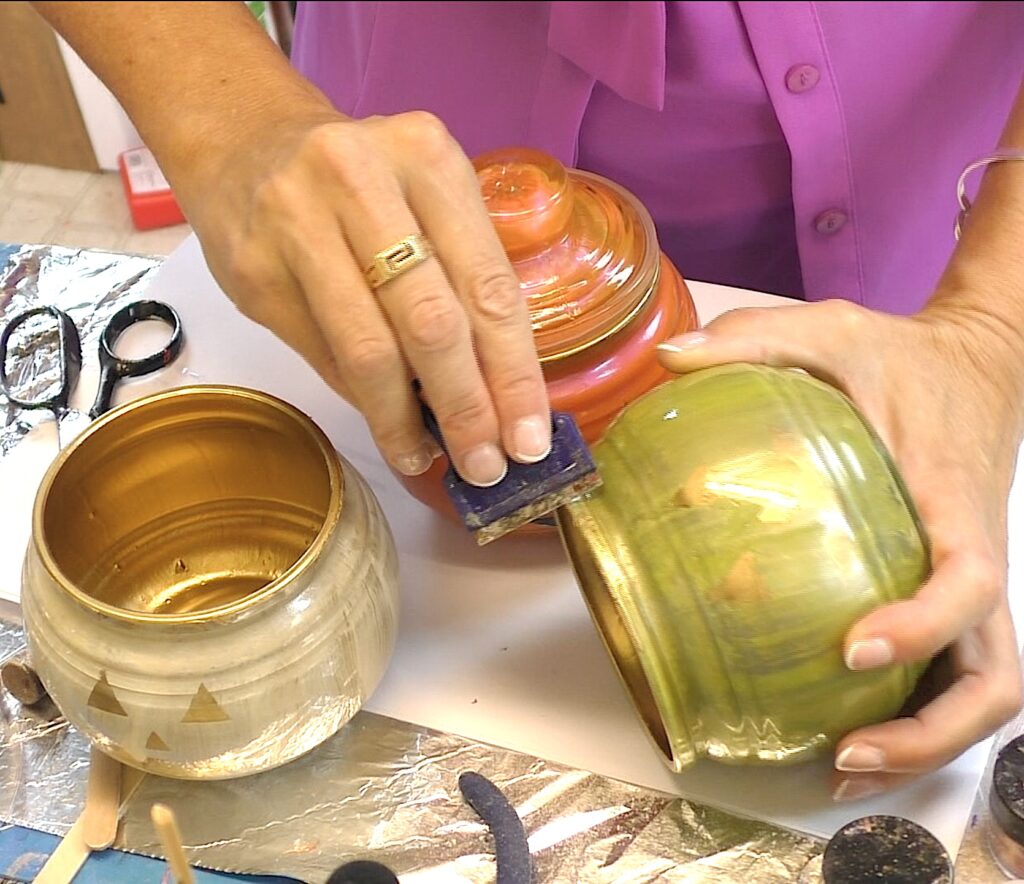
If you have a little overspray, use a razor blade to scrape it off.
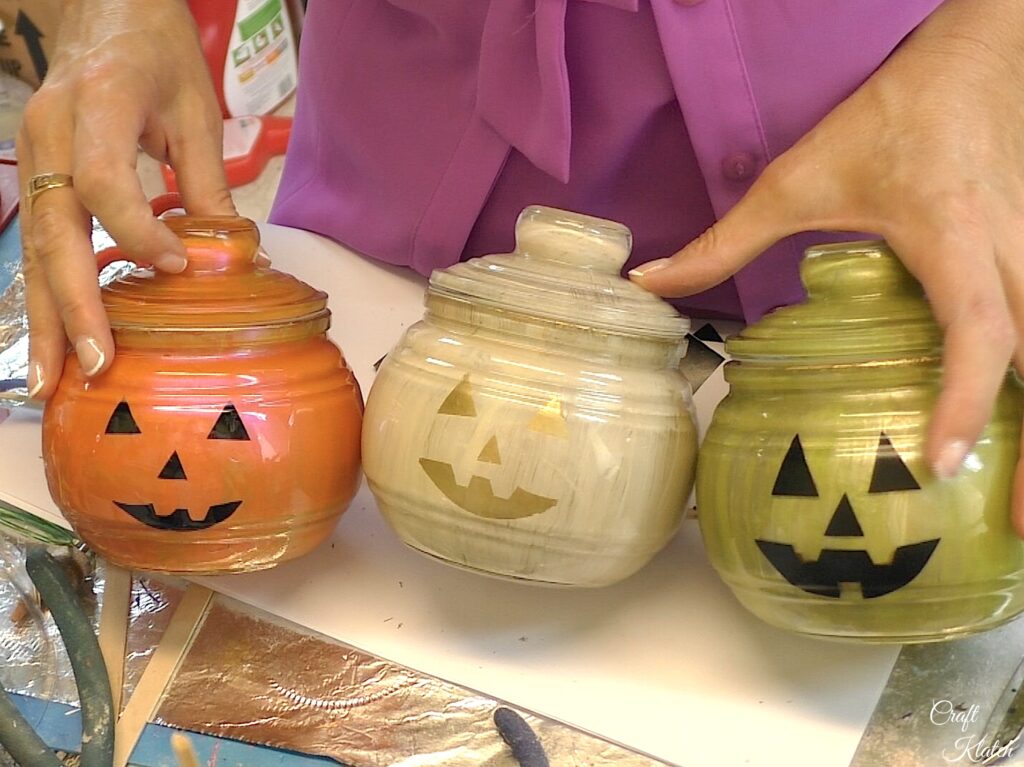
That’s it! Now you have super cute glass pumpkin decorations!
Super cute and super cheap!
Be sure to Share and PIN IT!
Have fun with it! I’d LOVE to see what you make! Be sure to share it over on my Craft Klatch Facebook Group! It’s Free! ❤️
So Many Great Dollar Tree Halloween Crafts
I have a bunch of Halloween Dollar Tree crafts that go way beyond the glass pumpkin decorations!
More than Glass Pumpkin Decorations!
Glass pumpkin decorations are great, but there are so many beautiful Halloween pumpkin decorations that will make your home extra special for the holiday!
Thanks for stopping by! Remember: Life’s too short not to shimmer, so grab your glue gun and your glitter!™ Stay safe!
Mona
