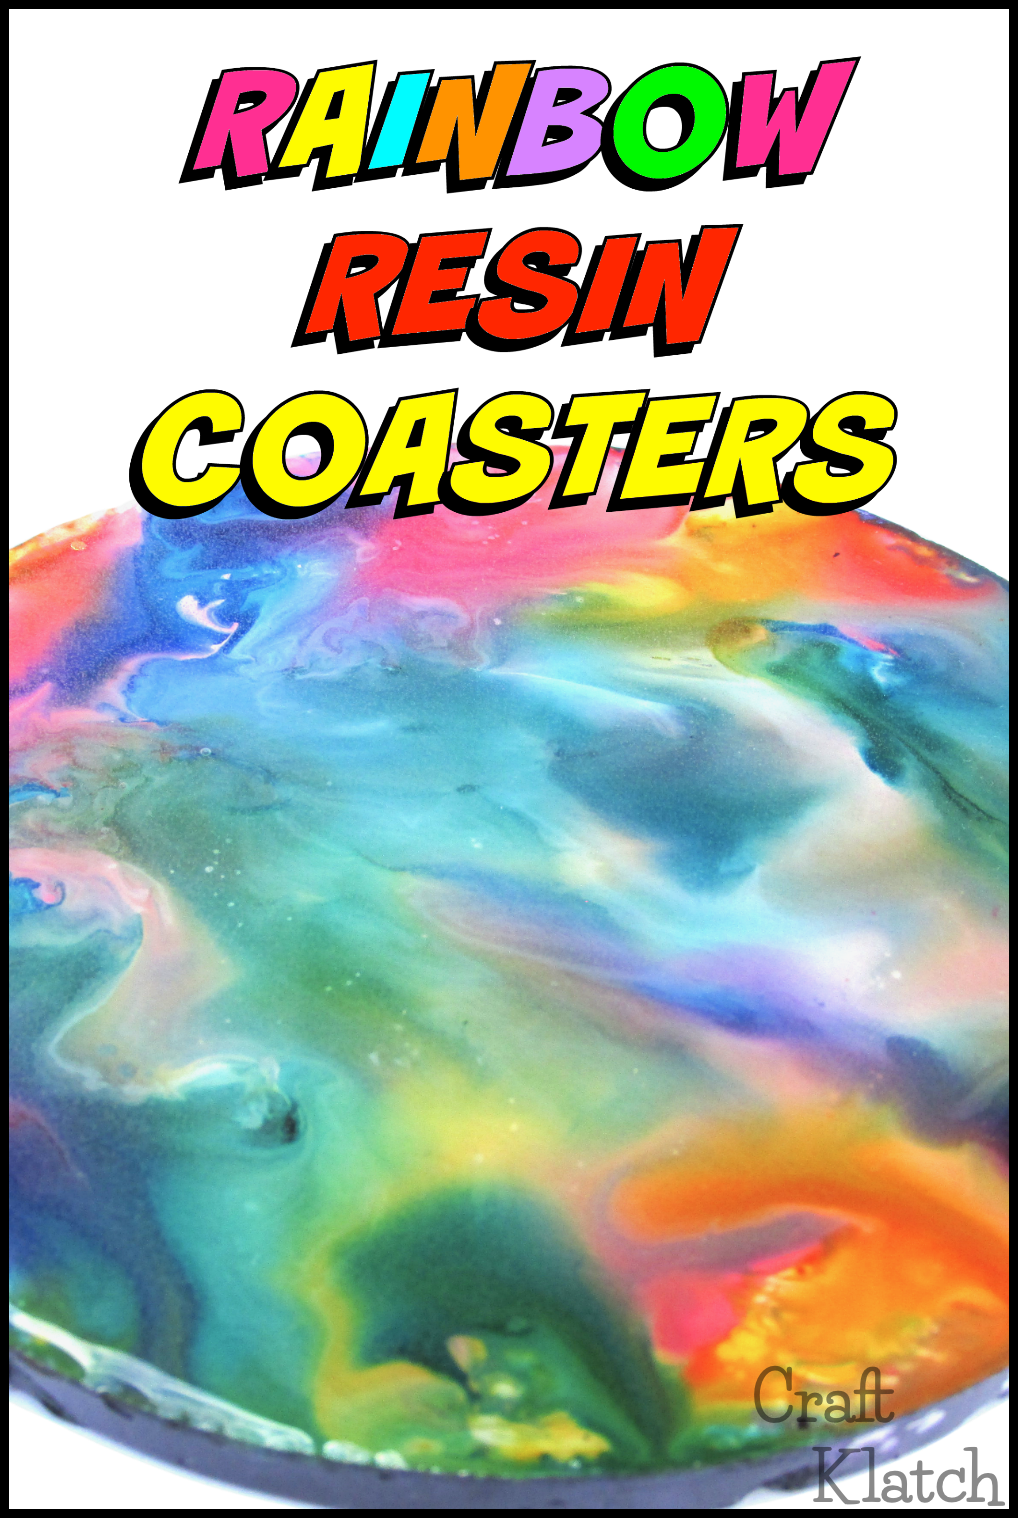
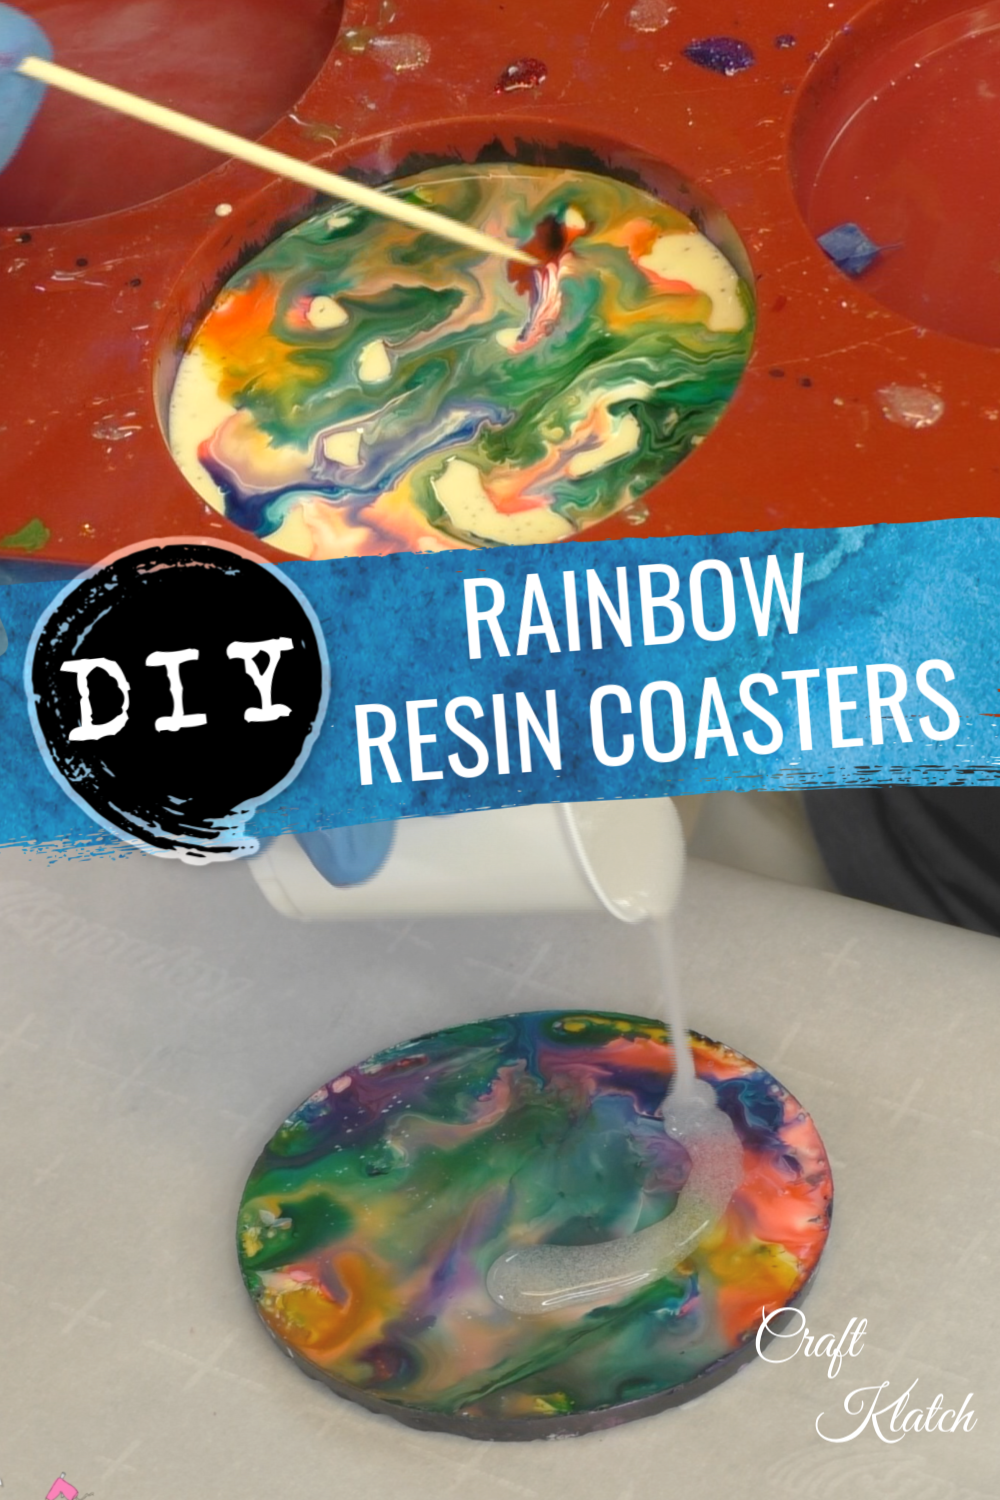
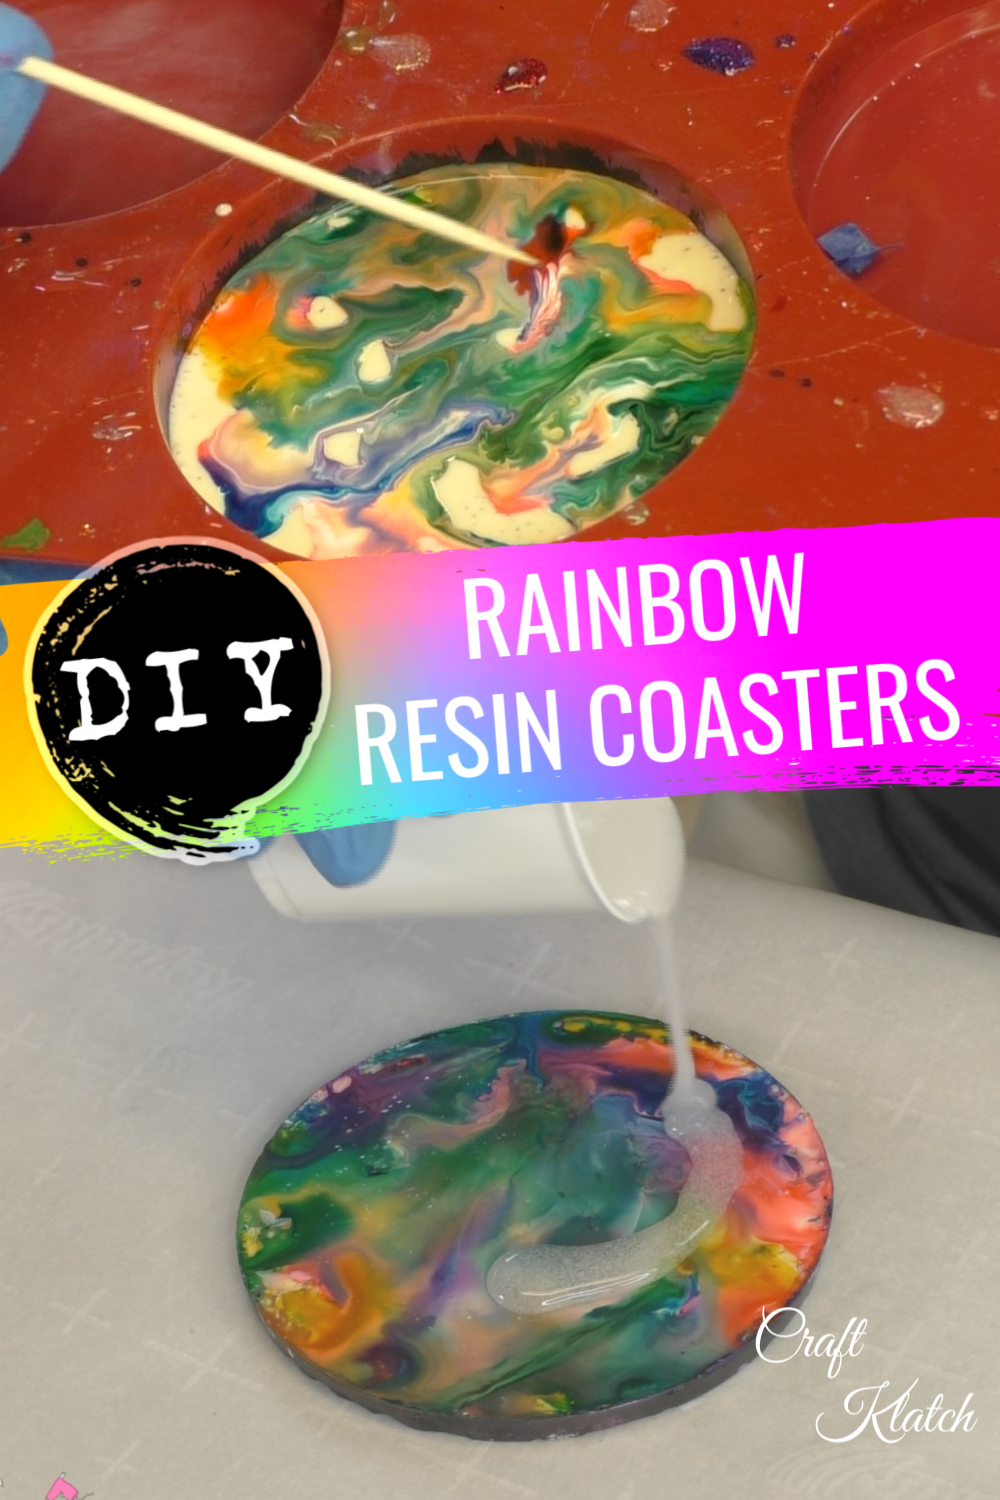
Learn how to make Rainbow Resin Coasters using alcohol inks! It’s an easy resin craft tutorial and colorful home decor!
Materials:
Coaster mold: https://amzn.to/2YNg2EK
Alcohol ink: https://amzn.to/2KzX3Vf
Pigment powders: https://amzn.to/2RL523A
Black acrylic paint: https://amzn.to/2LgsTWw
Plum acrylic paint: https://amzn.to/2HBKPK1
Lighter: https://amzn.to/2NQusts
Wet Ones: https://amzn.to/2pXbqrQ
Resin (use whatever resin brand you like):
Easy Cast: https://amzn.to/2yjYmBC
Art Resin: https://amzn.to/2yk9X3z
Clear Cast: https://amzn.to/2z4rxGw
This is the resin I used for this project:
FX Poxy: https://amzn.to/2AF3Pkk ~ According to the manufacturer, this one is heat resistant to 500 degrees F.
Fast Cast (optional for white background): https://amzn.to/2wTZ6wc
White pigment (optional to tint clear resin for background): https://amzn.to/2QbPRiU
Here is a quick video tutorial, so you can see exactly how I made it!
Directions:
1. I used acrylic paint and painted splotches right on the silicone mold. The thing about silicone is that it resists paint. Therefore, as it dries, it creates open areas.
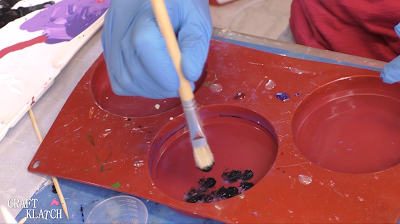
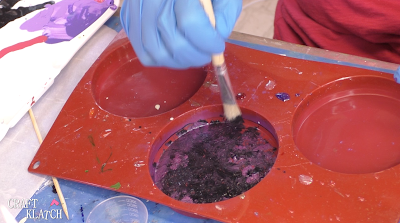
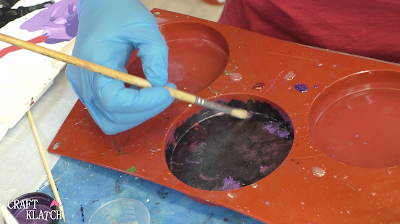
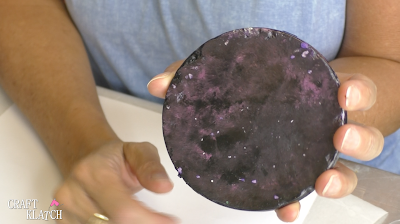
2. Once dry, I used purple pigment powder and dusted it over the open areas.
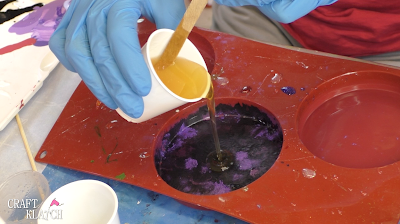
3. I mixed my fast curing resin, which cures white and poured it in the mold. You only need one ounce. Once the resin cures over the paint, the paint becomes a permanent part of the resin. It cannot be scraped off.
4. Once cured, which takes 10-15 minutes, I started adding my alcohol ink colors.
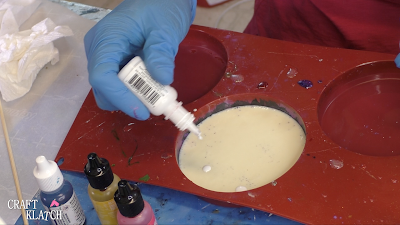
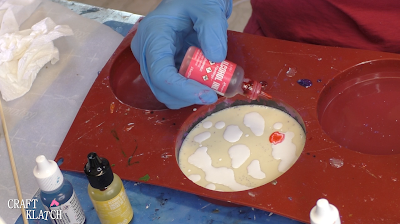
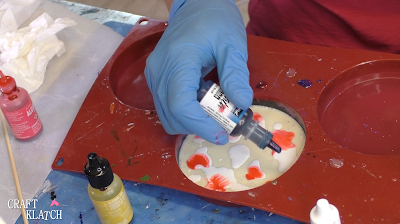
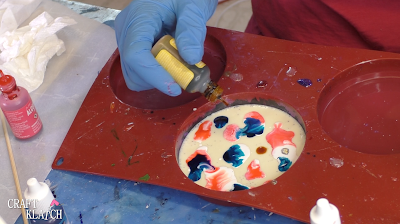
5. I moved the mold around, so the inks could move and blend.
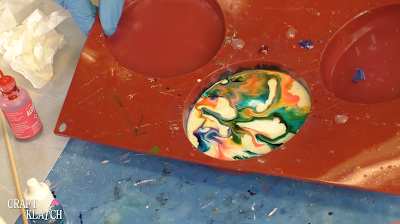
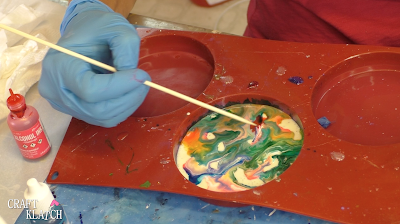
6. I used my wooden skewer to move it all around and cover the open areas.
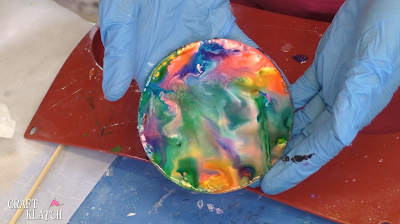
7. Once cured, I removed it from the mold. Here it is without the final resin.
8. I mixed one ounce of resin and poured it over the coaster. TIP: Put it down on parchment paper, so you protect your work surface.
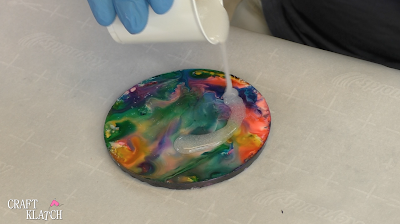
9. I used my stir stick and moved the resin to the edges.
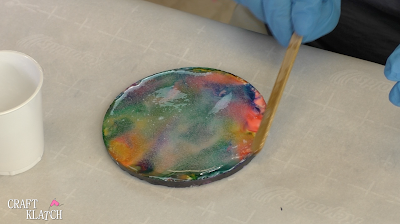
10. I used my lighter to pop the bubbles. I let it cure a minimum of 12 hours, before handling it.
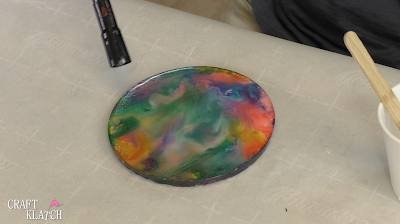
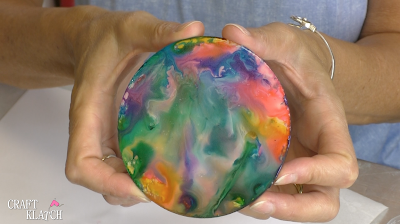
Here it is all finished!
Here is the back.
That’s it!
Thanks for stopping by! Remember: Life’s too short not to shimmer, so grab your glue gun and your glitter!™ Stay safe!
Mona
