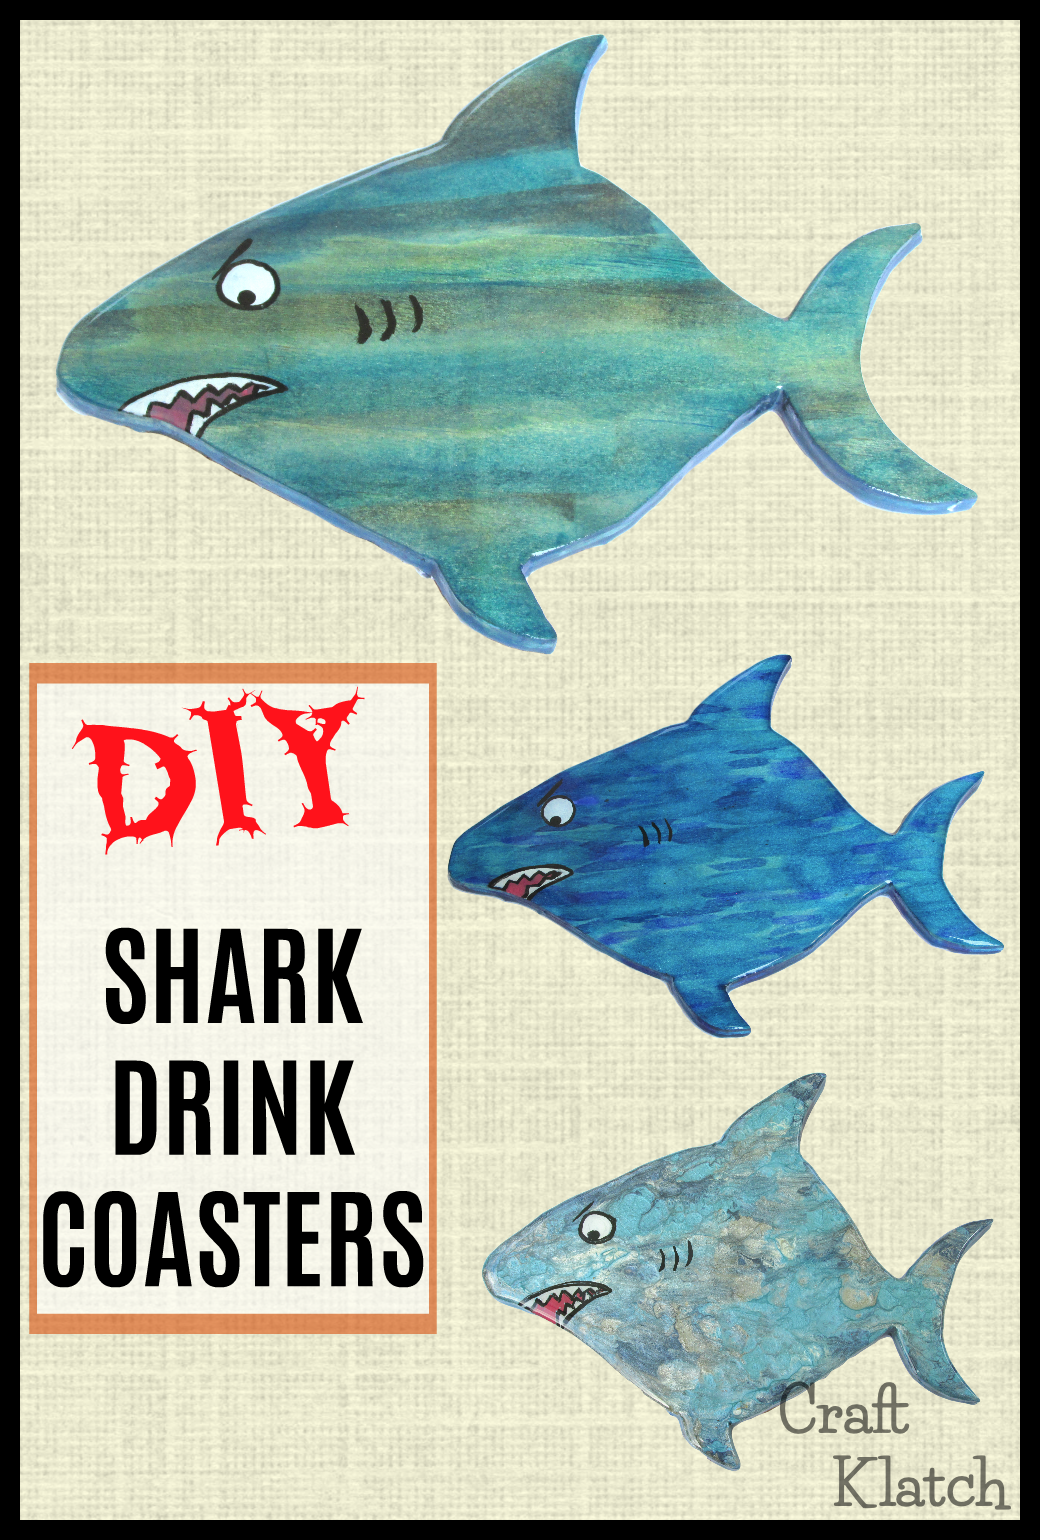
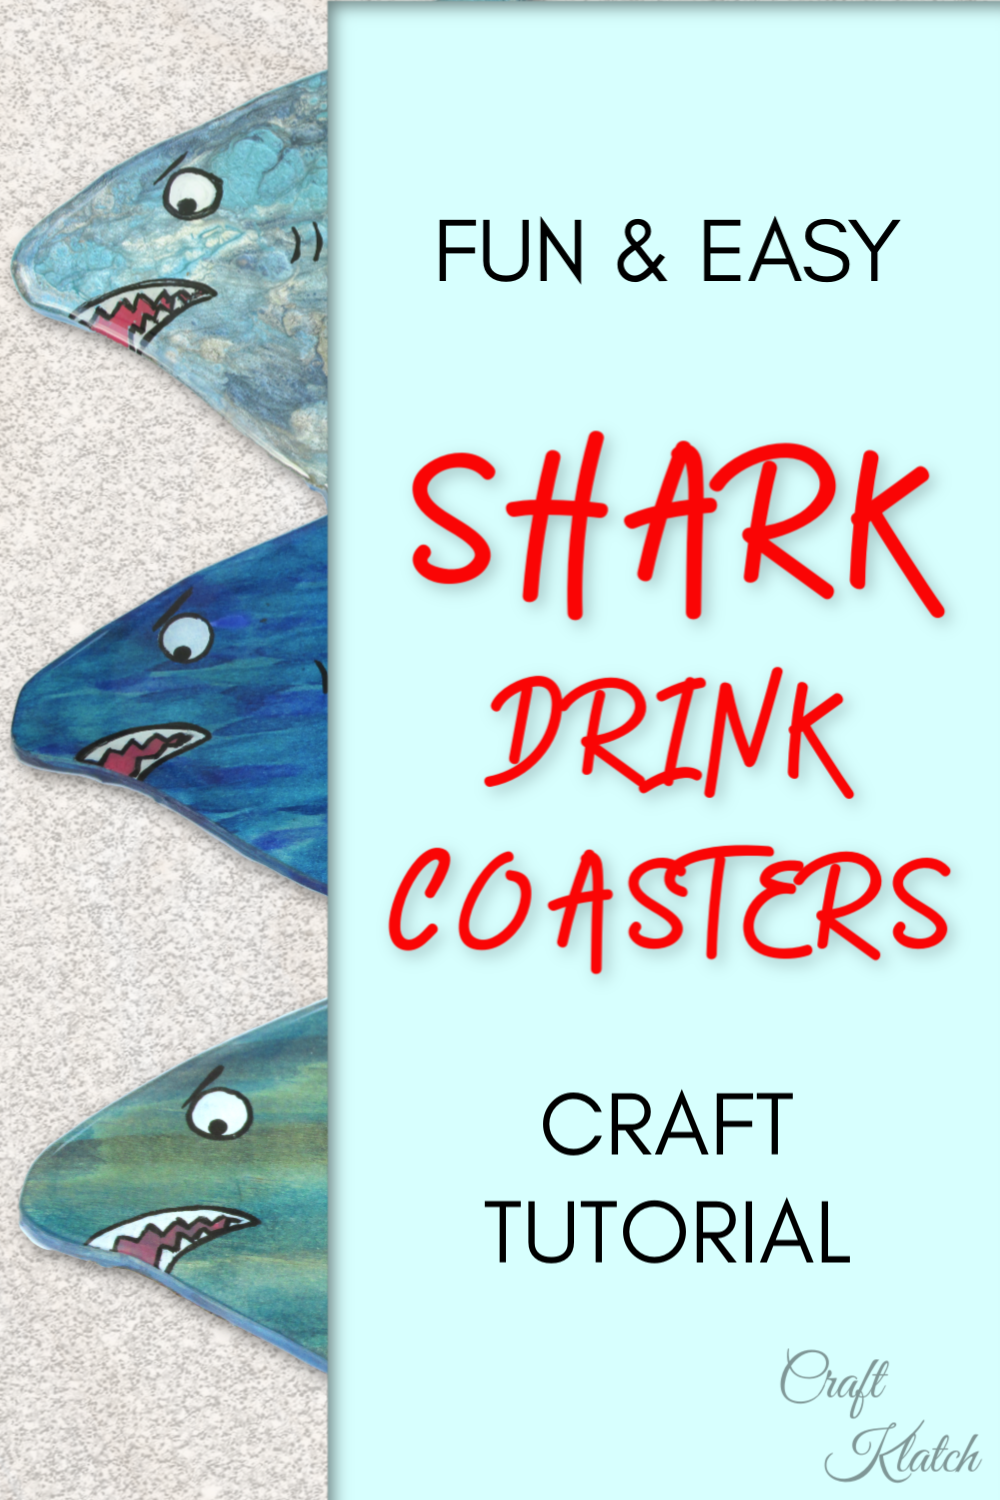
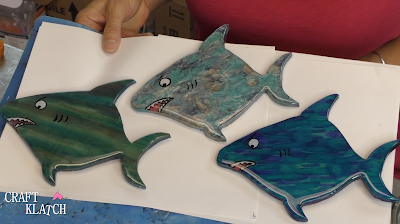
Learn how to make shark resin drink coasters inspired by SharkWeek! I love Shark Week and it inspires me every year! This year I decided to finish off the shark coasters in three different ways!
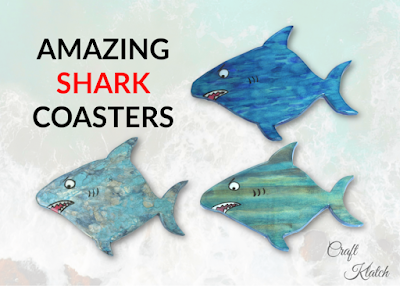
You will need:
Plywood: https://amzn.to/2YpI0RH
Saw: https://amzn.to/30W9jVv
Alcohol inks: https://amzn.to/2ydOs3J
India Ink: https://amzn.to/2Ym0K4L
Rubbing alcohol: https://amzn.to/2Ym1W8m
Pebeo paints (moon): https://amzn.to/30VzkEs
Pebeo paints (prisme fantasy): https://amzn.to/2LJXPRA
Unicorn Spit (zia teal): https://amzn.to/2YmX82p
Unicorn Spit (blue thunder): https://amzn.to/2yfowVC
Unicorn Spit (weathered daydream): https://amzn.to/2LINNAd
Acrylic paint (black and white): https://amzn.to/2LKpdi8
Paint pens (black, white and red): https://amzn.to/2JWAw4E
Torch or lighter: https://amzn.to/2ybHdtc
Cork shelf liner: https://amzn.to/2YjiIVD
Glue (optional): https://amzn.to/314htLL
Resin (use whatever resin brand you like):
Easy Cast: https://amzn.to/2yjYmBC
Art Resin: https://amzn.to/2yk9X3z
Clear Cast: https://amzn.to/2z4rxGw
This is the resin I used for this project:
FX Poxy: https://amzn.to/2AF3Pkk ~ According to the manufacturer, this one is heat resistant to 500 degrees F.
Check out the Shark Crafts Playlist for more shark crafts!
Directions:
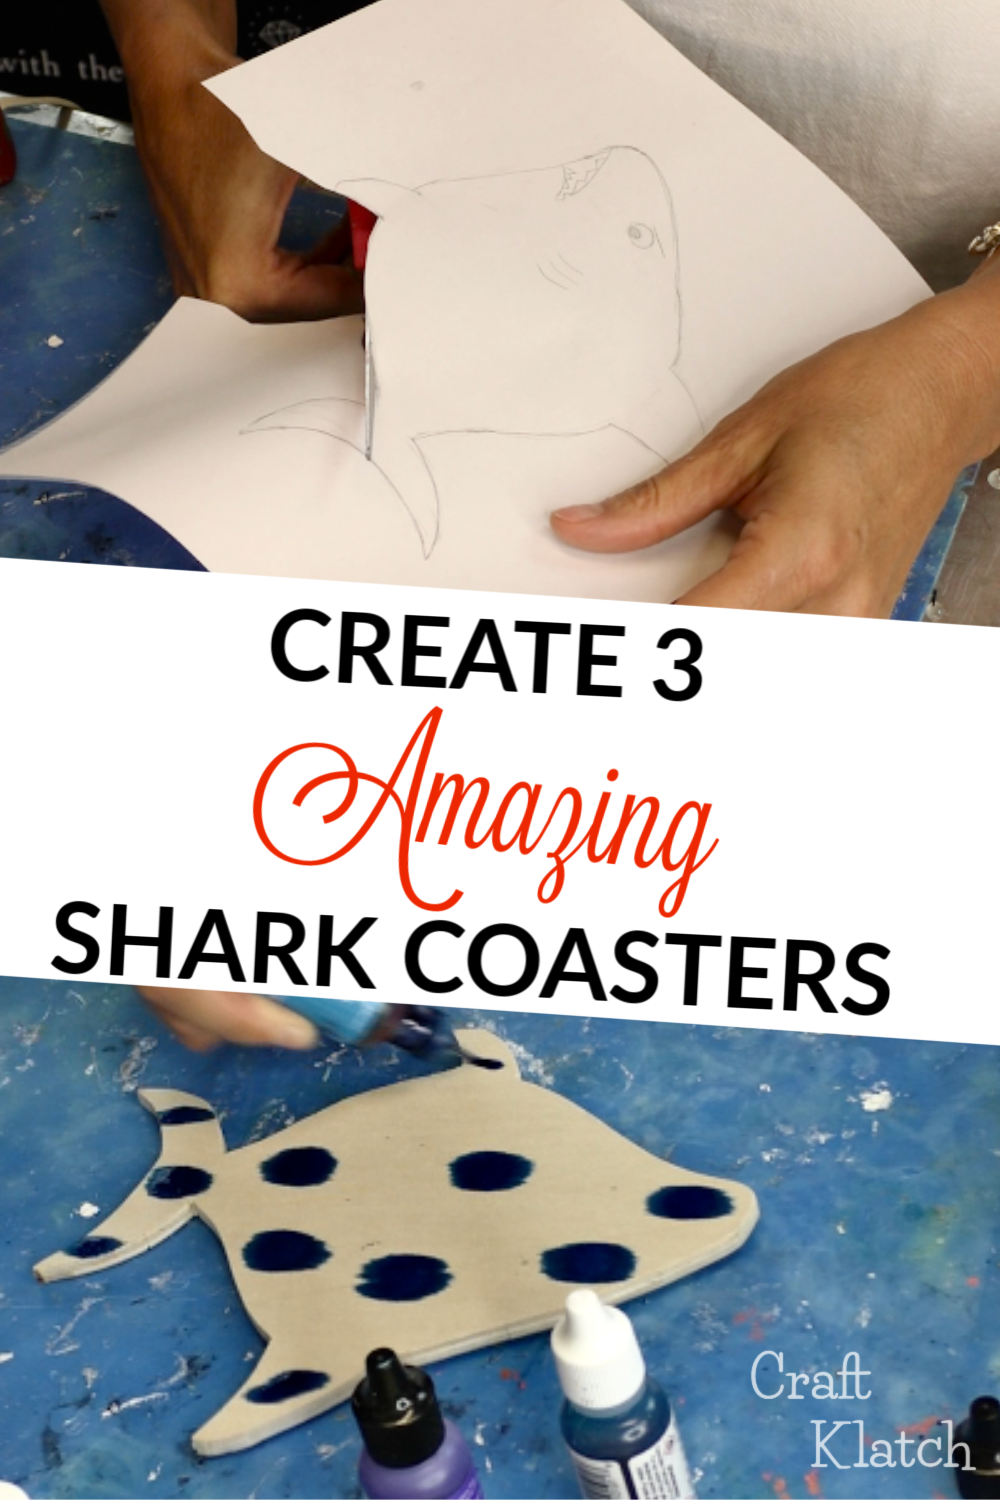
1. I drew a shark. I traced around one of my previous coasters and then added the fins, tail and snout.
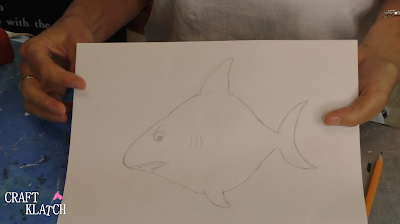
2. I cut it out, so I would have a traceable template.
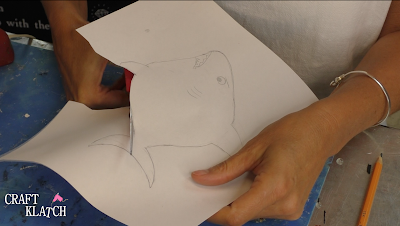
3. I traced it onto 1/4″ plywood.
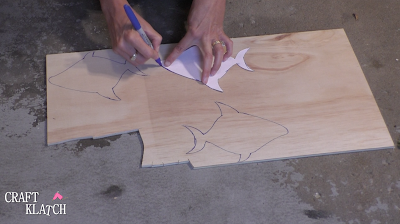
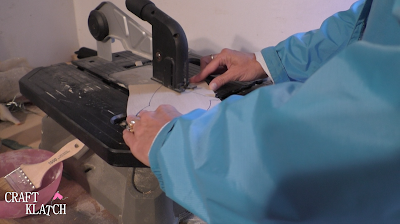
4. I cut the shapes out with my saw and I sanded the edges.
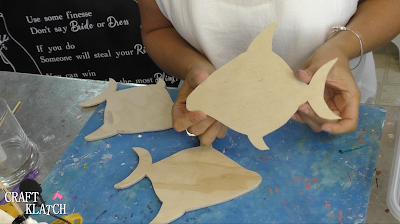
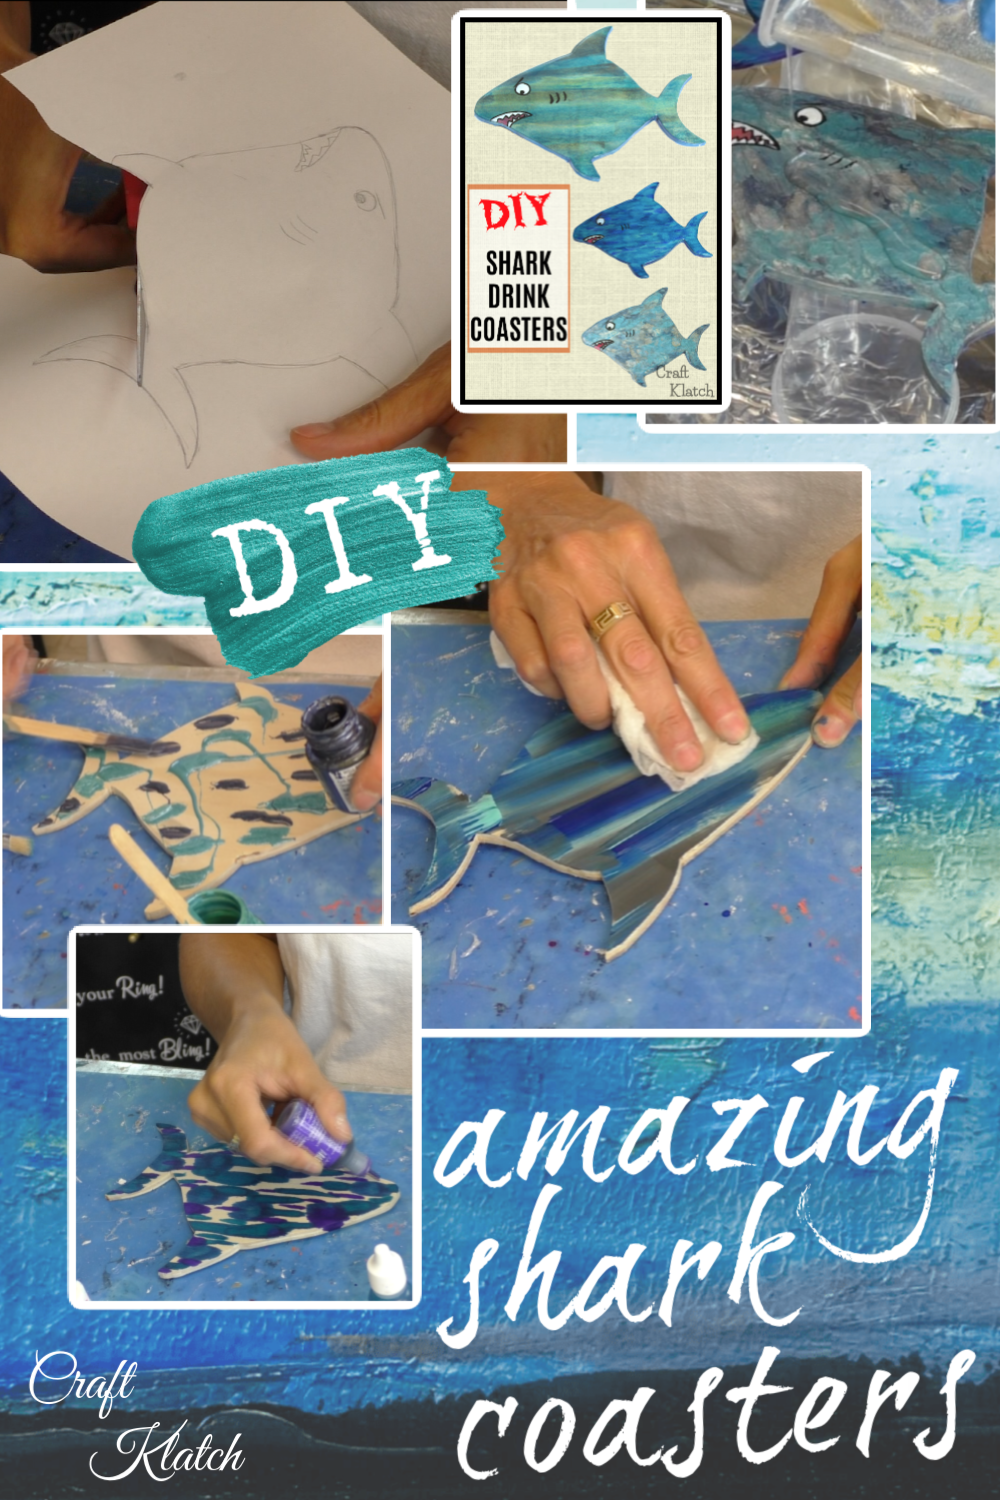
5. I dripped the different colored alcohol inks onto the wood – blues and a purple.
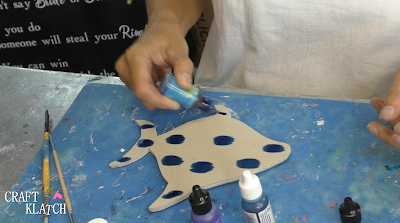
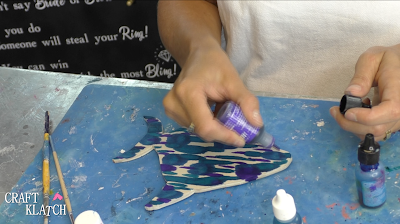
6. I used a brush to add some blue india ink.
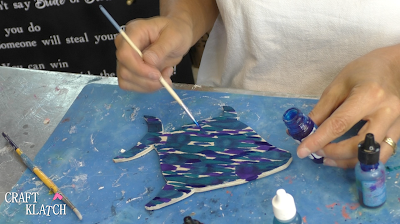
7. I used rubbing alcohol on a brush and brushed over the shark and used a paper towel to rub and blend it.
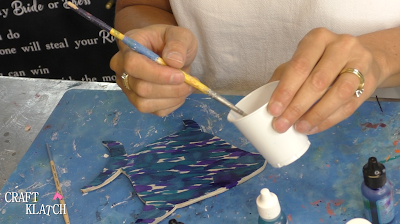
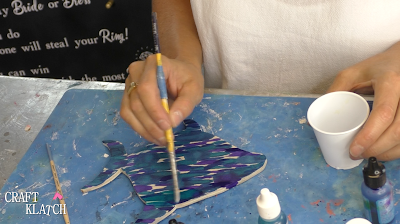
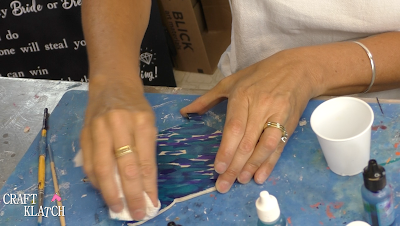
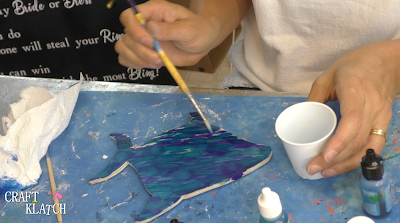
I also did the edges.
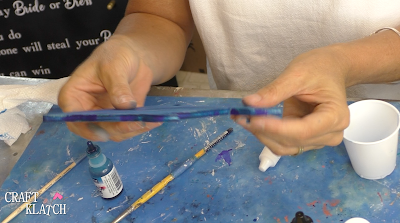
8. The next one I did was with Unicorn Spit. I used three different colors and loaded all onto a wide brush.
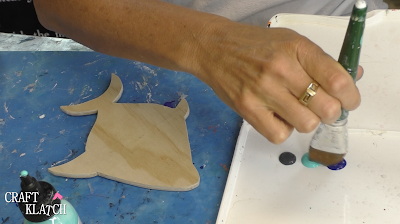
9. I brushed it onto the shark and the colors blend beautifully! I repeated it until it was totally covered.
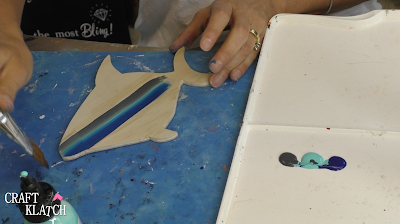
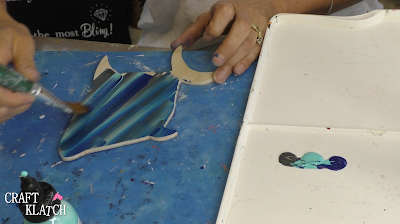
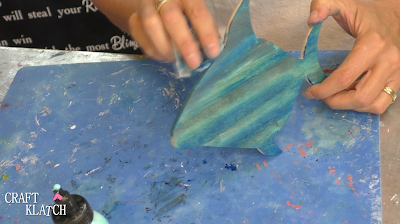
10. I used a damp paper towel to wipe off any excess and blend it further.
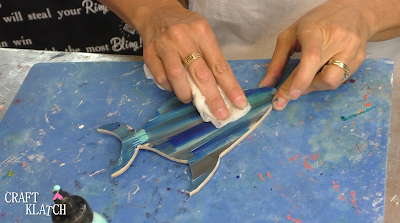
I used what was on the paper towel to do the edges.
11. The next one was with Pebeo paints. I dripped the colors right onto the wood shape.
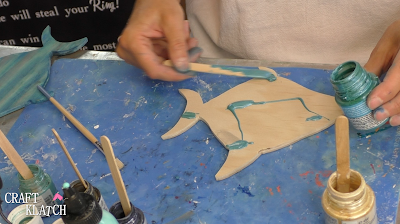
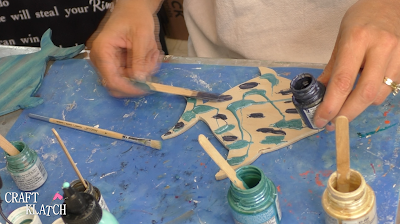
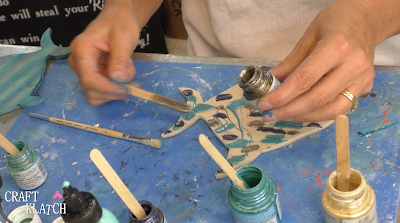
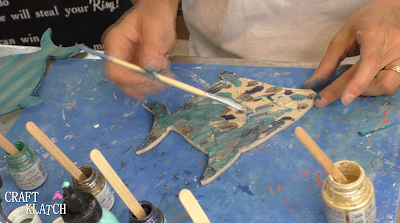
12. I used a brush to move the colors around and cover the wood. I didn’t move it around too much because the paints create a pattern as they dry.
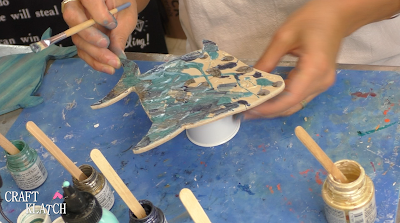
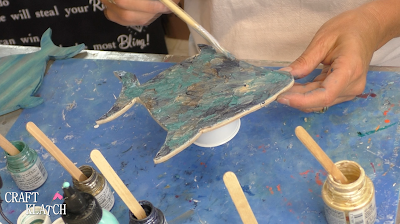
13. Once everything dried, I isolated a grape on a grape stencil I had on hand. I used it so I could stencil an eye right on the sharks.
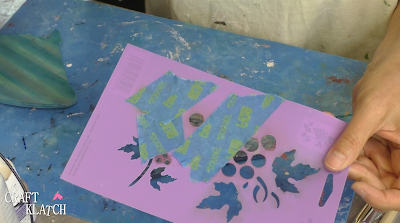
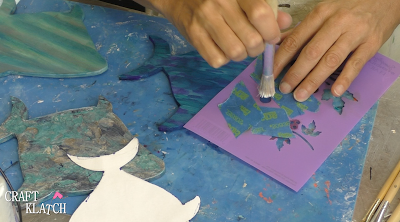
14. I used the back of a paint brush and dotted a black pupil.
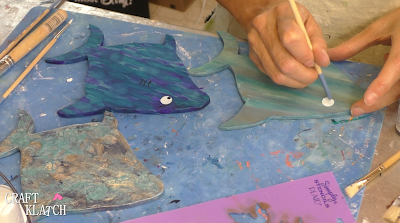
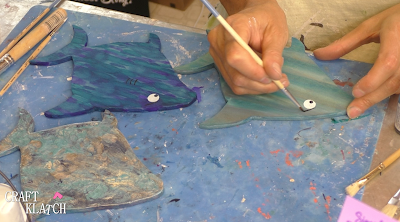
15. I used a liner brush to make an angry eyebrow and gills.
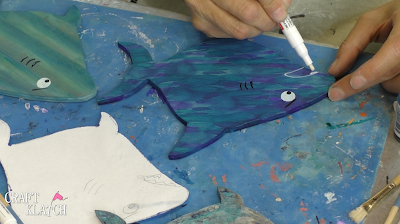
16. I used a white paint marker to draw a mouth and teeth.
17. I used my red paint marker to fill in the mouth.
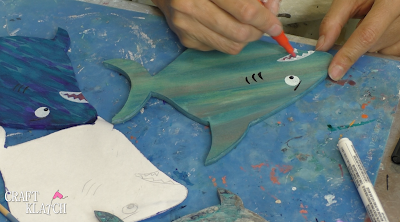
18. I used my black paint marker to outline the mouth, teeth and eyes.
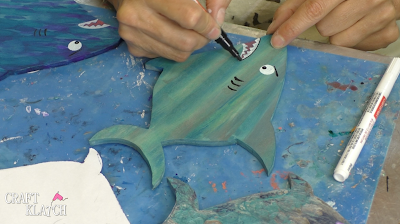
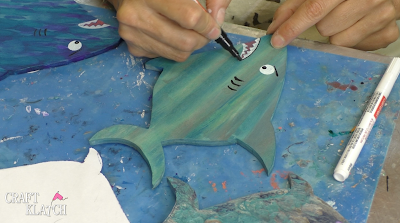
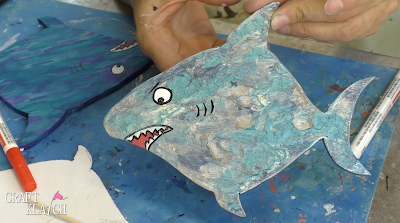
Here is a shark with all the features, but it still needs resin!
19. I put painters tape on the back of the sharks, so it would catch the resin drips.
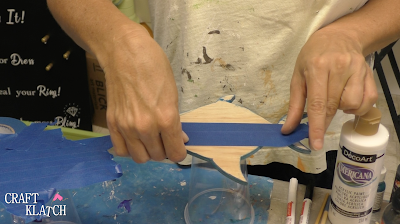
20. I used my craft knife to cut off the excess tape.
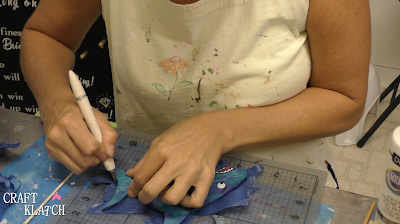
Like this!
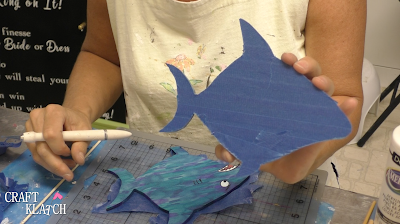
21. I put the sharks on cups to raise them up off the table.
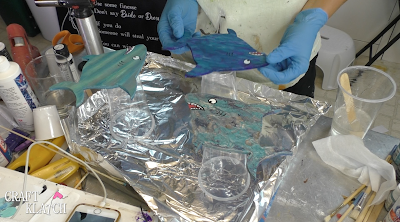
22. Then I poured the resin. I mixed four ounces, which was more than I needed.
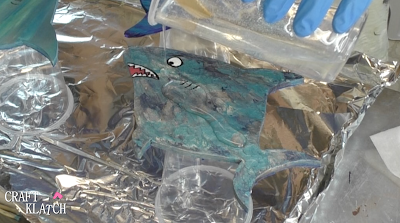
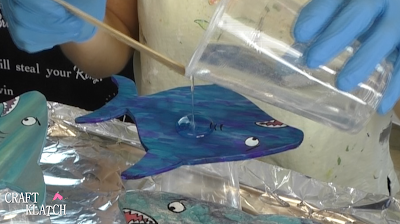
23. I used my stir stick to move the resin to the edges and made sure it covered the edges.
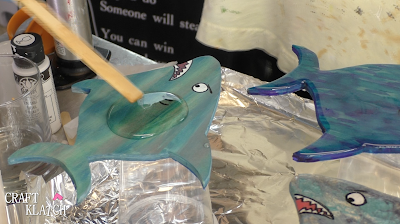
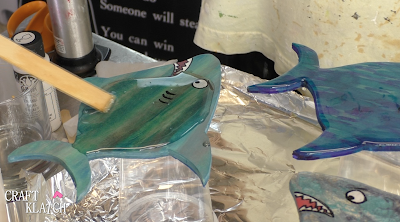
24. I used a torch to pop the bubbles, but a lighter would work just as well.
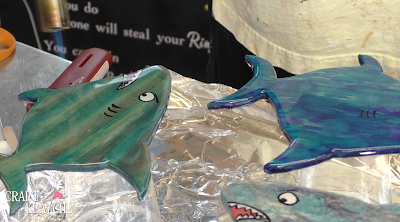
25. After approximately 12 hours, I used my craft knife to cut along the edges of the sharks and the tape. The resin was still soft enough for the knife to go through and I was able to easily pull off the tape.
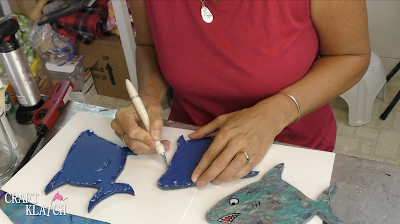
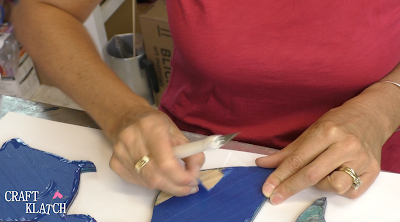
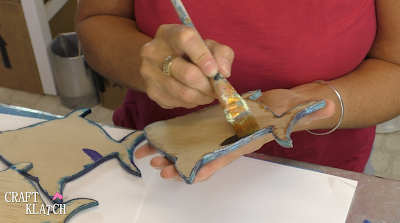
26. When the tape was off, I painted the backs black. This was simply to seal any bare wood.
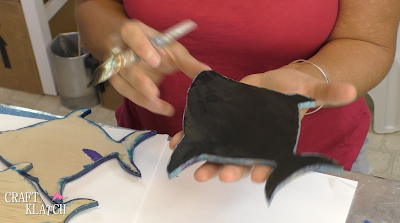
27. I traced the template on the cork shelf liner and cut it out. Cut on the inside of the line, so it’s not too large to fit on the shark.
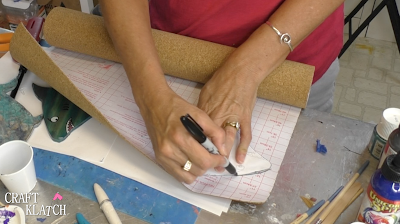
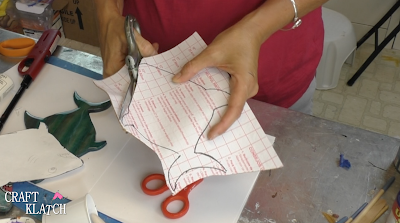
28. I removed the paper backing.
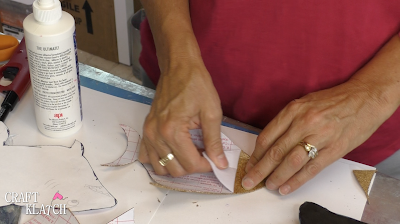
29. I put a line of glue on the back of the cork. The cork has a sticky backing, so this step is optional, but thought it was extra insurance that it won’t peel off when wet.
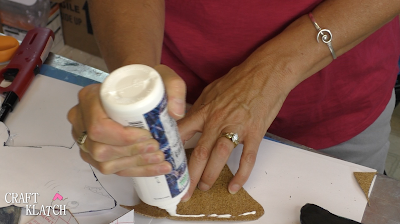
30. I put the cork on the back of the shark and rubbed it down.
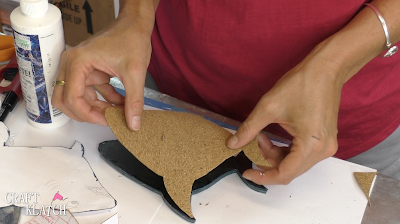
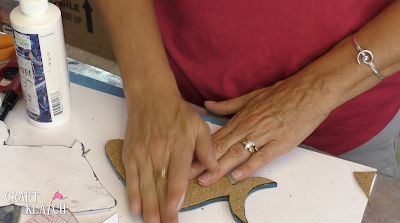
31. If the cork is a little big, you can take your craft knife to trim off any excess.
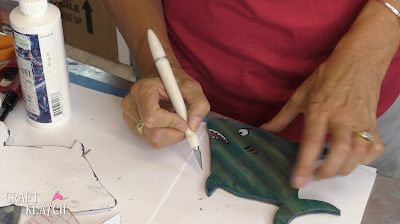
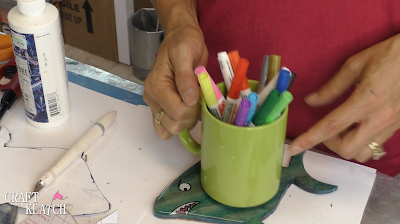
32. Here is the front and back!
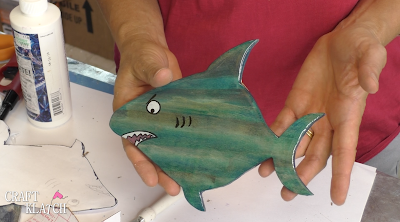
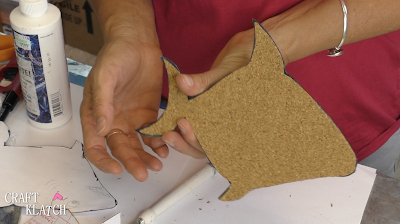
It’s large enough to fit your morning coffee or any other beverage you might want to use it for!
Here they are all shiny and finished!
Close ups!
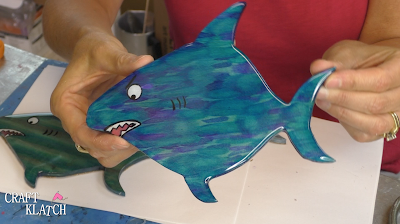
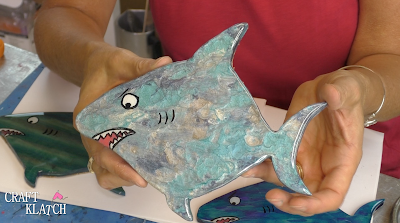
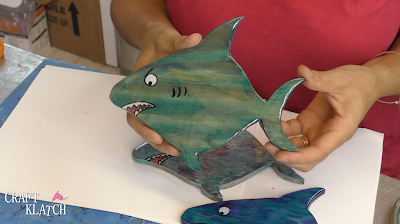
I love all the different looks and can’t pick a favorite!
Thanks for stopping by!
Remember: Life’s too short not to shimmer, so grab your glue gun and your glitter!™ Stay safe!
Mona
